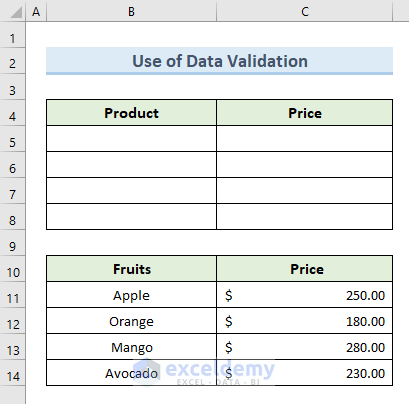
The following dataset has 2 cell ranges. The lower range (B11:C14) contains the names of some fruits and corresponding prices. The upper range (B5:C8) is empty. We’ll automate the data entry in range B5:C8 using the Data Validation feature.
To automate data entry using Data Validation, follow the steps:
Method 1 – Name the Cell Ranges
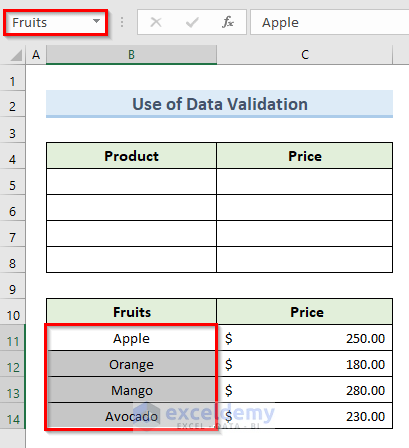
- Select the range B11:B14 containing fruit names.
- Go to the Name Manager box beside the Formula tab.
- Type Fruits in the Name Manager field.
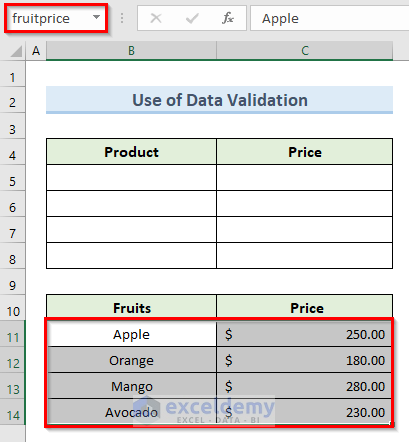
- Select cell range B11:C14 containing fruit names and their corresponding prices.
- Type fruitprice in the Name Manager field.
Method 2 – Apply Data Validation
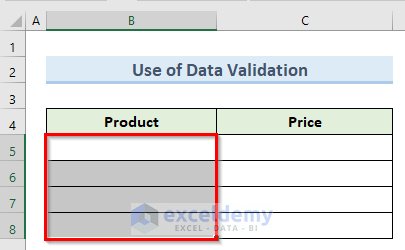
- Select the empty cell range B5:B8, where we will apply the Data Validation.
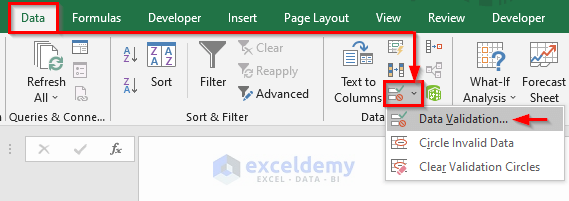
- Go to the Data tab > Data Tools group > Data Validation drop-down > Data Validation.
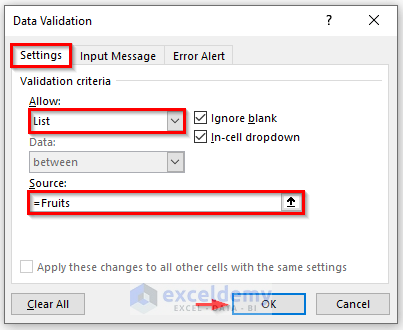
- The Data Validation dialog box will appear. In the box:
- Go to the Settings tab.
- Select List from the Allow drop-down menu.
- In the Source field, type =Fruits.
- Click OK.
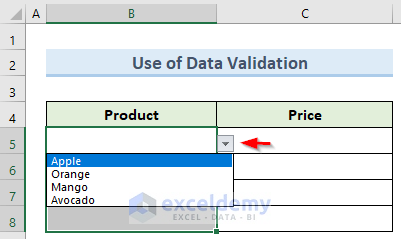
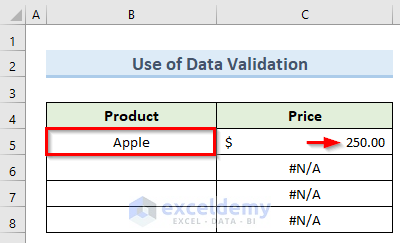
You will get a drop-down icon, as shown in the following image. When clicked, it will let you choose data from the available options.
Method 3 – Use VLOOKUP Formula
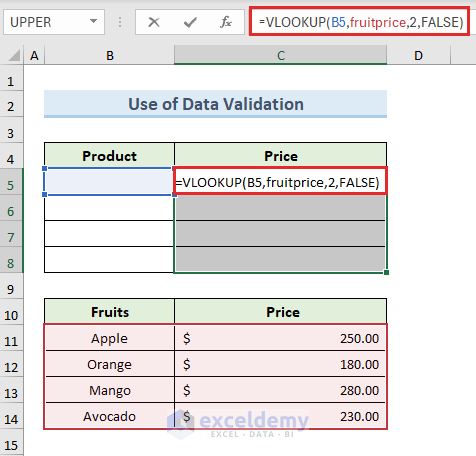
- After that, select cell range C5:C8 where the price will be inserted.
- Insert the formula:
=VLOOKUP(B5,fruitprice,2,FALSE)
This formula helps you find the price of a fruit listed in B5 by looking it up in the “fruitprice” table and returning the value from the second column. The “FALSE” at the end ensures an exact match, meaning it will only return results for fruits that have an identical match in the first column of the table. - Press Ctrl + Enter to apply the formula to all the selected cells.
Select any fruit name from the drop-down list in cell B5. The price will be displayed automatically in the adjacent cell.
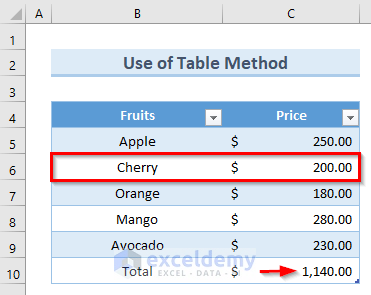
Using Excel Table
Data can be easily managed and analyzed in an Excel table. It typically has headers that allow easy sorting and filtering and support structured referencing.
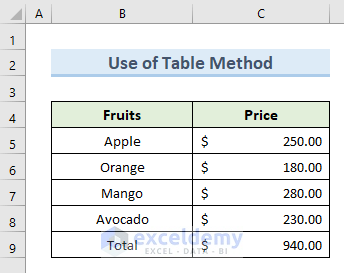
The dataset we’ll use here is the same as the earlier one. The given cell range B5:C8 contains the names of some fruits and their prices. There is an additional row containing the Total price of all fruits.
Convert this data range into a table. If you add any new records to the table, the Total amount will be updated automatically.
To automate data entry using Excel table:
- Select the data range.
Select range B4:C9. - Go to the Insert tab > Tables group > Table.
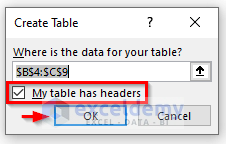
 The Create Table dialog box will appear.
 - Check the option My table has headers.
- Click OK.
 The data range will be in the table format.
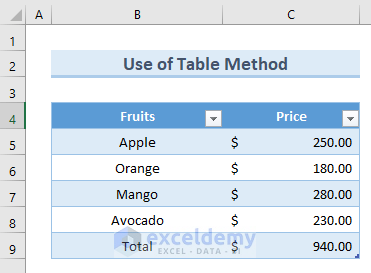
- Add a new record to the table in row 6. The total price gets updated automatically.
Download Practice Workbook
You can download the practice workbook from here.
Frequently Asked Questions
What is automated data entry in Excel?
Automated data entry in Excel refers to the process of using tools, macros, or scripts to streamline and reduce manual effort in entering data into Excel spreadsheets.
Why should I automate data entry in Excel?
Automating data entry in Excel saves time, reduces errors, and improves efficiency by eliminating manual data input. It also allows for the quick and accurate processing of large datasets.
Related Articles
- Types of Data Entry in Excel
- How to Record Time of Data Entry in Excel
- Excel Data Entry Practice Exercises PDF
- How to Check for Data Entry Errors in Excel
- How to Restrict Data Entry in Excel Cell
<< Go Back to Data Entry in Excel | Learn Excel
Get FREE Advanced Excel Exercises with Solutions!

good tips and explained very easy
Hello Ana,
Thanks for your feedback and appreciation. Glad to hear that our tips and explanation are easy to understand.
Keep exploring Excel with ExcelDemy!
Regards,
ExcelDemy