What Is a CSV File
CSV stands for comma-separated values. In simple terms, each line consists of multiple fields or values separated by commas. A CSV file stores tabular data—simply put, numbers and texts. This explains its popularity as a method for exchanging data. Therefore, it is widely used by businesses and in scientific applications.
Available Formats of CSV
The table below describes the available formats of CSV files.
| Format | Description |
|---|---|
| CSV (comma separated) | This format saves your worksheet as a comma-separated text file. |
| CSV UTF 8 (comma separated) | Your file is saved as a comma-separated text, in addition to supporting characters and special symbols. |
| CSV (Macintosh) | Saves the text file in a format suitable for a Macintosh operating system. |
| CSV (MS-DOS) | The saved text file is intended for an MS-DOS operating system. |
| Unicode (*.txt) | Saves your spreadsheet as Unicode text. |
The dataset contains the Names of employees in the first column, while the second column shows their Sales figures.

Method 1 – Saving a Worksheet as a CSV (Comma Delimited) File in Excel
Step 1: Go to the Active Worksheet & Save
- Go to the worksheet you want to export to CSV since only the active sheet will be converted to CSV.
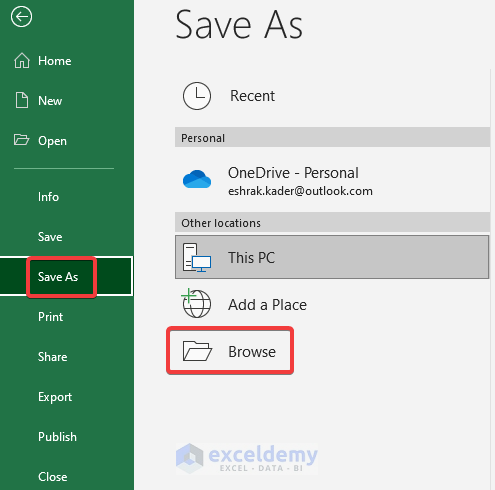
- Click the File tab.
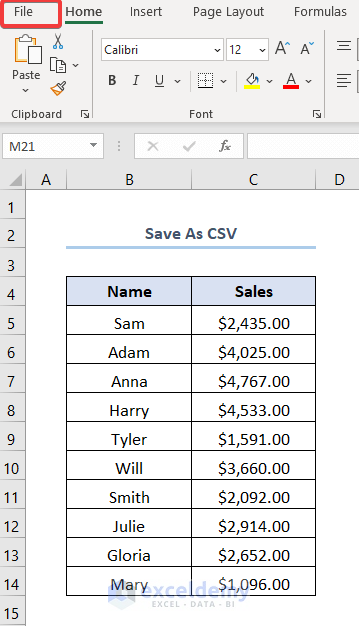
- Select the Save As option.

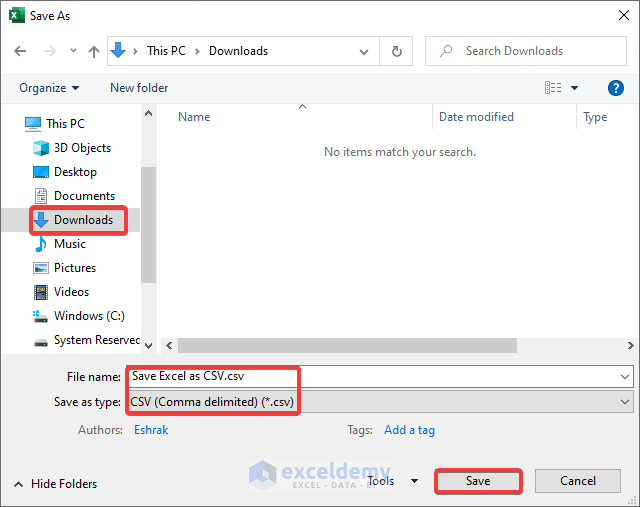
Step 2: Choose Your Preferred Directory & File Format
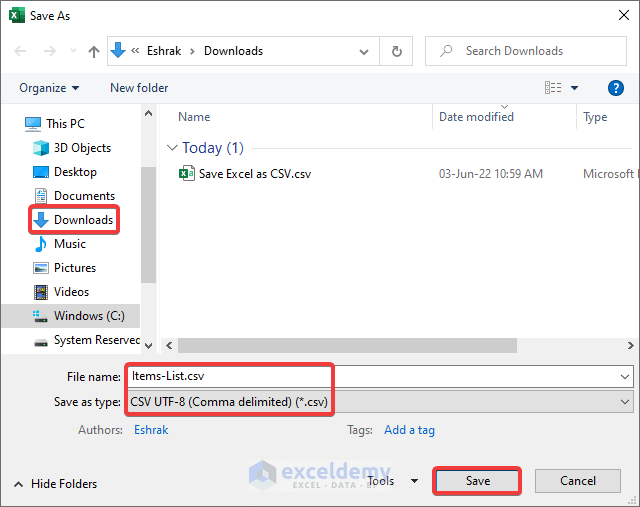
- Click on Browse and select a directory to save your CSV file.

- Enter the file name, and from the drop-down, select CSV (Comma delimited)(*.csv).
- Click on Save to convert your Excel file to CSV.
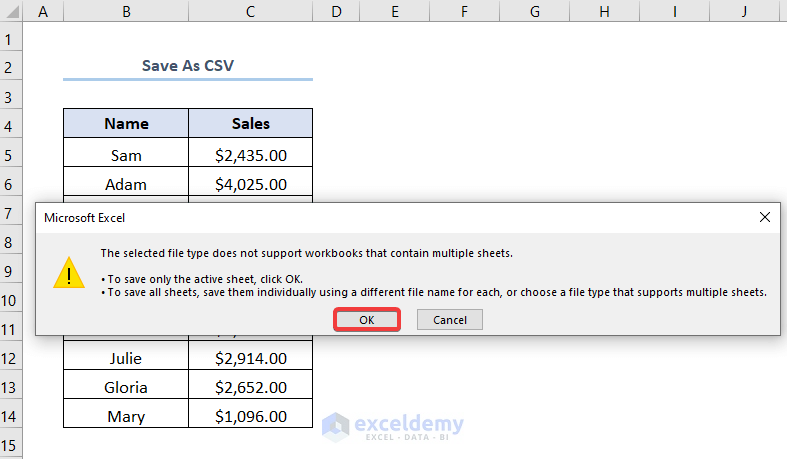
- If a warning window pops up, click OK to resolve the issue.
Read More: How to Save Multiple Sheets in Excel to CSV
Method 2 – Using CSV UTF 8 Format to Save Excel File as CSV
Step 1: Save Your Worksheet
- Locate your target spreadsheet and click on the File tab.
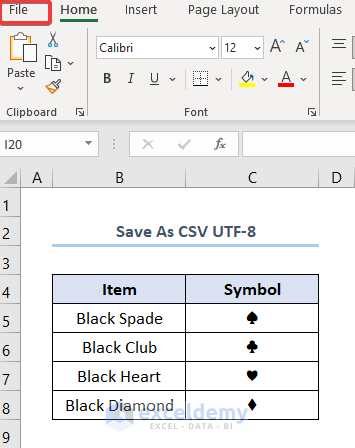
- Select the Save As option.

Step 2: Designate the File Location & Format
- Click on Browse and choose a folder to save your CSV file.
- Type in the file name and choose CSV UTF-8 (comma delimited) (*.csv) extension.
- Click on Save.
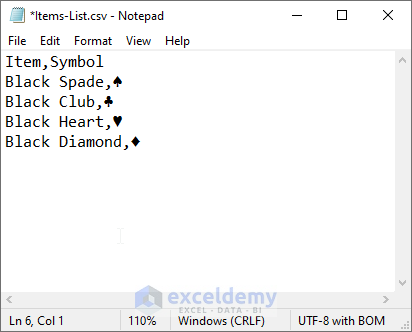
- Open your saved document with a preferred text editor: Notepad.
Read More: [Fixed!] Excel CSV File Not Saving Changes
Method 3 – Saving as a Unicode Text and Then Converting It to CSV in Excel
Step 1: Select & Save the Worksheet
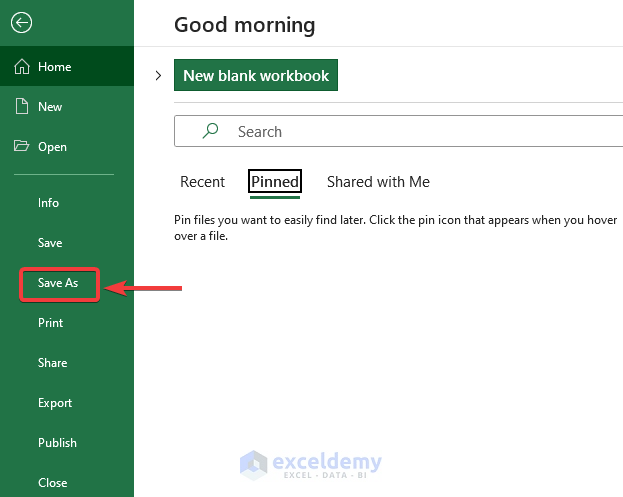
- Go to the spreadsheet you want to save and click the File option.
- Select the Save As.
Step 2: Pick the File Location & Format
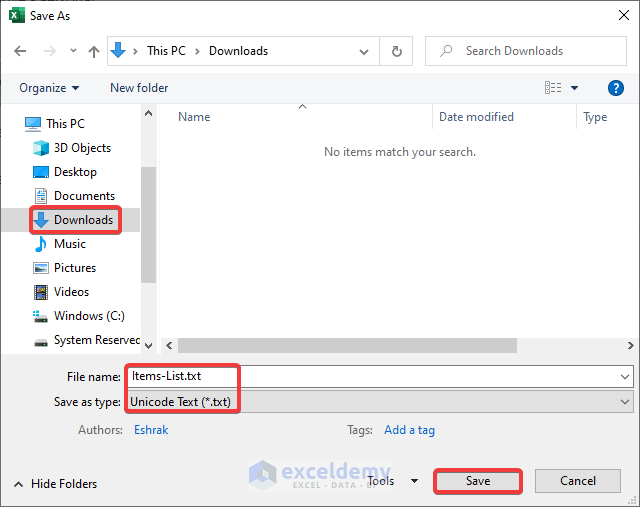
- Click on Browse to save your CSV file at your desired location.

- Rename the file, select Unicode Text (*.txt), and click Save.
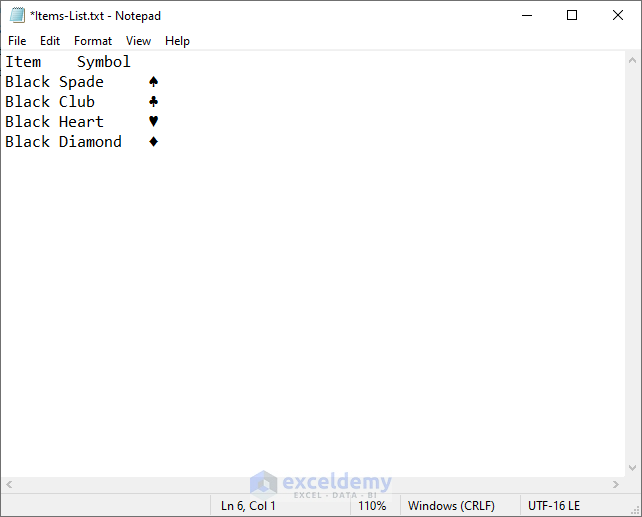
Step 3: Replace Tab Character with Comma
- Open your saved document in a text editor like Notepad.
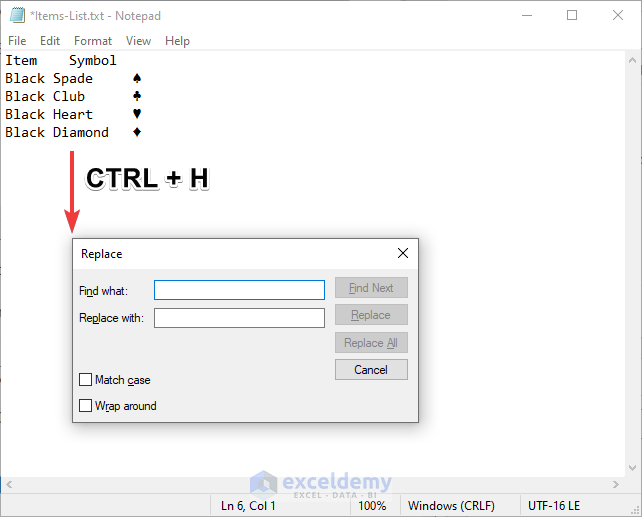
- Use CTRL + H to open a dialog box.
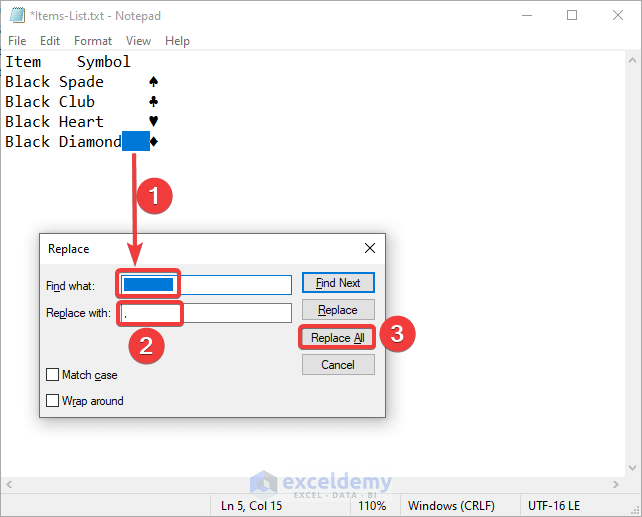
- Copy the tab character with CTRL + C, paste it into the Find what box, and type a comma in the Replace with box.
- Click Replace All and close the dialog box.
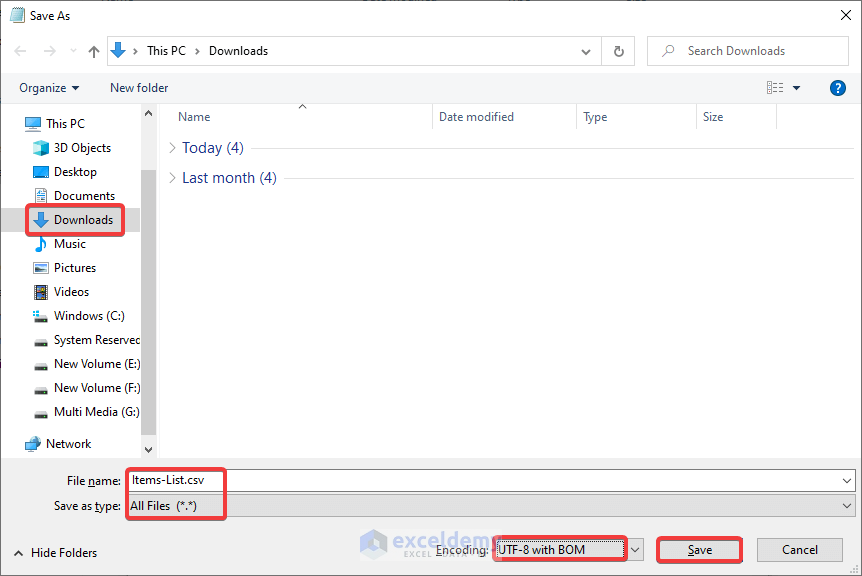
Step 4: Provide the Correct Encoding
- Add a (.csv) extension to the file and choose UTF-8 with BOM Encoding.
- Open your saved file in Notepad.
Download the Practice Workbook
Related Article
- How to Save Excel as PDF
- How to Save One Sheet in Excel as PDF
- [Fixed!] Why Is Excel Not Saving My Formatting?
- [Fixed!] Document Not Saved Excel Network Drive
<< Go Back to How to Save Excel File | Excel Files | Learn Excel
Get FREE Advanced Excel Exercises with Solutions!
