Method 1 – Utilizing the Save as Option to Save an Excel File in XLSX Format
Steps:
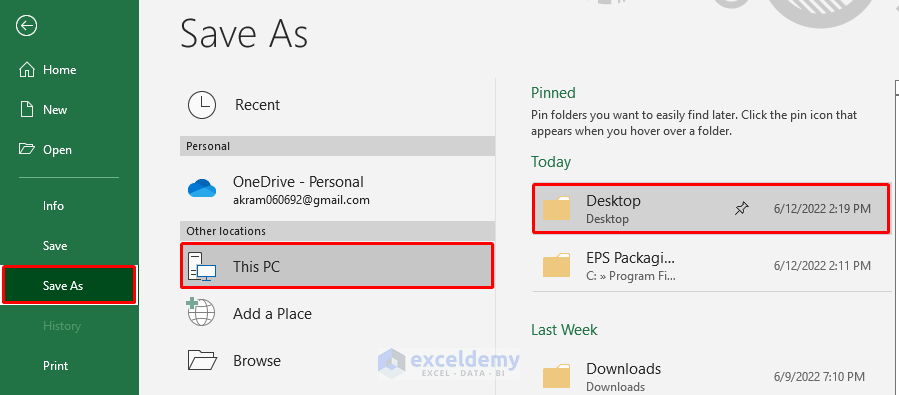
- Go to File.
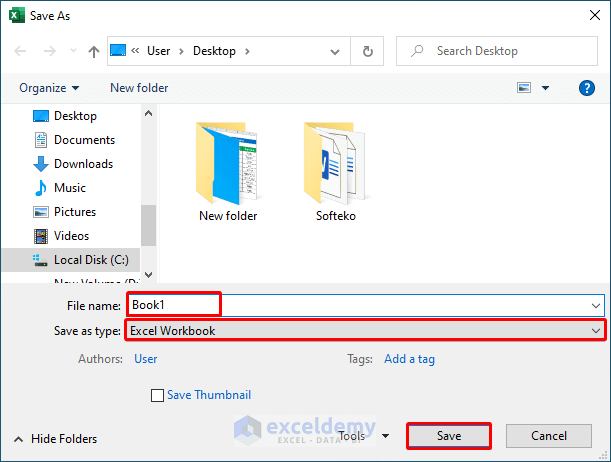
- Choose Save as and a location to save the file.
- Name the file in File name.
- In Save as type choose Excel Workbook.
- Press Save.
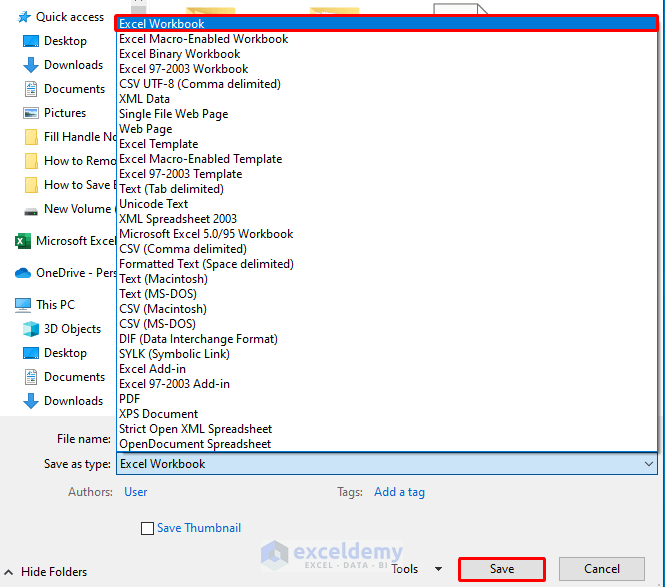
Your file is saved in XLSX format.
Read More: How to Save a Copy of an Excel File
Method 2 – Using a Keyboard Shortcut to Save an Excel File in XLSX Format
Steps:
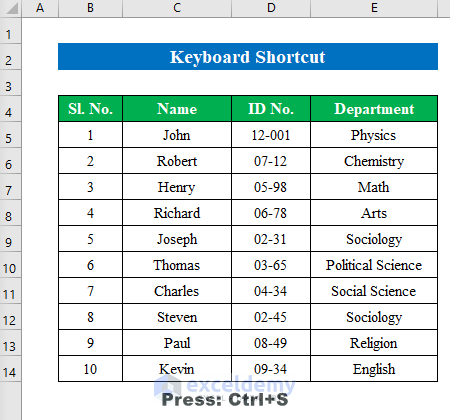
- Press Ctrl+S.
- In Save as, name the workbook and choose Excel Workbook.
- Click Save.
Your Excel book will be in XLSX format.
Read More: How to Save a Worksheet in Excel
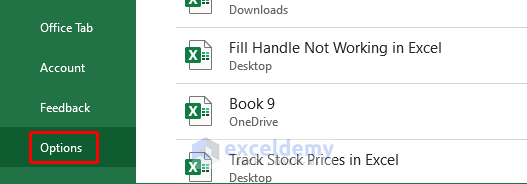
Method 3 – Using the Excel Options to Save an Excel File in XLSX Format
Steps:
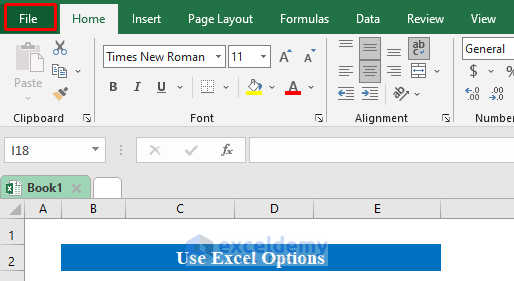
- Click “File”.
- Choose Options to open a new window.
- Click “Save”.
- In “Save file in this format”, choose “Excel workbook”.
- Click OK.
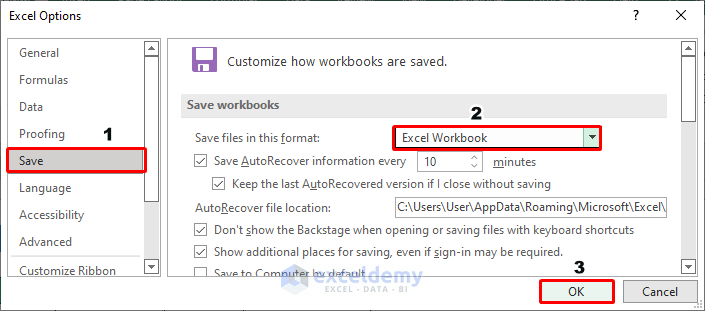
- Click “Save” to save your excel workbook in XLSX format.
Read More: How to Save a Worksheet in Excel to a Separate File
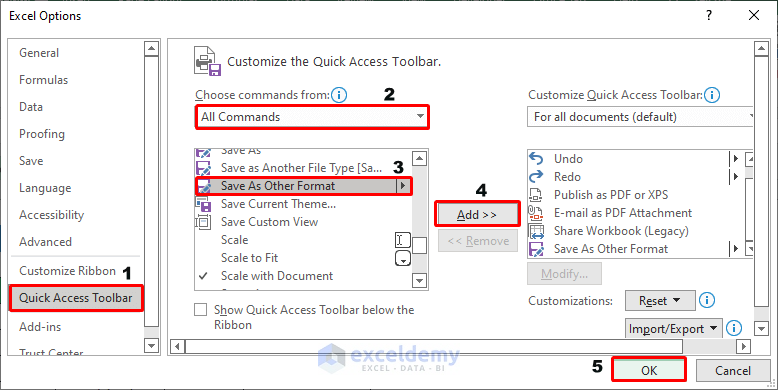
Method 4 – Utilizing the Quick Access Toolbar to Save an Excel File in XLSX Format
Steps:
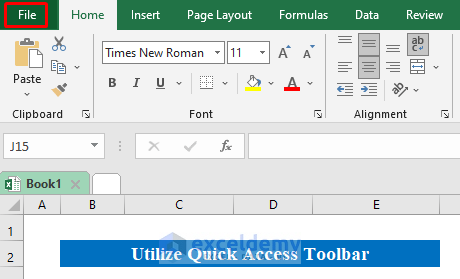
- Select “File” and go to Quick Access Toolbar.
- Click Options to open a new window.
- Select Quick Access Toolbar.
- In Choose commands from, select All Commands.
- Select Save As Other Format and click Add.
- Click OK.
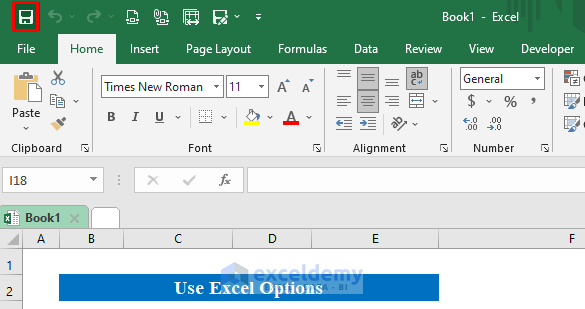
- Choose Save as Another File Type by clicking the icon at the top of the book.
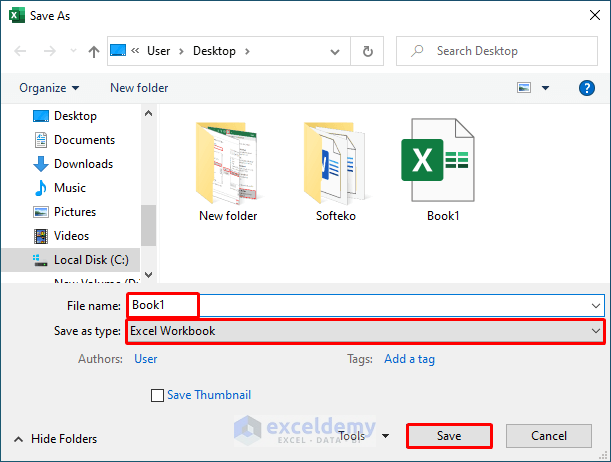
- In Save as, name your workbook and select Excel Workbook.
Your file is saved in xlsx format.
Related Articles
- How to Save Excel File with Password
- How to Save Multiple Excel Sheets as One File
- How to Save Multiple Sheets in Excel
<< Go Back to How to Save Excel File | Excel Files | Learn Excel
Get FREE Advanced Excel Exercises with Solutions!
