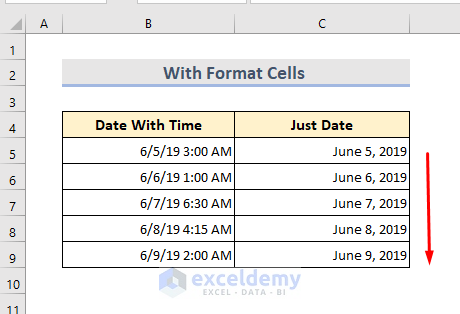
Method 1 – Using the Format Cells Feature
Assuming we have a dataset of Dates with Times. We are going to remove the time part and insert only the date in the next cell.
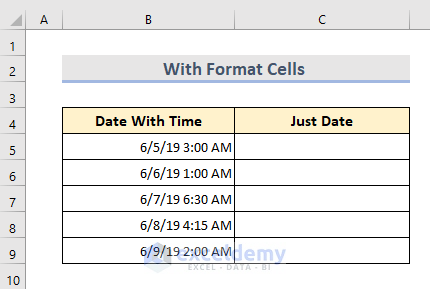
- Select the cells containing date and time.
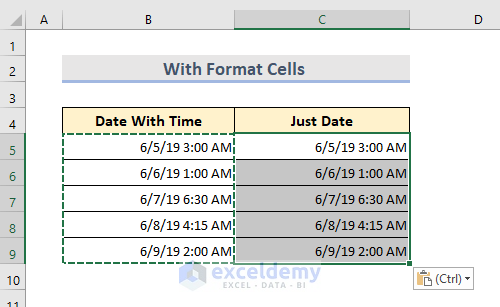
- Copy them (Ctrl+C) and paste to adjacent cells (Ctrl+V).
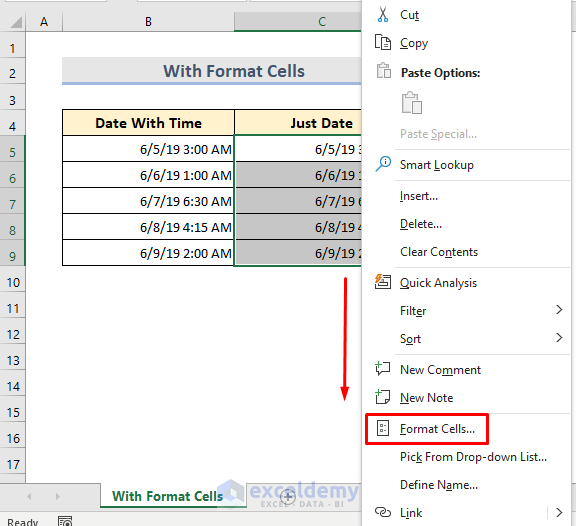
- Right-click on the selected cells and choose Format Cells.
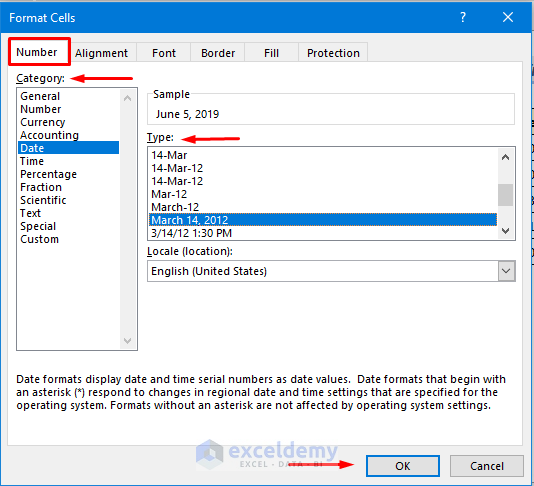
- In the Format Cells window, go to the Number tab.
- Select Date from the Category.
- Choose the desired date format under Type.
- Click OK to display the date without time.
- We can see the date without time in the adjacent column.
Read More: How to Insert Static Date in Excel
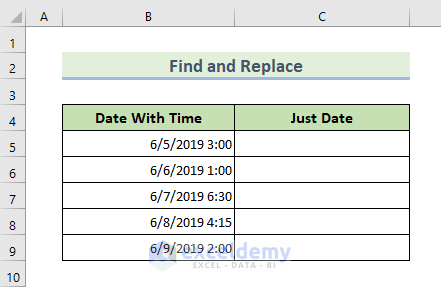
Method 2 – Excel Find and Replace Tool
In the following dataset, we are going to use Find and Replace to remove time from the date:
- Copy the cells with date and time (Ctrl+C).
- Paste them into adjacent cells (Ctrl+V).
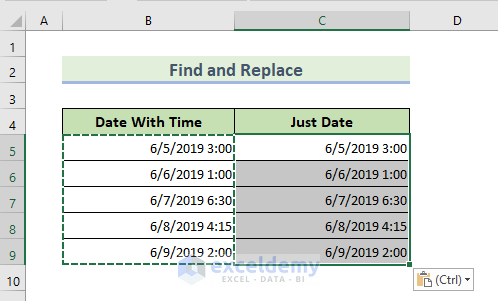
- Keep the new cells selected.
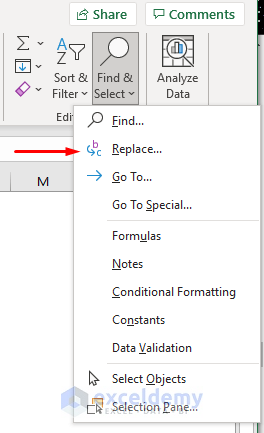
- Go to the Home tab and select Replace from the Find & Select dropdown.
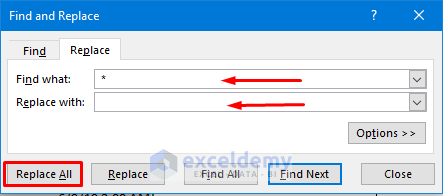
- In the Find what box, enter a space and an asterisk (*).
- Leave the Replace with box empty.
- Click Replace All and confirm.
- A confirmation box pops up.
- Click OK.
- Close the dialogue box.

- The time will be removed from the cells.

Method 3 – VBA Code
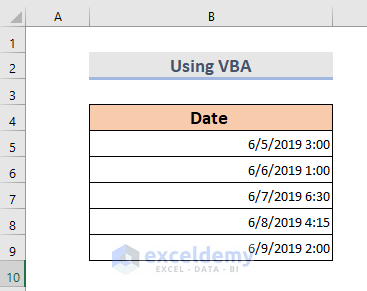
Assuming we have data imported to the Spreadsheet with date and time. We are going to use a VBA code to remove the time.
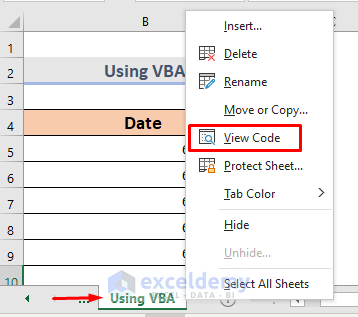
- Right-click on the sheet bar and select View Code.
- In the VBA Module, enter the following code:
Option Explicit
Sub ToRemoveTime()
Dim Y As Long, q As Long
Y = Range("B" & Rows.Count).End(xlUp).Row
For q = 5 To Y
With Range("B" & q)
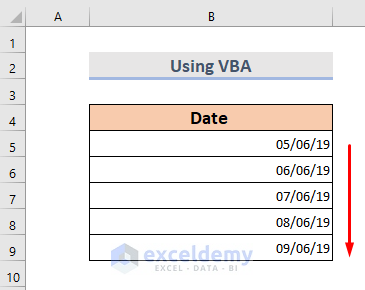
.NumberFormat = "dd/mm/yy"
.Value = CLng(.Value)
End With
Next q
End Sub- Click the Run option to see the date without time.

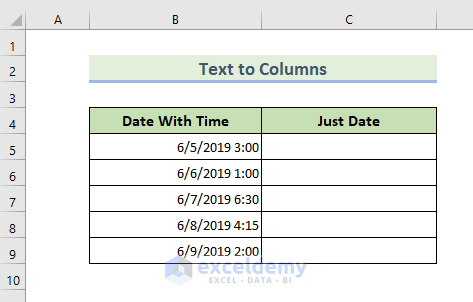
Method 4 – Text to Columns Feature
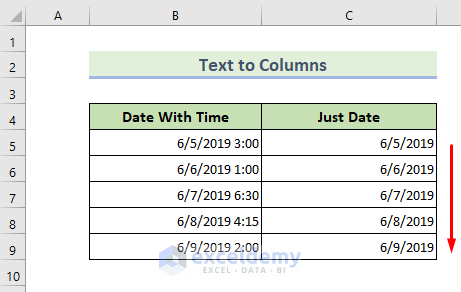
Here we have a dataset containing the date and time. We are going to use Text to Columns to remove time from the date.
- Select all cells containing date and time.
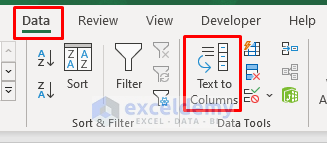
- Go to Data and choose Text to Columns in the ribbon.
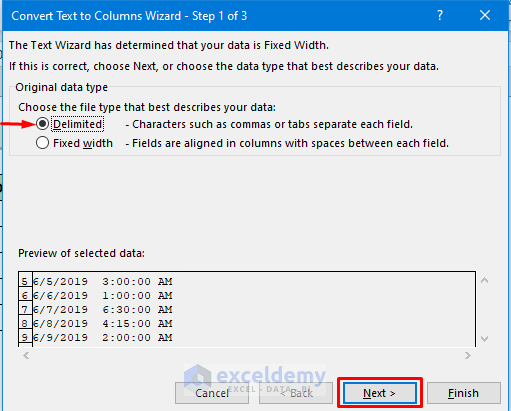
- Choose Delimited in the Wizard Step 1 window.
- Click Next.
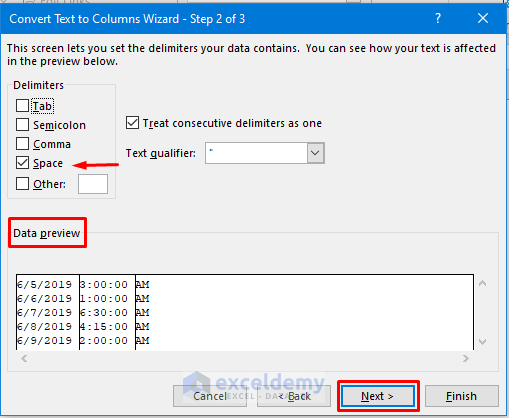
- Select Space as the delimiter in Wizard Step 2.
- Preview the data in the Data preview box and click Next.
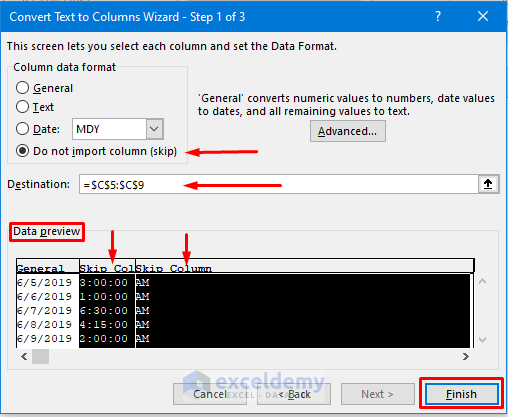
- In Wizard Step 3, skip the time values column.
- Specify the destination for the result and click Finish.
- The time is removed from the date cells.
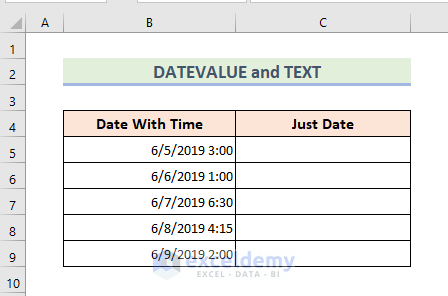
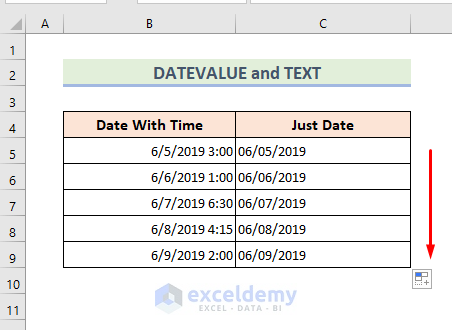
Method 5 – Using DATEVALUE and TEXT Functions
To convert a date with the DATEVALUE function, it needs to be stored in TEXT format. We are going to use the combination of DATEVALUE & TEXT functions to remove time from the date.
- Select Cell C5.
- Enter the formula:
=DATEVALUE(TEXT(B5,"MM/DD/YYYY"))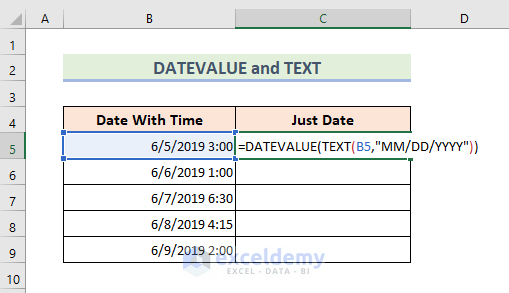
NOTE: The TEXT function converts the value to text format, and DATEVALUE returns only the date portion.
- Press Enter and drag down the cursor to apply the formula.

- Manually change the format to a date by going to Home, selecting Number Format and choosing Short Date/Long Date.
- Alternatively, use the formula:
=TEXT(DATEVALUE(TEXT(B5,"MM/DD/YYYY")),"MM/DD/YYYY")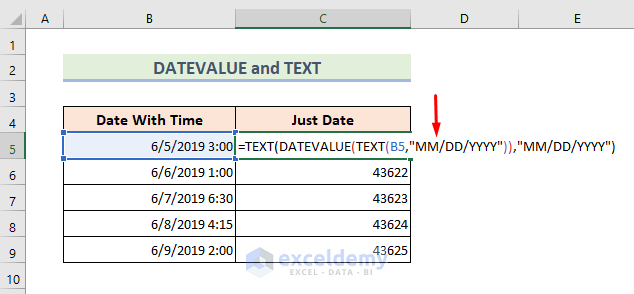
- Press Enter and use the Fill Handle tool to apply the formula to other cells.
Read More: Formula for Weekly Dates in Excel
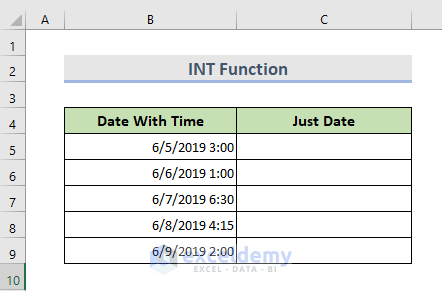
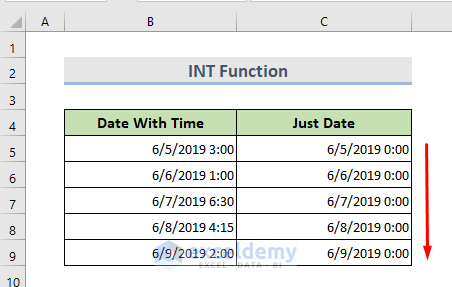
Method 6 – Using the INT Function
- The INT (Integer) function rounds down to the nearest integer.
- Excel treats dates as integer portions and times as fractions.
- To remove time from a date, use the INT function.
- Follow these steps:
-
- Select Cell C5.
- Enter the formula:
=INT(B5)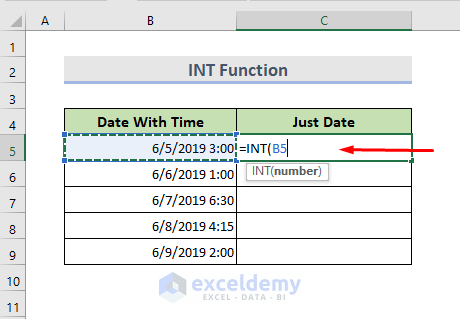
-
- Press Enter and drag down to apply the formula to other cells.
-
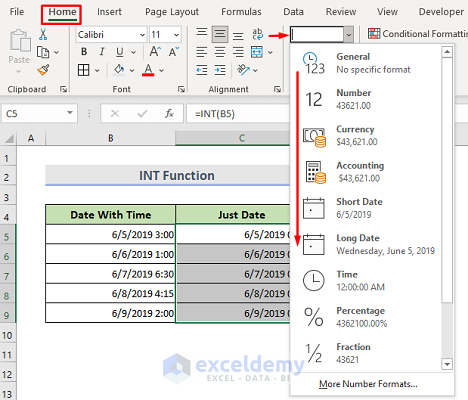
- Select the cells and go to the Home tab.
- Choose Number Format and select Short Date/Long Date.
-
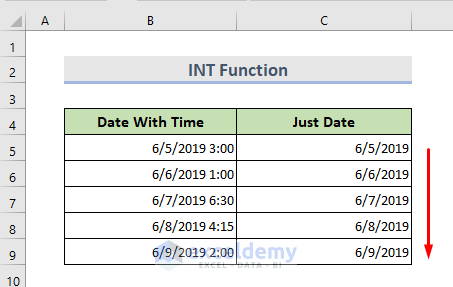
- Use the Fill Handle to complete the results.
Download Practice Workbook
You can download the practice workbook from here:
Related Reading
- How to Display Day of Week from Date in Excel
- How to Insert Last Saved Date in Excel
- How to Insert Drop Down Calendar in Excel
<< Go Back to Insert Date | Date-Time in Excel | Learn Excel
Get FREE Advanced Excel Exercises with Solutions!
