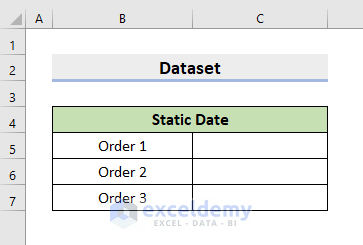
The following dataset has some Orders. We’ll insert a static Date for each order.
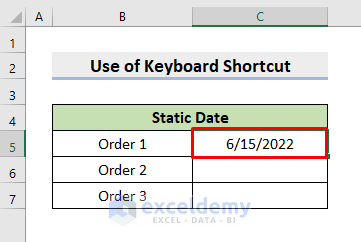
Method 1 – Apply a Keyboard Shortcut in Excel to Insert a Static Date for Today
Steps:
- Select cell C5 or any other cell where you want to insert the date.
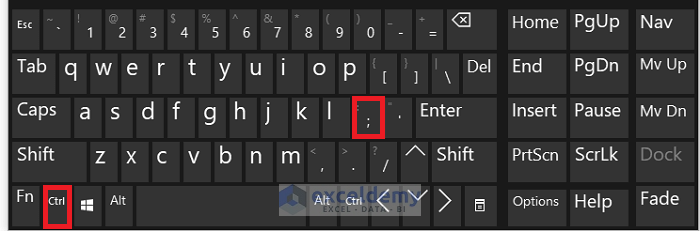
- Press the Ctrl + ; keys at the same time.
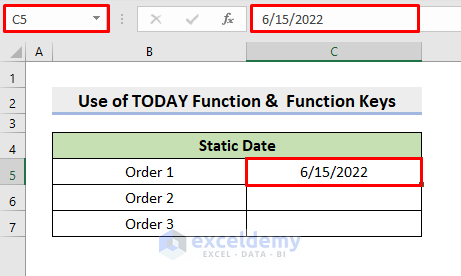
- Today’s date will appear in cell C5 as per your system settings.
- The date is inserted as a value, so it won’t change.
- Repeat for other cells if needed.
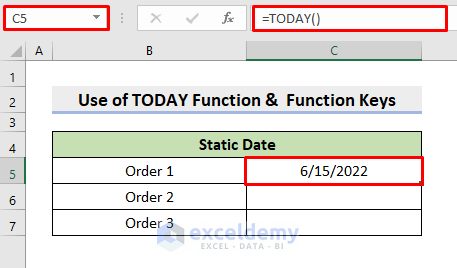
Method 2 – Input a Static Date with the TODAY Function and Keyboard Function Keys
Steps:
- Choose cell C5.
- Insert the formula:
=TODAY()- Press Enter to return today’s date.
- Select cell C5 again.
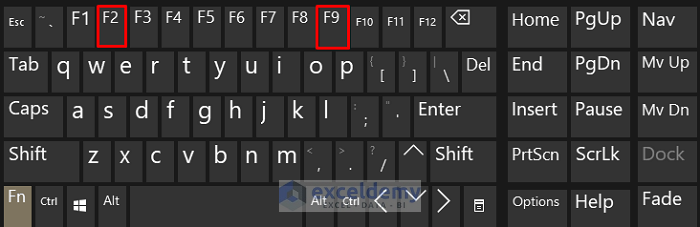
- Press F2, then press F9.
- Press Enter.
- This will return the Date only without the formula, so it becomes static.
- Repeat for other cells if needed, or copy the value.
Method 3 – Combine Excel TODAY and IF Functions for Inserting a Static Date
Steps:
- Go to File and Options.
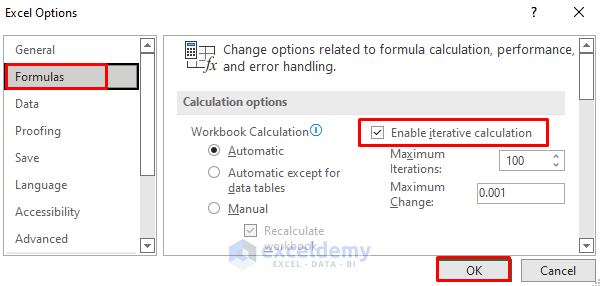
- The Excel Options dialog box will pop out. In the Formulas tab, check the box for Enable iterative calculation.
- Press OK.
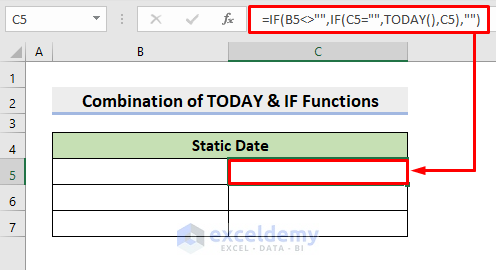
- Select cell C5 and insert the following formula:
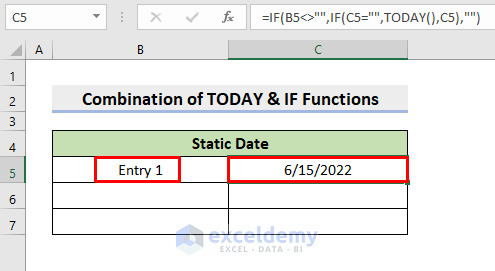
=IF(B5<>"",IF(C5="",TODAY(),C5),"")- Press Enter.
NOTE: This formula returns the output of TODAY() if both of the cells C5 and B5 are blank beforehand. The IF function tests that condition.
- Input anything in cell B5. For this example, input Entry 1.
- Today’s date will emerge in cell C5. Whenever you open this worksheet, the date won’t change.
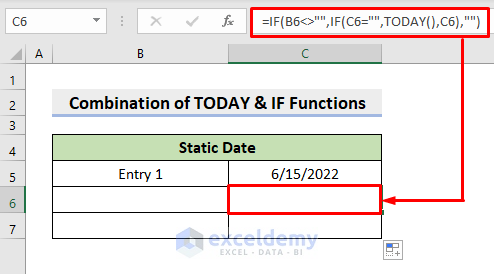
- Use the AutoFill tool for cells below C5.
- A date will appear in the C column cells every time you input something in the adjacent cell in column B.
Read More: How to Remove Time from Date in Excel
Method 4 – Insert a Static Date Using the DATE Function in Excel
Steps:
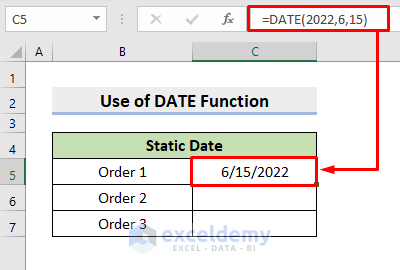
- Select cell C5.
- Insert the following formula:
=DATE(2022,6,15)- Press Enter.
- This’ll return your desired date.
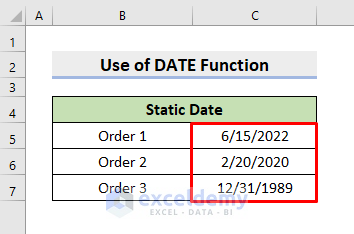
- Repeat for other cells.
Read More: Formula for Weekly Dates in Excel
Download the Practice Workbook
Related Articles
- How to Display Day of Week from Date in Excel
- How to Insert Last Saved Date in Excel
- How to Insert Drop Down Calendar in Excel
<< Go Back to Insert Date | Date-Time in Excel | Learn Excel
Get FREE Advanced Excel Exercises with Solutions!

Hi there, I am using the 4th method to record a static timestamp when someone inputs some data into a separate column. This acts as a timestamp logging feature for my query to sort based on. However, it produces a circular reference error when copying said sheets with the formula as new copies. Are you experiencing this as well?
Hello KEVIN
Greetings from our website! Thank you for posting your question on the platform. I have yet to experience the issue you described personally. However, I can offer some insights to help you troubleshoot the problem.
The circular reference error may occur because the formula references the cell containing the procedure, creating an infinite loop. To avoid this, you can modify the system to refer to a different cell that doesn’t have the formula.
Excel’s built-in Error Checking feature can help identify and resolve circular references. To access this feature, go to the Formulas tab in the Excel ribbon, click Error Checking, and then click Circular References. Excel will then highlight any circular references in your workbook and suggest resolving them.
Providing any prominent solution without glancing at the workbook is challenging. You can share your workbook with us via Exceldemy Forum to better understand your situation.
Regards
Lutfor Rahman Shimanto (ExcelDemy Team)