Method 1 – Using BuiltinDocumentProperties
Steps:
- Press ALT+F11 or go to the tab Developer,
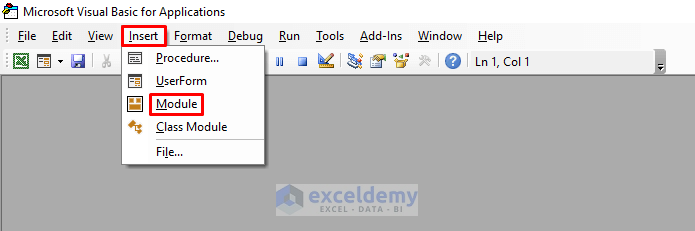
- Select Visual Basic to open Visual Basic Editor, and click Insert,
- Select Module.
- Enter the following code:
Sub Last_Saved_Dates_1()
Range("C4").Value = Format(ThisWorkbook.BuiltinDocumentProperties("Last Save Time"), "short date")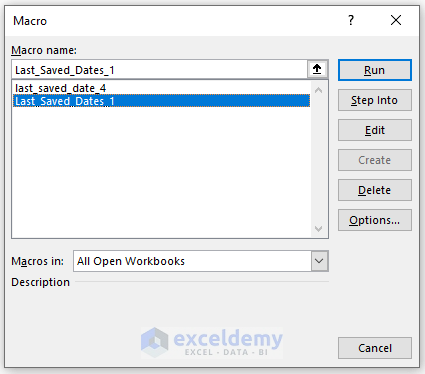
End Sub- Close the Visual Basic window, and press ALT+F8.
- When the Macro dialogue box opens, select Last_saved_Dates_1 in the Macro name.
- Click on Run.
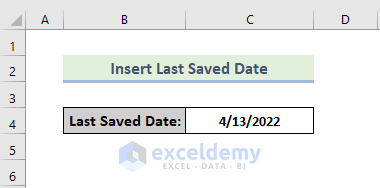
You will be able to insert the last saved date in Excel as follows:
Read More: How to Insert Static Date in Excel
Method 2 – Using a FileDateTime Statement to Insert Last Saved Date
Steps:
- Press ALT+F11 or go to the tab Developer,
- Select Visual Basic to open Visual Basic Editor,
- Click Insert. Select Module.
- Enter the following code:
Function LastSaveDate2()
LastSaveDate2 = FileDateTime(ActiveWorkbook.FullName)
End Function- Return to the spreadsheet, and enter the following function in cell C4:
=LastSaveDate2() 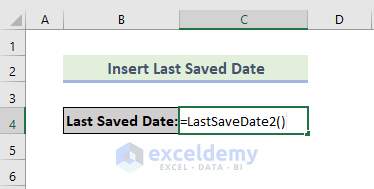
You will be able to insert the last saved date in Excel as follows:
Method 3 – Using Custom Formatting with Excel VBA
Steps:
- Press ALT+F11 or go to the tab Developer,
- Select Visual Basic to open Visual Basic Editor,
- Click Insert. Select Module.
- Enter the following code:
Function last_saved_date()
last_saved_date = Format(FileDateTime(ThisWorkbook.FullName), "m/d/yy h:n ampm")
End Function- Return to the spreadsheet, and enter the following code in cell C4:
=Last_saved_date()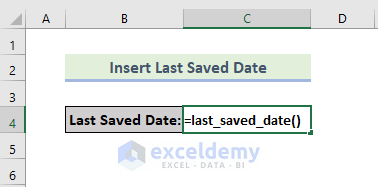
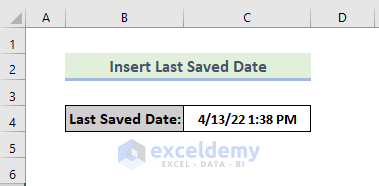
You will be able to insert the last saved date in Excel as follows:
Read More: How to Remove Time from Date in Excel
Method 4 – Using the VBA Now Function to Insert the Last Saved Date
Steps:
- Press ALT+F11 or go to the tab Developer,
- Select Visual Basic to open Visual Basic Editor,
- Click Insert. Select Module.
- Enter the following code:
Sub last_saved_date_4()
Range("C4").Value = Now
End Sub- Close the Visual Basic window, and press ALT+F8.
- When the Macro dialogue box opens, select last_saved_date_4 in the Macro name. Click on Run.
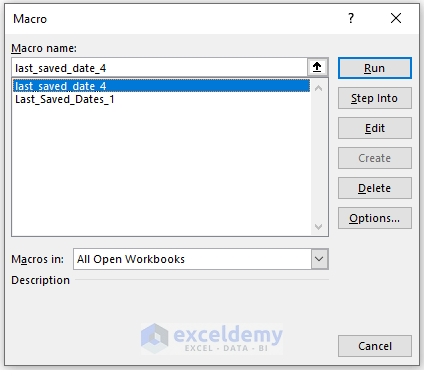
You will be able to get the output as follows:
Read More: Formula for Weekly Dates in Excel
Download the Practice Workbook
Download this workbook to practice.
Related Articles
<< Go Back to Insert Date | Date-Time in Excel | Learn Excel
Get FREE Advanced Excel Exercises with Solutions!
