In this tutorial, I am going to show you 3 ideal examples of how to use the paste name dialog box in excel. You can use these examples in your own dataset to find out and use various ranges that you defined. Throughout this tutorial, you will also learn some important excel tools and techniques which will be very useful in any excel related task.
Download Practice Workbook
You can download the practice workbook from here.
What Is Paste Name Dialogue Box?
The paste name dialog box in excel gives us the option to use the range of cells that we defined before in other places of our workbook. This means that we can use these ranges inside any function as inputs without manually writing the cell range each time. We can also use them to generate a dynamic array of values. But to work with this feature, you need to first define cell ranges with unique names. Also, there is a shortcut key to use this option quickly which we will see later in this article.
3 Ideal Examples to Use Paste Name Dialog Box in Excel
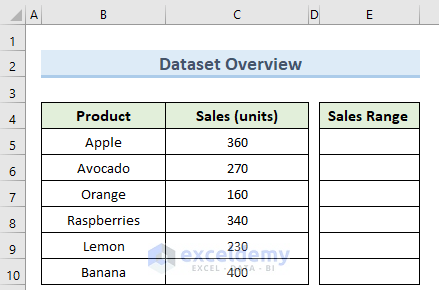
We have taken a concise dataset to explain the steps clearly. The dataset has approximately 7 rows and 3 columns. Initially, we are keeping all the cells in General format. For all the datasets, we have 3 unique columns which are Product, Sales (units), and Sales Range. Although we may vary the number of columns later on if that is needed.
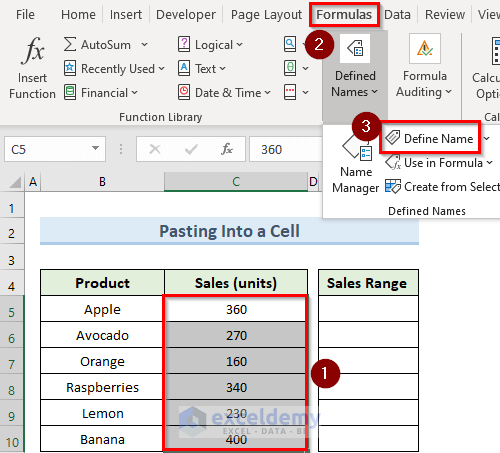
1. Pasting Into a Cell
In this first method, we will see how to use the paste name dialog box in Excel to paste a named range in a specific cell. Follow the steps below to do this.
Steps:
- First, select cells C5 to C10 and click on Define Name under the Formulas tab at the top of the screen.
- Next, in the New Name window, type the Name as Sales_units and click OK.

- Now, select cell E5 and navigate to the Formulas tab as before.
- Here, click on Paste Names under Use in Formula.

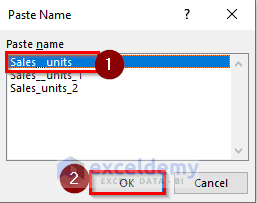
- Next, select Sales_units and click OK.

- Now, this will insert the range as a formula.

- Finally, press the Enter key to get the range values.

Read More: Excel VBA: Copy Cell Value and Paste to Another Cell
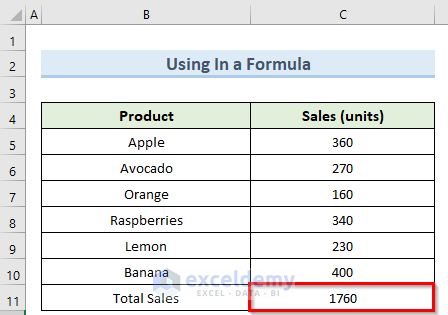
2. Using Paste Name Dialog Box in a Formula
Now we will see the process of using the paste name dialog box in excel inside the SUM function. Below are the detailed steps to achieve this.
Steps:
- To begin with, select cell C11 and type in the formula below but do not press Enter.
=SUM()- Then, click on Use in Formula under the Formula tab.
- Now, click on Paste Names.

- Here, select Sales_units and click OK.

- Immediately, this will insert the range inside the formula.

- Now, simply press Enter and this will calculate the sum using the range name.
Read More: How to Enable Paste Option in Excel (3 Suitable Ways)
Similar Readings
- Formula to Copy and Paste Values in Excel (5 Examples)
- How to Paste Link and Transpose in Excel (8 Quick Ways)
- Copy and Paste in Excel Using VBA (7 Methods)
- Copy and Paste Without Changing the Format in Excel
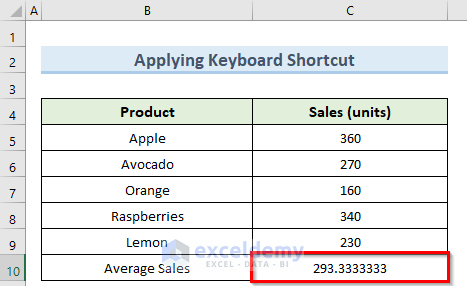
3. Applying Keyboard Shortcut
There is also a useful shortcut that you can use to open up the paste name dialog box in excel. Let us see how we can do this.
Steps:
- To start with, insert the following formula in cell C10 but do not press Enter as before:
=AVERAGE()
- Next, press F3 on the keyboard to open up the Paste Name window which we saw before.
- Here, select Sales_units and click OK.
- As a result, this will insert the range inside the formula as input.
- Now press Enter.

- Consequently, this will perform the average calculation taking the range as input.
Read More: All Paste Options in Excel with Time Saving Shortcuts
How to Use Paste List Button in Excel
The Paste List button which is inside the paste name dialog box in excel can give us the list and description of all the available named ranges. Follow the steps below to apply this.
Steps:
- For this, select cell E5 and click on Use in Formula under the Formulas tab.
- Then, click on Paste Names.

- Now in the new window, click on Paste List.

- As a result, this will give you a list of the available ranges and their description.

Read More: How to Paste From Clipboard to Excel Using VBA
Conclusion
I hope that you were able to apply the methods that I showed in this tutorial on how to use the paste name dialog box in excel. As you can see, there are quite a few ways to achieve this. So wisely choose the method that suits your situation best. If you get stuck in any of the steps, I recommend going through them a few times to clear up any confusion. Lastly, to learn more excel techniques, follow our ExcelDemy website. If you have any queries, please let me know in the comments.
Related Articles
- How to Copy and Paste in Excel and Keep Cell Size (7 Examples)
- Copy and Paste Values to Next Empty Row with Excel VBA (3 Examples)
- How to Copy and Paste in Excel without Formulas (7 Easy Tricks)
- Disable Copy and Paste in Excel without Macros (With 2 Criteria)
- Use VBA to Paste Values Only with No Formatting in Excel
- How to Copy Only Visible Cells in Excel
- Copy and Paste is Not Working in Excel (9 Reasons & Solutions)
<< Go Back to Excel Formulas Names | Excel Formulas | Learn Excel
Get FREE Advanced Excel Exercises with Solutions!
