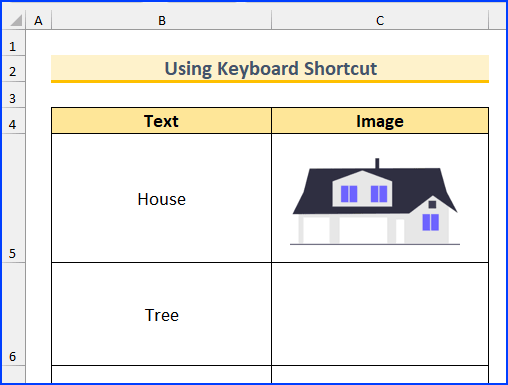
Method 1 – Using a Keyboard Shortcut
Below are the blank cells where we will paste the image from the clipboard. We have also resized the cell size to better fit the images.

Steps:
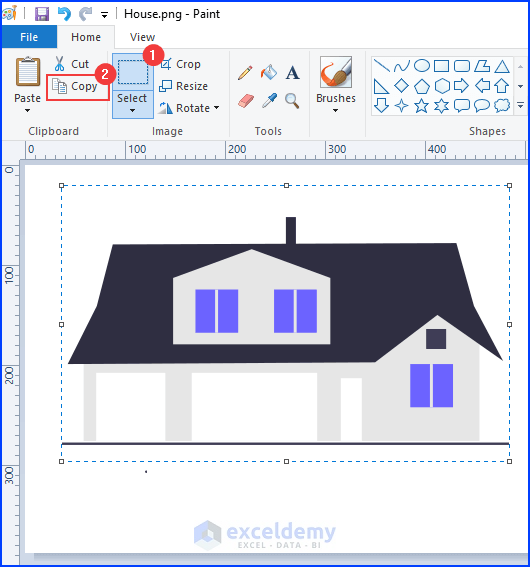
- Copy an image to keep it in the clipboard. We opened our image in the Microsoft Paint application and copied that image.
- Press Ctrl+V to paste that image into the Excel sheet.
- Resize the image if it is too large or too small.
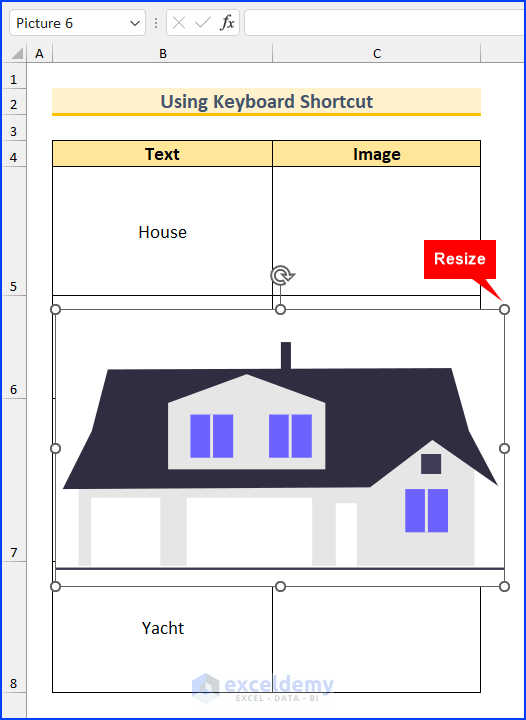
- Move that image into cell C5.
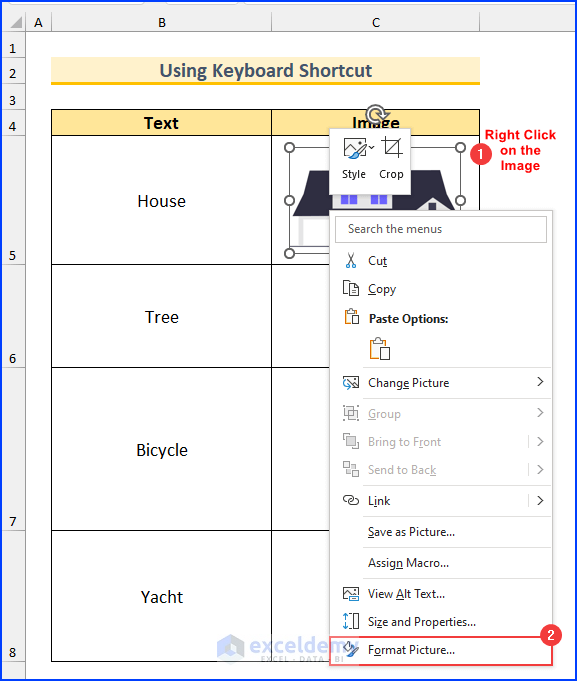
- Rght-click on that image and click on Format Picture….
- A dialog box will pop up.
- Select Size & Properties.
- Select “Move and size with cells” from the Properties section.

- Whenever we resize the cells the image will resize too. See the following animated image.
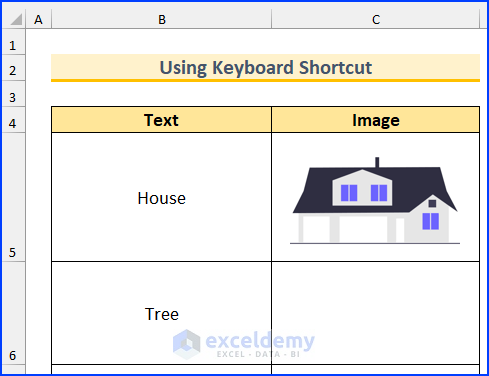
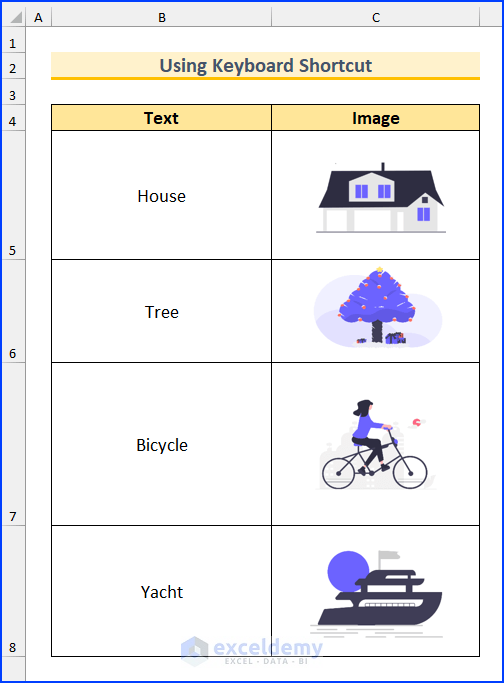
- Repeat this process for the rest of the cells, and the final step should look like this.
Method 2 – Applying VBA to Paste an Image into an Excel Cell
Steps:
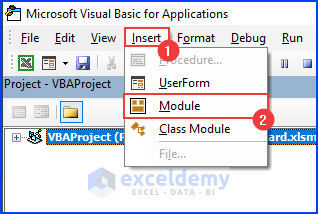
- Press ALT+F11 to bring up the VBA window.
- From the Insert tab, select Module.
- Enter the following code in that window:
Option Explicit
Sub Paste_Image_from_Clipboard()
Dim Our_Object As New MSForms.DataObject
Dim Our_Clipboard_Data As MSForms.DataObject
Our_Object.GetFromClipboard
On Error GoTo Error_Solution
Our_Clipboard_Data = Our_Object.GetText
On Error GoTo 0
Error_Solution:
If Err = -2147221404 Then
    Err = 0
    Sheet2.Paste Destination:=Sheet2.Range("C7"), Link:=False
    Else
        'Do Nothing for This
    End If
Call Align_Images
End Sub

Private Sub Align_Images()
    Dim xShape As Shape
    For Each xShape In ActiveSheet.Shapes
       If xShape.Type = msoPicture _
       And Not Intersect(xShape.TopLeftCell, _
       ActiveSheet.Range("C5:C10")) Is Nothing Then
           With xShape
               .Top = .TopLeftCell.Top + (.TopLeftCell.Height - .Height) / 2
               .Left = .TopLeftCell.Left + (.TopLeftCell.Width - .Width) / 2
           End With
       End If
    Next
End Sub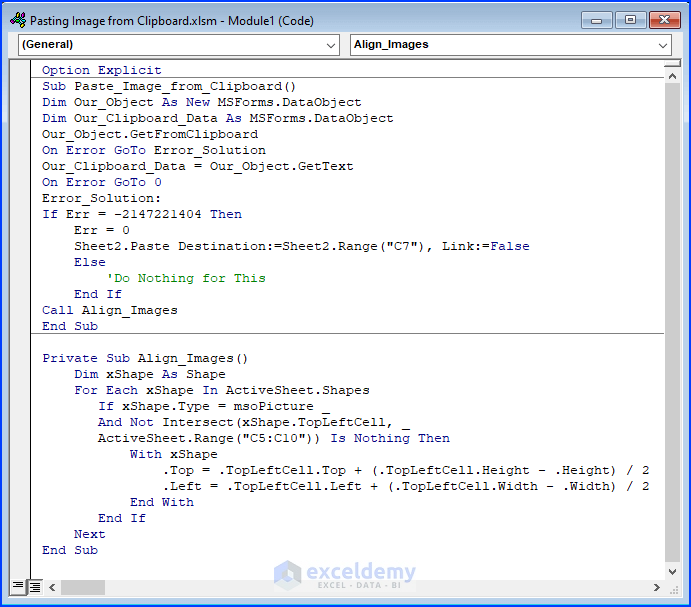
VBA Code Breakdown
Option Explicit
Sub Paste_Image_from_Clipboard()
Dim Our_Object As New MSForms.DataObject
Dim Our_Clipboard_Data As MSForms.DataObject- We are calling our Subroutine “Paste_Image_from_Clipboard” and declaring the variable types.
Our_Object.GetFromClipboard
On Error GoTo Error_Solution
Our_Clipboard_Data = Our_Object.GetText
On Error GoTo 0- We are retrieving the clipboard image data and setting the error handler.
Error_Solution:
If Err = -2147221404 Then
    Err = 0
    Sheet2.Paste Destination:=Sheet2.Range("C7"), Link:=False
    Else
        'Do Nothing for This
End If- We neglect the errors. Moreover, we set the output cell range as C7.
Call Align_Images
End Sub- We are calling another Subroutine “Align_Images”, which will align the images and end this Subroutine.
Private Sub Align_Images()
Dim xShape As Shape- We create another Subroutine and set its variable type. Here, we have created this as a private sub because we will execute this Subroutine only from the first Sub.
For Each xShape In ActiveSheet.Shapes
       If xShape.Type = msoPicture _
       And Not Intersect(xShape.TopLeftCell, _
       ActiveSheet.Range("C5:C10")) Is Nothing Then
           With xShape
               .Top = .TopLeftCell.Top + (.TopLeftCell.Height - .Height) / 2
               .Left = .TopLeftCell.Left + (.TopLeftCell.Width - .Width) / 2
           End With
       End If
    Next
End Sub- Then, we create a For Each Next loop to go through the shapes from the clipboard. We resize the shapes using the With statement. Finally, we end this Subroutine.
- Copy this image from the sheet by pressing Ctrl+C.
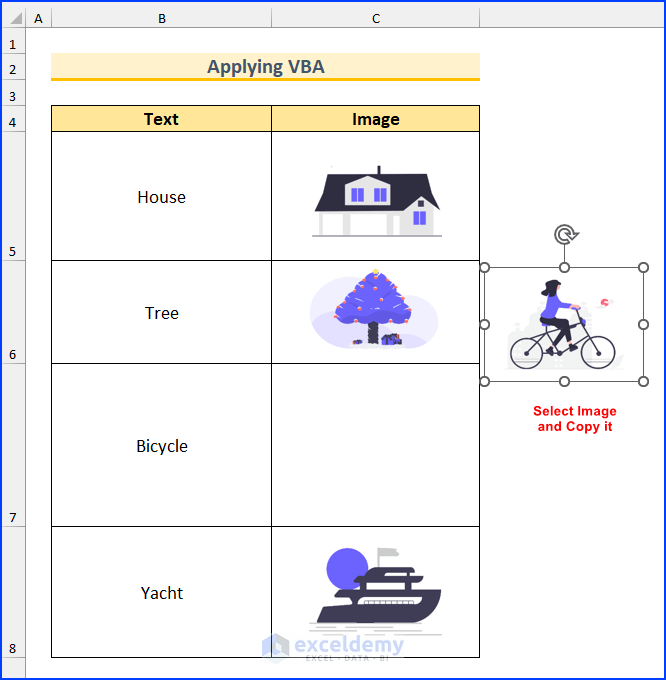
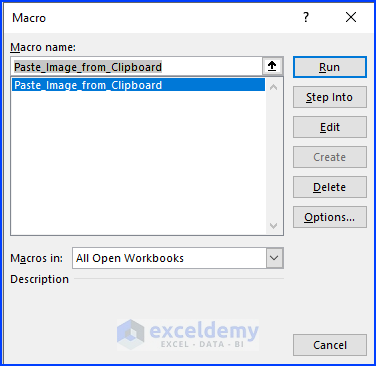
- Press Alt+F8 to bring up the Macro window.
- Press Run.
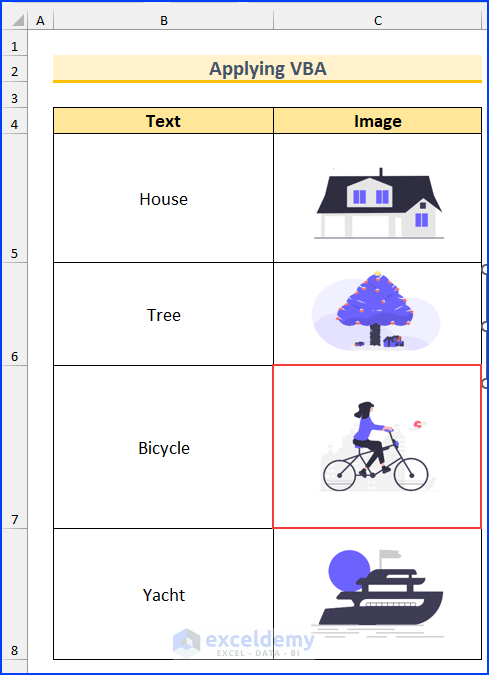
- It will execute the code, and we will see the image in cell C7. We have shown you yet another way to paste an image into an Excel cell from the clipboard.
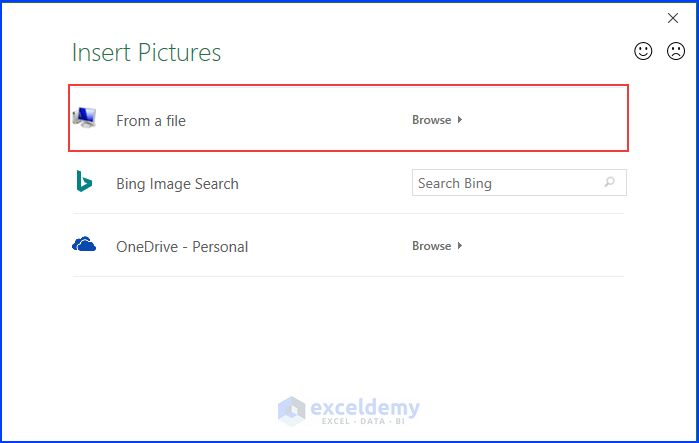
An Easy Way to Insert a Picture in an Excel Cell Background
Steps:
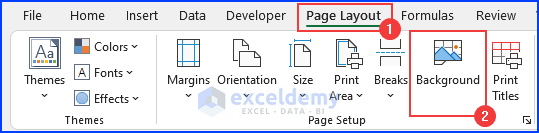
- From the Page Layout tab, select Background.
- The Insert Pictures dialog box will appear.
- Select From a file.
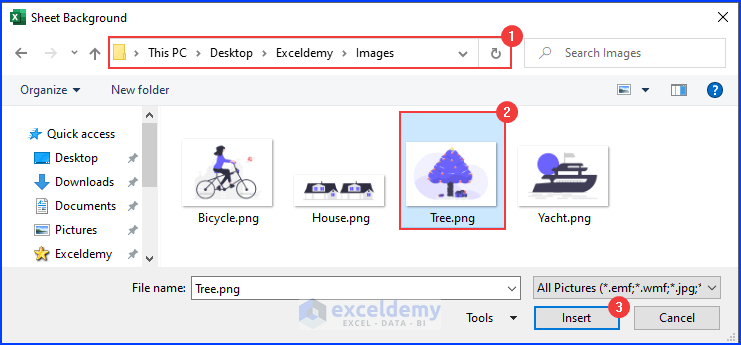
- Another window will pop up.
- Navigate to your picture directory.
- Select the image. We have selected the “Tree.png” image.
- Press Insert.
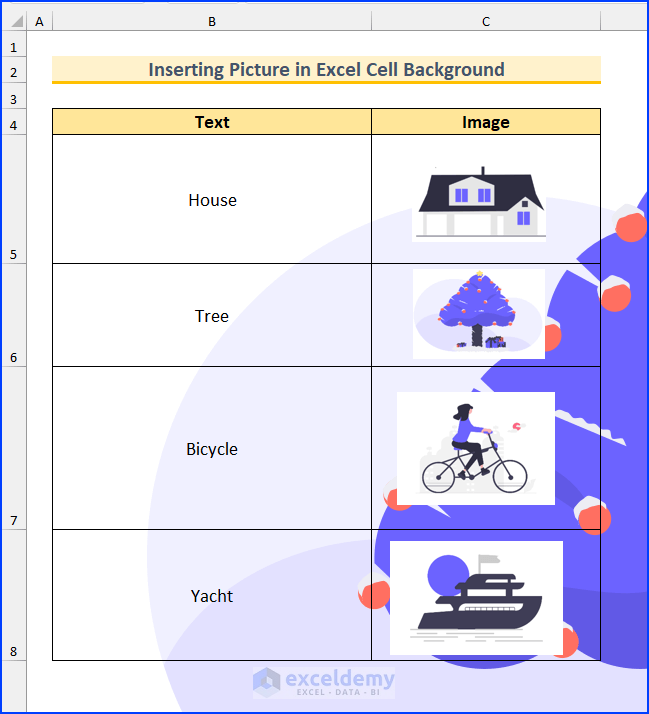
- We will see there is a picture background in the Excel file.
Things to Remember
You cannot directly paste an image into an Excel cell from the clipboard. You need to paste it in the Excel sheet first. Then, you will be able to paste it into a cell. This is a limitation in Excel. Therefore, we have shown you how to complete the task.
Download the Practice Workbook
You can download the Excel file from the link below.
Related Articles
<< Go Back to Copy Paste in Excel | Learn Excel
Get FREE Advanced Excel Exercises with Solutions!
