In this article, we will demonstrate five effective approaches to using a macro to delete rows based on various criteria in Excel.
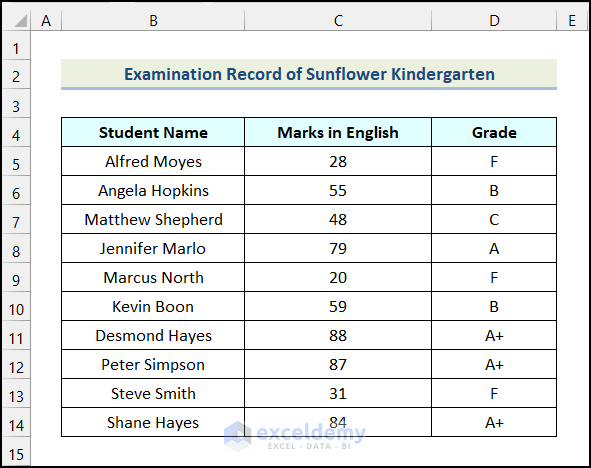
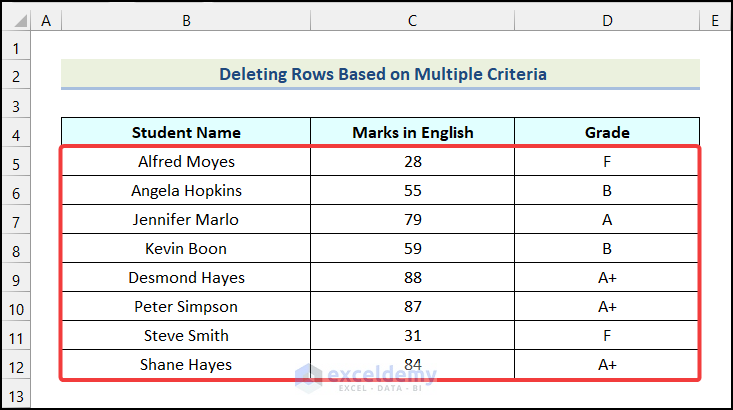
We’ll use the dataset below of some students, their marks and grades to illustrate our methods.
This article was prepared using Microsoft Excel 365 version.
Method 1 – Using Less Than or Equal to Criteria
In the first method, we will use the less than or equal to criteria to filter our dataset. For example, suppose we want to delete the rows where a student got marks less than or equal to 40.
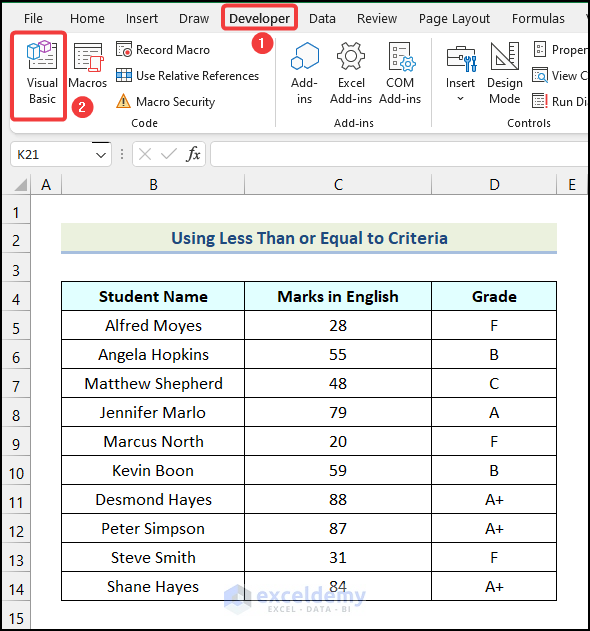
- Go to the Developer tab on the Ribbon.
- Choose the Visual Basic option from the Code group.
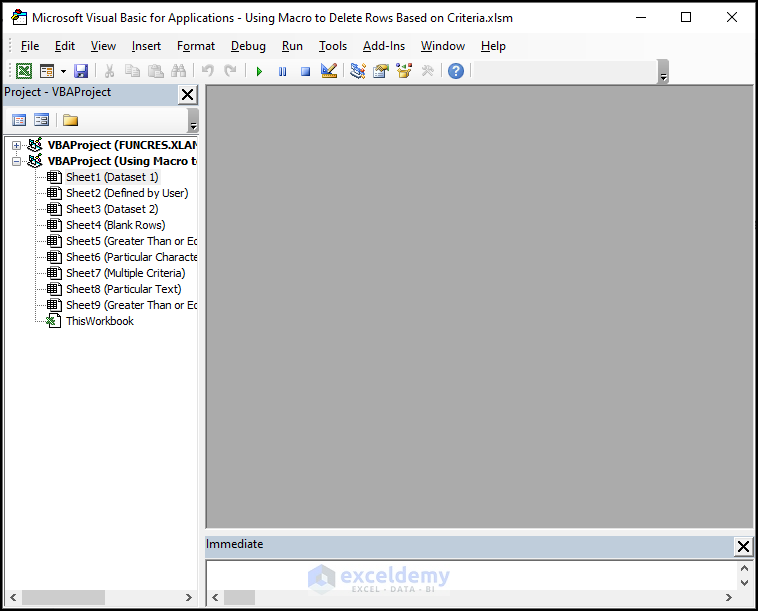
The Microsoft Visual Basic for Applications window will open.
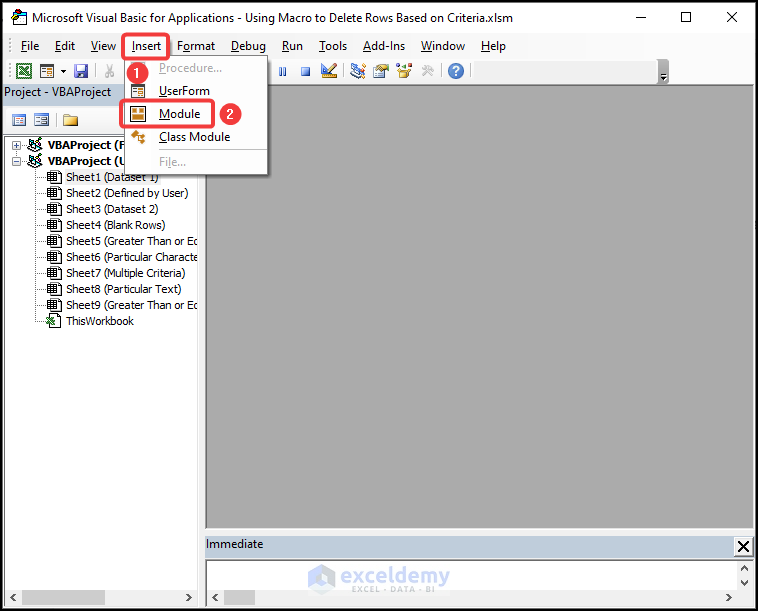
- Go to the Insert tab.
- Select the Module option from the drop-down.
Step 2 – Write and Save VBA Code
- Enter the following code in the newly created Module:
Sub Delete_Rows()
For i = 1 To Selection.Rows.Count
For j = 1 To Selection.Rows.Count
If Selection.Cells(j, 2) <= 40 Then
Rows(j + 3).EntireRow.Delete
End If
Next j
Next i
End Sub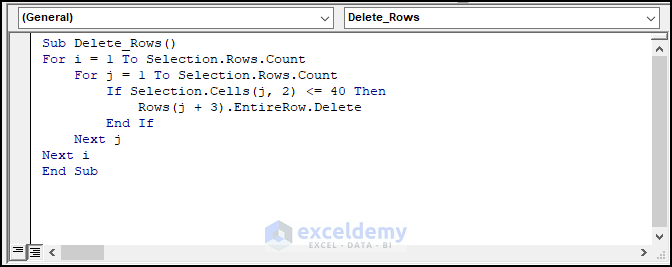
Code Breakdown
- We create a sub-procedure named Delete_Rows.
- Then we initiate two nested For Next loops.
- In the 4th line of the code, we use Cells(j,2) because 2 is the column number in our data set which holds the criteria (Marks in English).
- <= 40 is our given condition (Who received marks less than 40).
- We use an IF statement to check whether the condition is true or not for different values of j.
- In the 5th line, we use Rows(j+3) because 3 is the number of rows in the worksheet just before the first row of the data set (with the Column Headers).
- We end the IF statement.
- Then, we close both For Next loops.
- Finally, we end the sub-procedure.
- Click the Save button.
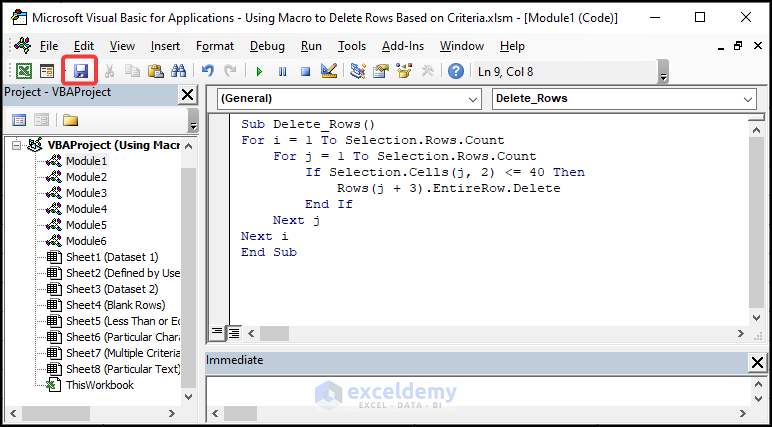
Step 3 – Run Code to Delete Rows Based on Criteria
- Apply the keyboard shortcut ALT + F11 to return to the worksheet.
- Select the entire dataset.
- Use the keyboard shortcut ALT + F8 to open the Macro dialog box.
- Select Delete_Rows.
- Click on Run.
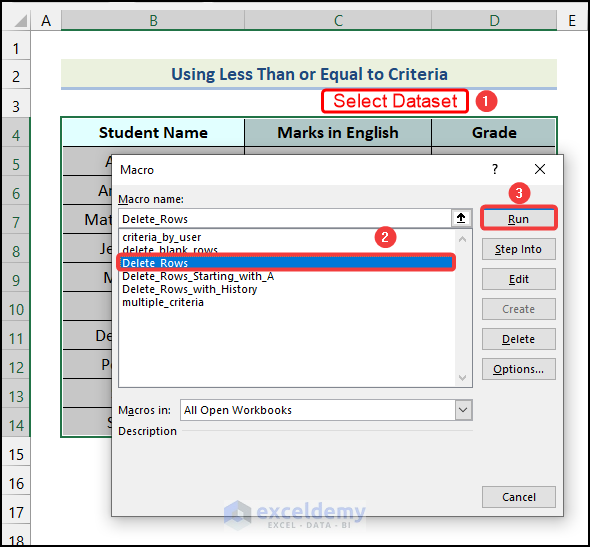
The rows in which the value in the Marks in English column is less than or equal to 40 will be deleted.

Method 2 – Starting with a Particular Character
Now, we will delete rows in Excel based on a particular starting character using a macro. For example, let’s delete the rows that have Student Names starting with “A”.
Steps:
- Use the instructions in Step 1 of the first method to create a new Module.
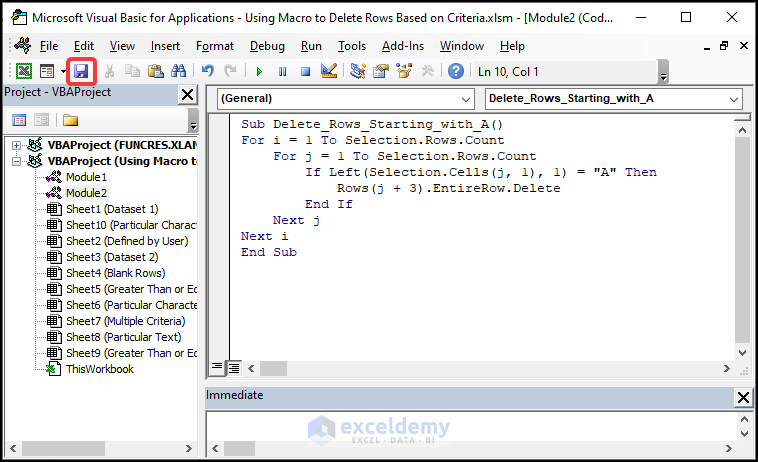
- Enter the code below in the newly created Module:
Sub Delete_Rows_Starting_with_A()
For i = 1 To Selection.Rows.Count
For j = 1 To Selection.Rows.Count
If Left(Selection.Cells(j, 1), 1) = "A" Then
Rows(j + 3).EntireRow.Delete
End If
Next j
Next i
End Sub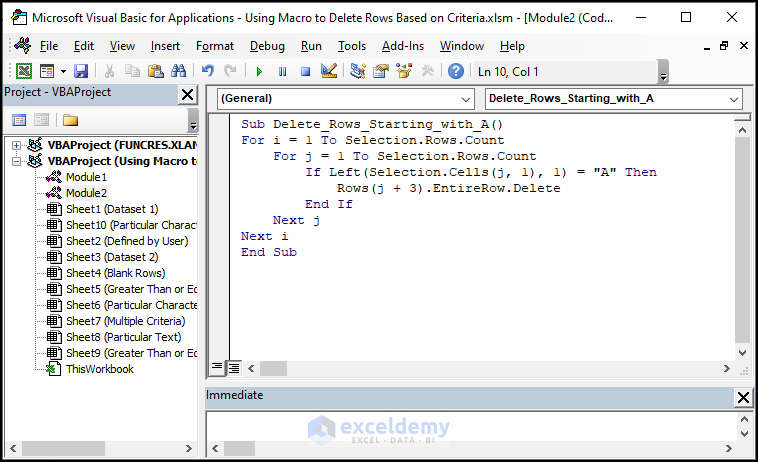
Code Breakdown
- We create a sub-procedure named Delete_Rows_Starting_with_A.
- Then we initiate two nested For…Next statements.
- We use an IF statement to check whether the condition is satisfied for different values of j.
- In the condition, the Left function is used to extract the first letter of the cell (j,1).
- We delete the rows containing names starting with “A”.
- We end the IF statement.
- Then we close both For Next loops.
- And we end the sub-procedure.
- Click on the Save button.
- Use the keyboard shortcut ALT + F11 to return to the worksheet.
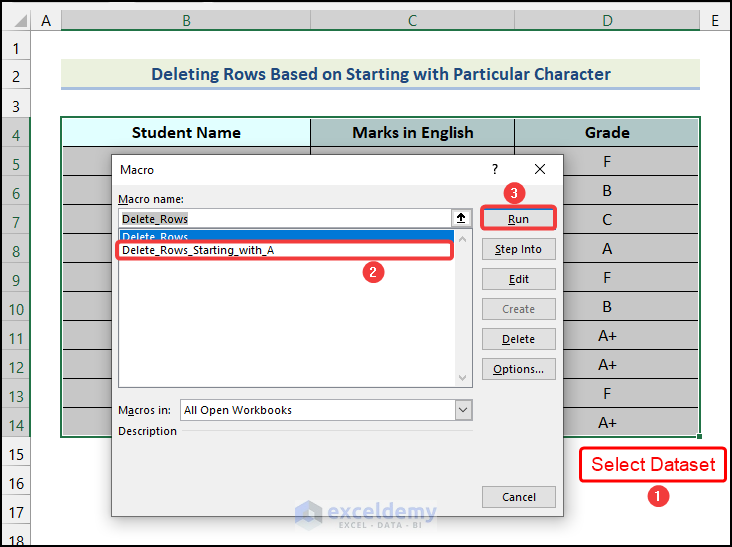
- Select the entire dataset.
- Use the keyboard shortcut ALT + F8 to open the Macro dialog box.
- Select Delete_Rows_Starting_with_A.
- Click on Run.
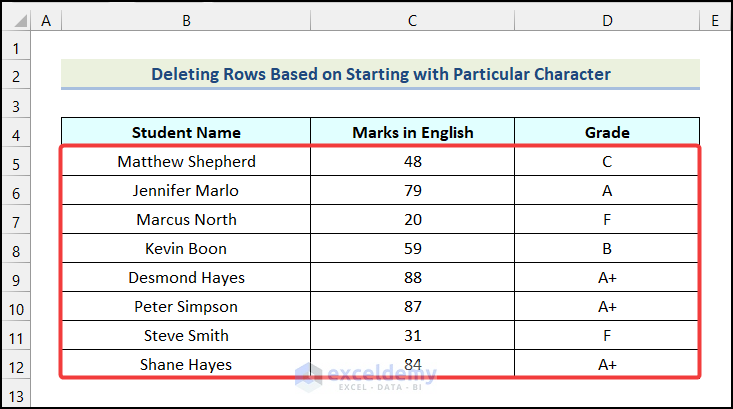
The rows that have cells with “A” as their starting character in the Student Name column will be deleted.
Method 3 – Based on Particular Text
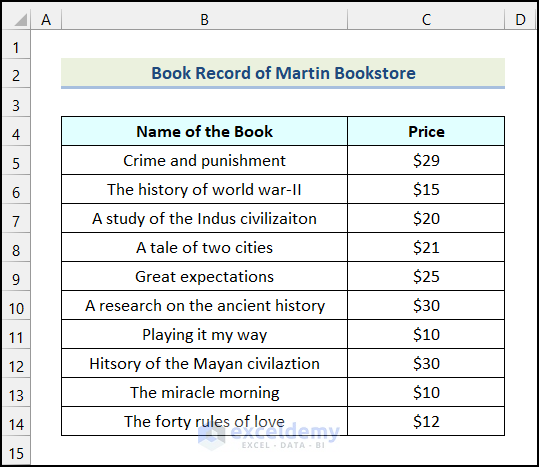
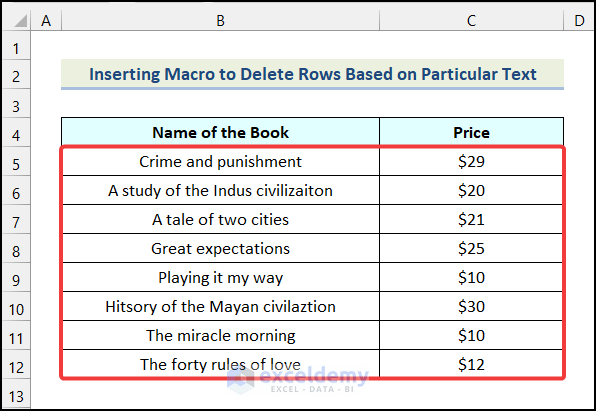
In this example, we will delete rows in Excel based on a particular text using a macro. Say we have the Book Record of Martin Bookstore below as our dataset. Let’s delete the rows that have the word “History” in the Name of the Book.
Steps:
- Use the instructions in Step 1 of the first method to create a new Module.
- Enter the code below in the newly created Module:
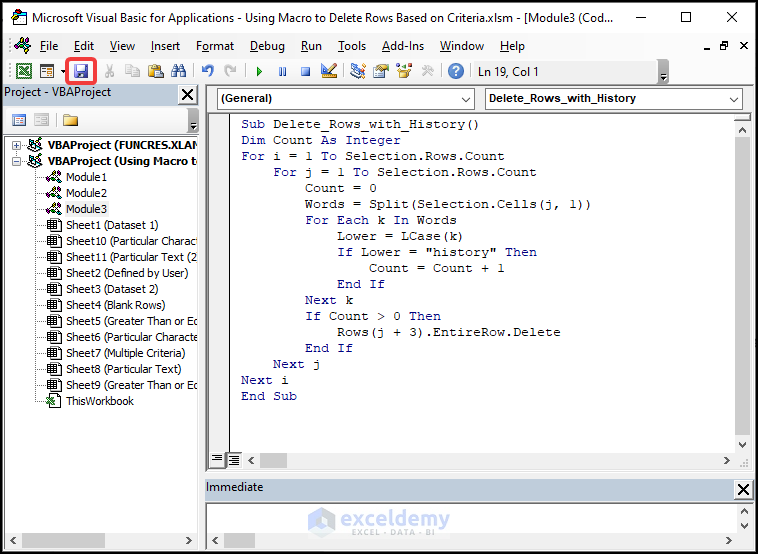
Sub Delete_Rows_with_History()
Dim Count As Integer
For i = 1 To Selection.Rows.Count
For j = 1 To Selection.Rows.Count
Count = 0
Words = Split(Selection.Cells(j, 1))
For Each k In Words
Lower = LCase(k)
If Lower = "history" Then
Count = Count + 1
End If
Next k
If Count > 0 Then
Rows(j + 3).EntireRow.Delete
End If
Next j
Next i
End Sub
Code Breakdown
- We create a sub-procedure called Delete_Rows_with_History.
- We introduce a variable named Count as Integer.
- In the 6th line, we use Cells(j,1), because the criterion is in the 1st column (Name of the Book) of the data set. If it is in the second column use Cells (j,2), for the 3rd column use Cells(j,3), and so on. To delete rows with a word other than “history”, replace it in the 6th line. Also, always keep the search word in the lowercase form in the code.
- We end the IF statement.
- We close both For Next loops.
- And finally, end the sub-procedure.
- Click on the Save button.
- Use the keyboard shortcut ALT + F11 to return to the worksheet.
- Select the entire dataset.
- Apply the keyboard shortcut ALT + F8 to open the Macro dialog box.
- Select Delete_Rows_with_History.
- Click on Run.

The output is as follows:
Read More: Excel VBA to Delete Row If Cell Contains Partial Text
Method 4 – Based on Multiple Criteria
Now we will implement a VBA Macro to delete rows based on multiple criteria. We’ll use the And function between the two conditions. Both criteria should be satisfied to delete a particular row.
Steps:
- Use the instructions in Step 1 of the first method to create a new Module.
- Enter the code below in the newly created Module:
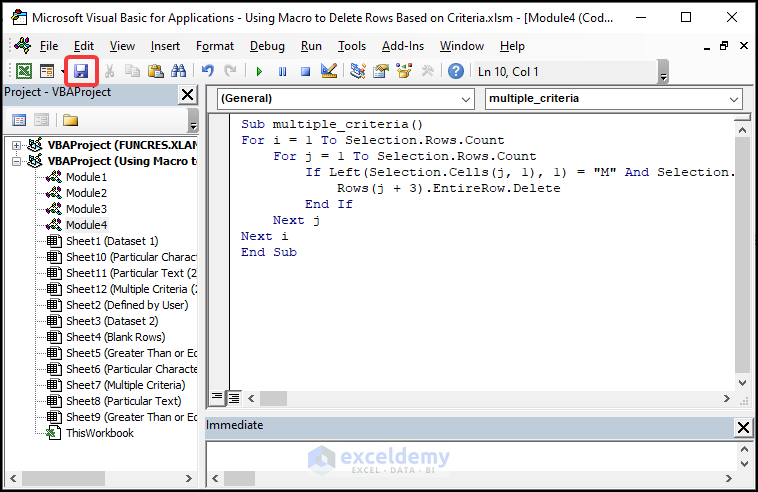
Sub multiple_criteria()
For i = 1 To Selection.Rows.Count
For j = 1 To Selection.Rows.Count
If Left(Selection.Cells(j, 1), 1) = "M" And Selection.Cells(j, 2) < 50 Then
Rows(j + 3).EntireRow.Delete
End If
Next j
Next i
End Sub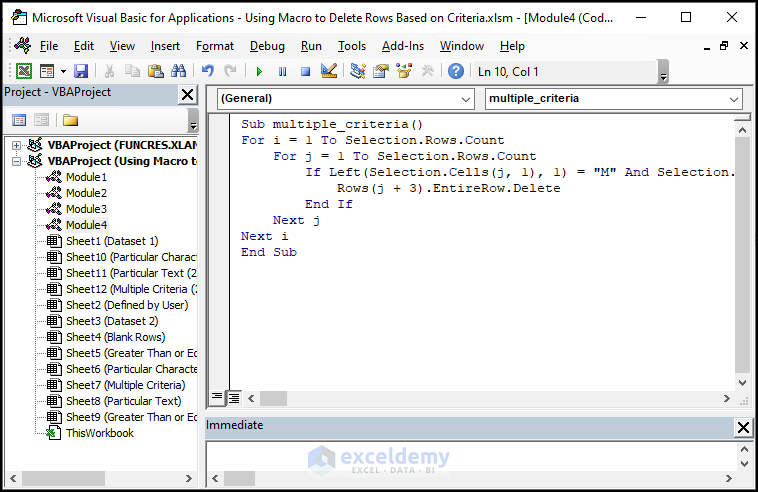
Code Breakdown
- We create a sub-procedure named multiple_criteria.
- We initiate two nested For…Next loops.
- We use an IF statement to check whether the given conditions are satisfied or not for various values of j. As the And statement is used, both conditions must be satisfied at the same time.
- We delete the rows with names starting with “M” and marks less than 50.
- We end the IF statement.
- We close both For…Next loops.
- And end the sub-procedure.
- Click on the Save button.
- Use the keyboard shortcut ALT + F11 to return to the worksheet.
- Select the entire dataset.
- Use the keyboard shortcut ALT + F8 to open the Macro dialog box.
- Select multiple_criteria.
- Click on Run.
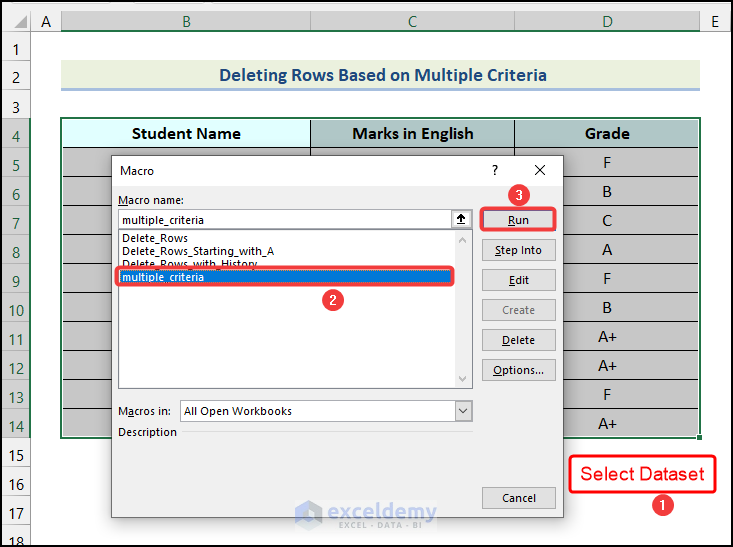
The rows that have Student Name starting with the letter “M” and Marks in English that are less than 50 will be deleted.
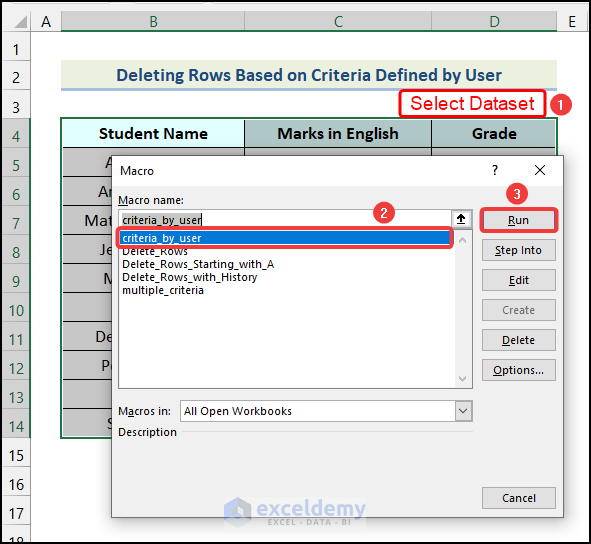
Method 5 – Based on Criteria Defined by User
In the previous examples, we used pre-specified criteria in the VBA code. Now, we will take input from the user and use it as the criteria.
Steps:
- Use the instructions in Step 1 of the first method to create a new Module.
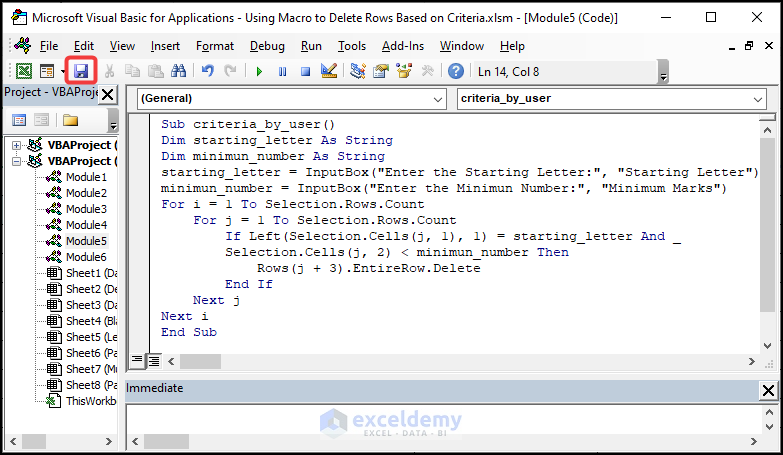
- Enter the code below in the newly created Module:
Sub criteria_by_user()
Dim starting_letter As String
Dim minimun_number As String
starting_letter = InputBox("Enter the Starting Letter:", "Starting Letter")
minimun_number = InputBox("Enter the Minimun Number:", "Minimum Marks")
For i = 1 To Selection.Rows.Count
For j = 1 To Selection.Rows.Count
If Left(Selection.Cells(j, 1), 1) = starting_letter And _
Selection.Cells(j, 2) < minimun_number Then
Rows(j + 3).EntireRow.Delete
End If
Next j
Next i
End Sub
Code Breakdown
- We create a sub-procedure named criteria_by_user.
- We introduce two variables named starting_letter and minimum_number.
- We use two InputBox functions to get inputs from the user, and then assign these values to the two variables that we declared earlier.
- We initiate two nested For…Next statements.
- We use an IF…Then statement to check whether the given conditions are satisfied or not for various values of j. As the And function is used, both conditions must be satisfied at the same time.
- We delete the rows with names starting with “M” and marks less than 50.
- We end the IF statement.
- We close both For Next loops.
- We end the sub-procedure.
- Click on the Save button.
- Use the keyboard shortcut ALT + F11 to return to the worksheet.
- Select the entire dataset.
- Use the keyboard shortcut ALT + F8 to open the Macro dialog box.
- Select criteria_by_user.
- Click on Run.
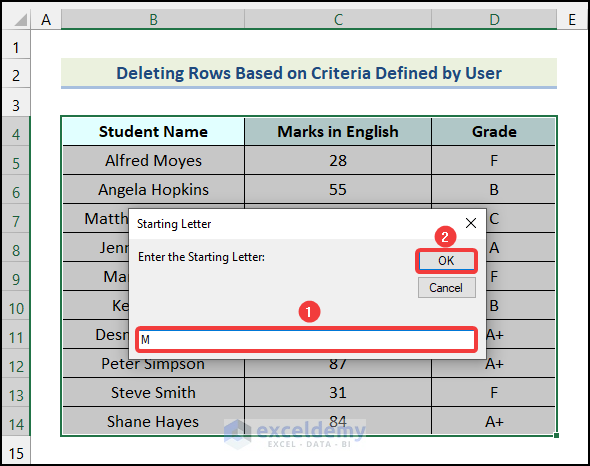
The Starting Letter dialog box will pop up.
- Enter the starting letter for the Student Name column. In this case, we used the letter “M”.
- Click OK.
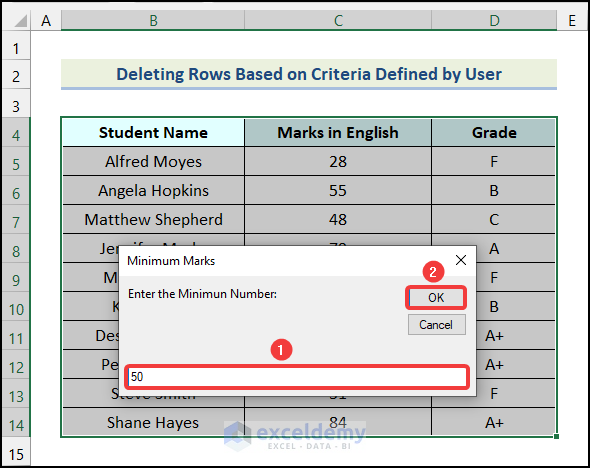
The Minimum Marks dialog box will open.
- Insert the minimum number for the Marks in English column. Here, we inserted 50.
- Click OK.
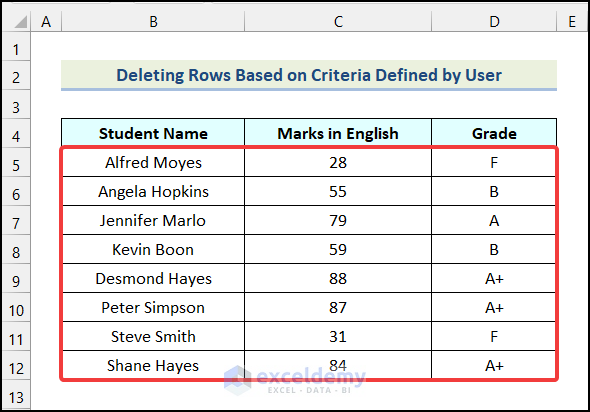
The output is as follows:
Read More: How to Delete Row Using Macro If Cell Contains 0 in Excel
How to Delete Blank Rows Using VBA in Excel?
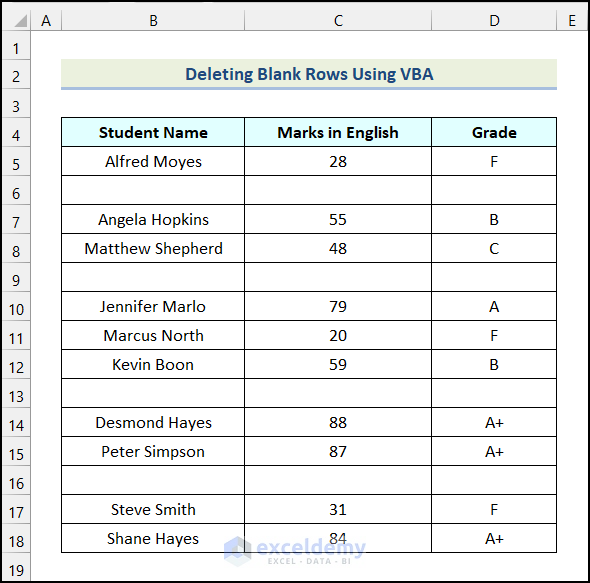
While working in Excel, we often deal with datasets that have a lot of blank rows. Deleting these blank rows manually is a tiresome and time-consuming task. But we can use a VBA code to delete blank rows effectively.
For demonstration, we added some blank rows to the dataset used in the first method.
Steps:
- Use the instructions in Step 1 of the first method to create a new Module.
- Enter the code below in the newly created Module:
Sub delete_blank_rows()
Selection.SpecialCells(xlCellTypeBlanks).EntireRow.Delete
End Sub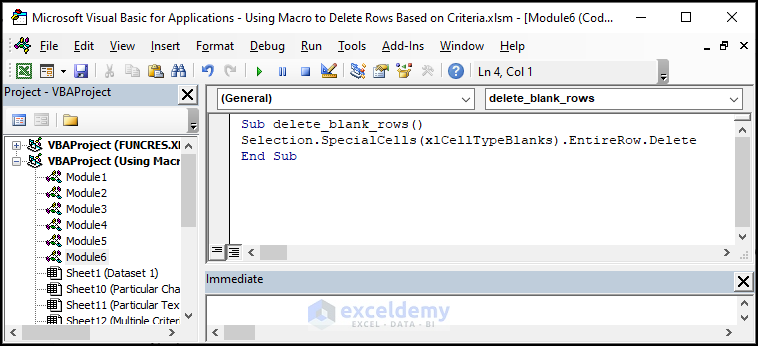
Code Breakdown
- We create a sub-procedure called delete_blank_rows.
- We delete the blank rows from the selected range.
- We end the sub-procedure.
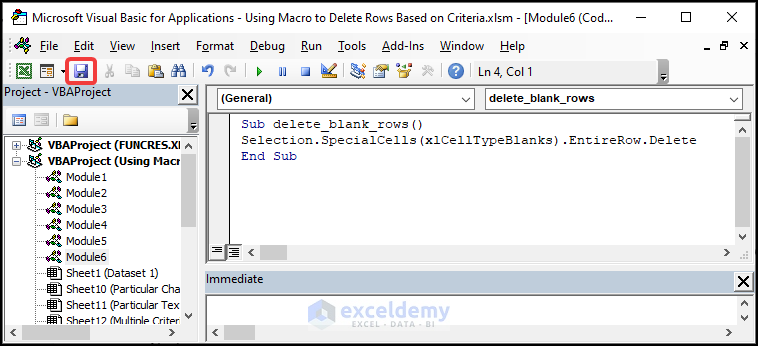
- Click on the Save button.
- Use the keyboard shortcut ALT + F11 to return to the worksheet.
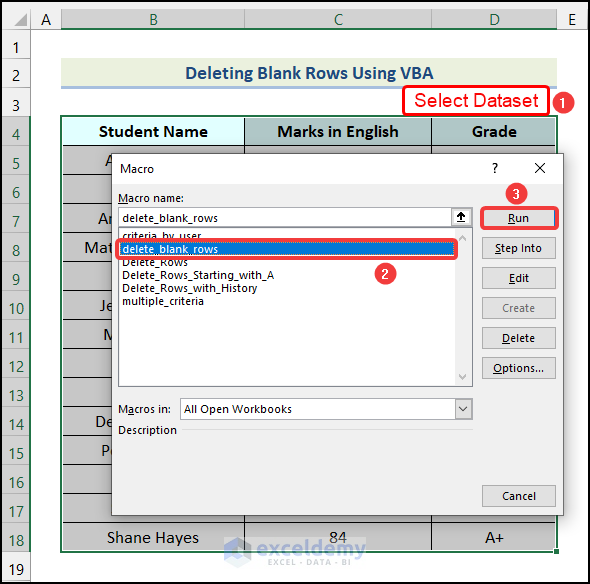
- Select the entire dataset.
- Use the keyboard shortcut ALT + F8 to open the Macro dialog box.
- Select delete_blank_rows .
- Click on Run.
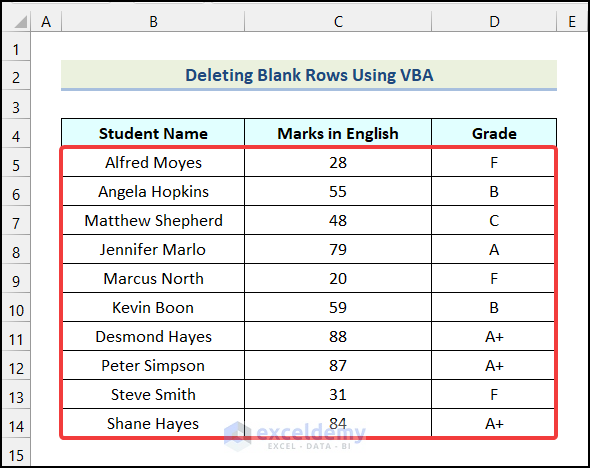
The blank rows will be deleted from the dataset.
Read More: Excel VBA: Delete Row If Cell Is Blank
Download Practice Workbook
Related Articles
- How to Filter and Delete Rows with VBA in Excel
- How to Apply VBA Code to Delete Rows Based on Multiple Cell Value
- How to Apply VBA to Delete Rows with Specific Data in Excel
- How to Use VBA to Delete Empty Rows in Excel


There is a problem with the first set of code (Marks in English).
Once the code starts deleting rows, the rows move up. For example, if cell C5 meets the condition for deleting the row, row 5 gets deleted and row 6 moves up to row 5. What if former row 6 (now in row 5) meets the condition for deletion? It gets skipped – because you’ve already deleted row 5 and the code will now be looking at cell C6.
See https://stackoverflow.com/questions/43454139/excel-vba-deleting-rows-in-a-for-loop-misses-rows
So, you have to work from the bottom up.
Hello Watt,
You’re absolutely right! When deleting rows in a loop from top to bottom, the row numbers shift, causing the loop to skip rows. The best approach is to iterate from the bottom up using For i = lastRow To 1 Step -1.
This ensures that row shifts don’t affect the loop. Thanks for pointing that out and sharing the Stack Overflow link – it’s a great reference for this common issue!
Regards
ExcelDemy