Suppose we have a dataset of a company’s Product Name and the Remaining Stock for the products. Let’s insert a digital signature, using 3 different methods.

Method 1 – Inserting a Signature Line
We can insert a digital signature by using the Signature Line option.
Steps:
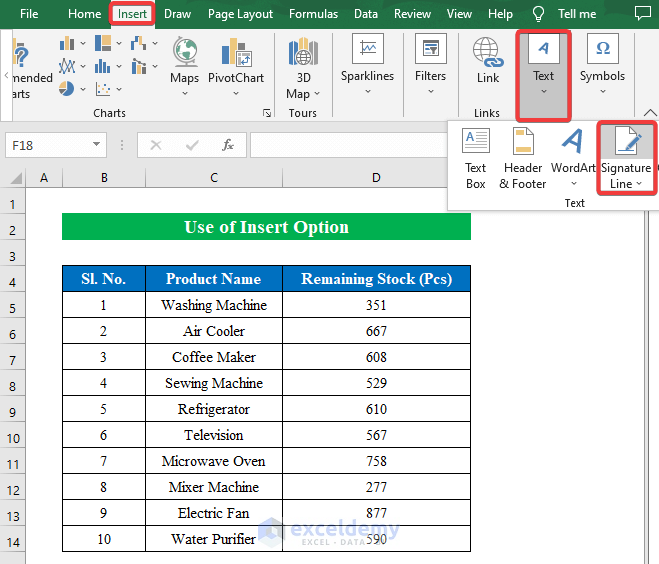
- Click the “Text” option on the “Insert” tab.
- Click “Signature Line”.
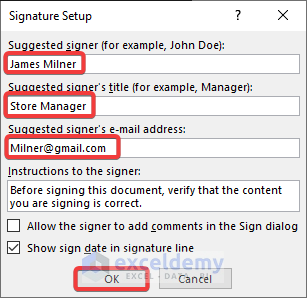
A new window will appear named “Signature Setup”.
- Provide a name in the “Suggested signer” box.
- Enter a title and e-mail address in the corresponding boxes.
- Click OK to continue.
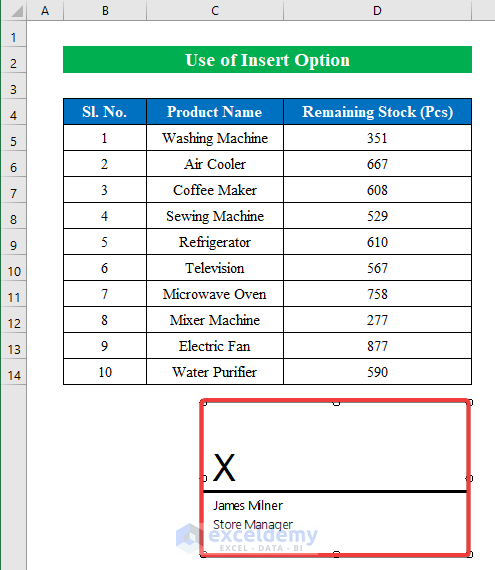
A signature box is placed in our worksheet. Let’s add our desired signature in the place of “X”.
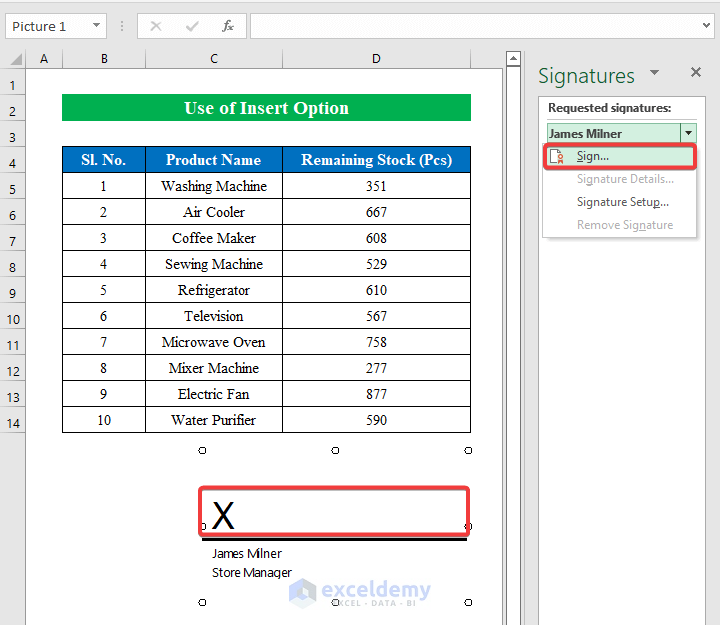
- Select the signature box, and from the right pane click the “Sign” option from the drop-down list.
We have successfully inserted a digital signature in our Excel worksheet.
Method 2 – Using the Draw Feature
You can also draw your own signature.
Steps:
- Go to the “Draw” tab and select a suitable “Thickness” and “Color” for the pen.
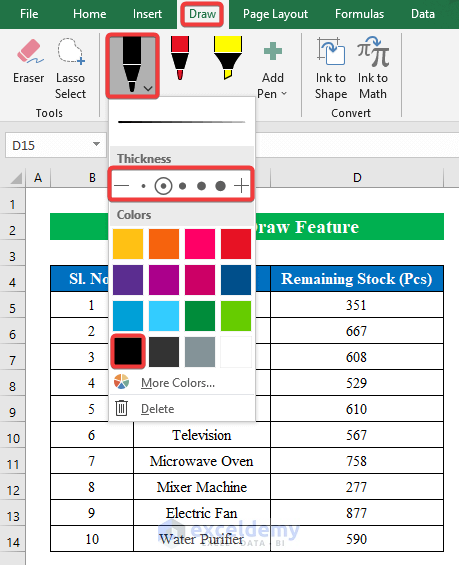
- Draw your own customized signature on the worksheet.
A digital signature is inserted into the worksheet.

This may qualify as a handwritten signature since it was rendered using a pen!
Read More: How to Protect Excel Sheet from Deleting
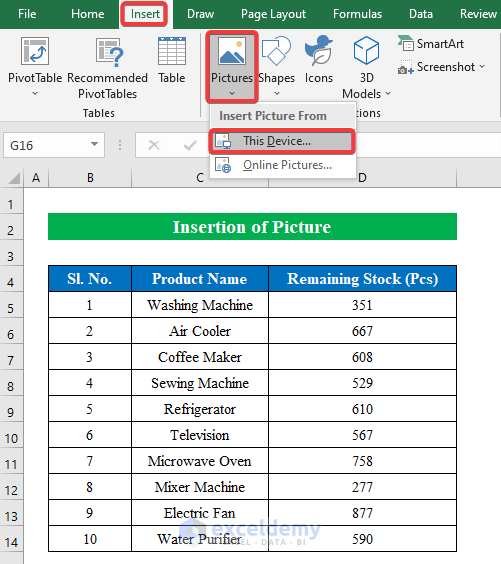
Method 3 – Insert a Picture of a Handwritten Signature
We can add a handwritten signature from a scanned copy or saved image.
Steps:
- Open the workbook, and choose “This Device” from the “Pictures” option on the “Insert” tab.
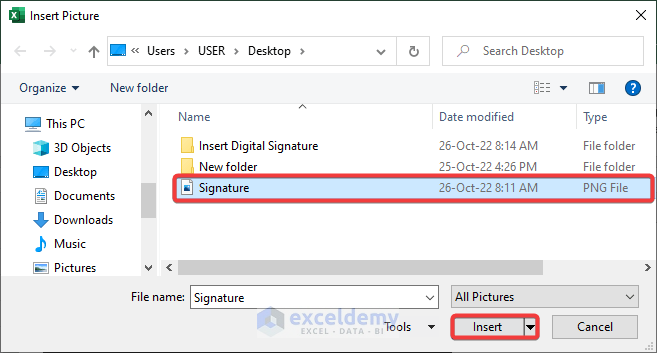
- Select an image file from your storage and click “Insert”.
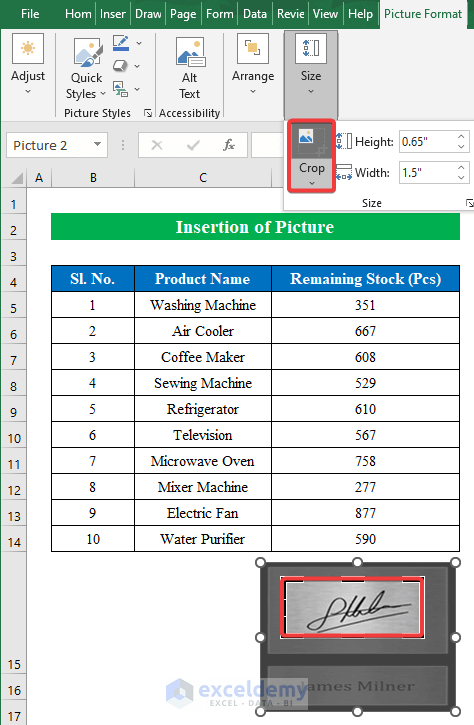
- After the image is inserted, select it.
- Go to the “Picture Format” tab and click “Crop” from the “Size” group.
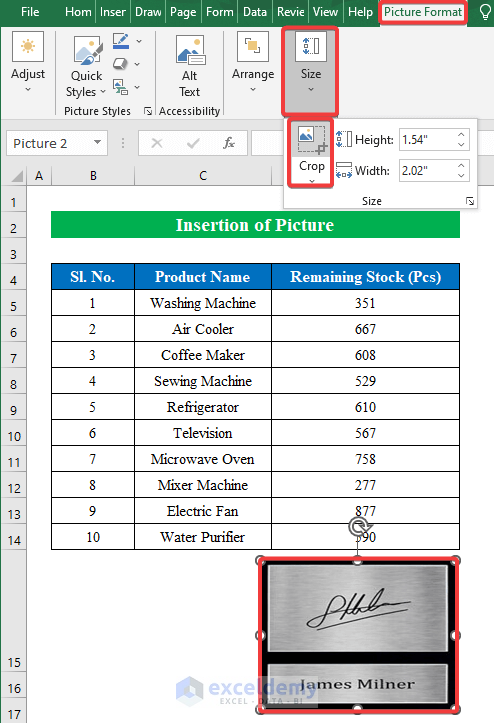
- After cropping the image, select the “Crop” option again from the list.
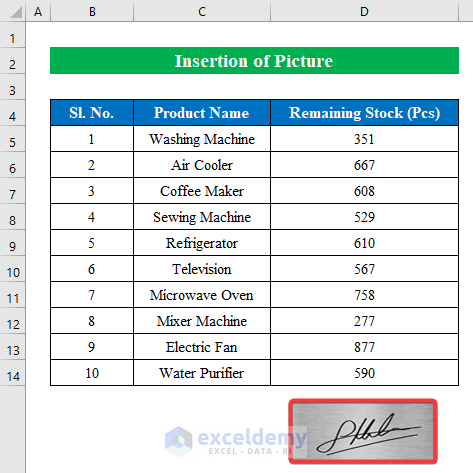
We have successfully inserted a digital signature in Excel.
Things to Remember
- You can also add an invisible signature from the “Protect Workbook” feature. Go to File > Info > Protect Workbook > Add a Digital Signature. This invisible signature will be visible after the completion of the Microsoft signing certificate.
- In order to access the “Draw” feature, go to File > Options > Customize Ribbon. From the right pane tickthe “Draw” option.
Download Practice Workbook
Related Articles
- Protect Excel Sheet but Allow Data Entry
- How to Protect Excel Sheet from Editing
- How to Protect Excel Sheet from Copy-Paste
<< Go Back to Protect Excel Sheet | Excel Protect | Learn Excel
Get FREE Advanced Excel Exercises with Solutions!
