Method 1 – Use Password to Protect Excel Sheet from Deleting
Steps:
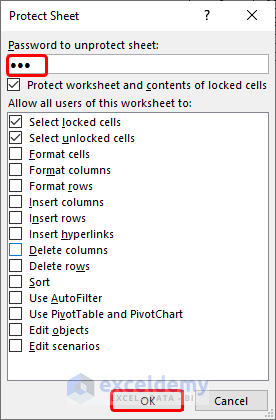
- From the “Home” ribbon click on “Protect Sheet”.

- A new window will appear asking for a password to protect.
- In the “Password to unprotect sheet” provide a password of your choice and press OK to continue.
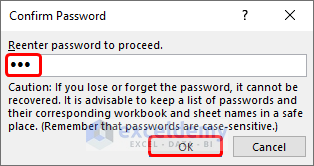
- Another window will open asking for the confirmation of the password.
- Enter the same password you typed in the previous window.
- Click OK.
- This way you can protect your excel sheet from deleting with a password.
Method 2 – Activate Read Only Mode to Protect Excel Sheet from Deleting
Steps:
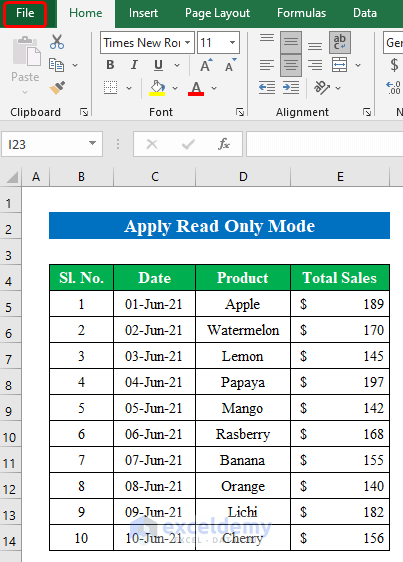
- Click the “File” option from the top of the workbook.
- Select “Info” and choose “Always Open Read-Only” from “Protect Workbook”.
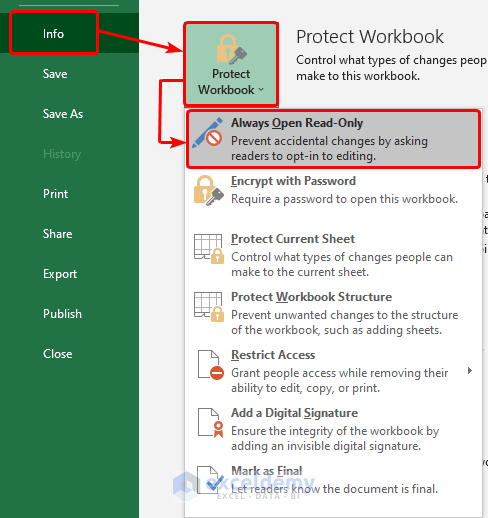
The excel sheet is now in read-only mode and restricts the file from deleting.
Read More: Protect Excel Sheet but Allow Data Entry
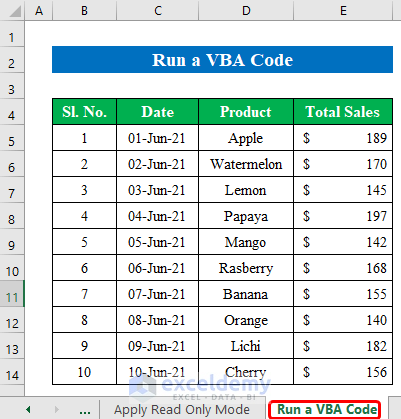
Method 3 – Run a VBA Code to Protect Excel Sheet from Deleting
Step 1:
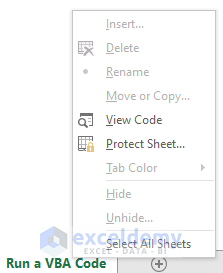
- Place the cursor on the sheet section and right click to open Options.
- Go to “View Code”.
- The VBA window will open.
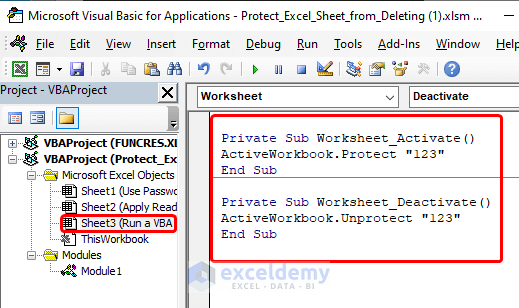
- Choose your sheet and run the following code-
Private Sub Worksheet_Activate()
ActiveWorkbook.Protect "123"
End Sub
Private Sub Worksheet_Deactivate()
ActiveWorkbook.Unprotect "123"
End Sub- I have put the password “123” in the code.
- Press Alt+Q to close the “Microsoft Visual Basic for Applications” window.
Step 2:
- Shift to another worksheet and go back to the previous sheet to active the VBA code.
- Right-click on the sheet tab and you will see the “Delete” option is gray which means you can not delete the sheet.
Things to Remember
- You might also need to unprotect the sheet after protecting the file with a password. To do that go to “Review” and select “Unprotect Sheet”. Enter the password and your sheet will be unprotected.
- You can also protect your whole workbook. Go to File > Info > Protect Workbook Structure > Password > OK.
Download Practice Workbook
Related Articles
- How to Protect Excel Sheet from Copy-Paste
- How to Insert Digital Signature in Excel
- How to Protect Excel Sheet from Editing
<< Go Back to Protect Excel Sheet | Excel Protect | Learn Excel
Get FREE Advanced Excel Exercises with Solutions!

I entered the code but I’m getting errors. I don’t know what to do
Dear AJ,
Thank you for your response.
There are a few potential issues that could prevent this code from working properly-
1. Make sure that the worksheet module contains the correct event handlers. To do this, right-click on the worksheet tab in Excel and select “View Code”. Then, make sure that you have pasted the code into the correct module, which should be named something like “Sheet1 (Sheet1)”.
2. Check that the password used to protect and unprotect the workbook is correct and does not contain any typos. In this case, the password is set to “”123″”, but you can change this to any other password of your choice.
3. Ensure that the workbook is not already protected by another password. If the workbook is already protected, you may need to unprotect it first before running this code.
If none of the above solutions work, you may need to provide more context or information about the specific error message or issue you are encountering when trying to run this code.
Thanks
Wasim Akram
Exceldemy Team
Hi,
There is a query, can I protect a worksheet in the manner where ,(I can add data but after saving the data ,I cant delete the same Until I don’t save .
If I am going to delete the previous data needs password for deletion.
This help to save my data from mistakenly pressing keys or any changes.
Hope anyone will be understand.
Dear vishal saini,
Thank you for your response.
Here I have shared a solution using VBA code to protect a worksheet in the manner you are looking for.
First, opening the VBA window you need to put the following code in the This Workbook section. Don’t forget to change the sheet name according to your sheet.
Next, insert the below code in your worksheet. You can change the password from the marked section.
Finally, you can protect your worksheet in the manner where you can add data and after saving the data you can’t delete the same until you don’t save.
Thanks
Wasim Akram
Exceldemy Team