In Excel time and date is stored as a regular number which is known as date serial number. But we can use the formatting features of Excel to display time in different time formats. In this article, I’ll show you 5 ways to choose the time format in Excel, so you will be able to display data containing time in a suitable manner.
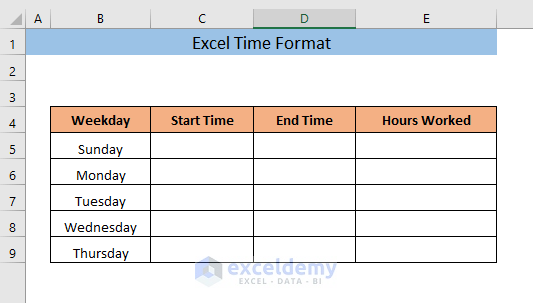
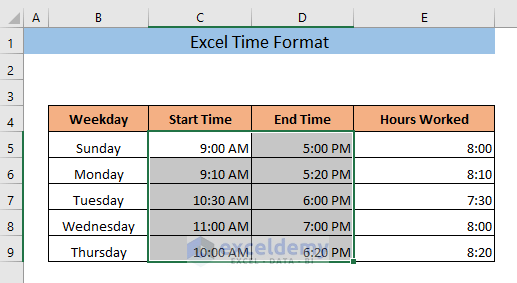
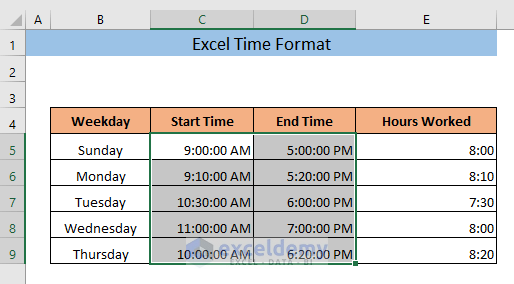
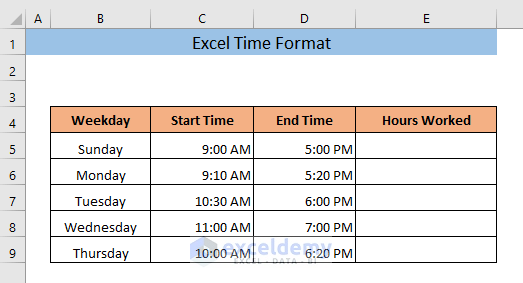
Suppose, we have the following dataset where start time, end time, hours worked of an employee on different weekdays will be inserted. Now, I’ll show you how you choose the time format for this dataset and insert time data.
Download Practice Workbook
5 Ways to Choose Time Format in Excel
1. Time Format from Home Tab
Before entering time data into cells, you have to set the format as time of those cells. First,
➤ Select the cells where you want to display time, and go to Home > Number and click on Time.
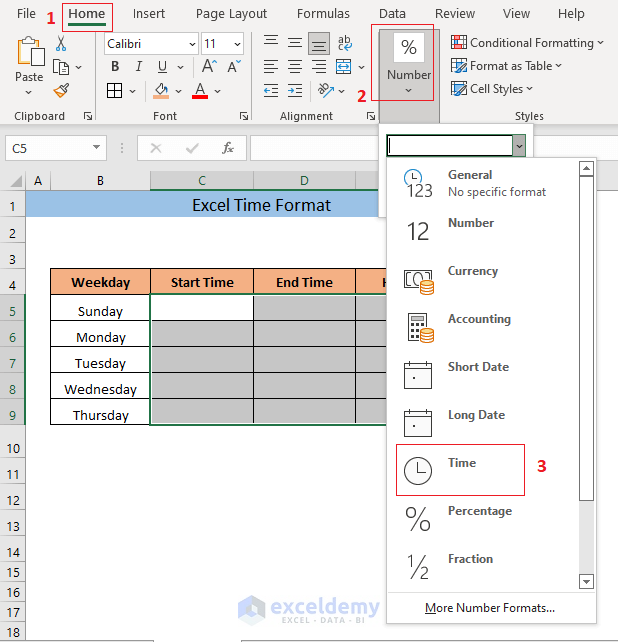
As a result, the format of those cells will be set as time. Now, you can enter time data in those cells.
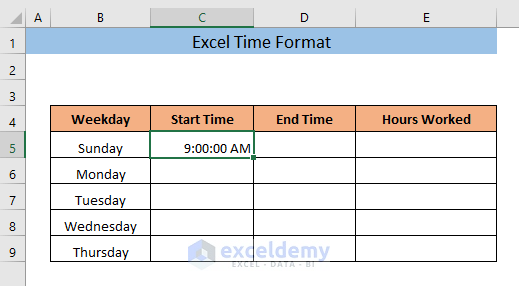
➤ Click on a cell and type a time.

After that,
➤ Press ENTER.
As a result, you will see the data is converted into standard time format showing hh:mm:ss AM/PM.
In a similar manner, all the data inserted into the cells with time format will be displayed in standard time format.
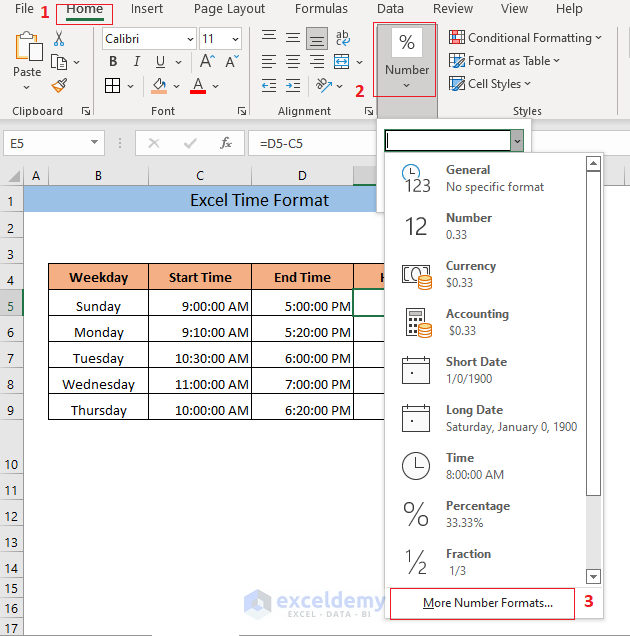
In standard time format, AM/PM is shown. But AM/PM doesn’t convey any meaning in case of difference between two times. So before calculating Hours Worked we need to change the time format of the column in a way that the cells will show only hours, minutes and seconds. To do that,
➤ Select the first cell of column E.
➤ Go to Home > Number > More Number Formats
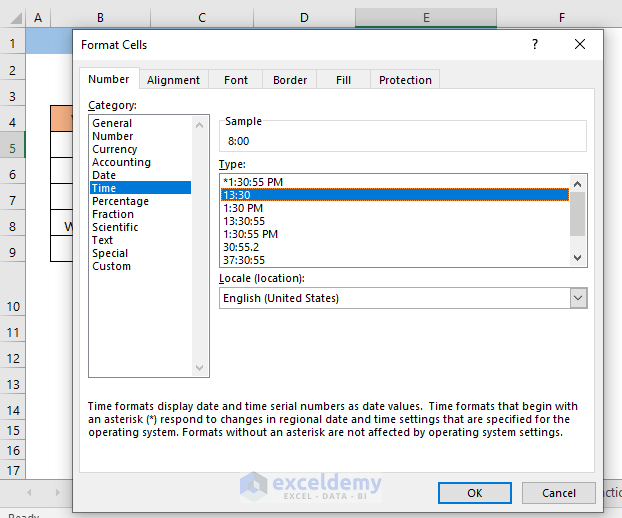
As a result, the Format Cells window will be opened. Now,
➤ Select a suitable time format (such as 13:30) and click on OK.
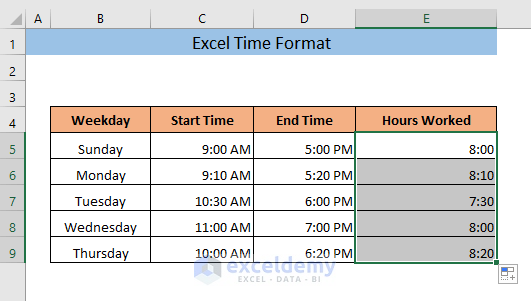
Now you can calculate Hours Worked. To find out hours worked in each day,
➤ Type the following formula in cell E5,
= D5-C5The formula will return the difference between the time of cells D5 and C5.
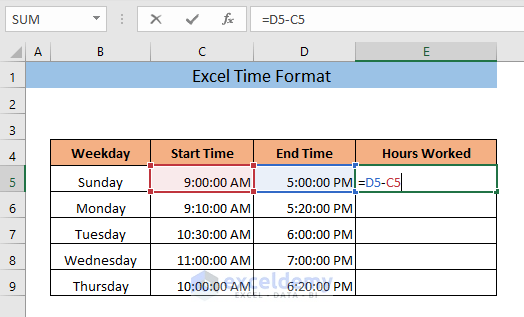
➤ Press ENTER
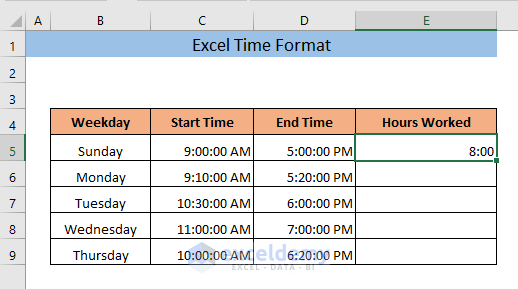
As a result, you will see the Hours Worked of that day in a suitable time format.
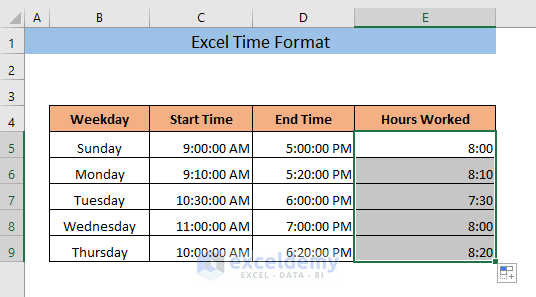
➤ Drag the cell E5 to apply the same formula in all other cells of the column.
As a result, you will see the Hours Worked on all weekdays in a suitable time format.
2. Time Format from Format Cells
You can choose different time formats from Format cells. Let’s change the time format of the previous method using Format cells. Frist,
➤ Select the cells where you want to change the time format and right click on them.
As a result, a dropdown menu will appear.
➤ Click on Format Cells from the dropdown menu.
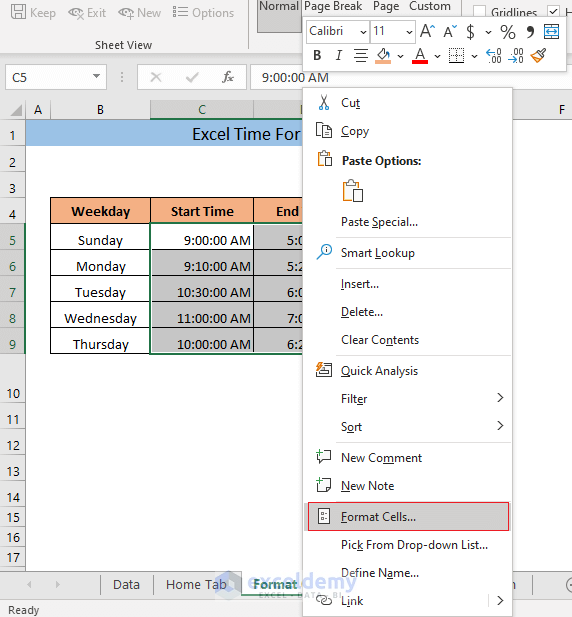
It will open the Format Cells window.
➤ Go to the Time Category from the Number tab.
Now, in the Type box, you will see different time formats.
➤ Select the time format in which you want to display the time in your selected cells and click on OK.
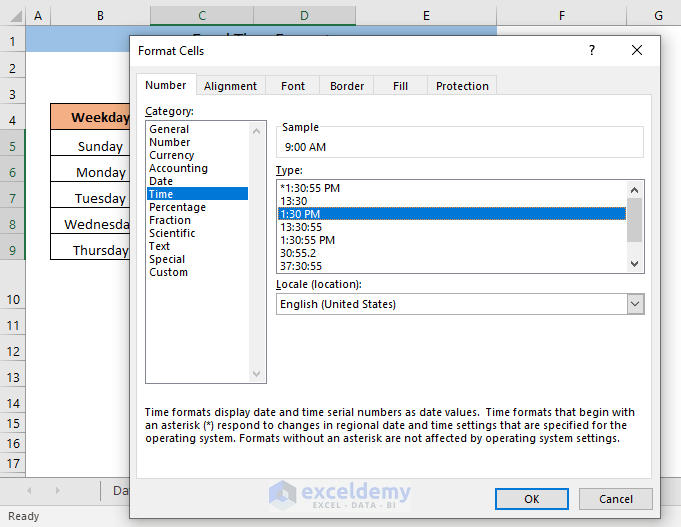
As a result, you will see the time has been shown in your selected time format.
Read More: How to Convert Text to Time Format with AM/PM in Excel
3. Country Specific Time Format
You can also choose different Country Specific Time Formats. In the Time category of the Number tab of the Format Cells window, you can find different country-specific time formats from the Locale (Location) box.
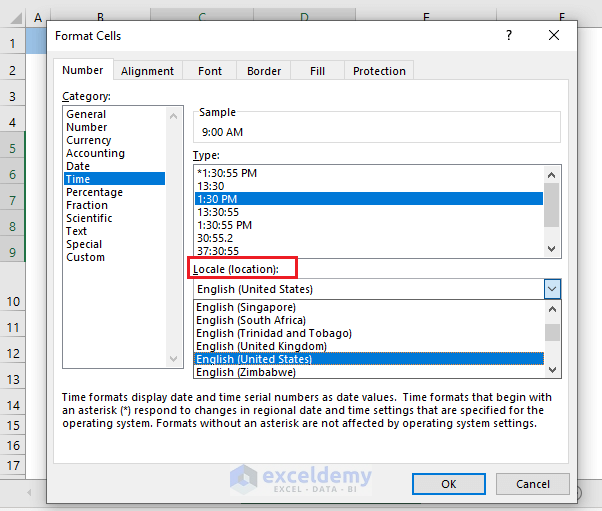
Suppose, we want to display time in Australian time format. To do that, after selecting the cells and opening Format Cells.
➤ Select English(Australia) from the Locale (Location) box.
After that, different Australian time formats will be shown in the Type box.
➤ Choose a time format from the Type box and click on OK.
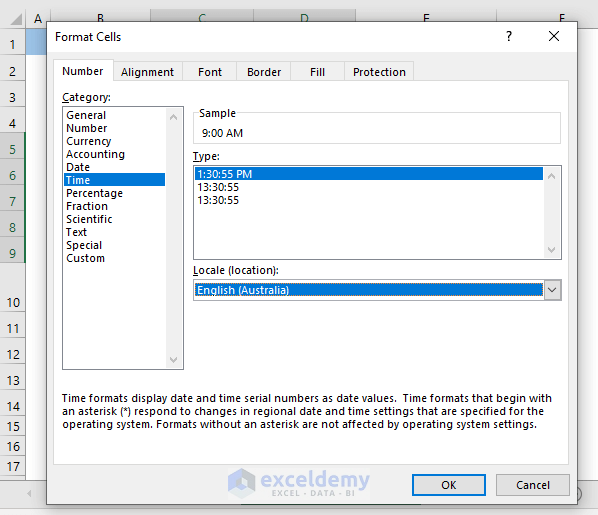
As a result, you will see, now the cells are displaying time in your selected Australian time format.
4. Custom Time Format
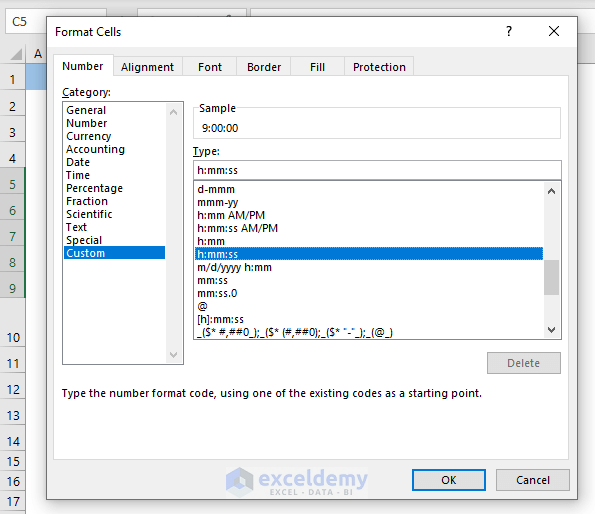
Besides the Common time format, Excel has different custom time formats. So, you can display time in different custom formats by selecting custom time formats. To select a custom time format first you have to select the cells and open the Format Cells window. After that,
➤ Go to Custom Category from the Number tab.
Now, you can see different custom time formats in the Type box.
➤ Choose the custom time format you want to use in displaying time.
For this dataset, I’ve chosen the hh:mm:ss formats. You can choose any format you need.
At last,
➤ Click on OK to apply the selected formats in your dataset.
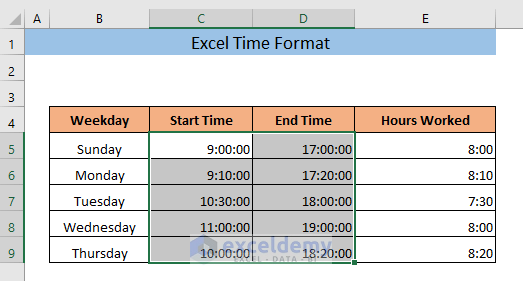
As a result, you will see now the time of your dataset has been displayed in your selected custom formats.
Now, let’s get familiar with different characters which are used to symbolize different custom time formats.
Read More: Format Hours and Minutes Not Time in Excel
Characters for Custom Time Format
| Characters | Explanations |
|---|---|
| h | The hour is shown as a number without a leading zero. |
| [h] | The elapsed time is shown in hours. If you’re dealing with a formula that produces a time that’s longer than 24 hours, use a number format like [h]:mm:ss or [h]:mm. |
| hh | When appropriate, display the hour as a number with a leading zero. The hour is based on the 12-hour clock whether the format includes AM or PM. The hour is calculated using a 24-hour clock. |
| m | The minute is shown as a number without a leading zero. Excel will display the month instead of minutes if the m or mm code is not immediately after the h or hh code or exactly before the ss code. |
| [m] | The elapsed time is displayed in minutes. Use a numeric format that looks like [mm]:ss if you’re working with a formula that yields a time with more than 60 minutes. |
| mm | When appropriate, display the minute as a number with a leading zero. |
| s | The second is shown as a number without a leading zero. |
| [s] | The elapsed time is displayed in seconds. Use a numeric format that looks like [ss] if you’re working with a formula that yields a time in which the number of seconds exceeds 60. |
| ss | When appropriate, display the second as a number with a leading zero. Use a numeric format that looks like h:mm:ss.00 to represent fractions of a second. |
| AM/PM, am/pm, a/p, A/P | A 12-hour clock is used to display the hour. For periods between midnight and noon, Excel shows AM, AM, A, or a, while for times between midday and midnight, Excel displays PM, PM, P, or p. |
5. TIME Function to Insert Time
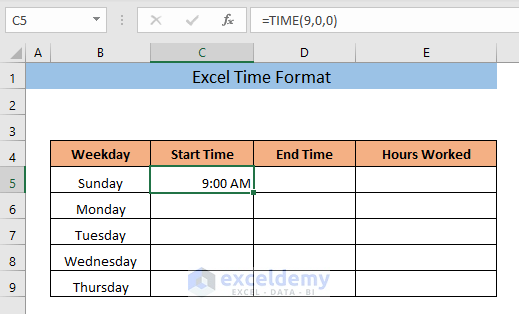
You can use the TIME function to insert time in a time format. First,
➤ Type the following formula,
=TIME(9,0,0)Here, 9 is the hour, first 0 is the minute and second 0 is the second value. The function will return a time with this value.

➤ Press ENTER.
As a result, you will see the time is inserted in a proper time format.
In a similar manner, you can insert time in a time format using the TIME function.
Hours Worked can be calculated and displayed in a suitable time format following the same procedure shown in Method 1
Conclusion
I hope now you know how you can select time format and insert time in a proper format in Excel. If you have any confusion, please leave a comment.
<< Go Back to Number Format | Learn Excel
Get FREE Advanced Excel Exercises with Solutions!
