Observe the GIF:

Why Is Excel Not Scrolling One Row at the Time?
- Row Height is manually specified.
- Mouse settings are set differently.
- Merged cells affect scrolling frequency.
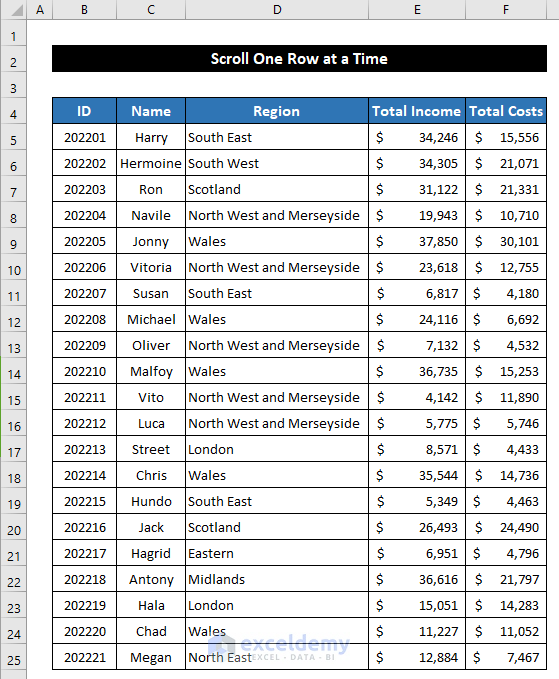
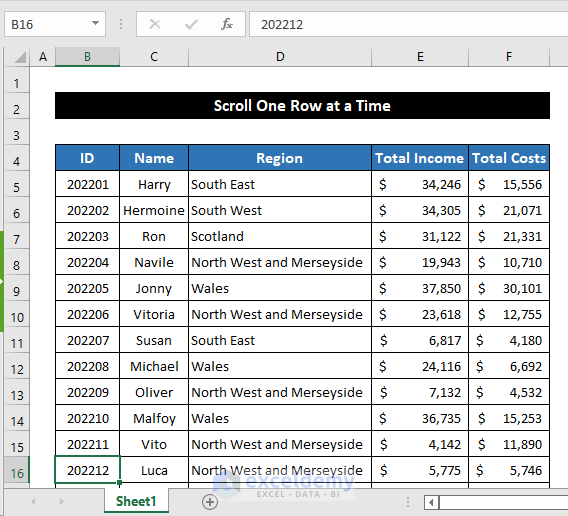
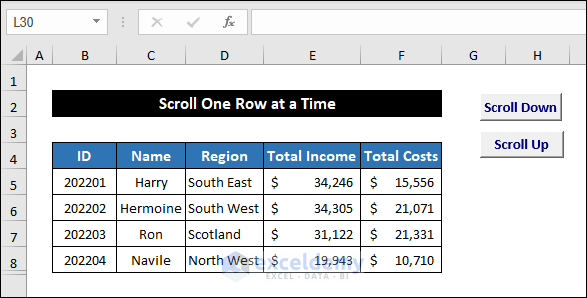
Consider the dataset below.
To scroll one row at a time:
Method 1 – Using Vertical Scroll Arrows
- Open the Excel file.
- Place the cursor on Down Arrow in the Vertical Scroll Bar Slider.
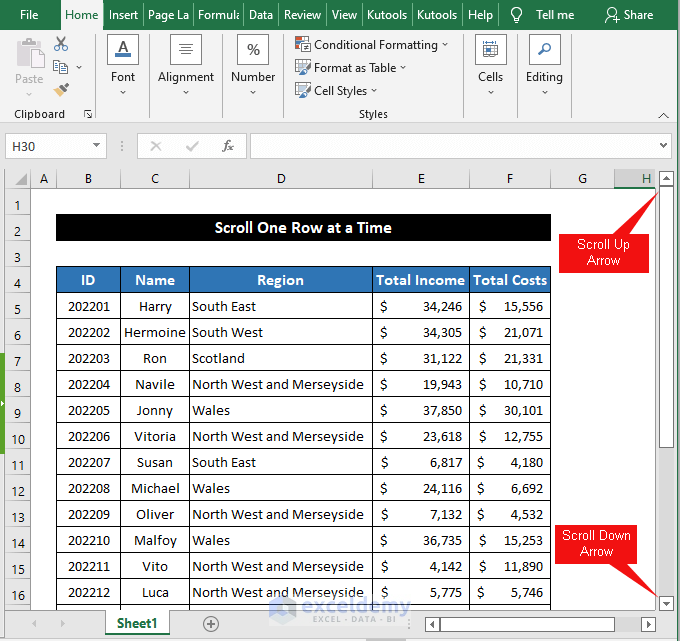
- Left-click the Down arrow.
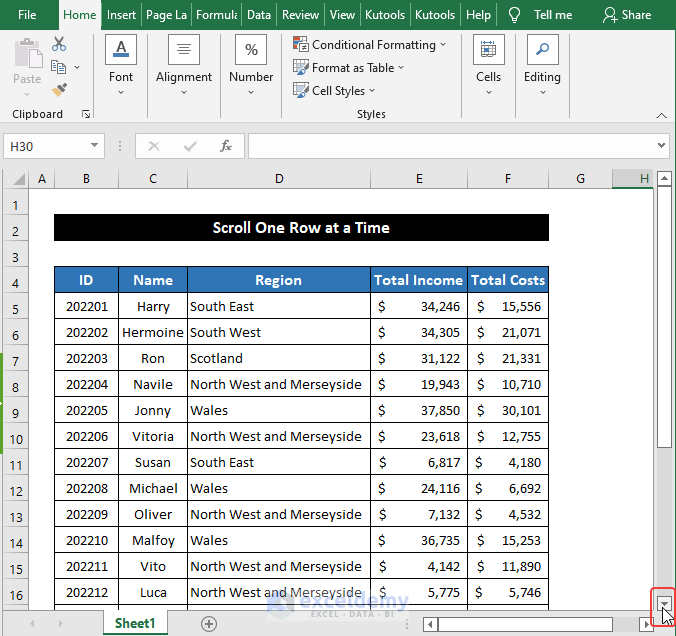
You will see one row.
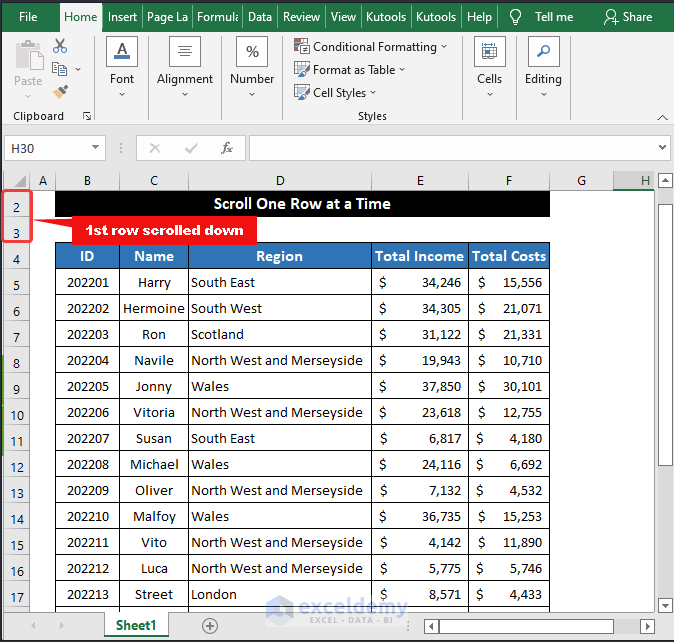
Click the scroll-up arrow to scroll a row up at a time.
Method 2 – Using Keyboard Keys
Case 1: Using the Up/Down Keys When Scroll Lock Is Disabled or Unlocked
- Select a cell close to the Sheet Name bar. Here, B16.
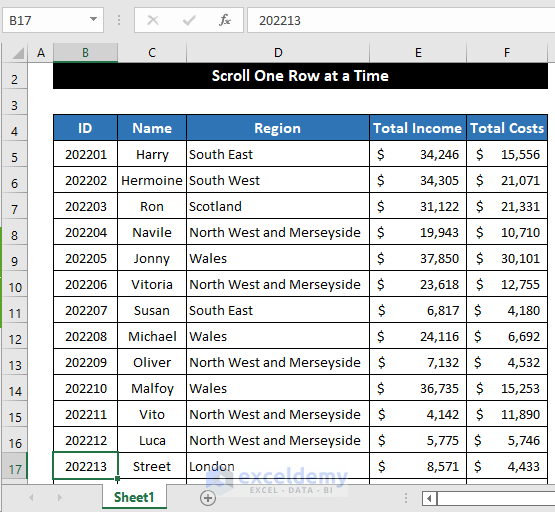
- Press Down.
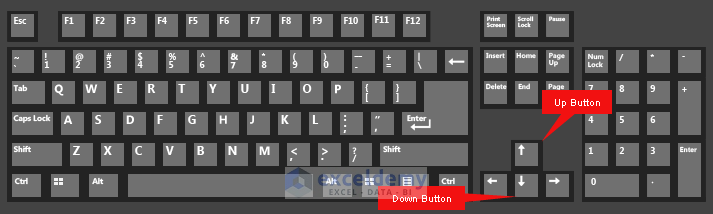
A row will scroll down.
- Press Down to move down.
- Press Up to scroll up a row at a time.
Case 2: Using Up/Down Keys When Scroll Lock Is Enabled or Locked
- Press the Scroll Lock key to enable it.
- Press Up or Down.
Excel scrolls one row at a time.
Note: If you can not find the Scroll Lock key on the keyboard, use an on-screen keyboard. Enter osk in your Desktop/PC search box to access it.
Method 3 – Changing the Mouse Settings
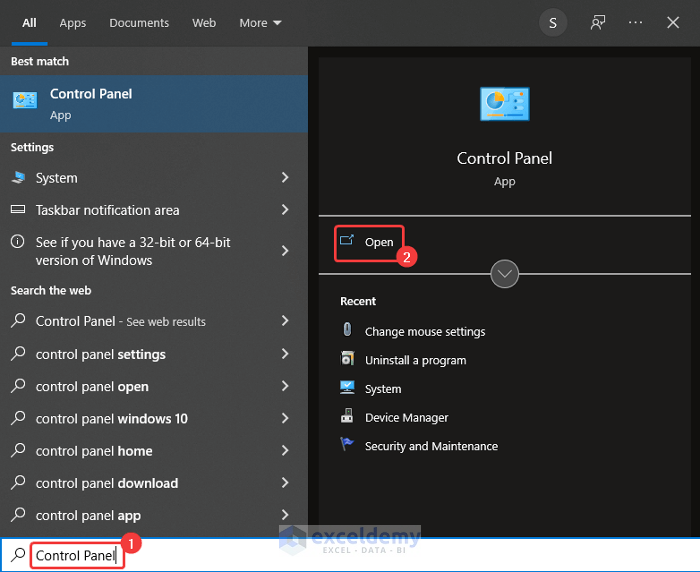
- Go to Search Engine and search Control Panel.
- Click Open.
- In the Control Panel window, click Hardware and Sound.
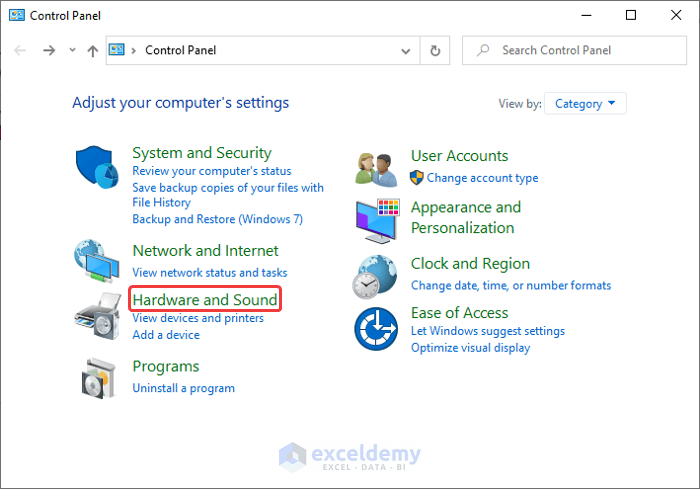
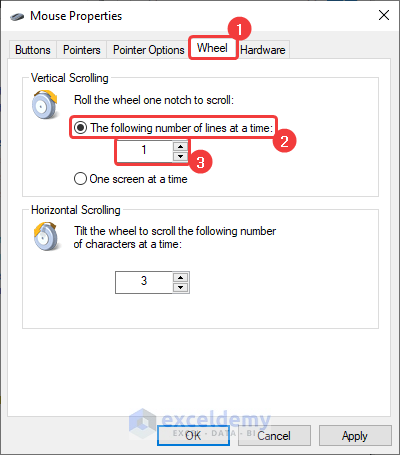
- Click Mouse in Device and Printers. The Mouse Properties dialog box will be displayed.

- In the Wheel tab, choose The following number of lines at a time in Vertical Scrolling.
- Reduce 3 to 1 and click OK.
- Roll the mouse wheel.
You will see only one row scrolled down or scrolled up at a time.
Limitation: The scroll frequency may vary for larger row heights.
Method 4 – Using Excel VBA
Scenario 1: Manually Scrolling One Row with a VBA Command Button
- Go to Developer tab > Code > Visual Basic to open the Visual Basic Editor.

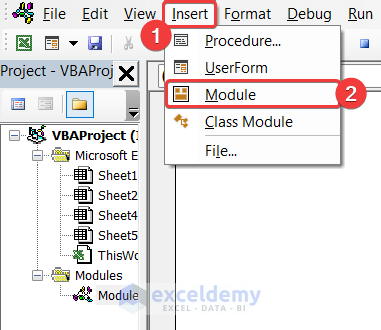
- Click Insert > Module.
- To scroll down one row, enter the VBA code below:
Sub Scroll_Down_One_Row() ActiveWindow.SmallScroll Down:=1 End Sub - To scroll up one row, insert another Module in the Insert tab and enter the following code:
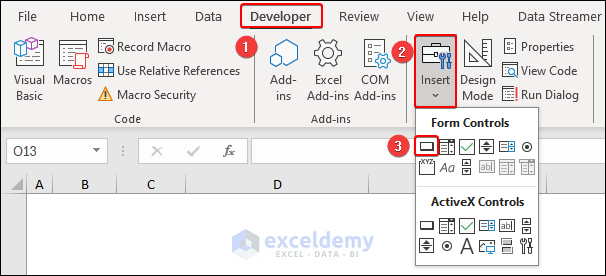
Sub Scroll_Up_One_Row() ActiveWindow.SmallScroll Up:=1 End Sub - Click Developer tab > Controls > Insert.
- Select Button (From Control) to create a button.
- Create two buttons and place them in your worksheet.
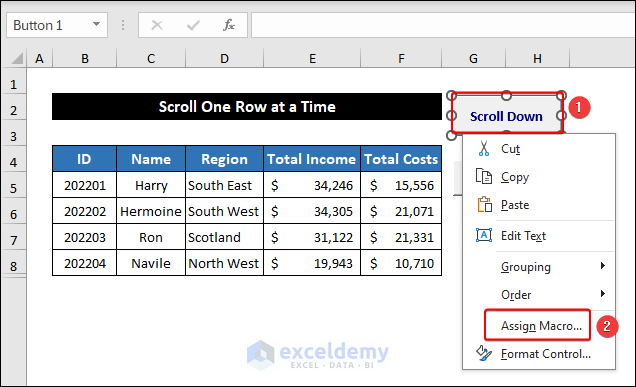
- Right-click a button and click Assign Macro.
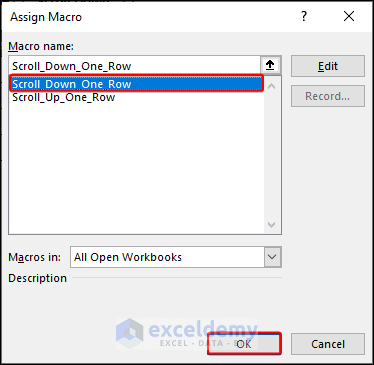
- Select a sub-procedure and click OK. Here, Scroll_Down_One_Row.
- Assign another sub-procedure to the other button. Here Scroll_Up_One_Row().
Clicking the buttons will scroll up or down one row at a time.
Note: If you don’t have the Developer tab on the Ribbon, enable the Developer tab. You can also press ‘Alt+F11’ to open the Visual Basic Editor.
Scenario 2: Automatically Scrolling Down Rows After a Certain Period
You want to scroll 10 rows automatically with a 1-second time interval.
- Click Developer tab > Controls > Insert > Command Button (ActiveX Control).
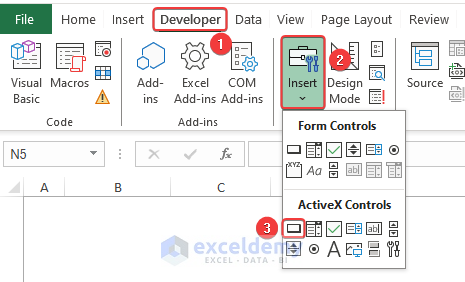
- Create two command buttons and place them in your worksheet.
- Right-click a command button and click View Code to create a new module.
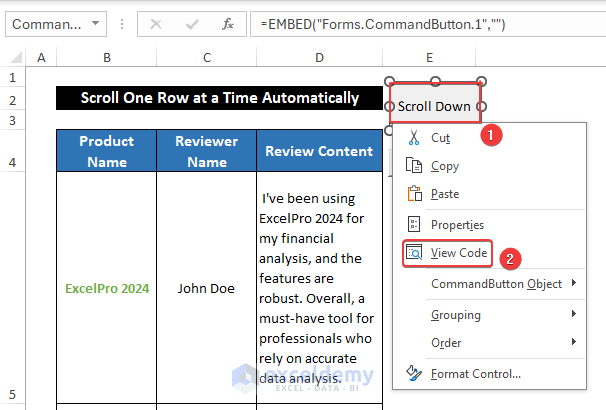
- Enter the VBA code:
Private Sub CommandButton1_Click() Dim i As Integer For i = 1 To 10 ActiveWindow.SmallScroll Down:=1 Application.Wait (Now + TimeValue("00:00:01")) Next i End Sub - Similarly, for the other command button, insert the below VBA code:
Private Sub CommandButton2_Click()
Dim i As Integer
    For i = 1 To 10
        ActiveWindow.SmallScroll Up:=1
        Application.Wait (Now + TimeValue("00:00:01"))
    Next i
End Sub
If you click the scroll down button, it will move down one row at a 1-second time interval for 10 rows. Scroll up in the same way.
Download Practice Workbook
Download the practice workbook.
Frequently Asked Question
What is causing Excel to scroll 10 rows at a time instead of 3?
Excel usually moves down three rows at a time while scrolling down with the mouse wheel. If the row height is too small, it might look like you’re scrolling more than three rows. A touchpad software may also cause this situation.
Change the mouse settings on your computer.
How to stop infinite scrolling to limit the visible area in Excel?
- Click Developer tab > Visual Basic to open the Visual Basic Editor.
- Click Insert > Module to create a module.
- Enter the VBA code:
Sub Stop_infinite_scrolling() Dim mysheet As Worksheet Set mysheet = ActiveSheet mysheet.ScrollArea = mysheet.UsedRange.Address End Sub - Click the Run button.
Your scrolling will be fixed in your used range.
How to scroll one page at a time in Excel?
To scroll one page at a time, press Page Up or Page Down.
Related Articles
- Viewing Multiple Workbooks: Synchronous Scrolling in Excel
- [Fixed!] Excel Scrolling Too Many Rows
- How to Limit Scroll Area in Excel
- How to Move Up and Down in Excel
<< Go Back to Scrolling in Excel | Navigation in Excel | Learn Excel
Get FREE Advanced Excel Exercises with Solutions!
