Synchronous scrolling allows you to view and compare two Excel workbooks or two worksheets within the same workbook simultaneously. It’s a handy feature for spot-checking data, identifying trends, and making visual comparisons.
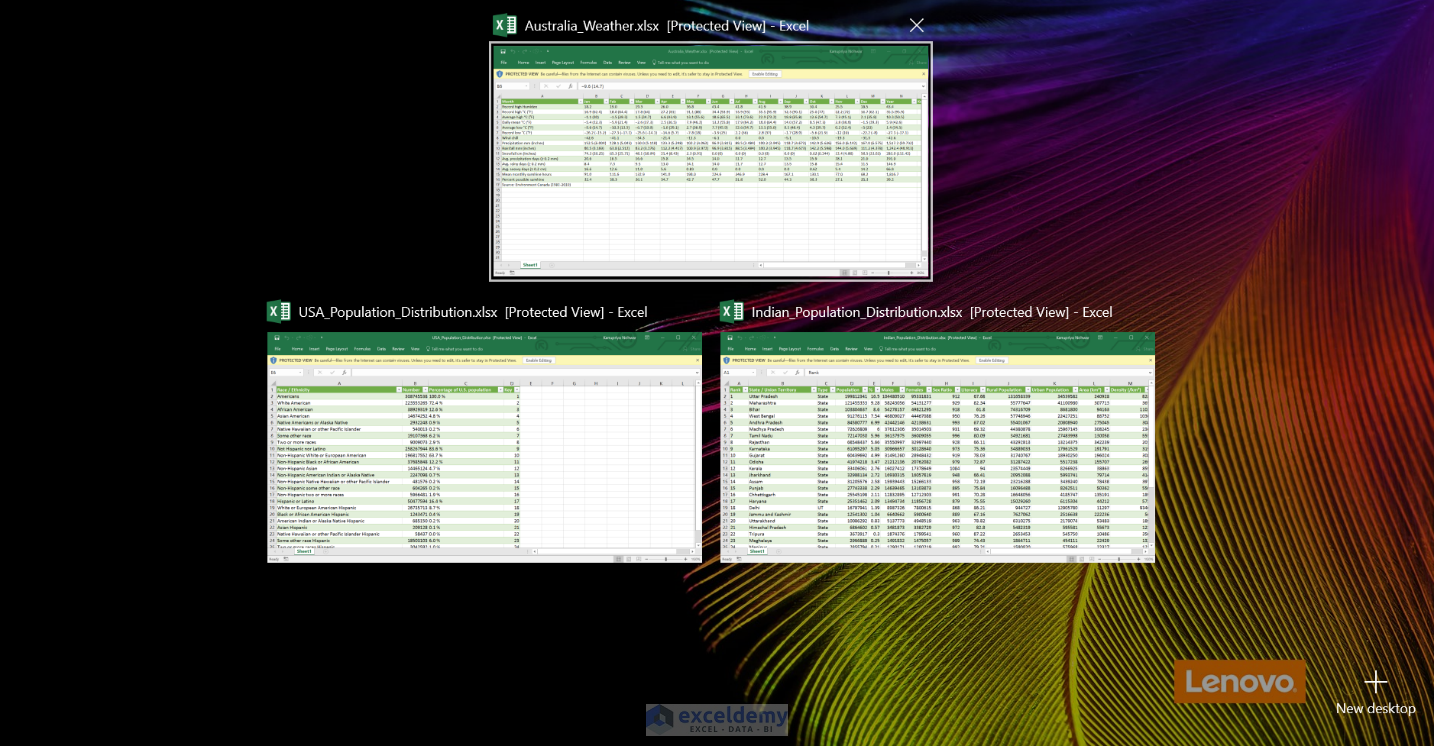
In this tutorial, we will work with three different workbooks namely: Indian Population Distribution, Australia Weather, and USA Population Distribution.
Click on the image to get a full view
Case 1 – Synchronous Scrolling Between Two Excel Workbooks
To scroll through two Excel workbooks at the same time using synchronous scrolling, follow the below steps:
- Open both Excel workbooks that you want to compare.
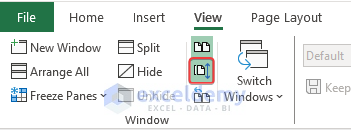
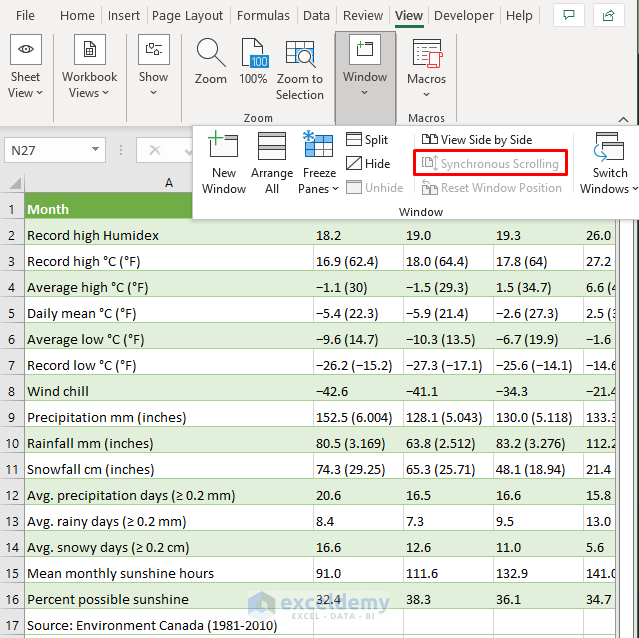
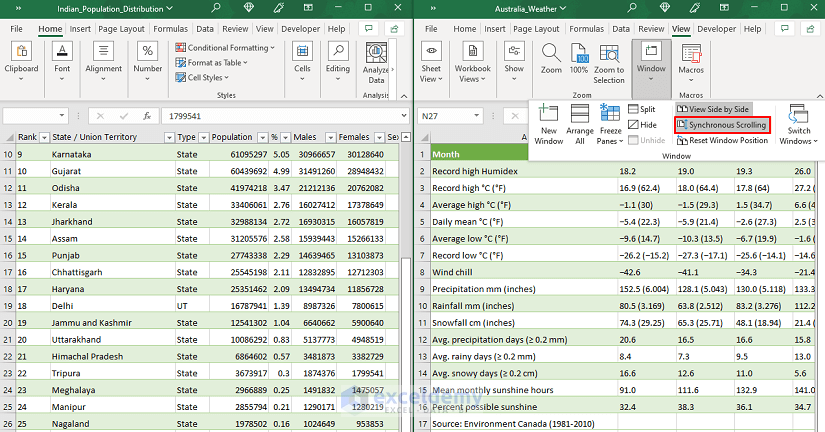
- Click on the View tab, choose the Window group and click on View Side by Side to display both workbook windows side by side.

- Under the same Window group in the View tab, click Synchronous Scrolling to activate (if it’s already not active).
Note: The Synchronous Scrolling button is only available when View Side by Side is active.
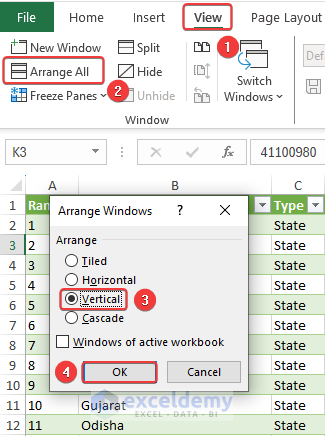
- If needed, click Arrange All to choose your preferred arrangement (vertical or side-by-side).
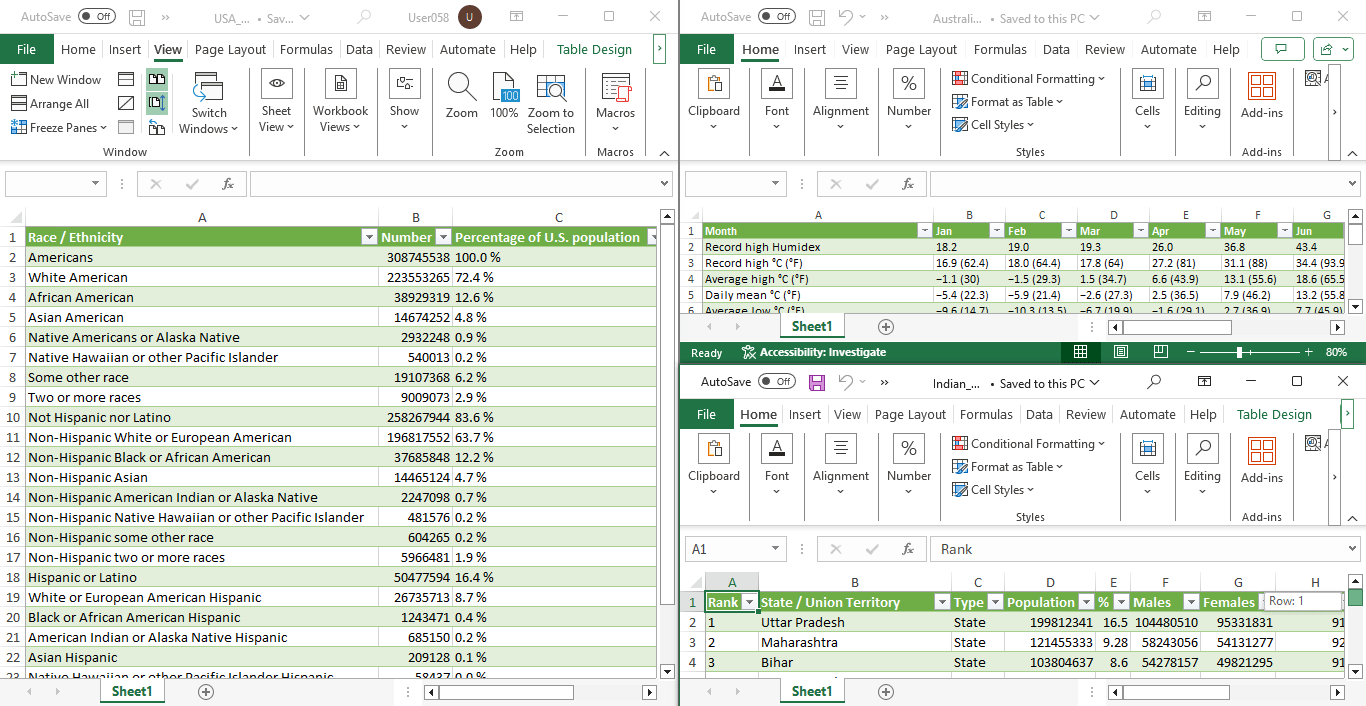
You can now scroll through both workbooks simultaneously and compare their contents.

If you have three workbooks open and then activate synchronize scrolling in the Tiled arrangement, you’ll find that as you scroll in one workbook, the other synchronized workbooks will also scroll, maintaining their tiled positions on the screen.
Click to see the gif
Remember: While synchronous scrolling is a useful manual feature, Excel doesn’t offer automatic synchronous scrolling across multiple workbooks or worksheets.
Read More: Smooth Scrolling with Mouse Wheel in Excel
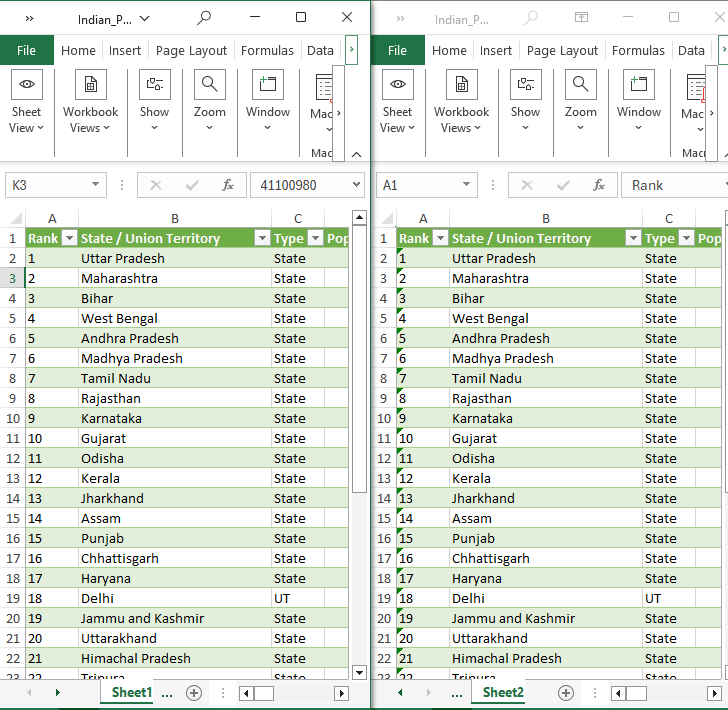
Case 2 – Synchronous Scrolling for Two Worksheets in Same Excel Workbook
For synchronous scrolling between two worksheets in the same workbook, follow the steps below:
- Open the Excel workbook containing the two worksheets you want to compare.
- Click the View tab.
- In the Window group, click New Window to create a new window for the same workbook.
- Select the other worksheet you want to compare.
- Click View Side by Side and then Synchronous Scrolling under the Window group.
You can now scroll through both worksheets simultaneously.
Tips:
- Click Reset Window Position to return to the original settings if your worksheets are resized.
- Click Maximize at the upper-right corner of the window to return to the full-size view.
Read More: How to Move Up and Down in Excel
How to Enable Synchronous Scrolling When It’s Not Visible in Excel
Sometimes, you might encounter the issue where the Synchronous Scrolling command is grayed out or not working.
- To resolve this, follow these steps:
- Click the View tab.
- Click View Side by Side to activate the side-by-side window.
- Once the side-by-side view is active, the synchronous scrolling will automatically start.
- You can manually turn it on or off as needed.
Another reason for the disabled or grayed-out Synchronous Scrolling command is if any cell remains active in your sheet. For example, in the image below, cell B18 is activated, causing the issue.
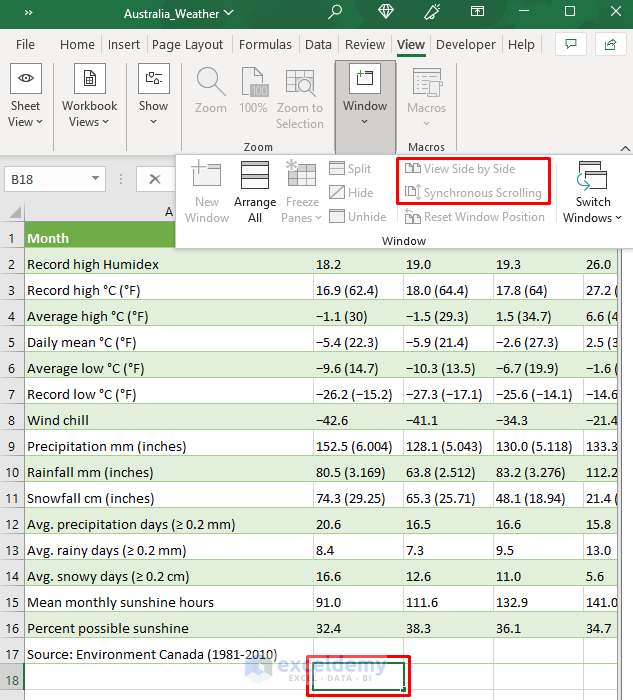
The solution is straightforward: Release the active cell by pressing the ESC button or clicking anywhere else. After that, Excel’s synchronous scrolling will work properly.
Download Practice Workbooks
You can download the practice workbooks from here:
Frequently Asked Questions
- Can I save the side-by-side view setting in Excel?
- Excel doesn’t have an automatic feature to save the View Side by Side setting for workbooks. You’ll need to manually set them side by side each time you reopen Excel or the workbooks.
- Does synchronous scrolling work with filtered data or tables?
- Yes, synchronous scrolling works with filtered data or tables. When scrolling through a range containing filters or tables, the synchronized sheets maintain the same relative position.
- Is it possible to synchronize scrolling vertically and horizontally simultaneously?
- No, Excel’s built-in synchronous scrolling supports either vertical or horizontal scrolling, but not at the same time. You can choose the scrolling direction based on your needs.
Related Articles
- How to Scroll One Row at a Time in Excel
- [Fixed!] Excel Scrolling Too Many Rows
- How to Limit Scroll Area in Excel
<< Go Back to Scrolling in Excel | Navigation in Excel | Learn Excel
Get FREE Advanced Excel Exercises with Solutions!

Hey Kawser, that’s a very clever trick – thank you.
It should simplify life of many people who need to compare data in Excel spreadsheets.
Best,
Piotr
Thanks, Piotr! Glad to know it helps.