To shift a row upwards using the Shift key and mouse, we first choose a row and then place it in the upper position. You will notice that the selected row has moved up to the top, while the other cells have moved down by just one cell.
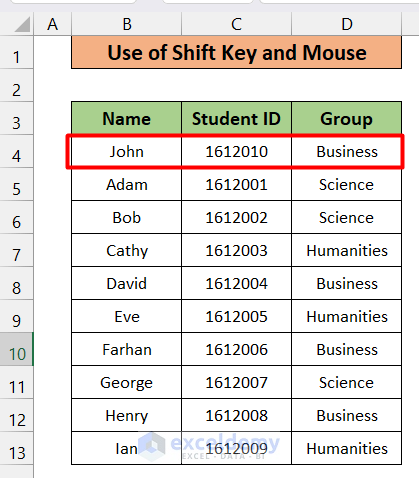
Method 1 – Using the Shift Key and Mouse
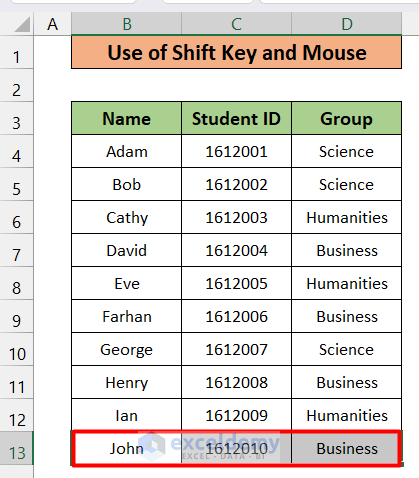
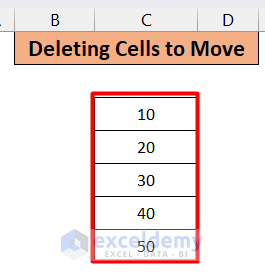
We will first move the last row to the top.
- Select the row that you want to move in your Excel worksheet.
- Bring the mouse cursor to the top edge. You will get the Move Icon, which looks like a four-directional arrow icon.
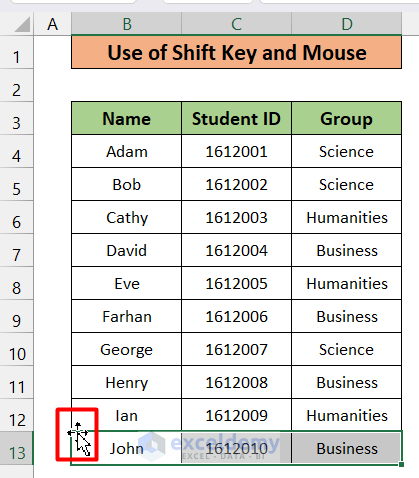
- Hold the Shift key and drag it up to the top until you see an icon like this in the figure below.
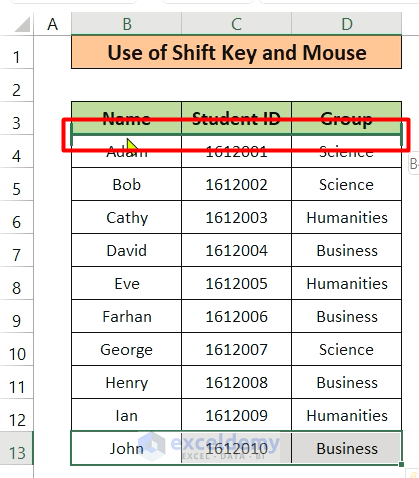
- Drop the selected row. The selected row has come to the top, and the other cells have dropped a row below.
Note: This method is also applicable for multiple cells or rows at once, but they have to be adjacent to each other.
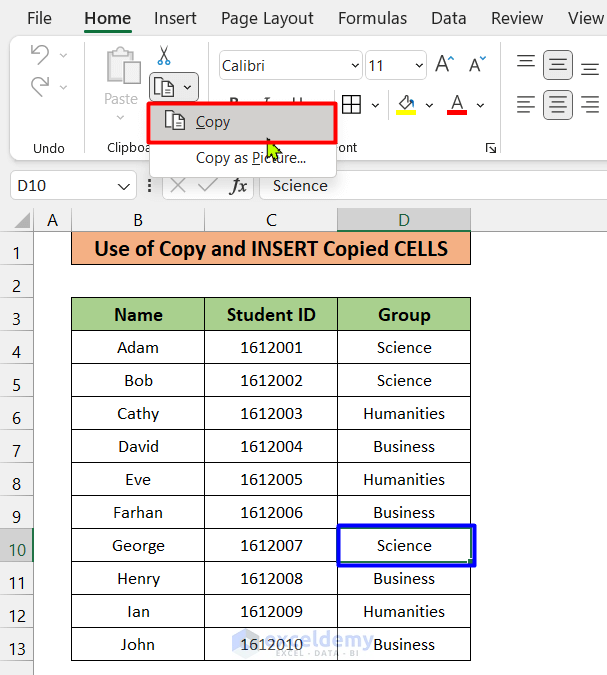
Method 1 – Using the Insert Copied Cells Command
We want to move the cell D10 to D6 in the previous example.
- Select the D10 cell.
- Go to the Home tab and select Copy or press Ctrl + C.
- Select the cell that you want to move.
- Right-click and select Insert Copied Cells.
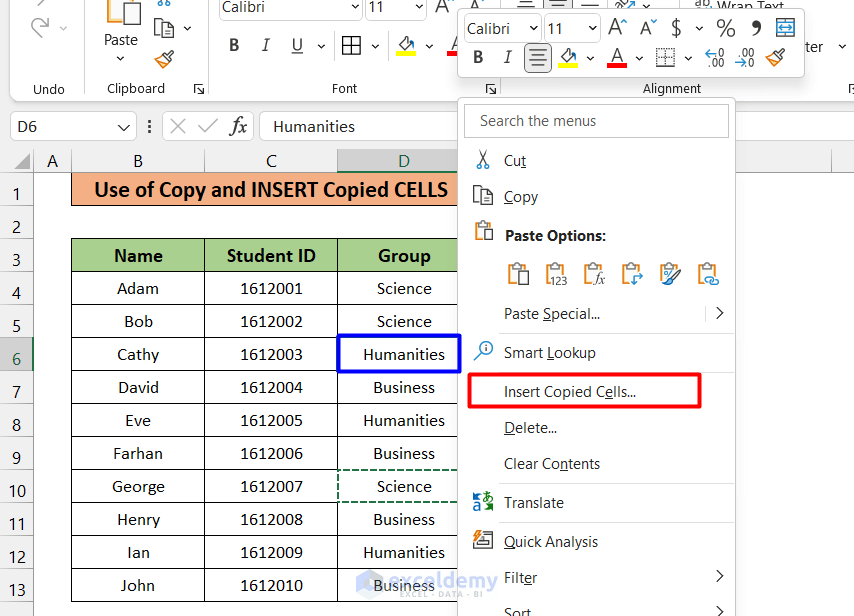
You will see another window.
- Select Shift cells down and press OK.
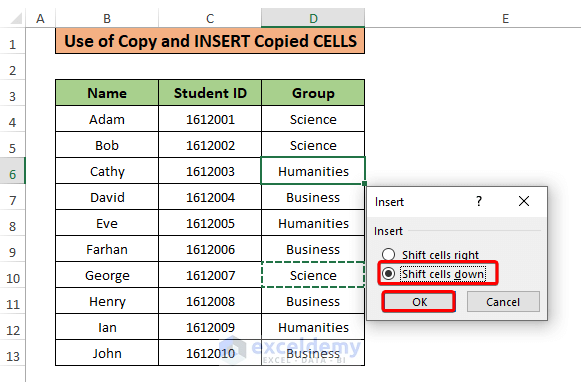
- Cell D6 has been replaced with D10. The cells below D6 have been downed by one. The value in D13 has come to cell D14. As we don’t need the value in D14, we can delete it.
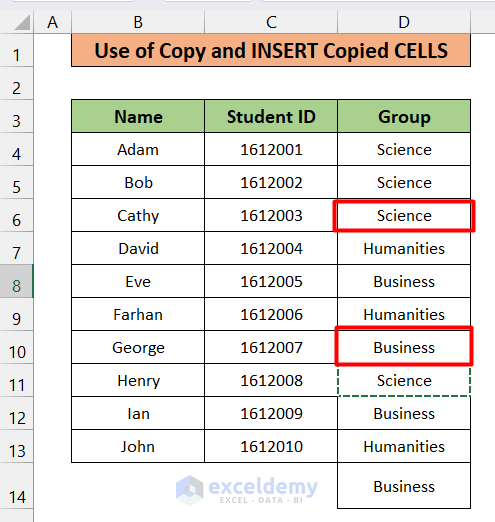
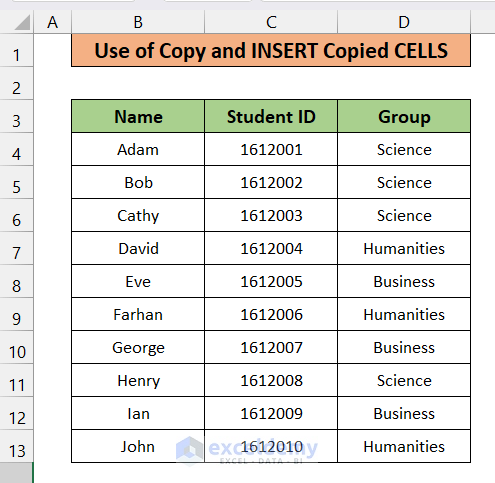
Here’s the final result in the following image.
Note: You can also use this method to move multiple adjacent cells simultaneously.
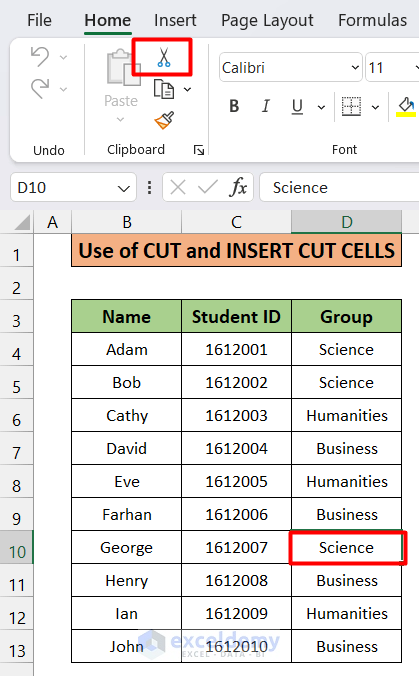
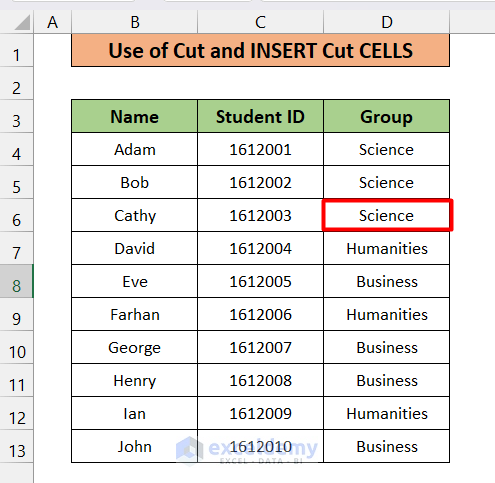
Method 3 – Using the Insert Cut Cells Command
- Select the D10 cell, go to the Home tab, and select Cut or press Ctrl + X.
- Select cell D6 and right-click, then select the Insert Cut Cells option.
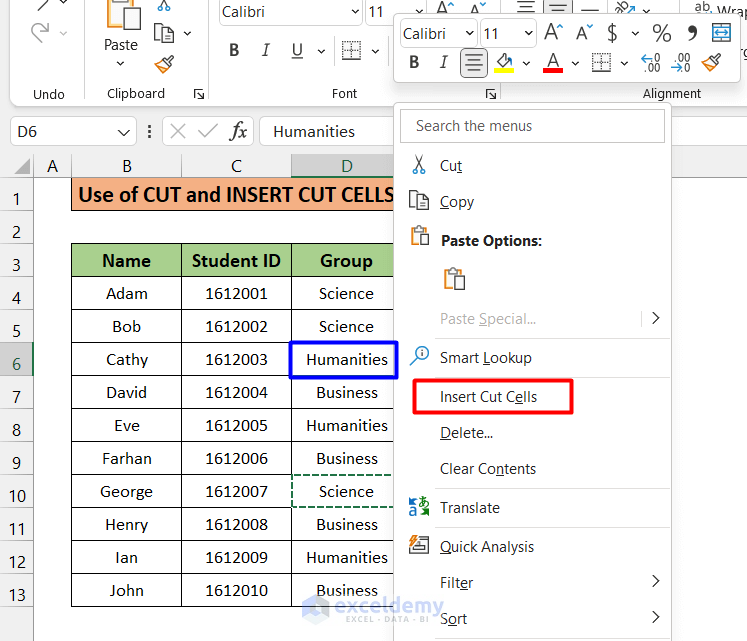
You will get the final result shown in the following image.
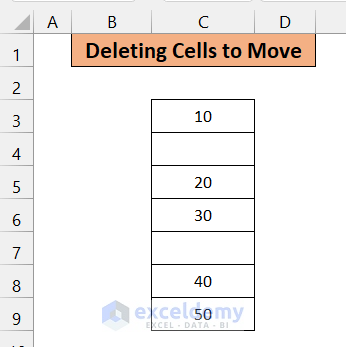
Method 4 – Delete Specific Cells to Move Up and Down in Excel
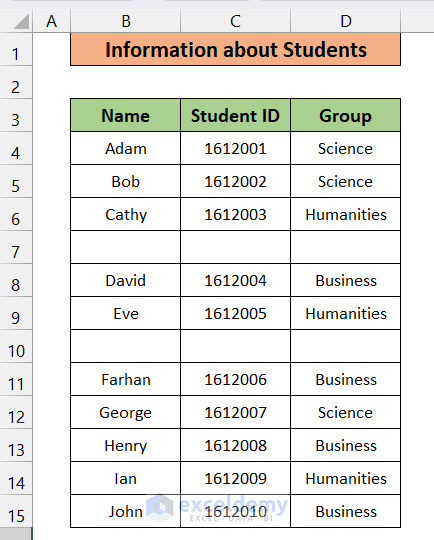
There are two blank cells. We’ll remove them by moving the other cells.
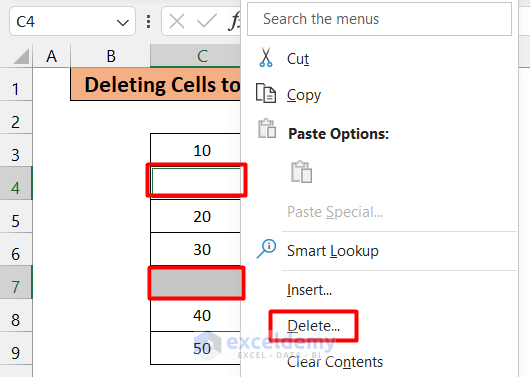
- Select the blank cells C4 and C7 (For multiple selections, hold the Ctrl key and left click on the cells).
- Right-click and select Delete.
- Select Shift cells up and click OK.
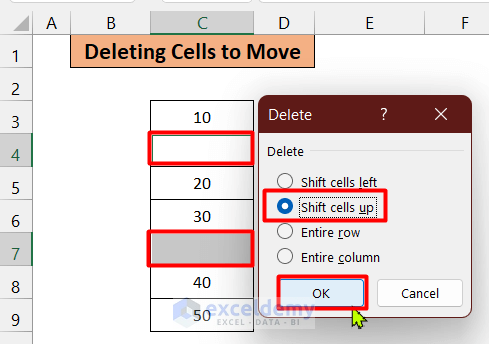
You will see the result in the following mage.
Read More: Viewing Multiple Workbooks: Synchronous Scrolling in Excel
Method 5 – Using the Go to Special Feature
Here is an example of a list that contains some empty rows. We’ll delete the rows with blank cells and move the rest of them up.
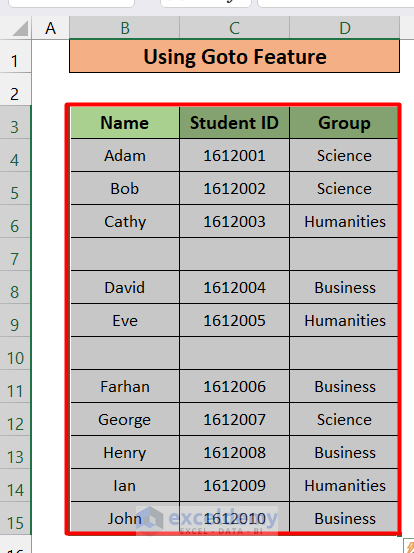
- Select the whole table.
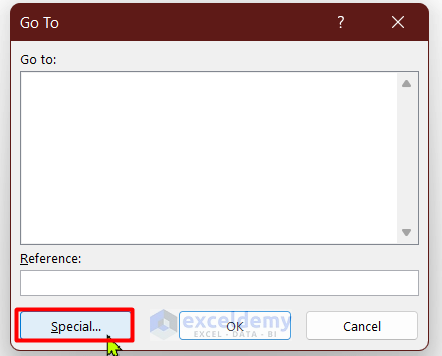
- Click the F5 button, and a window will appear.
- Select Special. A new pop-up will appear:
- In the Go To Special window, select Blanks and click OK.
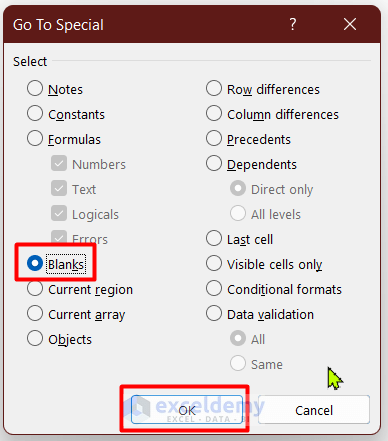
All the empty cells in the selection are highlighted.
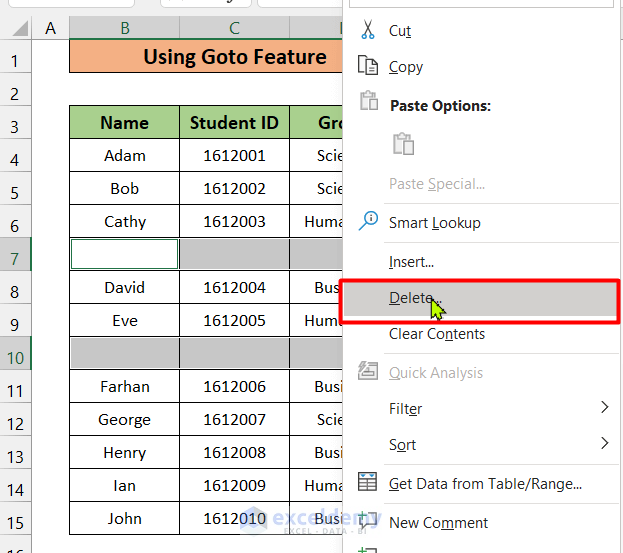
- Right-click on the selection and select Delete.
- Select Shift cells up and click OK.
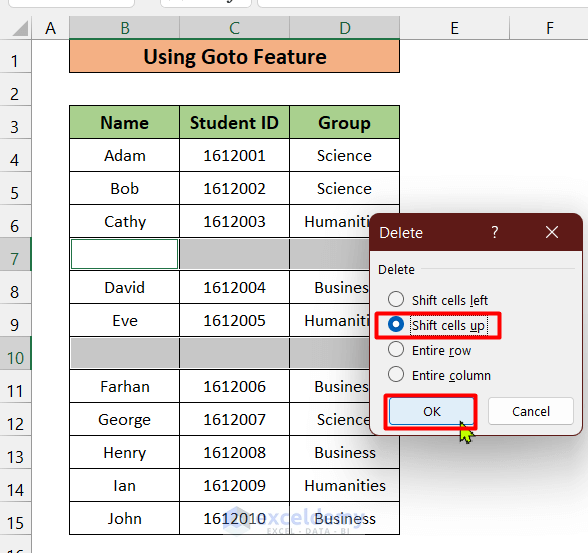
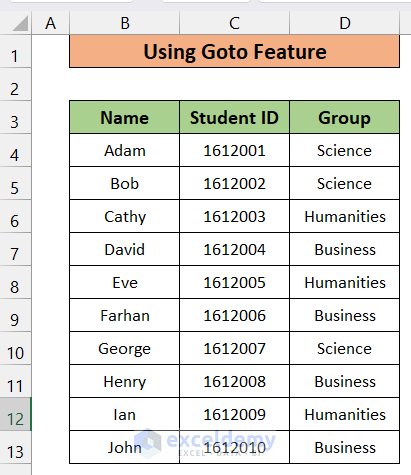
You will see the result in the following image.
Read More: How to Scroll One Row at a Time in Excel
Download the Practice Workbook
Frequently Asked Questions
Can I customize shortcuts for moving rows and cells in Excel?
Yes, you can customize Excel shortcuts according to your preferences. Navigate to the File tab > Options > Advanced > Lotus compatibility section. There, you can assign personalized keys for moving rows and cells to your specific needs.
Are there Excel shortcuts for moving entire columns efficiently?
To select and move entire columns quickly, click on the column letter, hold down the Shift key, and then click on another column letter. Alternatively, use the arrow keys while holding down the Shift key to extend your column selection.
Is there a way to navigate through Excel using a keyboard shortcut to switch between worksheets?
Use Ctrl + PgUp to move to the previous worksheet and Ctrl + PgDn to move to the next one.
Related Articles
- [Fixed!] Excel Scrolling Too Many Rows
- How to Limit Scroll Area in Excel
- Smooth Scrolling with Mouse Wheel in Excel
<< Go Back to Scrolling in Excel | Navigation in Excel | Learn Excel
Get FREE Advanced Excel Exercises with Solutions!
