Looking for a guide on Data Validation and Consolidation in Excel? Then this is the right article for you. Firstly, we will briefly talk about the two features. Next, we will describe them. Finally, we provide a summary of Data Validation and Consolidation.
Data Validation and Consolidation in Excel: 2 Suitable Examples
1. Data Validation in Excel
When we want to limit input to a cell or a range, then we use Data Validation. This feature is most useful in times of data collection. This ensures the data is error-free. For example, if we want to record the age of customers in a cell range, then we can set the Data Validation to be numerical values only.
Moreover, we can set upper and lower limits for a particular type of data, and it will not accept any values beyond that. We can simply return a message to the user giving clues about what is recommended when our data entry is more lenient. Additionally, Excel allows us to enter custom functions to achieve complex conditions using this feature.
Features of Data Validation
Before applying the Data Validation command, let us know the options inside this first.
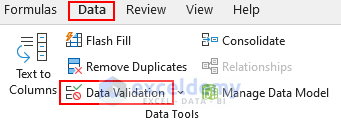
To bring up the Data Validation dialog box we need to select Data Validation from the Data tab.
- First, the Data Validation dialog box has three tabs: Settings, Input Message, and Error Alert.
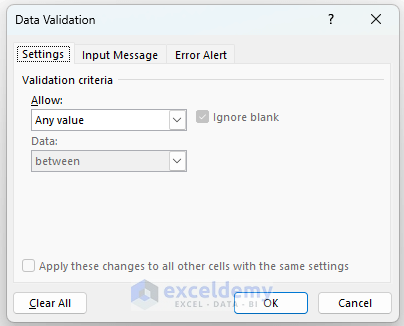
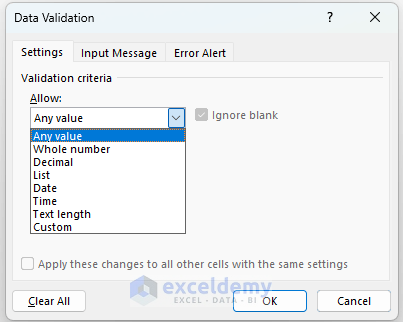
- Then, the Validation criteria have the following options:
- Any value: We can input any value.
- Whole number: Only allow whole numbers.
- Decimal: The user can input decimal values besides the whole number.
- List: We can make a dropdown List using this.
- Date: We can input dates only.
- Time: Nothing but time.
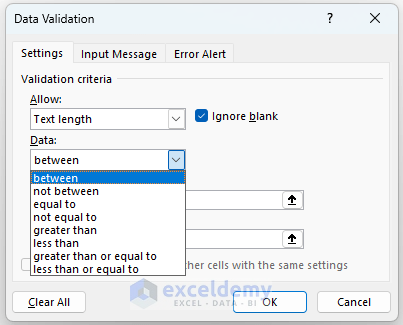
- Text Length: We can limit the length of strings.
- Custom: This allows us to input formulas to make user-defined conditions.
- Moreover, the Data field is available for most of the criteria, which include: between, not between, equal to, not equal to, greater than, less than, “greater than or equal to”, and “less than or equal to”.
- Then, we have the option “Ignore blank” to skip empty cells.
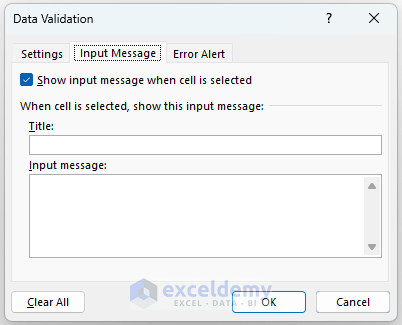
- Afterward, we can see the Input Message tab.
- We can display a message whenever the user selects a cell.
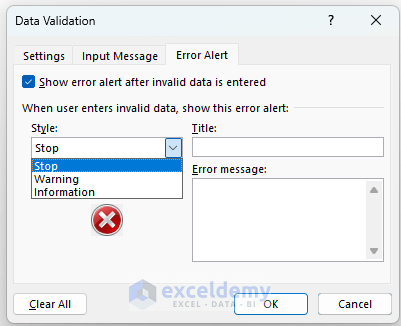
- Lastly, we have the option to return three types of Error Alert:
- Stop: This stops us from entering values outside the defined rules. We can press Cancel and re-type the input.
- Warning: Gives us a warning message, we can choose to ignore it. We can press YES to accept invalid data.
- Information: This just informs us about the invalid data. You can Press OK to get rid of the message.
- We can type “Title” and “Error message” in the designated fields.
- Additionally, we can remove the Error Alert altogether by deselecting “Show error alert after invalid data is entered”.
Application of Data Validation
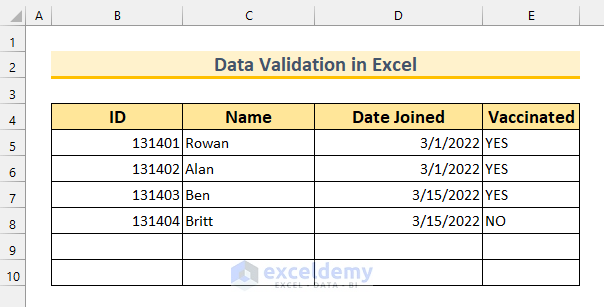
Now that we know about the options inside the Data Validation, let us see how we can use that knowledge in our dataset. Our dataset has 4 columns consisting of “ID”, “Name”, “Date Joined”, and “Vaccinated”. We will use Data Validation to fill up rows 9 and 10.
Steps:
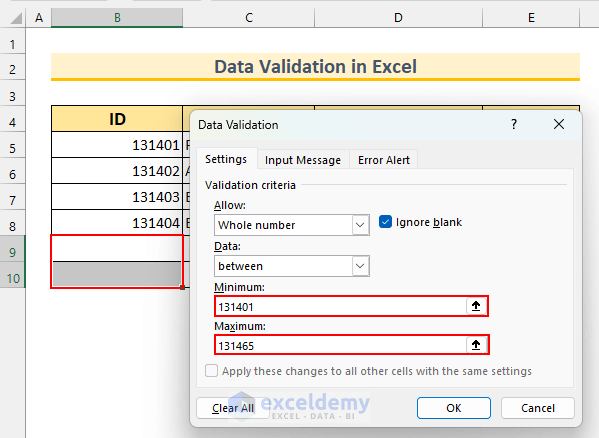
- To begin with, select the cell range B9:B10.
- Next, from the Data tab, select Data Validation.
- So, this will bring up the Data Validation dialog box.
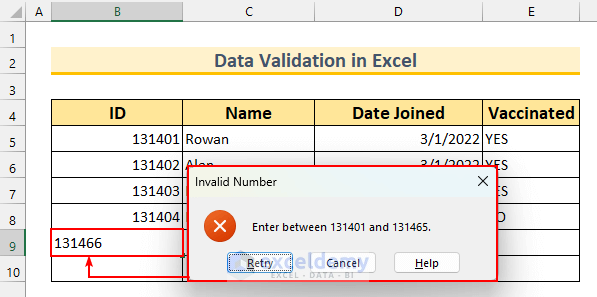
- Then, we limit the ID number to lie between 131401 and 131465.
- Afterward, we set a custom Error message.
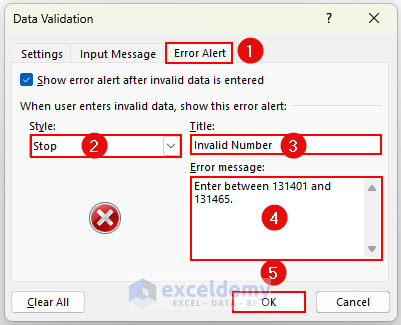
- Firstly, select the Error Alert tab.
- Secondly, select Stop from the Style list.
- Thirdly, type “Invalid Number” as the Title.
- Then, type “Enter between 131401 and 131465.” inside the Error message box.
- Lastly, press OK.
- Now, if we enter more than our defined range, we will see the Error message.
- Then, we enter values within that limit.
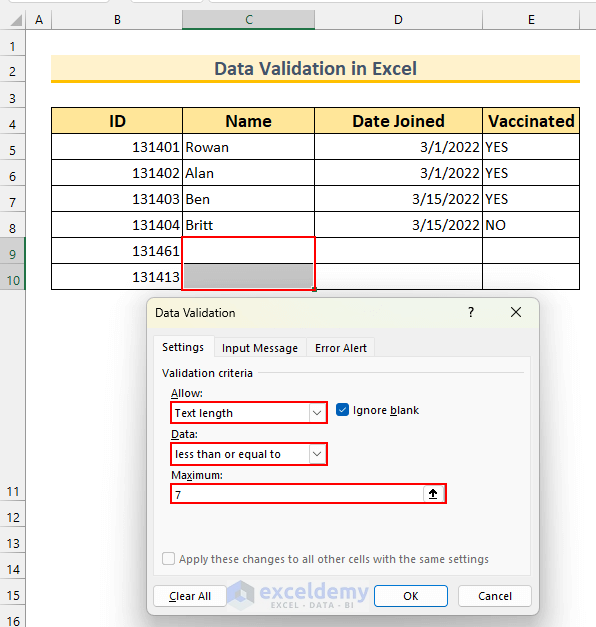
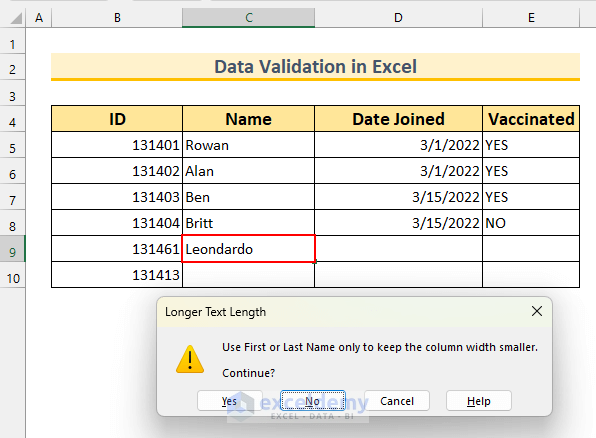
- Next, we apply Data Validation to the cell range C9:C10.
- We set our criteria to allow a maximum of 7 characters for it.
- Then, we set a Warning type Error message and press OK.
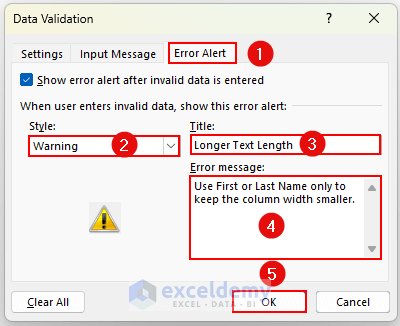
- So, when we type more than 7 characters, we get that message. We can press YES to allow invalid text, or press NO to re-type another name.
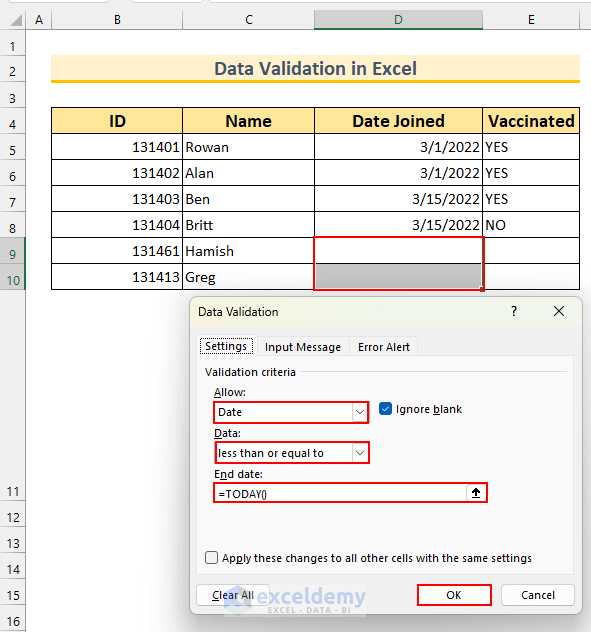
- Now, we will use a custom function along with the Date criteria to limit date input.
- So, select the cell range D9:D10 and apply these validation criteria:
- Allow: “Date”.
- Data: “less than or equal to”.
- End date: type the following formula.
=TODAY()
- This formula will limit the typing of the date before today’s date.
- Then, press OK.
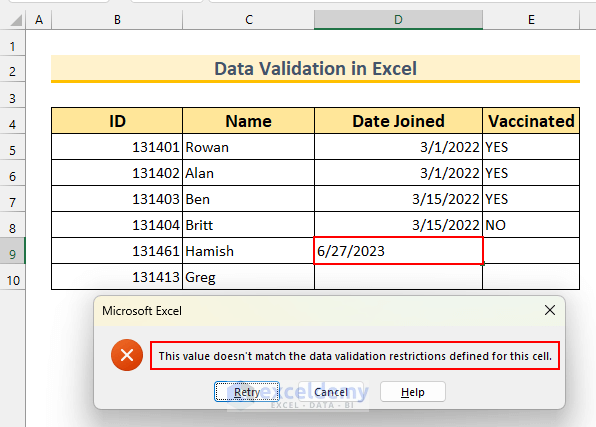
- As we have not set any custom Error message, we will get the default Error message.
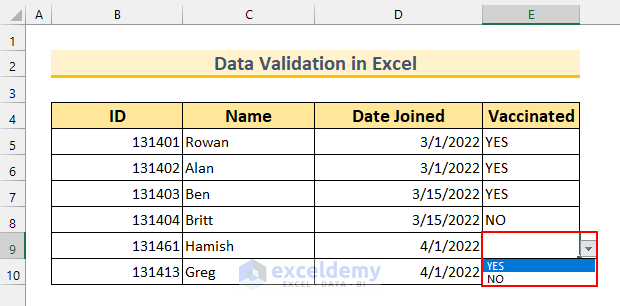
- Lastly, we will add a dropdown list to the dataset.
- To do that, we apply Data Validation to the cell range E9:E10.
- Select these options:
- Allow: “List”.
- Select “In-cell dropdown”.
- Source: type “YES, and “No”.
- Finally, press OK.

- Therefore, we will see the YES and NO dropdown lists in the dataset.
2. Data Consolidation in Excel
The Consolidate feature consolidates data from multiple ranges in Excel from a single Sheet, separate Sheet, or separate Workbooks. Let us consider a scenario where a company has several departments. Obviously, these will have separate transaction information. For budgeting purposes, the company needs to add these values. Instead of doing that manually, using the Data Consolidation feature will make life easier. However, there are other options to calculate inside the Consolidation dialog box than the sum feature.
Features of Data Consolidation
We will look into the available options inside the Data Consolidation feature.
- To bring up the Data Consolidation dialog box, we need to select Consolidate from the Data tab.
- Then, we can see the Consolidate dialog box.
- Available options are as follows:
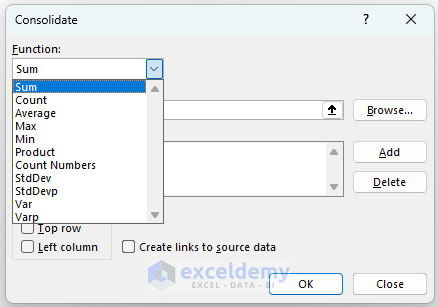
- Function: we can use various functions here.
- Reference: our dataset’s location will be shown here.
- All references: We can press Add to insert Reference in this section, and press Delete to remove Reference.
- After that, we have the “Use labels in” checkboxes.
- Top row: Labels will be on the top row of the consolidated data.
- Left column: Labels will be on the left column of the consolidated data.
- Lastly, we can select “Create links to source data” to make the Data Consolidation feature dynamic.

- Moreover, the available functions are as follows – SUM, COUNT, AVERAGE, MAX, MIN, PRODUCT, STDEV, and VAR.
Use of Data Consolidation
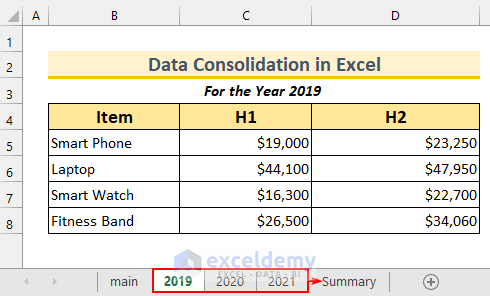
Now, we will use the Consolidate command to carry out the Data Consolidation in our Workbook. Our dataset has three columns consisting of “Item”, “H1”, and “H2”, and we have 2 more similar datasets for the years 2020 and 2021. Basically, we have the data for sales for 4 items for a particular company.
Steps:
- To begin with, our cursor was in cell B4 of the “Summary” Sheet.
- Now, from the Data tab >>> select Consolidate.

- Next, select the cell range B4:D8 from Sheet 2019 and press Add.
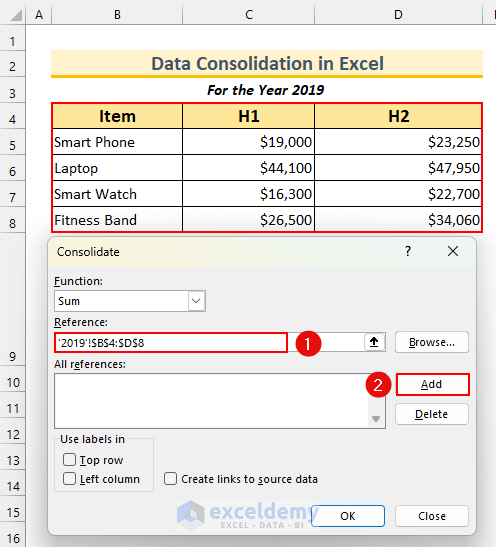
- Similarly, add the values from the 2020 and 2021 Sheets and press Add.
- Then, select Use labels in:
- Top row.
- Left column.
- Afterward, select “Create links to source data”.
- Lastly, press OK.

- Then, we will see consolidated values in the cell range B4:E20.
- Next, press on the number 2 in the top left corner.
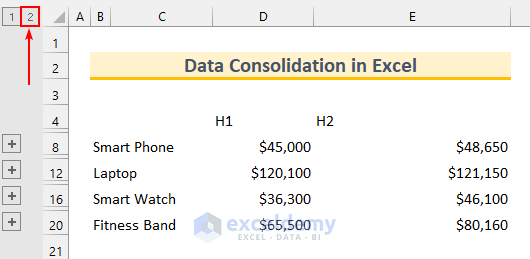
- After that, we can see the overall breakdown of the Data Consolidation. Moreover, if the values change in the original Sheet, these values will update automatically.

Summary
- Data Validation keeps our data error-free. We can make fewer typing errors if we use this feature. It is a data input tool.
- On the other hand, Data Consolidation merges values across different Sheets into a single Sheet. This is a data analysis tool.
Practice Section
We have added a practice dataset for each method in the Excel file. Therefore, you can follow along with our methods to understand Data Validation and Consolidation in Excel easily.

Download Practice Workbook
Conclusion
We have shown you Data Validation and Consolidation in Excel. If you face any problems regarding these methods or have any feedback for me, feel free to comment below.
<< Go Back To Consolidation in Excel | Merge Sheets in Excel | Merge in Excel | Learn Excel
Get FREE Advanced Excel Exercises with Solutions!
