
Image by Editor
Microsoft Word provides a wide range of built-in templates that can be used to start your document quickly. But you create your own custom templates based on your specific needs that can save you significant time and effort, especially when you frequently create similar documents.
In this tutorial, we will show how to create custom templates to streamline your workflow in Microsoft Word.
Step 1: Set Up Document
The first step in creating a custom template is setting up the basic structure of your document. This may include layout, formatting, and other elements that you want to include in every document you create using this template.
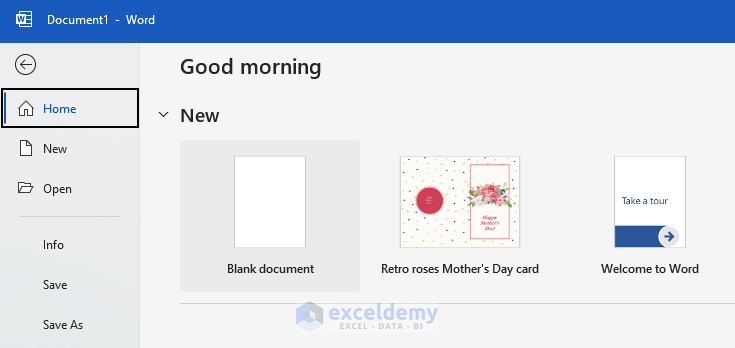
- Open a New Document:
- Launch Microsoft Word.
- Select Blank Document to open a new file.
- Adjust the Layout:
- Set the margins, page orientation (portrait or landscape), and page size (letter, A4, etc.).
- Go to the Layout tab and modify the Margins, Orientation, and Size options as needed.
- Example:
- Set Margins to Normal.
- Set Page Orientation to Portrait (default).
- Set Page Size to A4 (common size for reports).

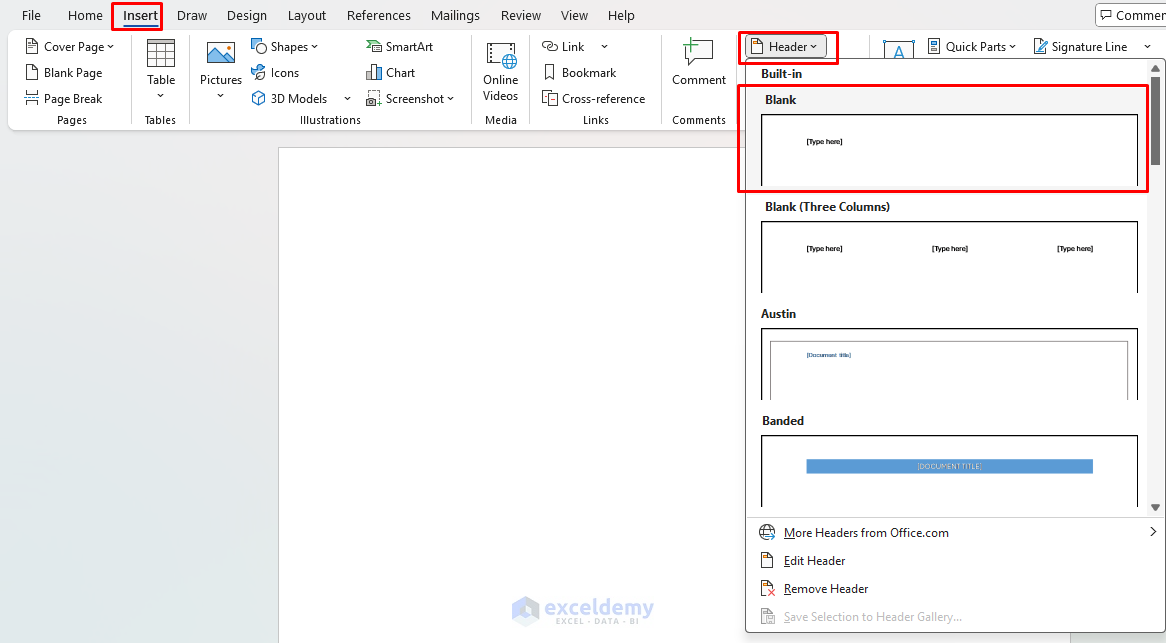
- Add Headers and Footers:
- To add a header or footer, double-click at the top or bottom of the page.
- You can include a title, page number, or other information such as the document’s creation date or your company’s logo.
- Click Header or Footer in the toolbar to choose a style and insert your desired content.
- Example:
- Go to the Insert tab >> select Header >> select Blank.
- In the header, type: Weekly Business Report in bold.
- Add a placeholder for the date (e.g., Date: [Enter Date Here]).
-
- Go to the Insert tab >> select Page Number >> select Bottom of Page >> select Plain Number 1 to add page numbers.

- Create Custom Styles
- Open the Styles pane.
- Go to the Home tab >> select Styles dialog launcher.
- Create new styles:
- Right-click in the Styles pane >> Modify Style.
- Create “Report Heading 1” (18pt, Blue, Calibri, Bold).
- Create “Report Heading 2” (14pt, Dark Blue, Calibri).
- Create “Report Body Text” (11pt, Dark Gray, Calibri).

- Include Placeholders:
- Add placeholder text for sections where you’ll later insert content.
- Under “Team Goals,” type: [Enter Team Goals for the Week].
- Under “Progress Update,” type: [Provide a Summary of the Current Week’s Progress].
- Under “Upcoming Tasks,” type: [List Tasks for the Next Week].
- These placeholders make it clear where users should enter their information.

- Create the Table of Contents:
- Go to the References tab >> select Table of Contents.
- Choose an automatic style (e.g., “Automatic Table 1”).
- This will allow your template users to generate a Table of Contents based on heading styles easily.

- Insert Common Elements:
- If your document often includes tables, charts, or images, consider inserting a sample table or an image placeholder. You can delete these later when creating new documents, but they can save time in the template creation process.
Step 2: Save the Document as a Template
Once you’ve customized the document layout, content, and styles, it’s time to save the document as a template.
- Click on File tab >> select Save As.
- Choose the location where you want to store your template.
- In the Save as type dropdown menu, select Word Template (*.dotx).
- Give your template a descriptive name and click Save.

This saves your document as a Word Template, meaning that each time you create a new document from this template, it will automatically load your settings and layout.
Step 3: Create a Template from a Pre-Existing Document
If you already have a document that you use frequently and would like to convert it into a template, follow these steps:
- Open the document you want to use as a template.
- Remove any specific content that should not be included in the template (e.g., names, dates).
- Save the file as a template:
- Click File tab >> select Save As.
- In the Save as type dropdown, select Word Template (*.dotx).
- Choose the location and name for the template.
Step 4: Create a New Document Using Custom Template
Once you’ve saved your custom template, it’s time to create a new document from it. Here’s how you can do that:
- Open Word.
- Click on File tab >> select New.
- Select Personal or Custom Templates (depending on your version of Word).
- Choose Your Template from the available templates list.

- The new document will open, ready for you to add content. Your formatting, styles, and placeholders will already be set up.

Set as Default:
For templates you use constantly:
- Save your template as “Normal.dotx” in the Word Templates folder.
- This becomes the default template for all new documents.
Step 5: Edit Template
If you need to make changes to the template after it’s been created:
- Open the Template:
- To make changes, you need to open the template itself, not a document created from it.
- Go to the File tab >> select Open and locate your saved template (usually with a .dotx extension).
- Modify the Template:
- Make the necessary changes to the document layout, styles, or content.
- Save the Template:
- After editing, save the template again in the same format by clicking File tab >> select Save.
Step 6: Share Template
Once your template is ready, you might want to share it with colleagues or friends. Here’s how you can do that:
- Save the Template as a .dotx File:
- As mentioned earlier, saving as Word Template (.dotx) ensures that others can use it.
- Email or Upload the Template:
- You can email the file directly, or upload it to a shared drive, cloud storage, or team collaboration tool.
Troubleshooting
- If your template isn’t appearing, check the save location.
- For enterprise settings, verify you have permission to create/modify templates.
- Back up important templates to avoid accidental loss.
By investing time in creating well-designed templates like the quarterly business report example above, you’ll save countless hours and maintain consistency across your documents.
Tips for Custom Templates in MS Word
- Consistency: Templates are ideal for ensuring that the same formatting, layout, and content are used consistently across documents.
- Complex Templates: You can add more complex elements like automated content, macros, and form fields to streamline data entry.
- Template Gallery: If you use multiple templates, create a folder dedicated to storing them for easy access.
- Automate Document Creation: Use placeholders and styles to make your templates more dynamic, allowing others to fill in specific sections quickly.
Conclusion
By creating custom templates in Microsoft Word, you can save time, reduce the likelihood of errors, and streamline your document creation process. Whether it’s for business reports, letters, or other regular documents, a template ensures consistency and efficiency in your workflow. Try setting up your custom template and notice how much time you save on repetitive formatting tasks.
Get FREE Advanced Excel Exercises with Solutions!
