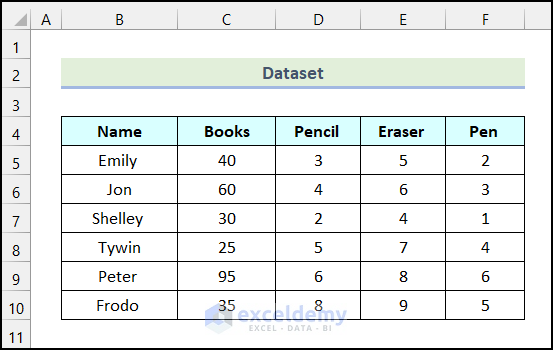
For this tutorial, we’ll use the following table as our dataset. Our goal is to swap the rows of the table using 4 different methods.
Method 1 – Apply Copy and Paste Commands to Swap Rows
Steps:
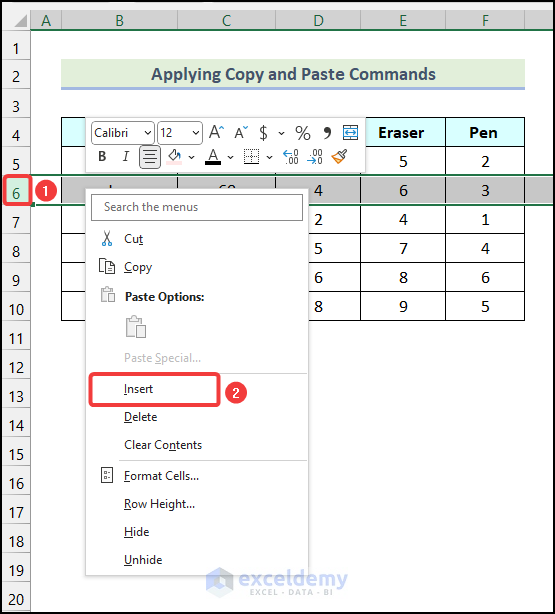
- Let’s say we want to swap the entire row named “Tywin” and place him under “Emily”. To do that, select the row number of “Jon” by right-clicking the mouse.
- Choose Insert from the Context Menu.
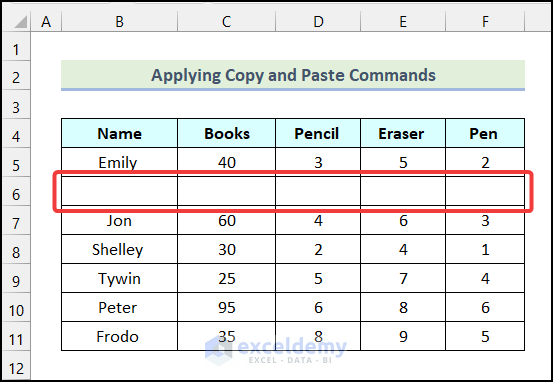
A blank row will be created below the row of “Emily” as shown in the following image.
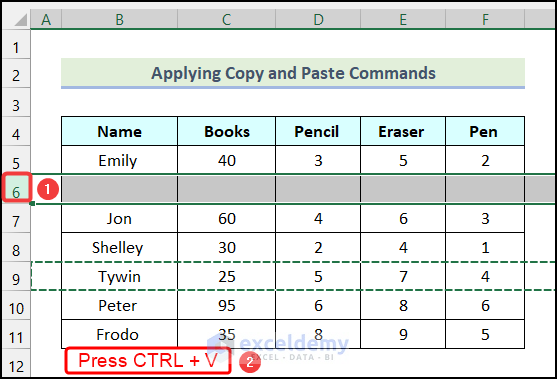
- Select the “Tywin” row and press CTRL + C to copy it.
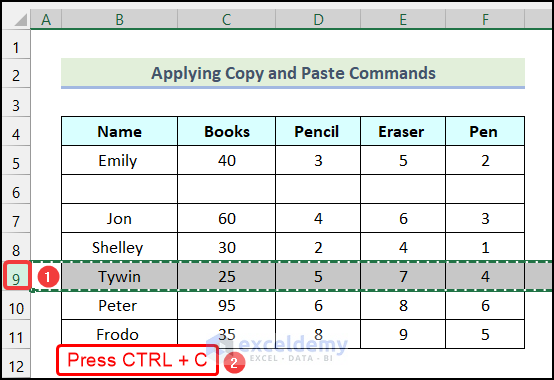
- Click on Row 6 and press the keyboard shortcut CTRL + V.
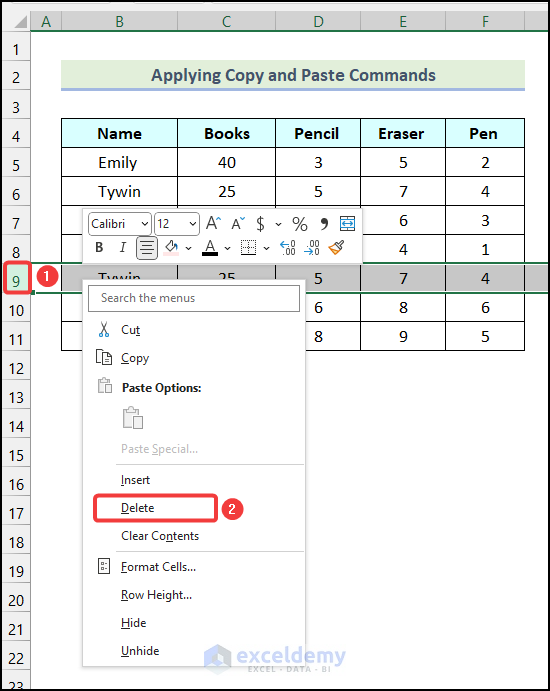
- Select Row 9 and right-click on any one of the cells in the row.
- Choose the Delete option to delete the duplicate “Tywin” row.
You will see that the Tywin row is now under Emily row, as marked in the image below.

Read More: How to Paste Transpose in Excel Using Shortcut
Method 2 – Use the Mouse and SHIFT Key to Swap Rows
Steps:
- Select the entire row you need to swap. Here, we selected row 6 from our dataset.
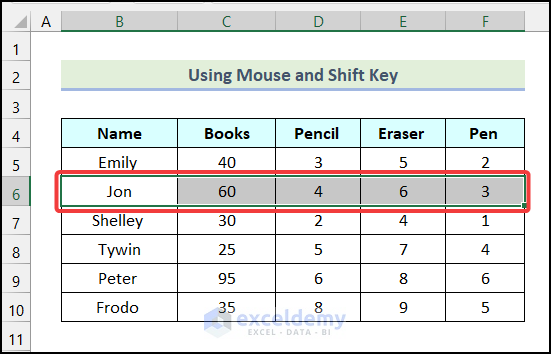
- Press and hold your SHIFT key and drag the selected row by left-clicking your mouse to your desired location until you see a solid green line as shown in the following picture.
- Release the SHIFT key release the left mouse button.
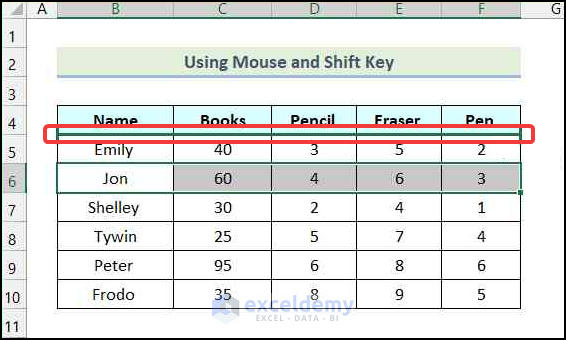
Row 6 and row 5 will swap their positions as shown in the following image.

Method 3 – Utilize Keyboard Shortcuts to Swap Rows
Steps:
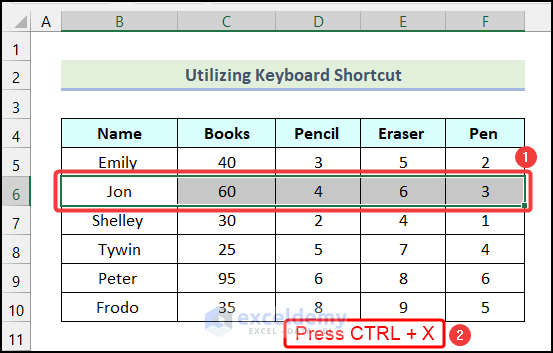
- Select the row you want to swap. Here, we selected row 6.
- Press the keyboard shortcut CTRL + X.
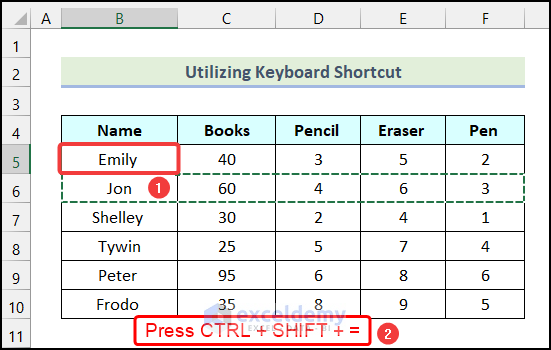
- Select the first cell of the row where you want to place the cells of row 6. In this case, we selected cell B5.
- Use the keyboard shortcut CTRL + SHIFT + = to swap Rows 6 and 5.
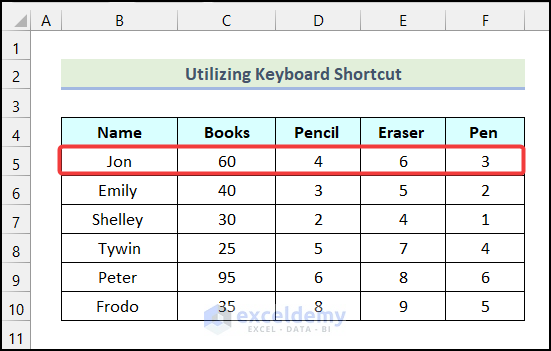
You should see that row 6 and row 5 of the initial dataset have swapped positions, as demonstrated in the following picture.
Method 4 – Use a VBA Macro to Swap Rows
Steps:
-
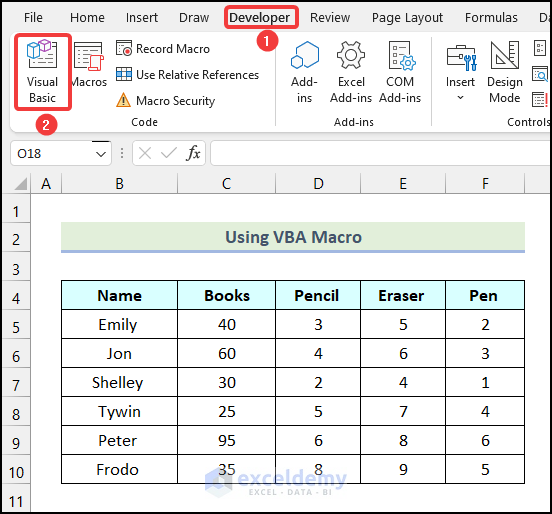
- Go to the Developer tab from Ribbon.
- Select the Visual Basic option from the Code group.
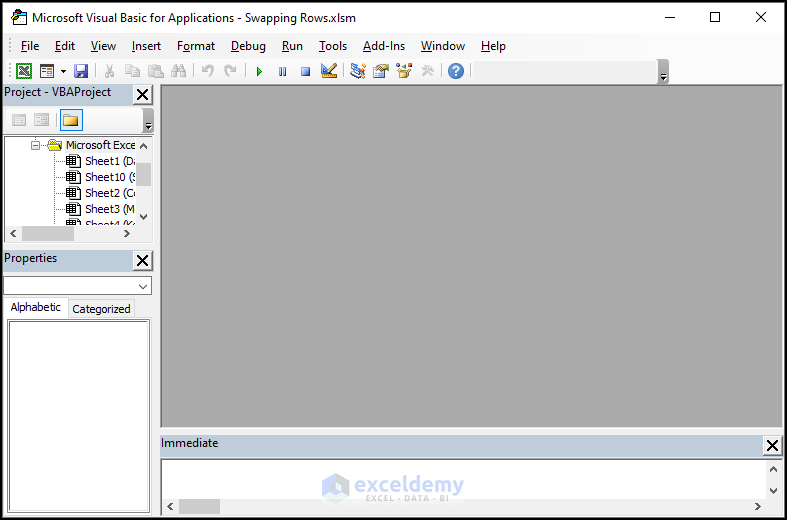
The Microsoft Visual Basic window will open on your worksheet.
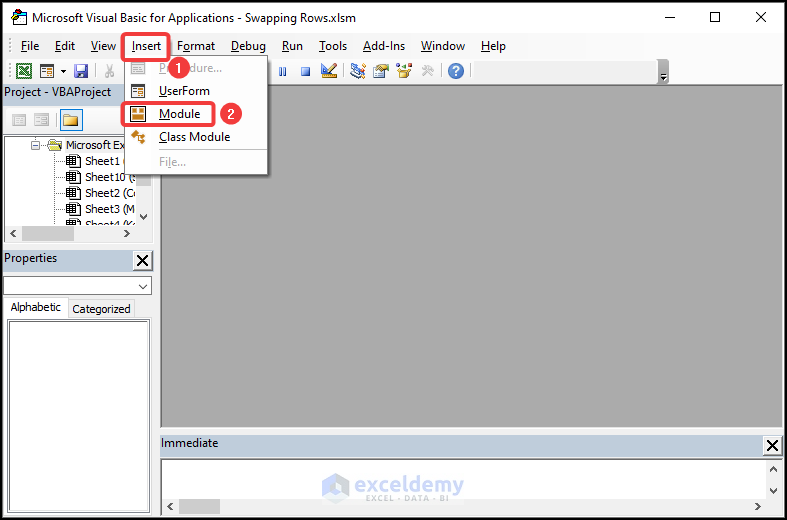
- In the Microsoft Visual Basic window, go to the Insert tab.
- From the drop-down menu, select Module.
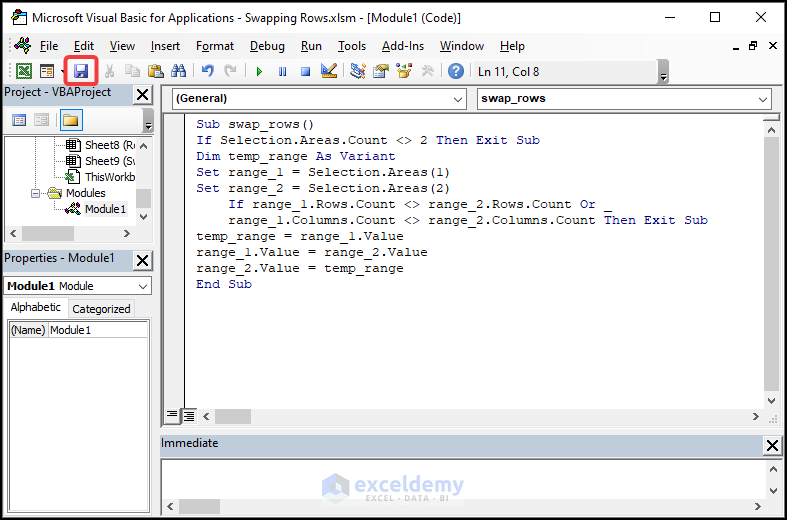
- Write the following code in the newly created Module.
Sub swap_rows()
If Selection.Areas.Count <> 2 Then Exit Sub
Dim temp_range As Variant
Set range_1 = Selection.Areas(1)
Set range_2 = Selection.Areas(2)
If range_1.Rows.Count <> range_2.Rows.Count Or _
range_1.Columns.Count <> range_2.Columns.Count Then Exit Sub
temp_range = range_1.Value
range_1.Value = range_2.Value
range_2.Value = temp_range
End Sub
Code Breakdown
- We initiated a sub procedure named swap_rows().
- Then, we used an IF statement to check if the selected number of rows is equal to 2 or not. If it is not equal to 2, then it will exit the sub procedure.
- Next, we declared a variable temp_range as Variant.
- We then assigned our first selected range in the range_1 variable and the second range in the range_2 variable.
- The next part of the code uses an IF statement to avoid swapping multiple rows with a single row. Only one row can be selected for the range variables.
- We assigned the value of the range_1 variable in the temp_range variable.
- Next, we assigned the value of the range_2 variable to the range_1 variable.
- Then, we reassigned the value of the temp_range variable to the range_2 variable.
- Finally, we terminated the sub procedure.
- Click on the Save icon as marked in the following image.
- Use the keyboard shortcut ALT + F11 to return to the worksheet.
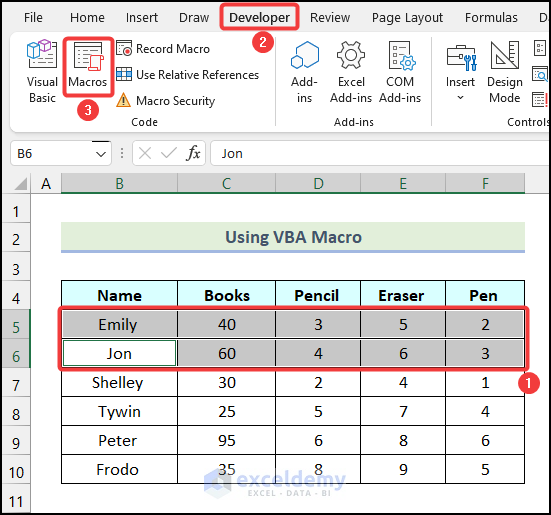
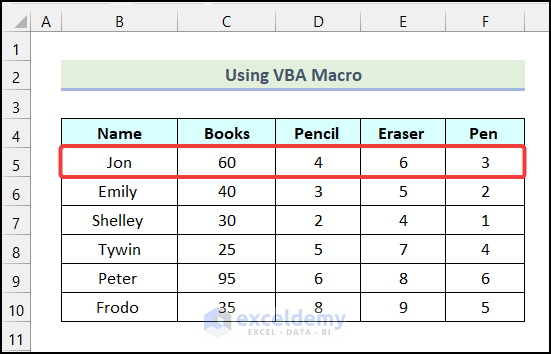
- Select the rows you want to swap and go to the Developer tab from Ribbon.
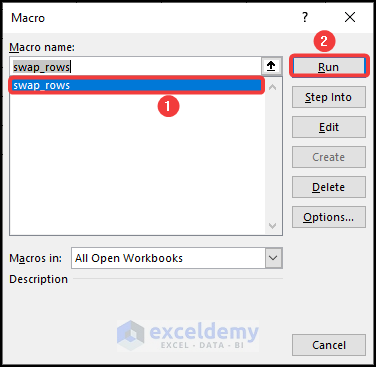
- Choose the Macros option from the Code group.
- Choose the swap_rows option in the Macros dialogue box.
- Click on Run.
Row 6 and row 5 will be swapped as shown in the following picture.
Read More: How to Swap Non-Adjacent Cells in Excel
How to Swap Rows and Columns in Excel
Steps:
- Select the entire data set and press the keyboard shortcut CTRL + C to copy it.
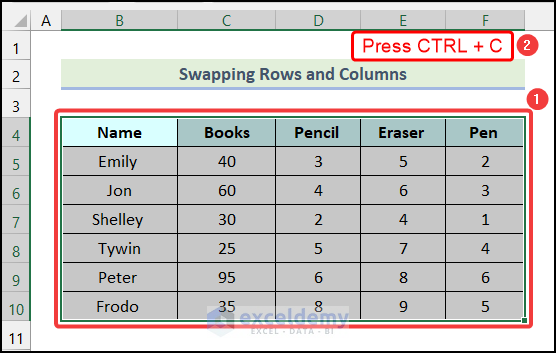
- Select the cell where you want to paste it. In this case, we selected cell B12.
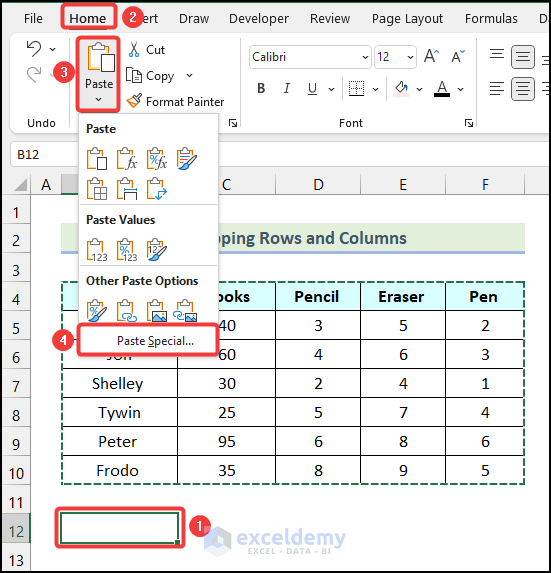
- Go to the Home tab from Ribbon.
- Choose the Paste option.
- Select the Paste Special option from the drop-down menu.
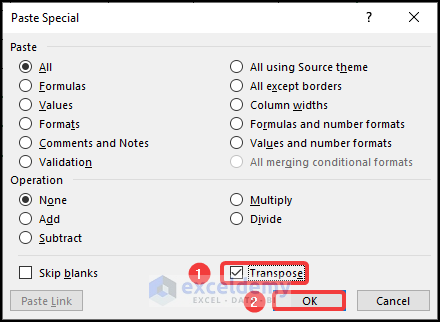
- From the Paste Special dialog box, check Transpose field
- Click OK.
You will see that the rows and columns have swapped positions as demonstrated in the following image.

How to Swap Columns in Excel
Steps:
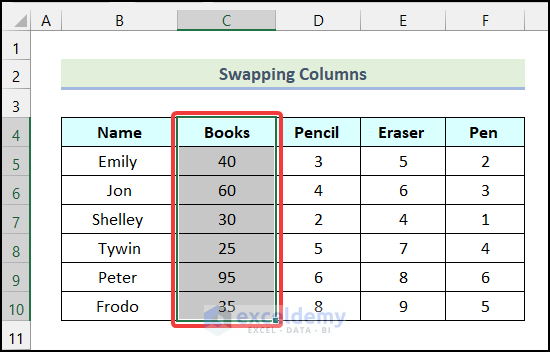
- Select the entire column you need to swap. Here, we selected the column of Books from our dataset.
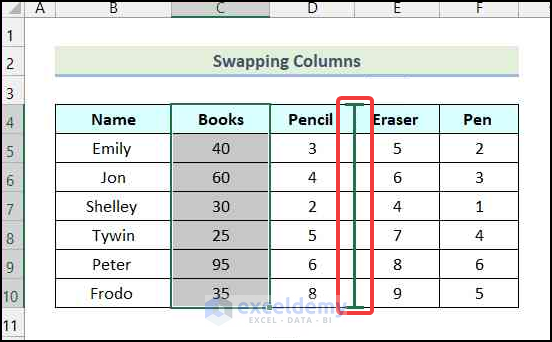
- Press and hold your SHIFT key and drag the selected column by left-clicking your mouse to your desired location until you see a solid green line as shown in the following picture.
- Let go of the SHIFT key and release the left mouse button.
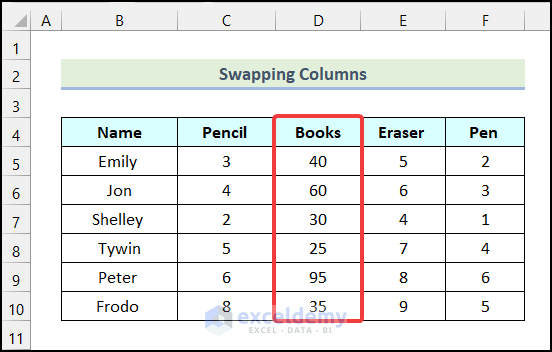
You will see that the Books column is swapped with the Pencil column as demonstrated in the picture below.
How to Swap Cells in Excel
Steps:
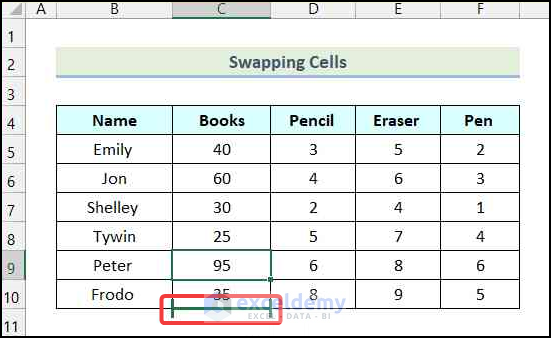
- Select the cell you want to swap. Here, we selected cell C9.

- Press and hold your SHIFT key and drag the selected cell by left-clicking your mouse to your desired location until you see a solid green line as shown in the following picture.
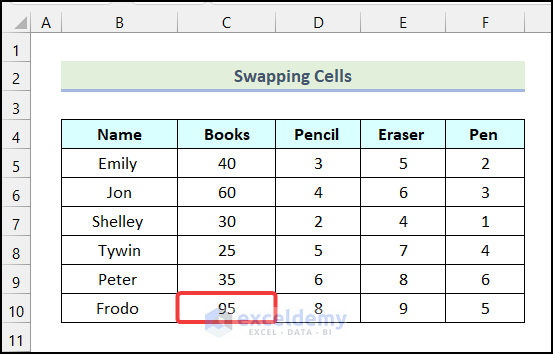
- Let go of the SHIFT key and release the left mouse button.
Your selected cell will be swapped as demonstrated in the following picture.
Read More: How to Swap Cells in Excel
Things to Remember
- While swapping rows using Method 2, you need to keep holding your mouse key until you complete your swap
- When swapping between rows and columns is done in Method 3, remember that the Transpose function is static. That means, if you make changes in the source data, the swapped value will not change.
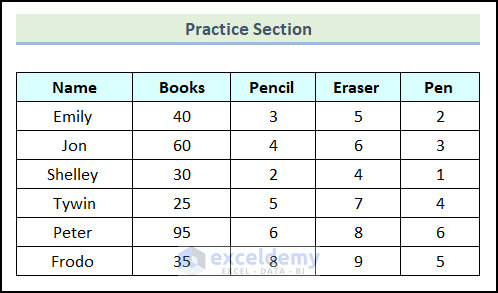
Practice Section
In the Excel Workbook, we have provided a Practice Section on the right side of the worksheet. Please practice it by yourself.
Download Practice Workbook
Download this practice sheet to practice while you are reading this article.
Further Readings
- How to Reverse Transpose in Excel
- Swap Axis in Excel
- How to Convert Columns to Rows in Excel Based On Cell Value
- Swap Text in Excel
- How to Perform Conditional Transpose in Excel
- Reverse Order of Columns Horizontally in Excel
- How to Transpose Rows to Columns Based on Criteria in Excel

