Nowadays, companies need to create email addresses for their employees very often. It is tiring and time-consuming to create email addresses one by one. It will be handier if we can create email addresses automatically by their names and company domain. In this article, I will demonstrate the formula to create an email address in Excel.
Formula to Create Email Address in Excel: 2 Examples
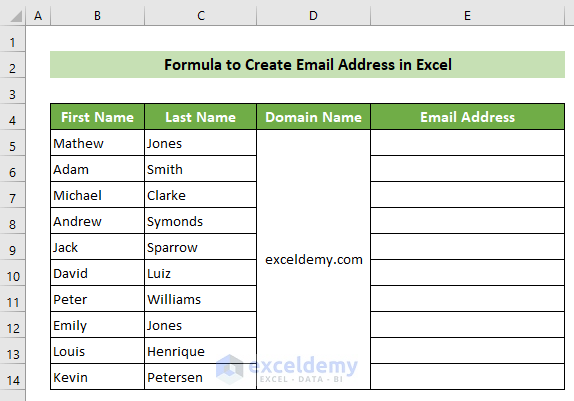
Suppose, we have a dataset containing the first names and last names of the employees, and we have the company domain. Now, we want to create the email addresses as the first letter of the employee’s first name combined with the last name and the @ sign, and the domain. For example, if one’s name is Adam Smith and the company’s domain is exceldemy.com, the desired email address would be [email protected]. Go through any of the following methods to accomplish this. 👇
1. Combine CONCATENATE, LOWER, and LEFT Functions to Create Email Address
You can use the CONCATENATE function to create email addresses for your employees. In addition to this, You will need the LOWER function and the LEFT function in creating email addresses in your desired format. Follow the steps below to do this. 👇
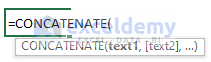
The CONCATENATE function is used to combine multiple texts. If you want to put some value or sign in the argument, you need to put the value or sign inside double quotation marks(“ ”).
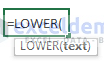
The LOWER function is an Excel function that lowercases a text value. It has mainly one argument only, that is text. You need to put the text value or cell reference in the argument. And, the function will return the value as lowercase text.
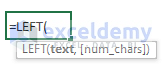
The LEFT function is an Excel function that trims a specific number of characters of a text value. It has mainly two arguments, where one is optional. Such as text and num_chars. The text argument takes in the text which needs to be trimmed. And, the num_chars argument takes the argument for how many characters should be trimmed.
📌 Steps:
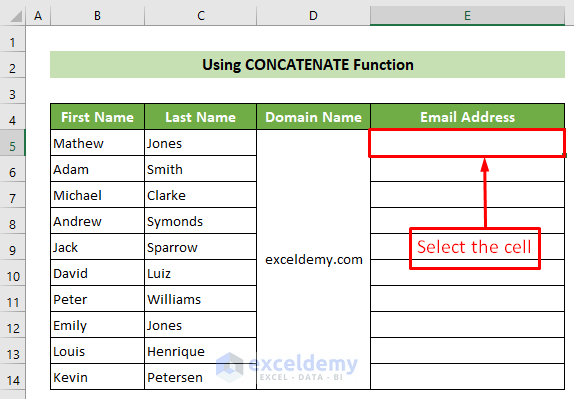
- First and foremost, click on the E5 cell, where you want your desired email address.
- Subsequently, insert the formula below. Following, press the Enter button.
=CONCATENATE(LOWER(LEFT(B5)),LOWER(C5),"@",$D$5)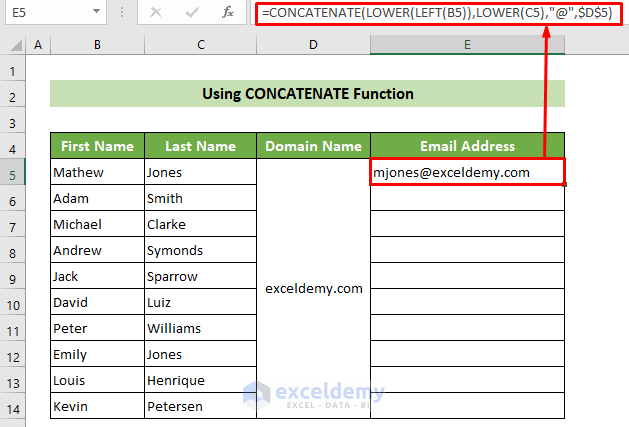
🔎 Formula Breakdown:
- LEFT(B5):
→ It trims the B5 cell to one character. So, it returns only the first letter.
Result: M
- (LOWER(LEFT(B5)):
→ It lowercases the first letter extracted by the LEFT function.
Result: m
- LOWER(C5):
→ It lowercases the letters of the C5 cell.
Result: jones
- =CONCATENATE(LOWER(LEFT(B5)),LOWER(C5),”@”,$D$5)
→ It combines the lowercase first letter of the B5 cell, the lowercase text of the C5 cell, the ‘@’ symbol, and the D5 cell which is the domain name.
Result: [email protected]
- As a result, you will get the email address in your desired format for your employee Mathew Jones.
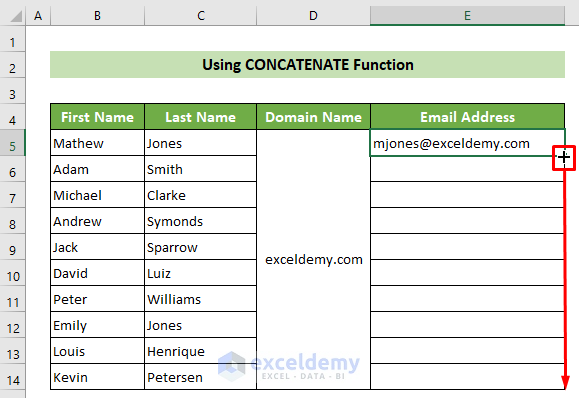
- Now, place your cursor on the bottom-right position of the E5 cell. Consequently, you will see that a black fill handle will appear. Subsequently, drag the fill handle downward to copy the formula for all the cells below.
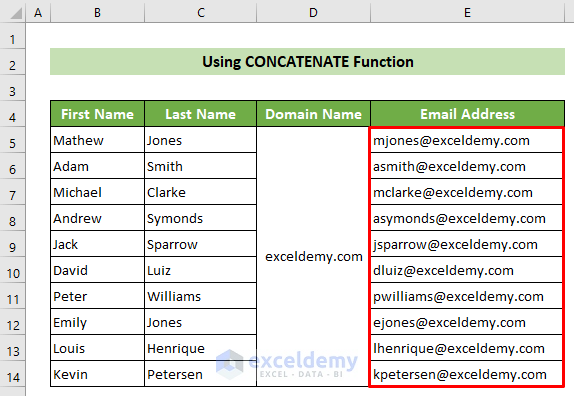
Thus, you can see you have created the email addresses for all of your employees in Excel. And, for example, the result sheet will look like this. 👇
Note:
You can also use the CONCAT function instead of the CONCATENATE function. These two work same in this regard.
Read More: How to Make an Address Book in Excel
2. Combine Ampersand (&) Symbol with LOWER and LEFT Functions to Generate Email Addresses
You can also use the Ampersand (&) symbol’s functionality to automate email addresses in Excel. Follow the steps below to achieve this. 👇
📌 Steps:
- At the very beginning, click on the E5 cell to write the desired formula in this cell.
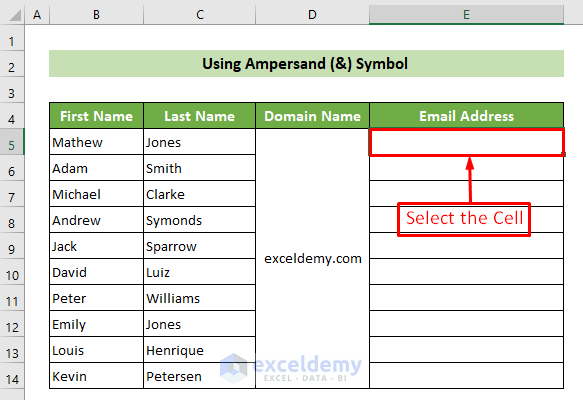
- Following, write the formula that is given below in the E5 cell. Subsequently, press the Enter button.
=LOWER(LEFT(B5)&C5)&"@"&$D$5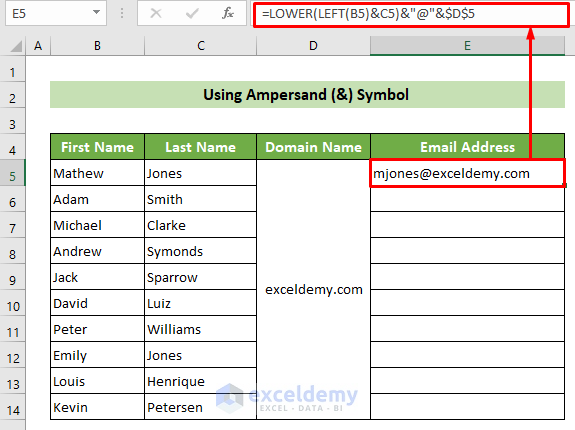
🔎 Formula Breakdown:
- LEFT(B5):
→ This return the first letter of the B5 cell.
Result: M
- LOWER(LEFT(B5)&C5):
→ This combines the first letter of the B5 cell and the value of the C5 cell and lowercase the combination.
Result: mjones
- LOWER(LEFT(B5)&C5)&”@”&$D$5
→ This combines the previous result with the ‘@’ symbol and the domain name.
Result: [email protected]
- As a result, you have automated an email address for Mathew Jones.
- At this time, put your cursor in the bottom right position of the cell. Following, when the fill handle appears, drag it down to copy the formula to all the cells below.
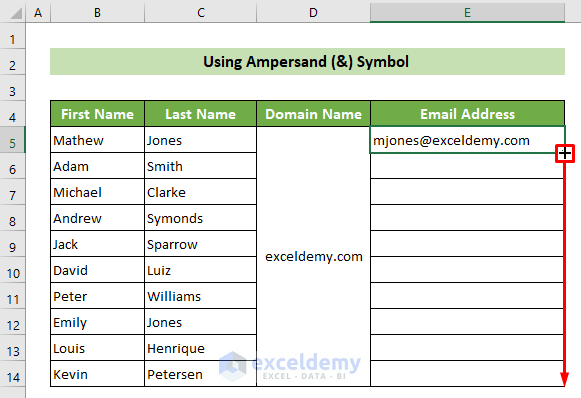
Finally, you can see all your employees’ email addresses are created. Thus, the result sheet should look like this. 👇

Read More: Create Email Address with First Initial and Last Name Using Excel Formula
💬 Notes
- Here, your domain name remains the same for all the employees. So, to avoid mistakes, the cell containing the domain name should be referenced as absolute in the formula. To do this, you can use the dollar sign($) in front of the row number and column number. Else, you can simply press the F4 key.
Download Practice Workbook
You can download and practice from our workbook here.
Conclusion
To conclude, in this article, I have shown you two methods to apply formulas to create email addresses in Excel. Go through the full article and subsequently practice on your own from our practice workbook. I hope you find this article helpful and informative. If you have any further queries or recommendations, feel free to comment here.
Related Articles
- How to Format Addresses in Excel
- How to Organize Addresses in Excel
- Extracting Email Addresses from Excel
- How to Format a Column for Email Addresses in Excel
<< Go Back to Address Format | Text Formatting | Learn Excel
Get FREE Advanced Excel Exercises with Solutions!
