A Microsoft Excel sortable table organizes your address details for quick access. In an alternative, style a pre-designed address book using a Microsoft template. Using Excel, we can create an address book similar to the phone book on our phone. There is a place where we can store a lot of data about individuals in different categories. Having the ability to sort and filter them, and modify them in multiple ways, is an advantage. In this tutorial, you will learn 2 effective ways to organize addresses in Excel.
How to Organize Addresses in Excel: 2 Effective Ways
1. Organize Addresses in Excel by Creating a Table
It’s easier to manage the address book if we format it as a table. Follow the steps below to create a table.
📌 Steps:
- In the beginning, in an Excel worksheet, type the column headers.

- To format the postal code, right-click the Zip Code column, and select Format Cells from the drop-down list. A Format Cells window will pop up.
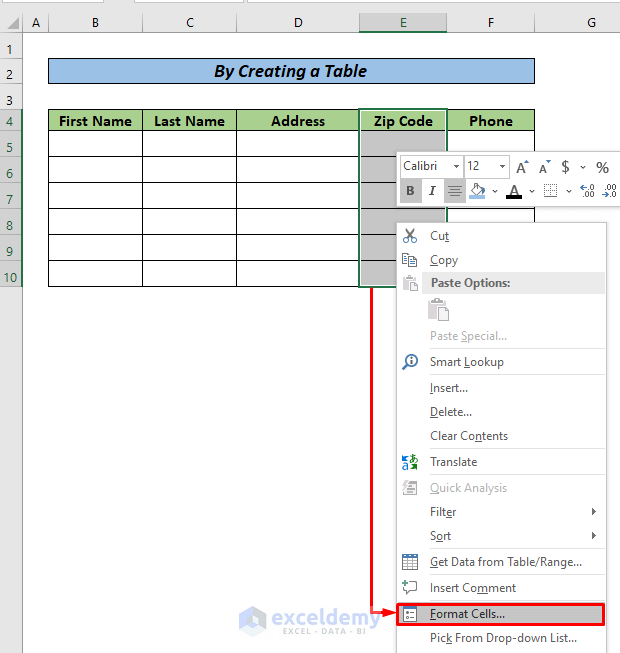
- Now, under the Number section, go to the Special category, then click on the ZIP Code. Finally, click on OK.

- To format the phone number, right-click the Phone column, and select Format Cells from the drop-down list. A Format Cells window will pop up.
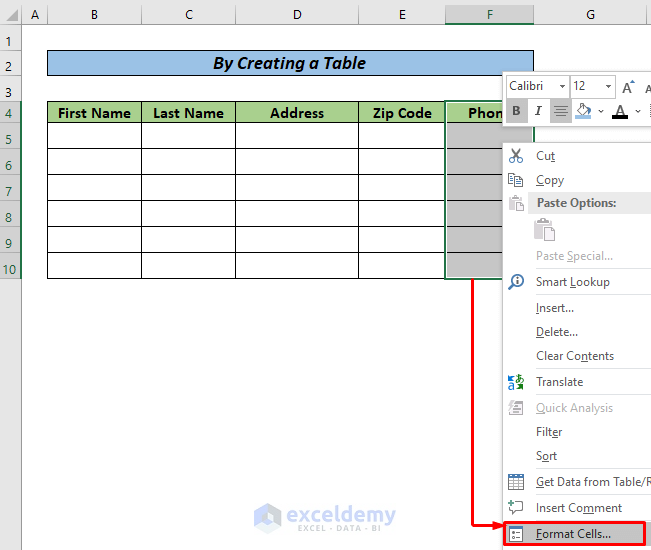
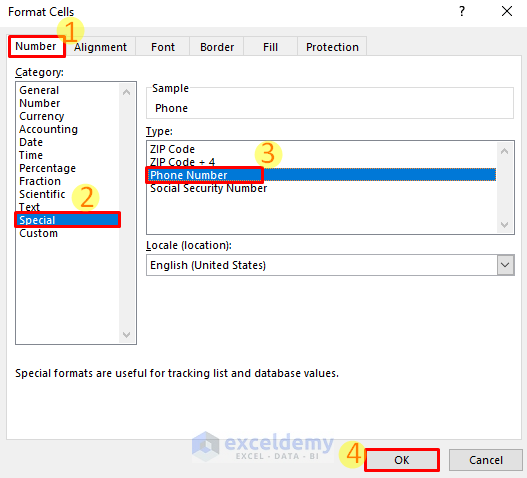
- Now, under the Number section, go to the Special category, then click on the Phone Number. Finally, click on OK.
- Now, enter names and addresses in the table.
- You can format your list into a table by selecting the data, and then, clicking Format as a Table, selecting a style. A Create Table dialog box will appear.
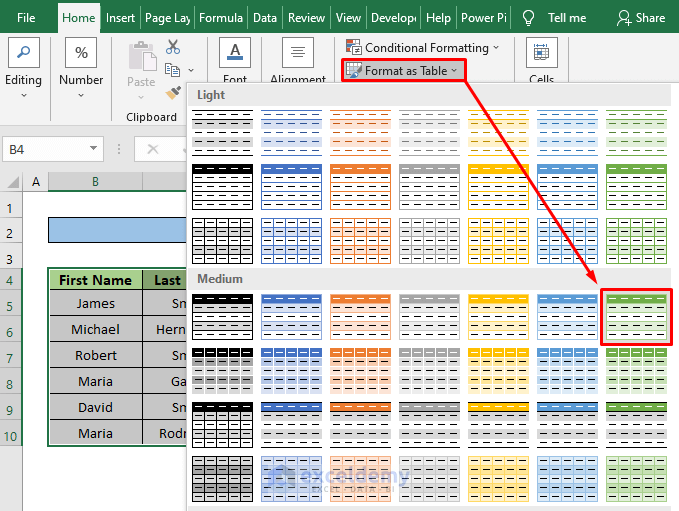
- Make sure the table location is selected properly. In this example, B4:F10. And also make sure the tick mark on the My table has headers box. Finally, click on OK.

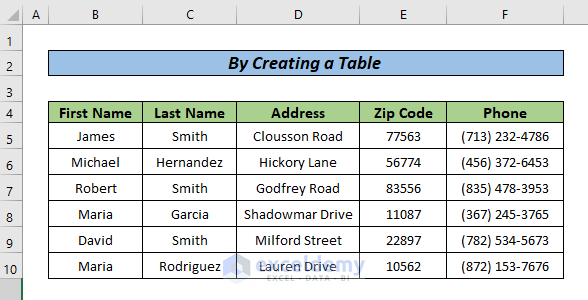
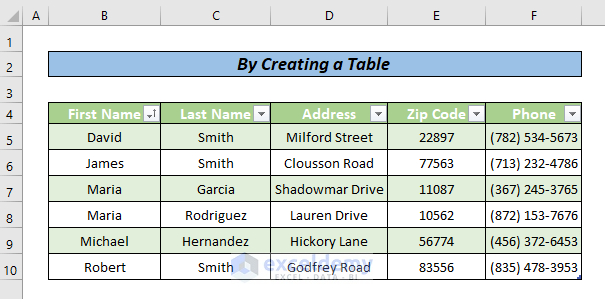
Here is the formatted table.

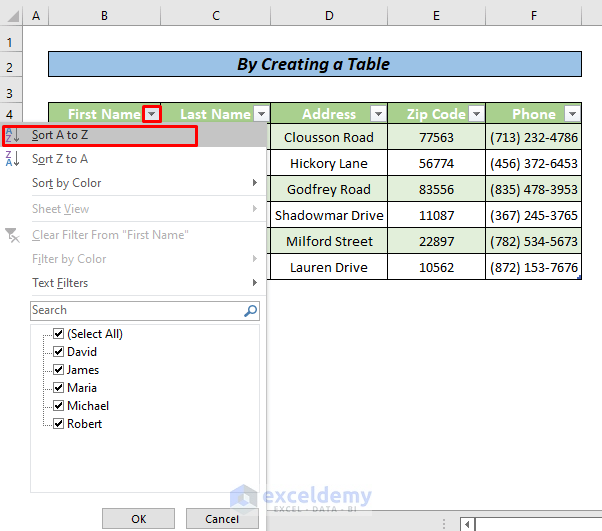
- You can sort the table by selecting the column header drop-down, then selecting a sort option. In this example, we sorted the First Name by clicking on the A to Z option from the drop list.
Finally, here is the table of your data, and you can easily organize the data.
Read More: How to Format Addresses in Excel
2. Use an Excel Template
You can create a meaningful address book using a pre-designed Microsoft template. Just follow the steps below to do this.
📌 Steps:
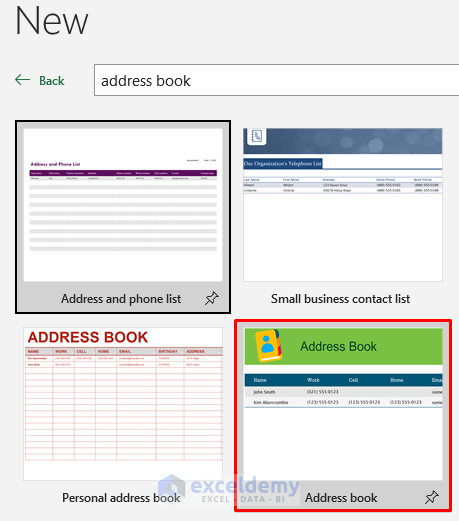
- Open the templates list by clicking the File tab on the command ribbon. To see thumbnails in the search results, enter “address book” (without quotation marks) in the Search for Online Templates box.
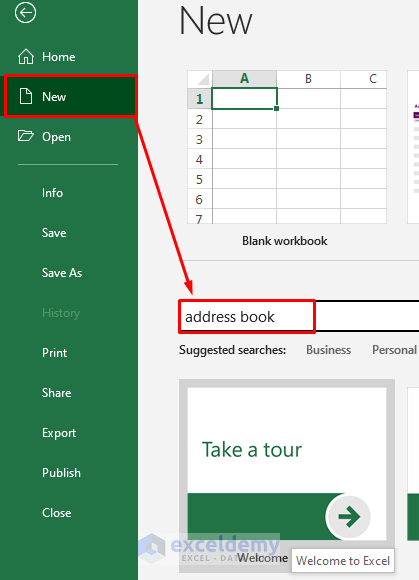
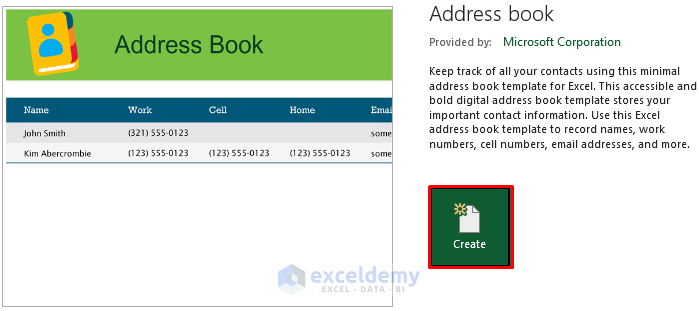
- There are some examples of the templates such as Address Book, Personal Address Book, Address and Phone list, etc. View an enlarged version of your preferred template with its description, download size, and rating when you click a thumbnail (In this example, we chose Address book.
- Create a new workbook by clicking Create.
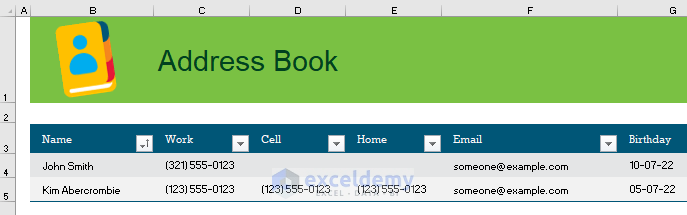
The following image displays a new workbook with an address book that contains the contact’s data.
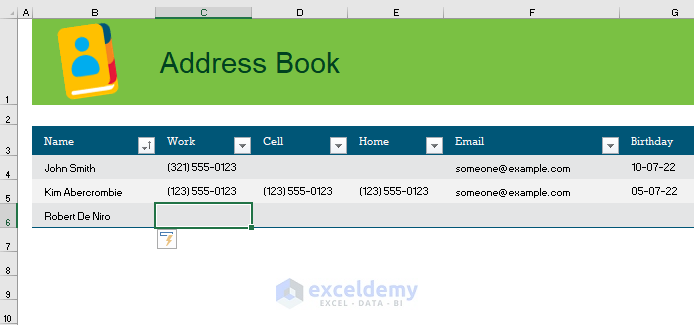
- To move the cursor to the next table column, click a cell, enter the contact’s data, and then press Tab. By doing this, you can manually enter the contact’s data in the address book.
Read More: How to Make an Address Book in Excel
Download Practice Workbook
You can download the practice workbook that we have used to prepare this article.
Conclusion
In this tutorial, I have discussed 2 effective ways to organize addresses in Excel. I hope you found this article helpful. Please, drop comments, suggestions, or queries if you have any in the comment section below.
Related Articles
- Extracting Email Addresses from Excel
- Formula to Create Email Address in Excel
- Create Email Address with First Initial and Last Name Using Excel Formula
- How to Format a Column for Email Addresses in Excel
<< Go Back to Address Format | Text Formatting | Learn Excel
Get FREE Advanced Excel Exercises with Solutions!
