Understanding the Wrap Text Feature in Excel
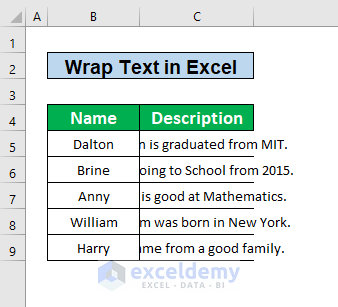
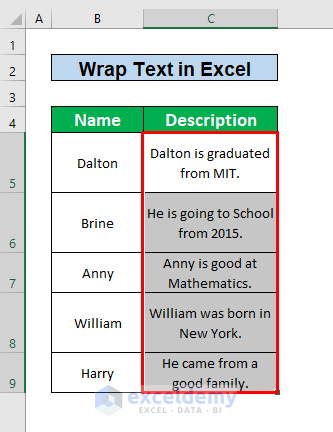
In Excel, the Wrap Text feature is crucial for improving text readability. Let’s consider a dataset where individuals’ names and descriptions are stored in columns B and C, respectively. Take a look at column C—you’ll notice that the full information about each person (from column B) isn’t visible. The Wrap Text feature can address this issue effectively. Follow the instructions below to learn how to use it:
- Assess the Dataset: Start by examining your dataset. If the text in the description column is hard to read, it’s time to apply the Wrap Text option.
- Applying Wrap Text:
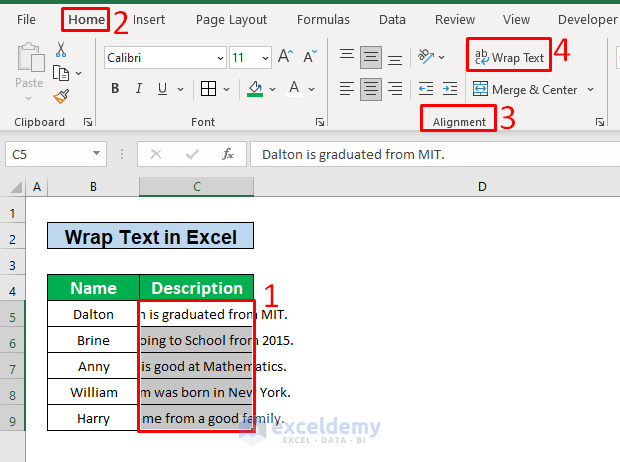
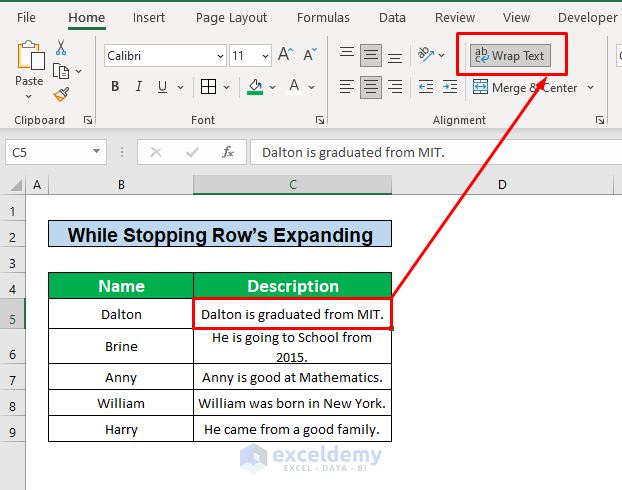
- Select cells C5 to C9 (where the descriptions are located).
- From the Home tab, navigate to the Alignment group.
- Click on the Wrap Text option.
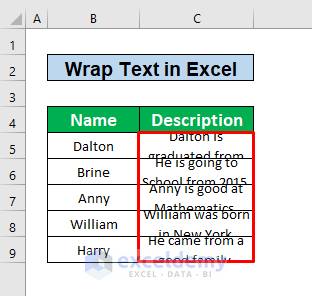
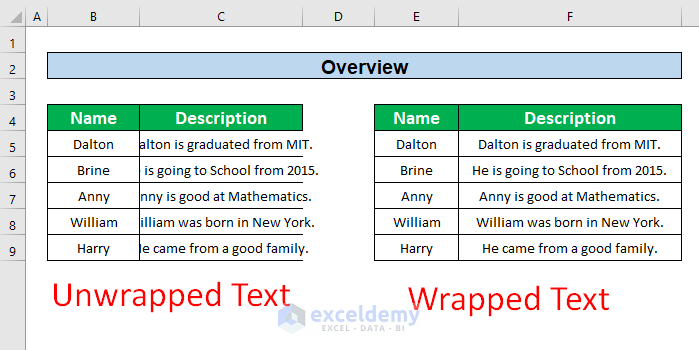
- Result: After enabling Wrap Text, the text within the cells will adjust to fit the available width, making it more readable.
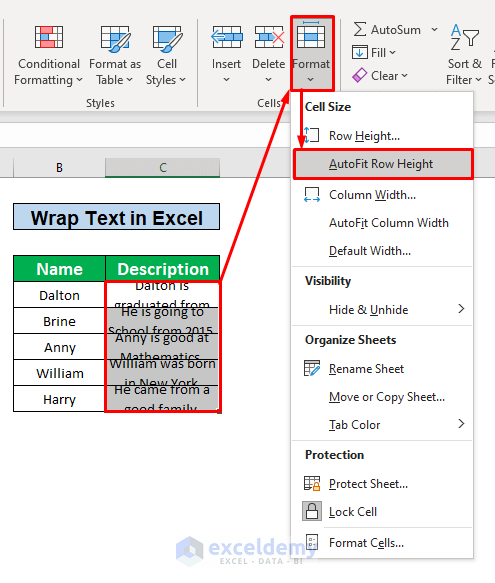
- Adjusting Row Height: Sometimes, even with wrap text enabled, the text may not be entirely clear due to row height limitations.
- To adjust row height, select the rows containing the wrapped text.
- Right-click and choose Format Cells.
- Go to the Alignment tab and check the AutoFit Row Height option.
-
- The text will now be easily readable and clearly displayed.
Read More: How to Wrap Text in Excel Cell
We’ll use the following dataset to discuss the reasons and solutions for why wrap text is not working in Excel.
Solution 1 – Apply the AutoFit Row Height Option
Problem:
The Wrap Text functionality isn’t working due to the Row Expansion problem.
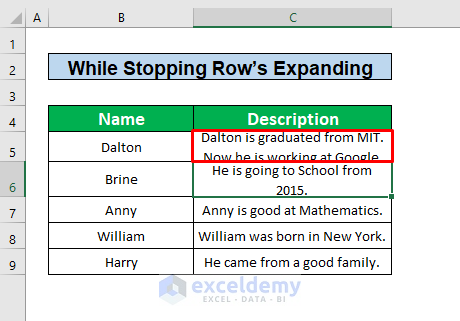
Scenario:
Suppose we have a dataset, and one of the cells (let’s say cell C5) contains the text Dalton is graduated from MIT. This text is already wrapped within the cell. Now, we want to add additional information about Dalton to cell C5 – “Now he is working at Google.”.
Solution:
Follow these steps:
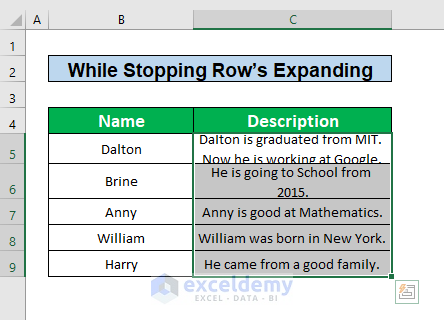
- Select cell C5.
- Type in the additional text: “Now he is working at Google.”
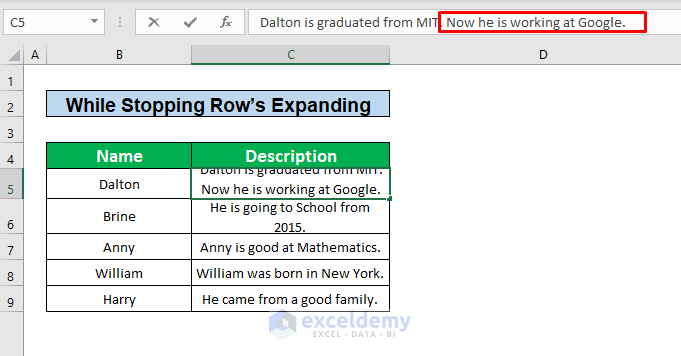
- Press Enter on your keyboard to update Dalton’s information in cell C5.
- To fix the issue, select cells C5 to C9.
- From the Home tab, click on the AutoFit Row Height option.
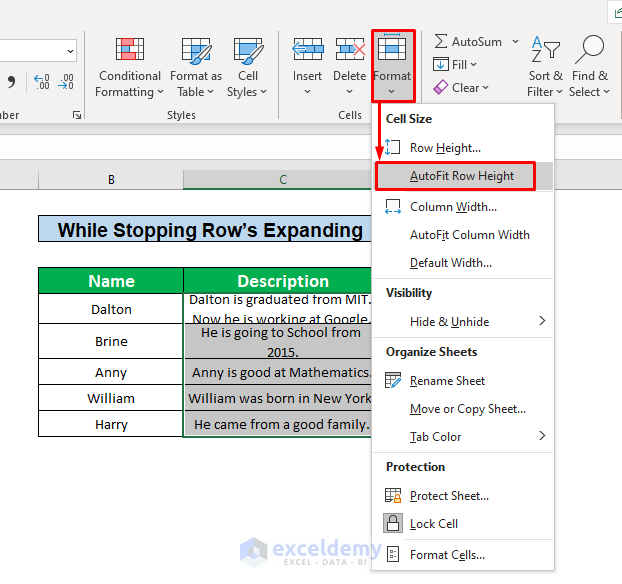
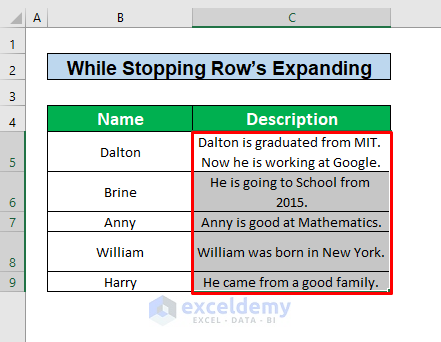
- This should resolve the problem with wrapping text in Excel.
Read More: Excel Auto Fit Row Height for Wrap Text
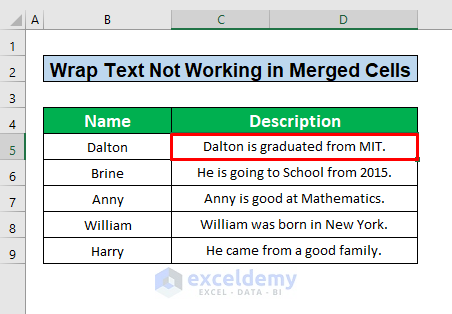
Solution 2 – Unmerge Cell to Enable Wrap Text
Problem:
When cells are merged, the Wrap Text feature may not work as expected.
Scenario:
Imagine that cells C5 and D5 are merged. We want to wrap text within this merged cell range and display additional information about Dalton.
Solution:
Follow these steps:
- Select the merged cells C5 and D5.
- Type “After completing his graduation, he starts working with Google.” within the merged cells.
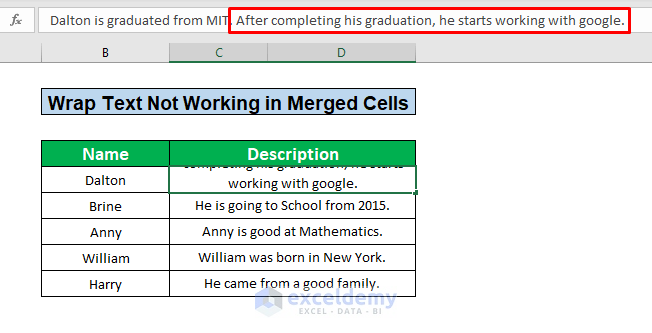
- Press Enter to confirm the input.
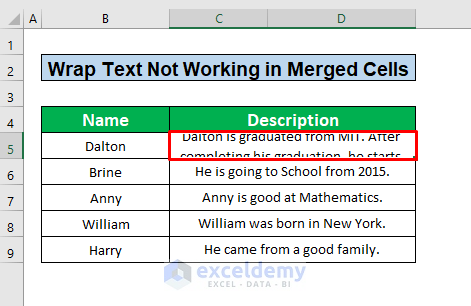
- Unmerge the cells:
-
- From the Home tab, click on the Merge & Center option.
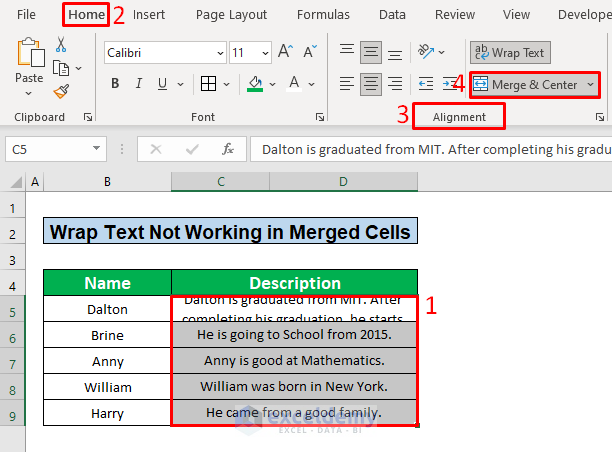
- Select the cell range B4:C9.
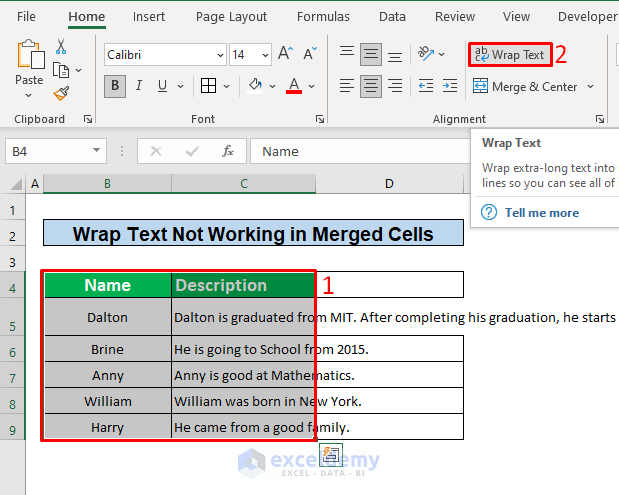
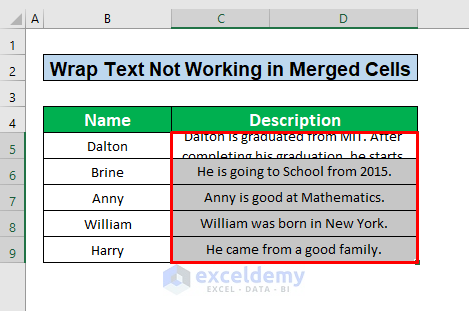
- Click the Wrap Text option.

By following these steps, you’ll be able to wrap text effectively in Excel.
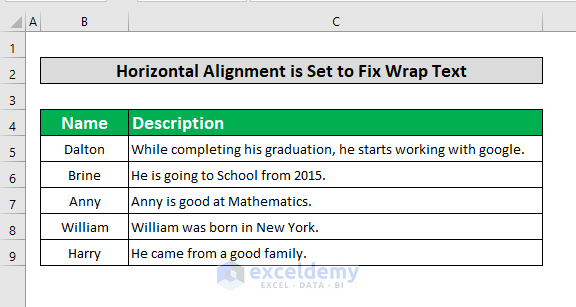
Method 3 – Horizontal Text Alignment
Problem:
Sometimes cell data exceeds the cell length, causing it to spill over into adjacent cells. We want to avoid this issue.
Solution:
To fix the Wrap Text problem using the Horizontal Alignment command, follow these steps:
- Right-click your mouse on the cell.
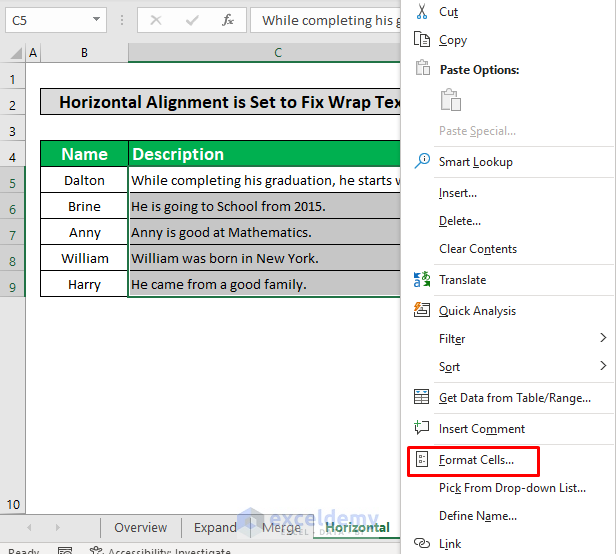
- A window will appear. Select Format Cells.
- In the Format Cells dialog box, go to the Alignment tab, select General under Horizontal.
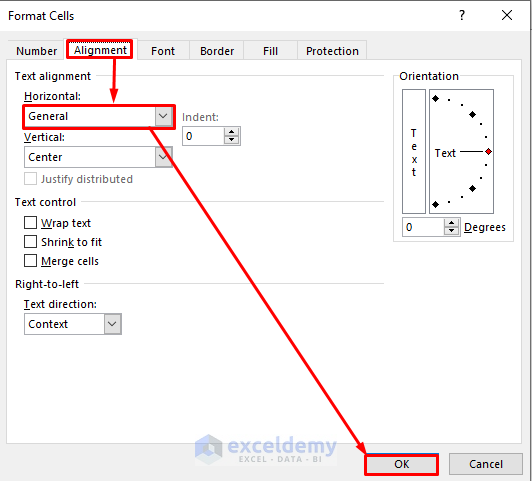
- Click OK to apply the changes.
Read More: [Fixed] Wrap Text Not Showing All Text in Excel
Solution 4 – Resize Cells
Problem:
When the cell length exceeds the text length, the wrap text feature doesn’t work as expected.
Solution:
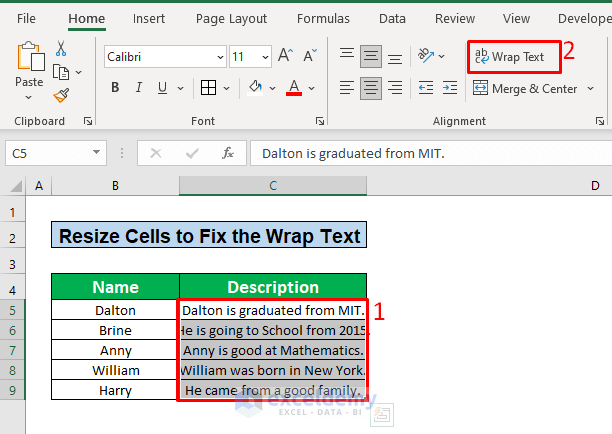
Follow these steps:
- Examine your dataset and identify cells where the text length exceeds the cell size.
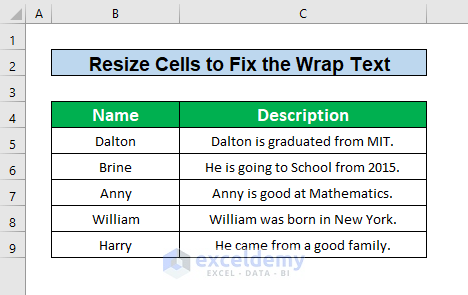
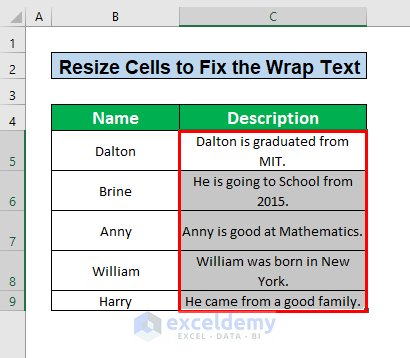
- Resize the columns or cells to accommodate the text.
- Apply the Wrap Text option to make the text readable.
Things to Remember
- To apply the Wrap Text option in merged cells, unmerge them first.
- Adjust column lengths to enable the Wrap Text feature.
Download Practice Workbook
You can download the practice workbook from here:
Related Articles
- Wrap Text Shortcut Key in Excel
- How to Make Text Automatically Wrap Around in Excel
- [Fix]: Excel Wrap Text Cutting off Words
- How to Unwrap Text in Excel
<< Go Back to Wrap Text | Text Formatting | Learn Excel
Get FREE Advanced Excel Exercises with Solutions!
