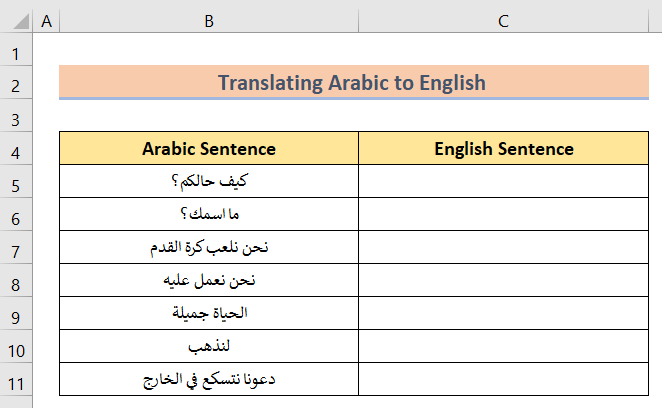
Step 1 – Arranging the Dataset
- We have sentences in Arabic in Column B and their English equivalents in Column C. The sample includes some common everyday sentences in Arabic.
Step 2 – Using the Translate Option
- Select the cells that you want to convert.
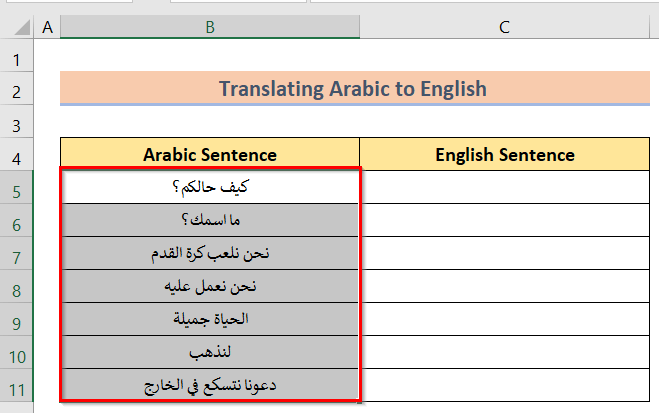
- Right-click on the selected data and select the Translate option from the context menu option.
![]()
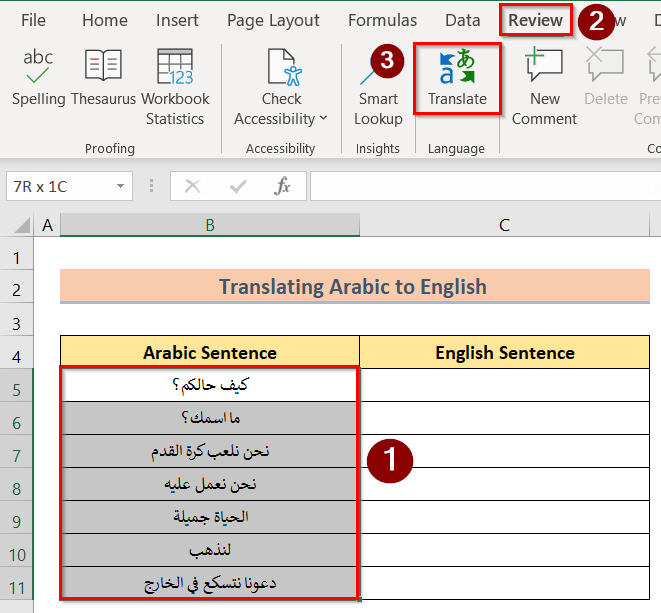
- You can also use the Translate option from the Review tab.
Read More: How to Translate Excel File to English
Step 3 – Showing the Final Result
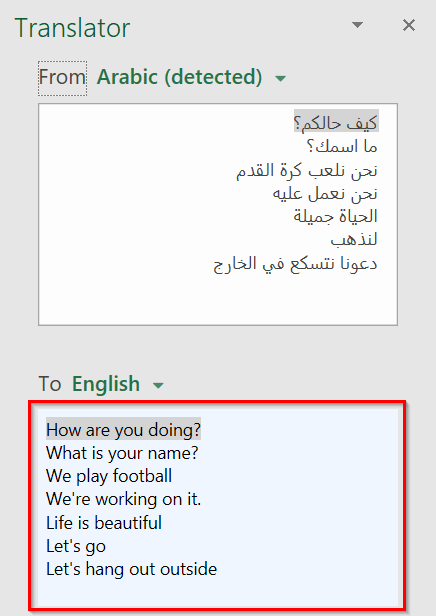
- You’ll get a Translator panel on the right.
- In the From option, select the source language. Excel should auto-detect the language most of the time.
- In the To option select the desired language you want to translate the content into.
- Press Ctrl + C to copy a value from the Translator window and use Ctrl + V to paste the value in the desired cell.
- Repeat for every cell.
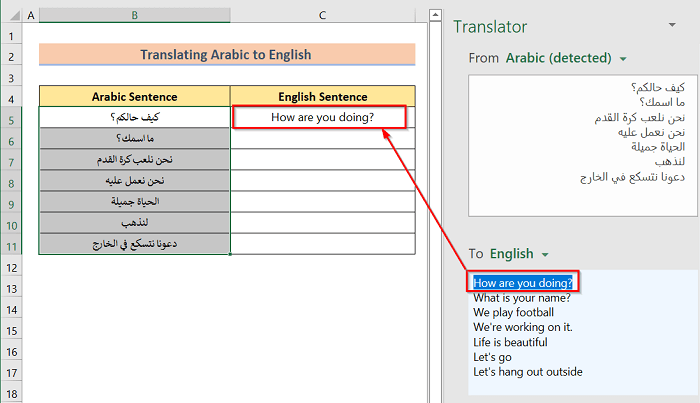
- Here’s our result.
![]()
Read More: How to Translate Excel File from German to English
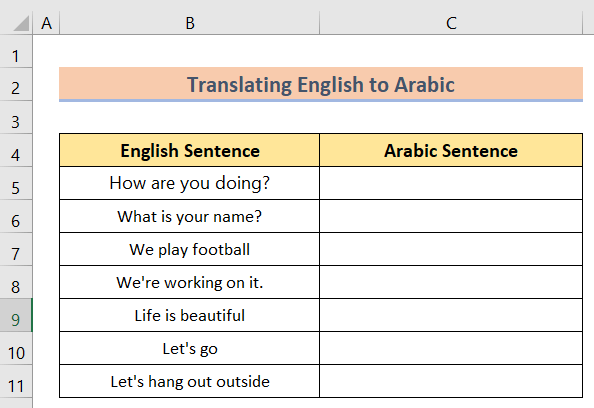
How to Translate English to Arabic in Excel
Steps:
- Put English sentences in Column B.
- Select the sentences and go to Translate in the Review tab.
![]()
- Select the To language as Arabic.
![]()
- Copy each sentence individually. You can copy to and from the Translate panel, so you can translate a cell at a time.
![]()
Read More: How to Translate Excel File from French to English
Download the Practice Workbook
Related Articles
- How to Translate an Excel File from Japanese to English
- How to Translate Chinese to English in Excel
- How to Translate Portuguese to English in Excel
<< Go Back to Translate in Excel | Learn Excel
Get FREE Advanced Excel Exercises with Solutions!
