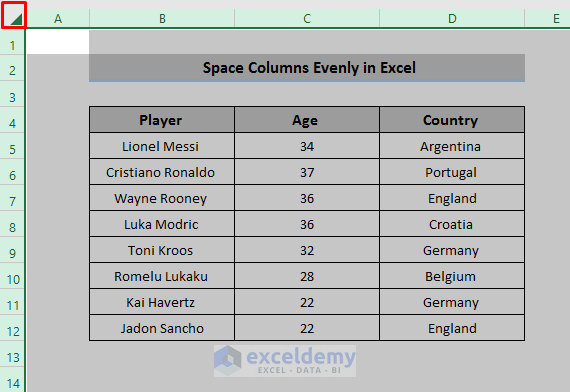
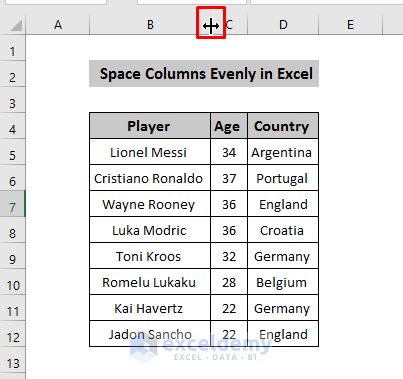
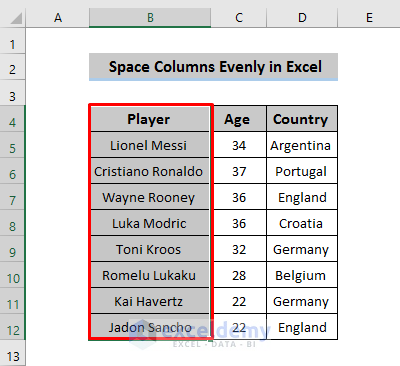
The sample dataset showcases players, age, and countries.

Method 1 – Distribute Columns Evenly Using the Format Option
Steps
- Click the top icon at the left corner of the worksheet to select the entire worksheet.
- Go to the Home tab.
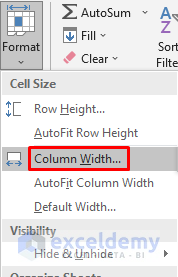
- Select Format in Cells.

- Click Column Width.
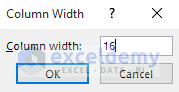
- Enter a column width and click ‘OK’.
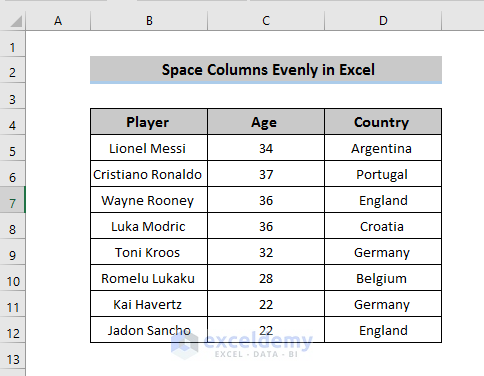
This is the output.
Read More: How to Space out Cells in Excel
Method 2 – Double-Clicking the Column Heading
Steps
- Select all the columns and press Shift.

- Double-click a column headings. It’ll automatically adjust the width of all columns.
This is the output.

Keyboard Shortcut
You can also select all the columns and press ‘Alt +H+O+I’.
Read More: How to Space Rows Evenly in Excel
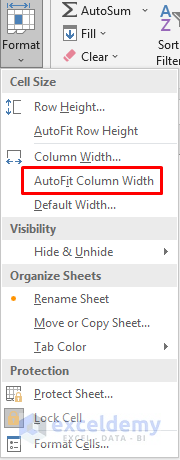
Method 3 – Using the AutoFit Option
Steps
- Select the entire dataset.

- Go to the Home tab.
- In Cells, click Format.

- Click AutoFit Column Width.
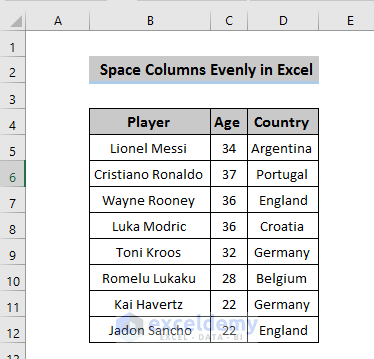
This is the output.
Read More: How to Add Space Between Text in Excel Cell
Method 4 – Distribute Selected Columns Evenly
Steps
- Select specific columns. Here, B4:B12.
- Choose AutoFit Column Width in Format option or press ‘Alt+H+O+I’. It’ll change the column width of the selected column.
Method 5 – Embedding VBA Codes
5.1 Set Columns to a Specific Size
Steps
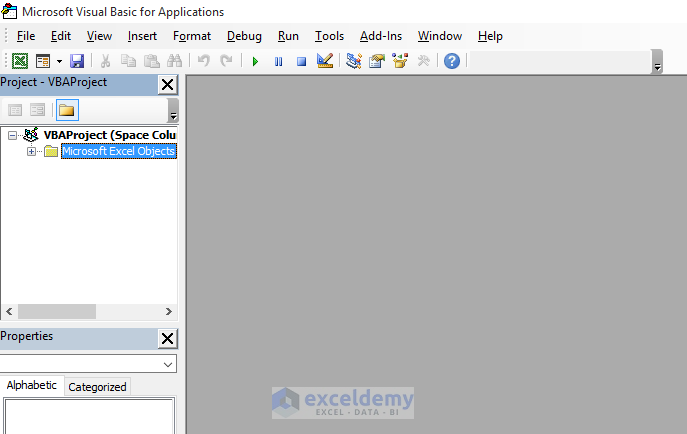
- Go to the Developer tab and press Alt+F11.
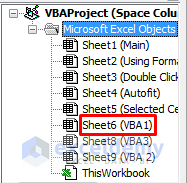
- Click Microsoft Excel Objects and select the sheet to apply the code. Here, ‘VBA1’.
- Enter the following code. Here, column width is set to 16.
Sub makeequalsize_Column()

Selection.ColumnWidth = 16

End Sub- Close the code window.
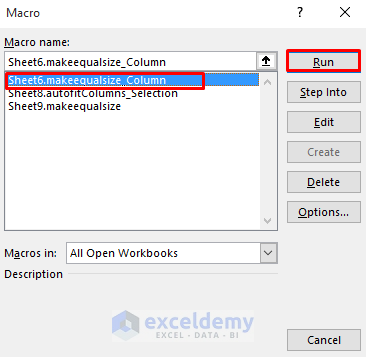
- Go to the View tab and select Macros.

- In the Macro box, select your Macro name and click Run.
This is the output.

5.2 Make columns the Same width as a Specific Column
Steps
- Go to the Developer tab.
- Press Alt+F11.
- Select a sheet to run the code in Microsoft Excel Objects.
- Enter the following code.
Sub makeequalsize()

Selection.ColumnWidth = Columns("B").ColumnWidth

End Sub- Minimize the visual basic window and go to the View tab.
- Select Macros.

- Select your Macro Name and click Run.

This is the output.

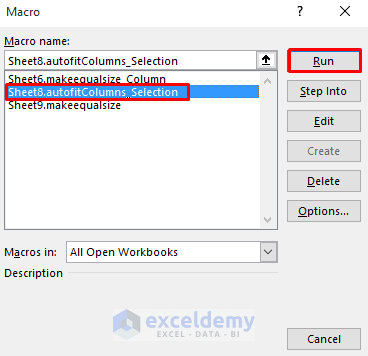
5.3 Autofit Selected Columns
Steps
- Open the Developer tab.
- Press ‘Alt+F11’.
- Select the sheet to apply the code.
- Enter the following code in the code window.
Sub autofitColumns_Selection()

Selection.Columns.AutoFit

End Sub- Minimize the developer tab and go to the View tab.
- Select Macros.

- Select your Macro name and click Run.
This is the output.

Read More: How to Add Space between Numbers in Excel
Download Practice Workbook
Download the practice workbook
Related Articles
- Add Blank Space Using Excel Formula
- How to Add Space between Rows in Excel
- How to Insert Tab in Excel Cell
<< Go Back to Space in Excel | Text Formatting | Learn Excel
Get FREE Advanced Excel Exercises with Solutions!
