Download the Practice Workbook
4 Methods to Save Excel Files as Text Without Quotes
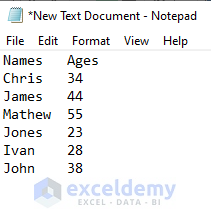
Method 1 – Use the Text (Tab-Delimited) File Format to Save Excel Files as Text Without Quotes
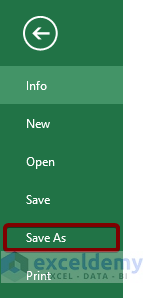
- Go to the File menu.
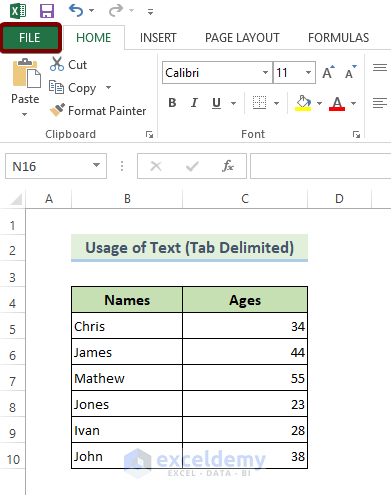
- Click on Save As.
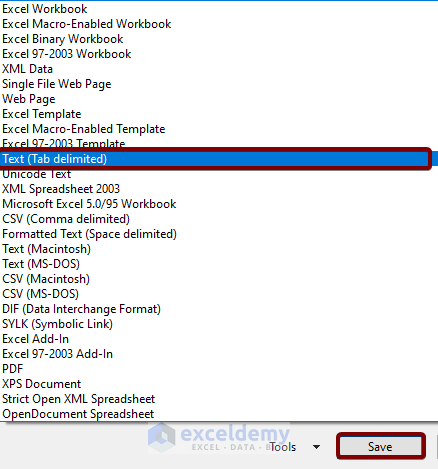
- Select Text (Tab delimited) and hit the Save command.
If you open the text file in Notepad, you will see that there are no quotes in the text file at all.
Method 2 – Copy Data and Paste It to Notepad to Save Excel Files as Text Without Quotes
- Select the cells in your Excel worksheet that you want to copy.
- Press Ctrl + C to copy.
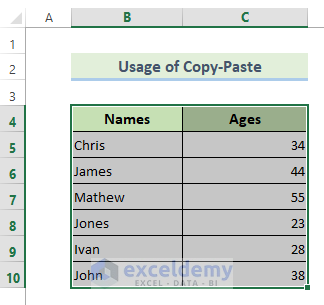
- Open Notepad and paste your data by pressing Ctrl + V.
Read More: How to Open Word Document and Save As PDF or Docx with VBA Excel
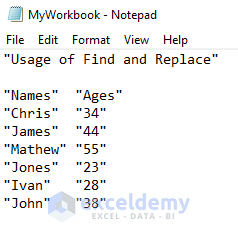
Method 3 – Use Find and Replace to Save Excel Files as Text Without Quotes
- Open your text file with quotes and copy it using Ctrl + C.
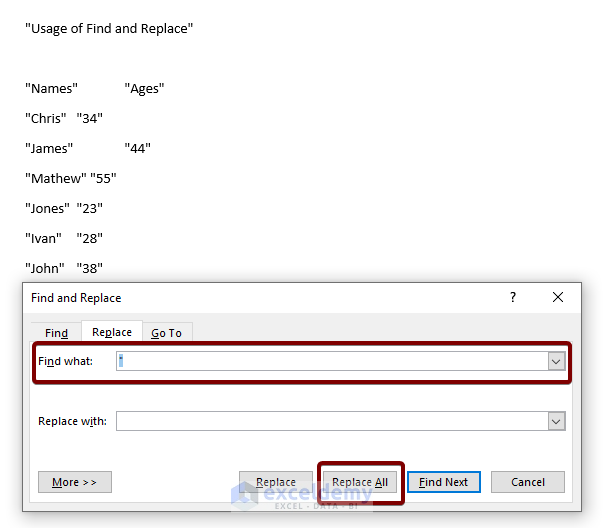
- Open Microsoft Word and paste your copied data using Ctrl + V from the clipboard.
- Press Ctrl + H to open the Find and Replace dialog box.
- Enter a double quotation (“) in the Find what box.
- Leave the Replace with box blank.
- Hit Replace All.
- Copy the values back to Notepad.
Notepad also has a Find and Replace feature you can use.
Read More: Save Excel as CSV with Double Quotes (3 Simplest Methods)
Similar Readings
- Excel Macro to Save as PDF (5 Suitable Examples)
- Excel VBA to Save File with Variable Name (5 Examples)
- [Fixed!] Why Is Excel Not Saving My Formatting? (7 Possible Reasons)
- Excel VBA: Save Sheet as New Workbook without Opening
- VBA Code for Save Button in Excel (4 Variants)
Method 1 – Use VBA Code to Save Excel Files as Text Without Quotes
Case 4.1 – VBA Code #1
- Press Alt + F11 to open the VBA editor.
- Go to Insert.
- Select Module.
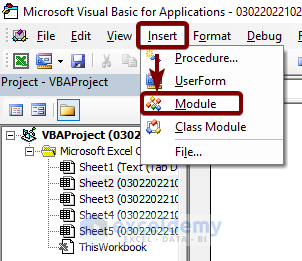
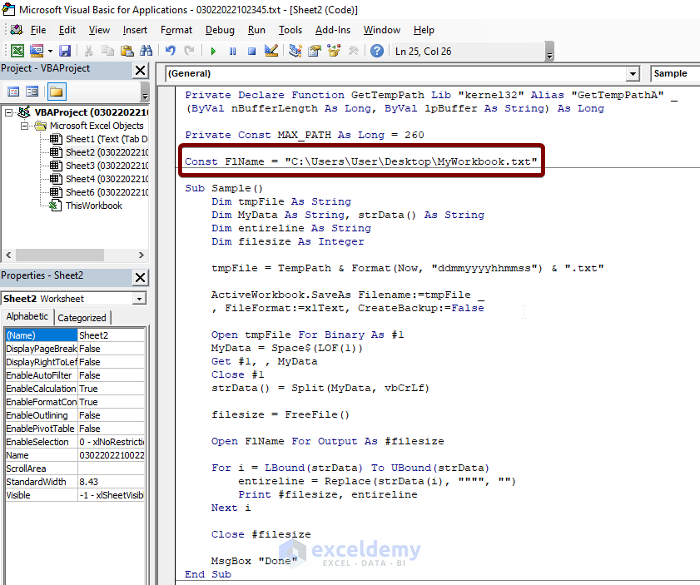
- Copy the following code to the VBA editor and save it.
Private Declare Function GetTempPath Lib "kernel32" Alias "GetTempPathA" _
(ByVal nBufferLength As Long, ByVal lpBuffer As String) As Long

Private Const MAX_PATH As Long = 260

'Change the file_location and filetype accordingly
Const FlName = "C:\Users\mahdy\desktop\data.txt"

Sub Sample1()
    Dim tempFile As String
    Dim CurrentData As String, strData() As String
    Dim Line As String
    Dim WorkbookSize As Integer

        tempFile = TempPath & Format(Now, "ddmmyyyyhhmmss") & ".txt"

    ActiveWorkbook.SaveAs Filename:=tempFile
    , FileFormat:=xlText, CreateBackup:=False

        Open tempFile For Binary As #1
    CurrentData = Space$(LOF(1))
    Get #1, , CurrentData
    Close #1
    strData() = Split(CurrentData, vbCrLf)

WorkbookSize = FreeFile()


    Open FlName For Output As #WorkbookSize

    For i = LBound(strData) To UBound(strData)
        Line = Replace(strData(i), """", "")
            Print #WorkbookSize, Line
    Next i

    Close #WorkbookSize


End Sub

Function TempPath() As String
    TempPath = String$(MAX_PATH, Chr$(0))
    GetTempPath MAX_PATH, TempPath
    TempPath = Replace(TempPath, Chr$(0), "")
End Function- Update the directory path of your output file and save the code again.
- Press the F5 button to run the code.
Read More: Excel VBA to Save as File Using Path from Cell (With Quick Steps)
Case 4.2 – VBA Code #2
You can save a specific portion of your Excel worksheet as a text file using the following VBA code:
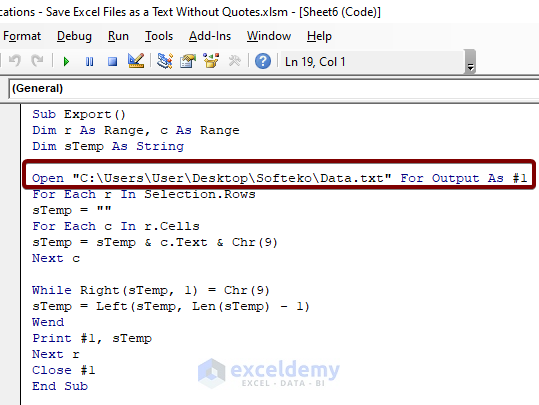
- Insert the following code in the VBA module (see Case 1 if needed).
Sub Export()

Dim r As Range, c As Range

Dim sTemp As String

Open "C:\Users\User\Desktop\Softeko\Data.txt" For Output As #1

For Each r In Selection.Rows

sTemp = ""

For Each c In r.Cells

sTemp = sTemp & c.Text & Chr(9)

Next c

While Right(sTemp, 1) = Chr(9)

sTemp = Left(sTemp, Len(sTemp) - 1)

Wend

Print #1, sTemp

Next r

Close #1

End Sub- Create a txt file and update the directory of the file in the code. Your selected cells will be directly saved into this text file without quotes.
- Go back to your Excel worksheet and select the cells that you want to export.
- Go to Macros in the Developer tab or press Alt + F8 to open Macros.
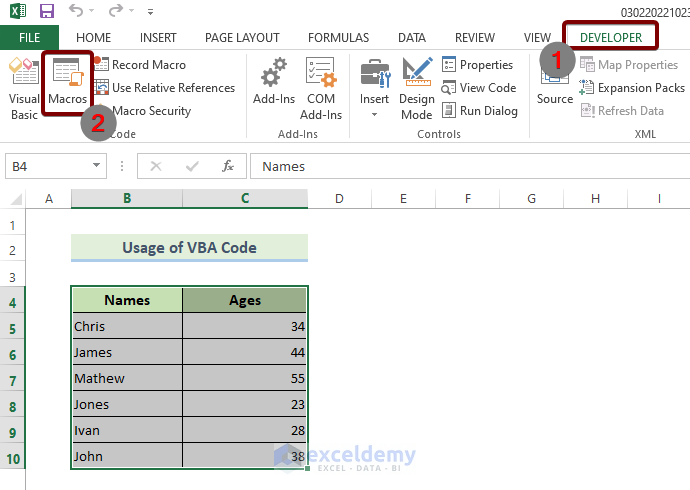
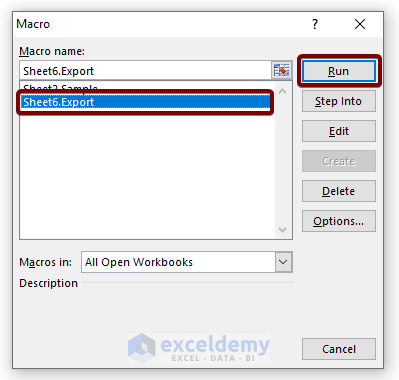
- Select Sheet6.Export and hit the Run command.
Read More: How to Save VBA Code in Excel (3 Suitable Methods)
Related Articles
- Excel VBA Macro to Save PDF in Specific Folder (7 Ideal Examples)
- Excel VBA: Choose Location and Save as PDF
- Excel VBA: Save and Close Workbook (5 Suitable Examples)
- How to Save a Worksheet as a New File Using Excel VBA
- [Fix]: Microsoft Excel Cannot Open or Save Any More Documents Because There Is Not Enough Available Memory
- How to Save Macro in Excel (with Easy Steps)

