Consider the following image of a word file.
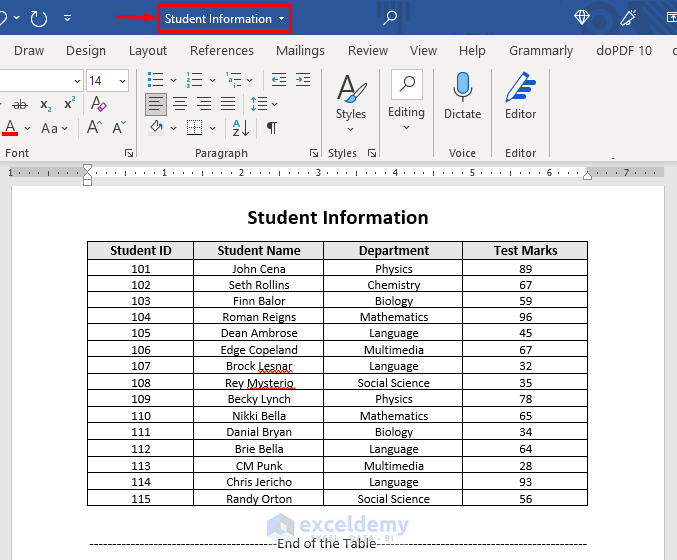
The file “Student Information” is stored at C:\ExcelDemy\. Use a VBA code to open it and then save it as a new Word file or a PDF file.
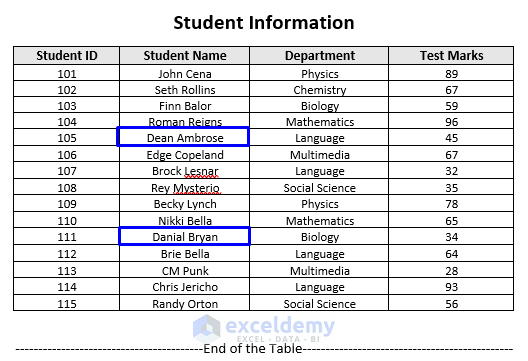
- Modify the student’s name “Dean Ambrose” to “Jon Moxley” and “Danial Bryan” to “Bryan Danielson”.
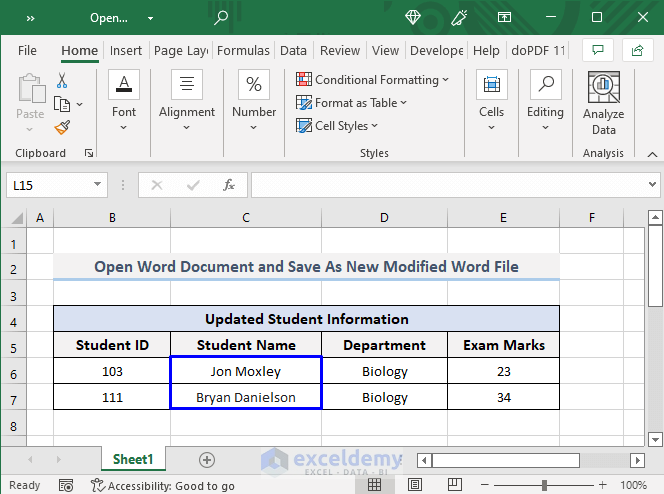
“Jon Moxley” was stored in C6 and “Bryan Danielson” in C7.
- Save the modified file as a new Word file or PDF file with the VBA code.
Example 1 – Embed VBA to Open a Word Document and Save it As a New Updated Word File
Steps:
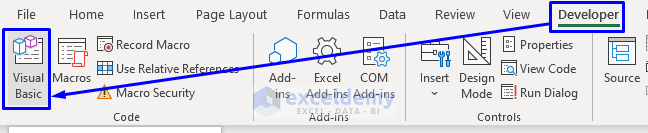
- Press Alt + F11 or go to Developer -> Visual Basic to open Visual Basic Editor.
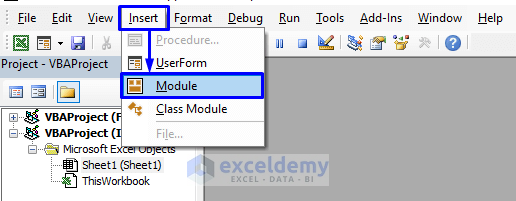
- Click Insert -> Module.
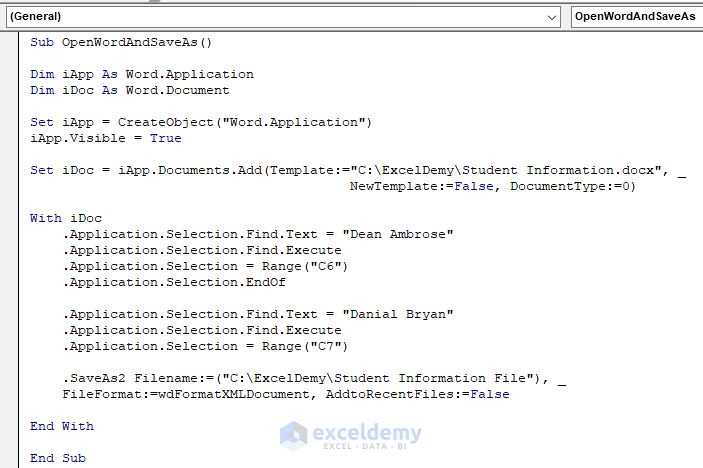
- Use the following code in the code window.
Sub OpenWordAndSaveAs()
Dim iApp As Word.Application
Dim iDoc As Word.Document
Set iApp = CreateObject("Word.Application")
iApp.Visible = True
Set iDoc = iApp.Documents.Add(Template:="C:\ExcelDemy\Student Information.docx", NewTemplate:=False, DocumentType:=0)
With iDoc
    .Application.Selection.Find.Text = "Dean Ambrose"
    .Application.Selection.Find.Execute
    .Application.Selection = Range("C6")
    .Application.Selection.EndOf
    .Application.Selection.Find.Text = "Danial Bryan"
    .Application.Selection.Find.Execute
    .Application.Selection = Range("C7")
    .SaveAs2 Filename:=("C:\ExcelDemy\Student Information File"), FileFormat:=wdFormatXMLDocument, AddtoRecentFiles:=False
End With
End Sub
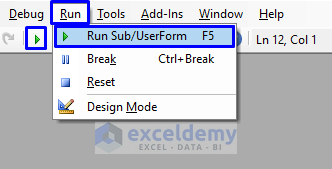
- Press F5 or select Run -> Run Sub/UserForm. You can also click on the small Run icon.
There will be a new word file named “Student Information File” that opens automatically at the location provided in the code (here, “C:\ExcelDemy\”).
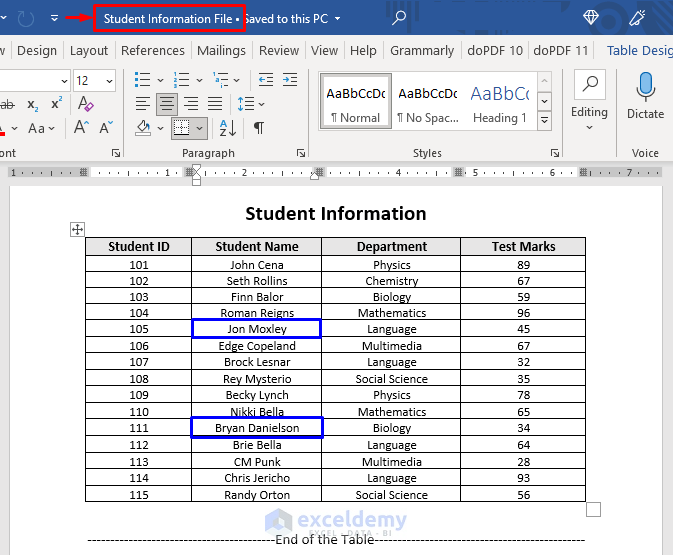
Student information is updated: “Dean Ambrose” becomes “Jon Moxley” and “Danial Bryan” becomes “Bryan Danielson” and saved in the new “Student Information File” Word file.
VBA Code Explanation
Sub OpenWordAndSaveAs()names the sub-procedure of the macro.
Dim iApp As Word.Application
Dim iDoc As Word.Document
declares the necessary variables for the macro.
Set iApp = CreateObject("Word.Application")
iApp.Visible = True
creates the Word application function to return the Word.application object.
Set iDoc = iApp.Documents.Add(Template:="C:\ExcelDemy\Student Information.docx", NewTemplate:=False, DocumentType:=0)specifies the source word file along with the path.
With iDoc
    .Application.Selection.Find.Text = "Dean Ambrose"
    .Application.Selection.Find.Execute
    .Application.Selection = Range("C6")
    .Application.Selection.EndOf
    .Application.Selection.Find.Text = "Danial Bryan"
    .Application.Selection.Find.Execute
    .Application.Selection = Range("C7")
specifies which word to find and replace. Here, replace “Dean Ambrose” and “Danial Bryan” in the source word file with the values in C6 and C7.
.SaveAs2 Filename:=("C:\ExcelDemy\Student Information File"), FileFormat:=wdFormatXMLDocument, AddtoRecentFiles:=Falsespecifies the output file name along with the new path location and the file type.
End Withleaves the source word file.
End Subends the sub-procedure of the macro.
Read More: Excel VBA: Open Word Document and Paste
Example 2 – Create a Macro to Open a Word Document and Save it As PDF in Excel
Steps:
- Open Visual Basic Editor in the Developer tab and Insert a Module.
- Use the following code.
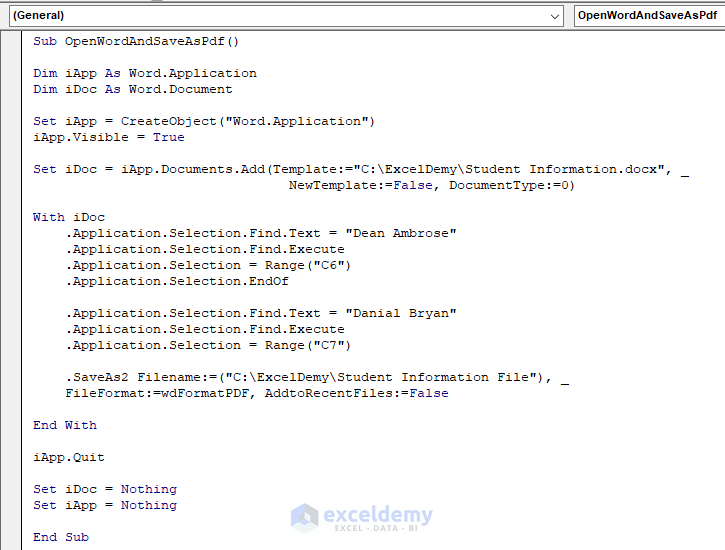
Sub OpenWordAndSaveAsPdf()
Dim iApp As Word.Application
Dim iDoc As Word.Document
Set iApp = CreateObject("Word.Application")
iApp.Visible = True
Set iDoc = iApp.Documents.Add(Template:="C:\ExcelDemy\Student Information.docx", NewTemplate:=False, DocumentType:=0)
With iDoc
    .Application.Selection.Find.Text = "Dean Ambrose"
    .Application.Selection.Find.Execute
    .Application.Selection = Range("C6")
    .Application.Selection.EndOf
    .Application.Selection.Find.Text = "Danial Bryan"
    .Application.Selection.Find.Execute
    .Application.Selection = Range("C7")
    .SaveAs2 Filename:=("C:\ExcelDemy\Student Information File"), FileFormat:=wdFormatPDF, AddtoRecentFiles:=False
End With
iApp.Quit
Set iDoc = Nothing
Set iApp = Nothing
End Sub
- Run the macro.
A new PDF file: “Student Information File” is created in (“C:\ExcelDemy\”), the provided path in the code. Open the PDF file.
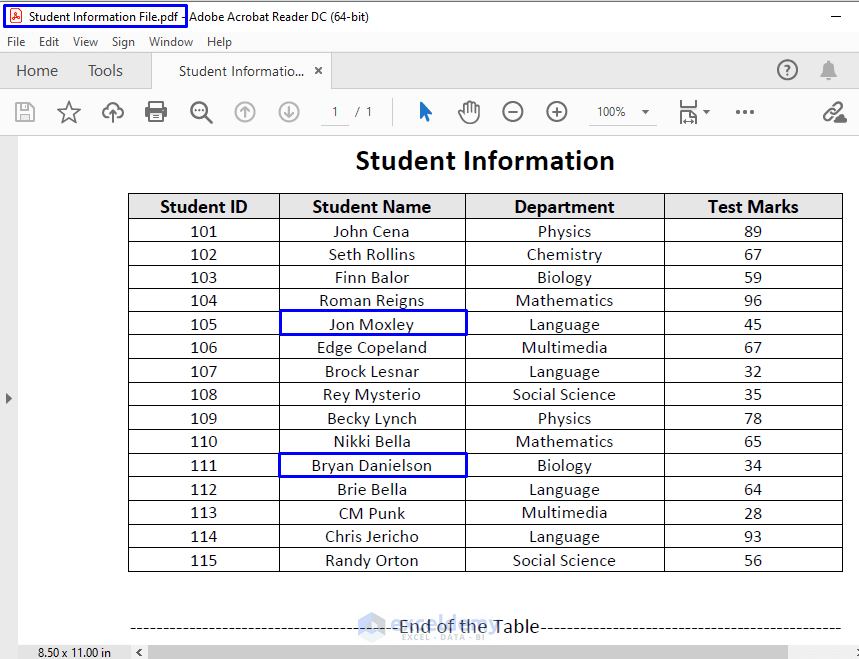
Student information is updated; “Dean Ambrose” becomes “Jon Moxley” and “Danial Bryan” becomes “Bryan Danielson”
VBA Code Explanation
Sub OpenWordAndSaveAsPdf()names the sub-procedure of the macro.
Dim iApp As Word.Application
Dim iDoc As Word.Document
declares the necessary variables for the macro.
Set iApp = CreateObject("Word.Application")
iApp.Visible = True
creates the Word application function to return the Word.application object.
Set iDoc = iApp.Documents.Add(Template:="C:\ExcelDemy\Student Information.docx", NewTemplate:=False, DocumentType:=0)specifies the source word file and its path.
With iDoc
    .Application.Selection.Find.Text = "Dean Ambrose"
    .Application.Selection.Find.Execute
    .Application.Selection = Range("C6")
    .Application.Selection.EndOf
    .Application.Selection.Find.Text = "Danial Bryan"
    .Application.Selection.Find.Execute
    .Application.Selection = Range("C7")
specifies which word to find and replace. Here, “Dean Ambrose” and “Danial Bryan” in the source word file with the values in C6 and C7.
.SaveAs2 Filename:=("C:\ExcelDemy\Student Information File"), FileFormat:=wdFormatPDF, AddtoRecentFiles:=Falsespecifies the output file name, the new path location and the file type.
End Withleaves the source word file.
iApp.Quit
Set iDoc = Nothing
Set iApp = Nothing
closes the word application and the word document (to keep it open, skip these lines).
End Subends the sub-procedure of the macro.
Read More: Excel VBA: Open Word Document and Replace Text
Key Point to Remember
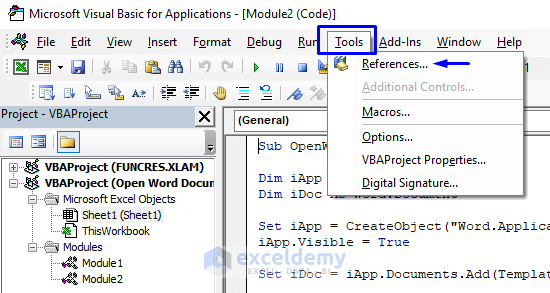
To work with the Word Application Object in your VBA code, you must change the VBA code window.
- Go to Tools -> References… .
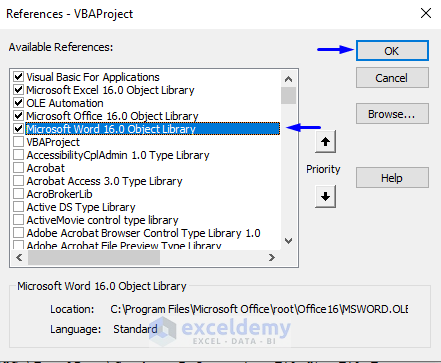
- Check Microsoft Word XX Object Library. Here, XX is the word version.
- Click OK.
Download Files
Download the free practice Excel workbook.
Download Excel Workbook:
Download Word File:
Related Articles
- How to Generate a Word Document from an Excel Macro
- Import Data from Excel into Word Automatically Using VBA

