⧪ Method 1 – Setting the Necessary Objects
At the very outset of the code, we have to set the necessary objects required in this code.
- A Word Object
- A Doc Object
- A Selection Object
Set Word_Object = CreateObject("Word.Application")
Set Doc_Object = Word_Object.Documents.Add
Set Selection_Object = Word_Object.Selection
⧪ Method 2 – Making the Word File Visible
Declare the word object, the word file is created. Now we need to make it visible.
Word_Object.Visible = True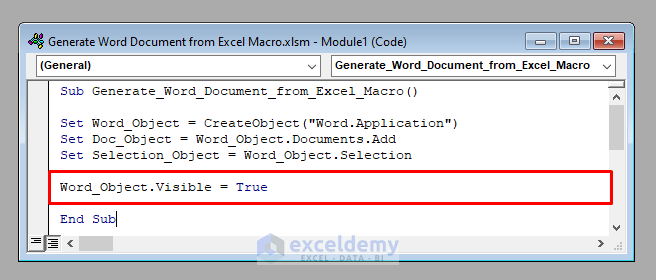
⧪ Method 3 – Adding Text to the Word File
We have generated our Word file. You can now add any text to it. Before adding the text, you can change the font name and size according to your wish.
Change the font to Times New Roman, font size to 16, and then add the text “Employee Record of Jupyter Group”.
Selection_Object.Font.Size = 16
Selection_Object.Font.Name = "Times New Roman"
Selection_Object.Typetext "Employee Record of Jupyter Group"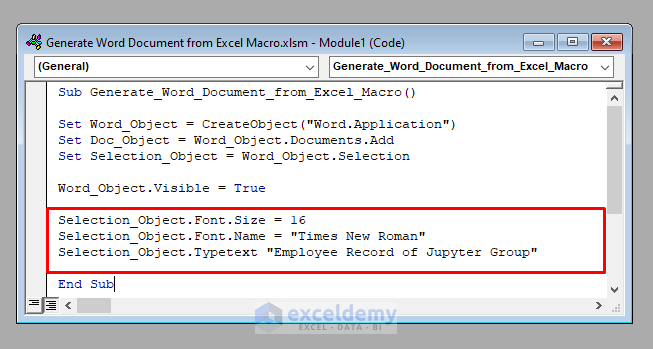
⧪ Method 4 – Copying Data from Excel Worksheet to the Word File
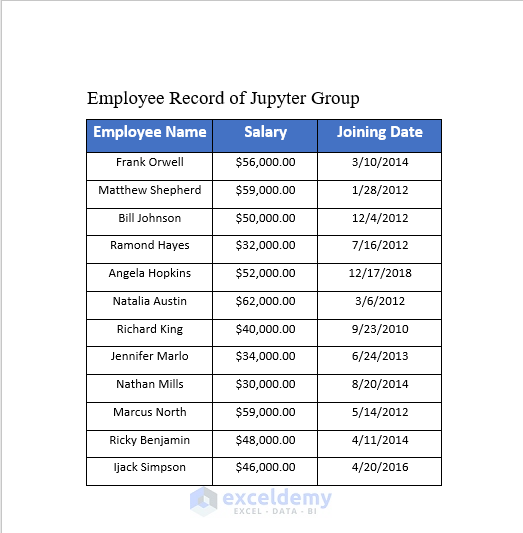
Copy data from your Excel worksheet to the word file. The active worksheet contains a data set of the names, salaries, and joining dates of some employees of Jupyter Group.
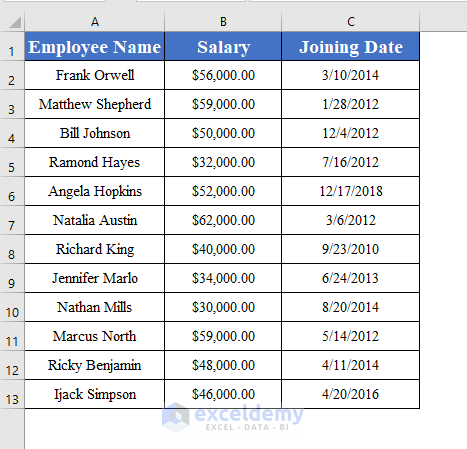
Copy this data set to the generated word file, and use these lines of code.
ActiveSheet.UsedRange.Copy
Selection_Object.Paste
Note: The VBA UsedRange object to copy all data from the active worksheet. If you want to copy a specific range, use that range instead.
Copy range B4:D13, use ActiveSheet.Range(“B4:D13”).Copy.
In place of ActiveSheet, you can use the name of a specific worksheet.
For example, Worksheets(“Sheet1”).Range(“B4:D13”).Copy.
⧪ Method 5 – Saving the Word File
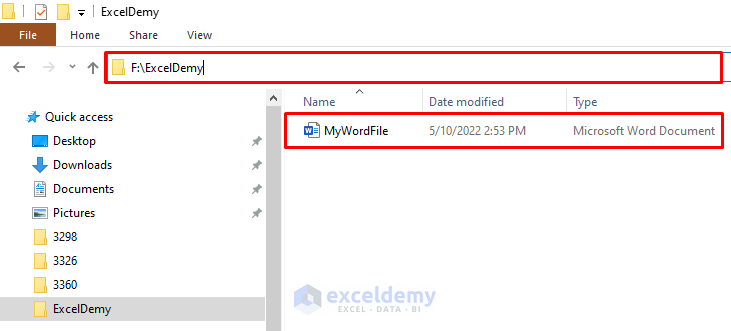
Save the word file in your desired folder in the desired name.
Save it in the path F:\ExcelDemy with the name MyWordFile, use:
Doc_Object.SaveAs ("F:\ExcelDemy\MyWordFile")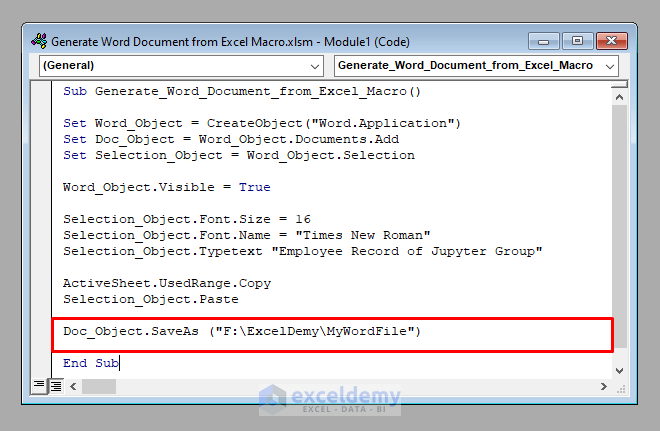
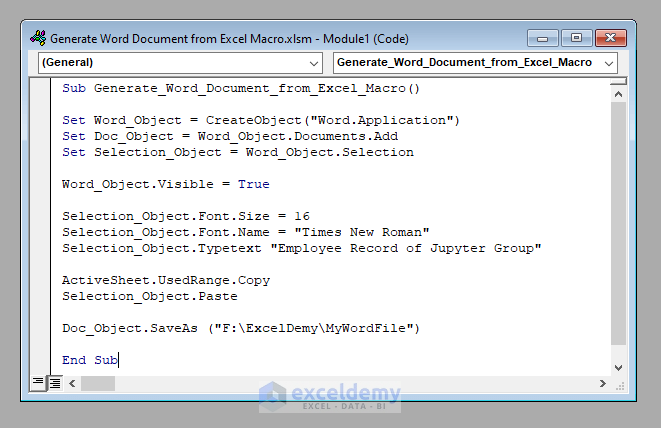
So the complete VBA code will be:
⧭ VBA Code:
Sub Generate_Word_Document_from_Excel_Macro()

Set Word_Object = CreateObject("Word.Application")
Set Doc_Object = Word_Object.Documents.Add
Set Selection_Object = Word_Object.Selection

Word_Object.Visible = True

Selection_Object.Font.Size = 16
Selection_Object.Font.Name = "Times New Roman"
Selection_Object.Typetext "Employee Record of Jupyter Group"

ActiveSheet.UsedRange.Copy
Selection_Object.Paste

Doc_Object.SaveAs ("F:\ExcelDemy\MyWordFile")

End Sub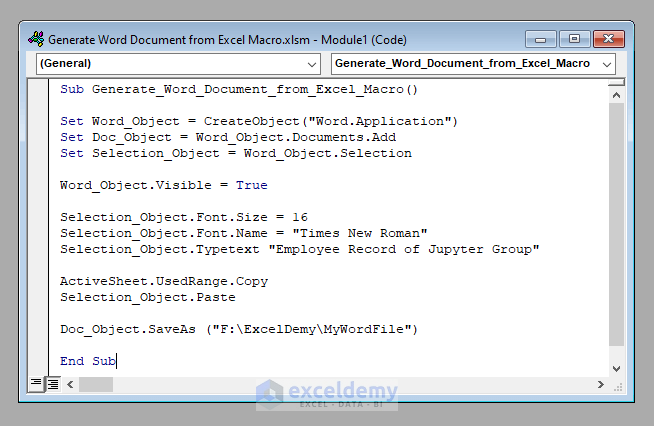
Developing the Macro to Generate a Word Document from an Excel Macro
We’ve seen the step-by-step analysis of the code to generate the Word document from the Macro.
See how to use the code to generate the document.
⧪ Method 6 – Opening the VBA Window
Press ALT + F11 on your keyboard to open the Visual Basic window.
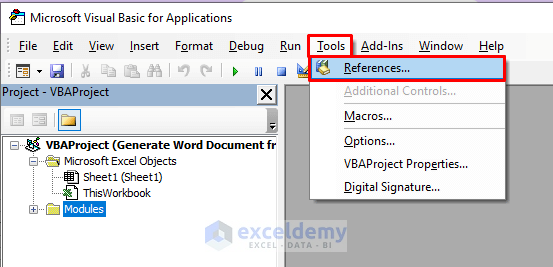
⧪ Method 7 – Enabling the Necessary References
Go to Tools > References in the toolbar above. Click References.
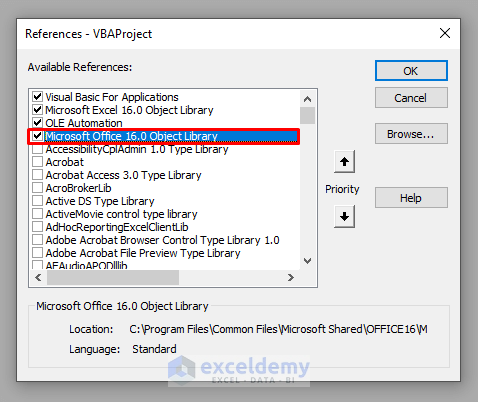
The References dialogue box will open. Check Microsoft Office 16.0 Object Library in case it’s unchecked.
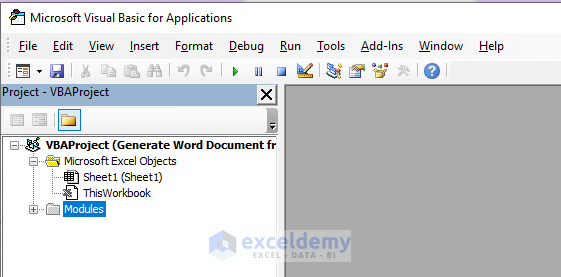
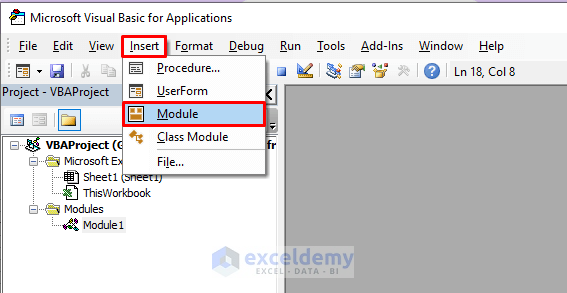
⧪ Method 8 – Inserting a New Module
Go to Insert > Module in the toolbar. Click Module. A new module called Module1 will open.
⧪ Method 9 – Putting the VBA Code
Insert the given VBA code in the module.
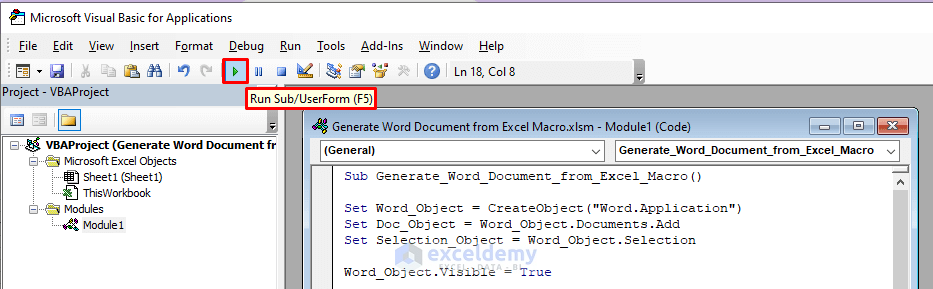
⧪ Method 10 – Running the Code
Click Run Sub / UserForm tool from the toolbar above.
Open a new word document containing the inserted text and the Excel data set.
Save the document in the desired path on your computer in the desired name.
Things to Remember
- Make sure the path mentioned in the code to save the generated document is a valid one on your computer. Otherwise, it’ll show an error.
- It may take some time to generate the word file and save it depending on the configuration of your computer. So be patient and wait until the process finishes successfully.
Download Practice Workbook
Download this practice workbook to exercise while you are reading this article.
Related Articles
- Excel VBA: Open Word Document and Replace Text
- Import Data from Excel into Word Automatically Using VBA

