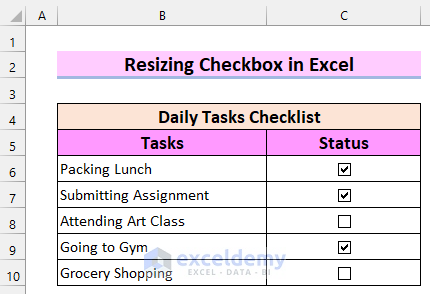
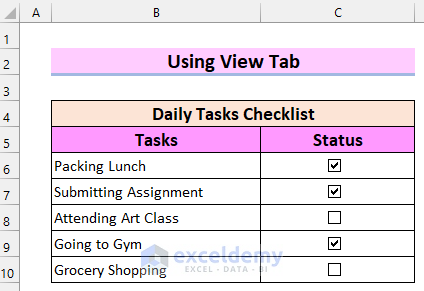
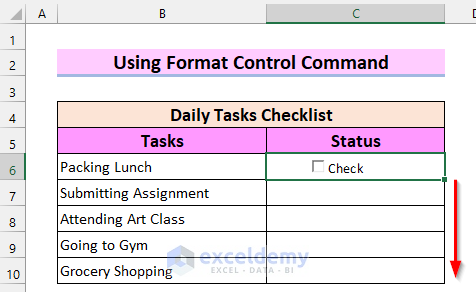
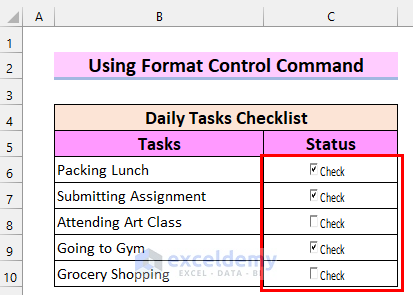
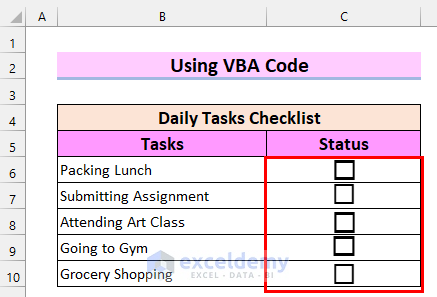
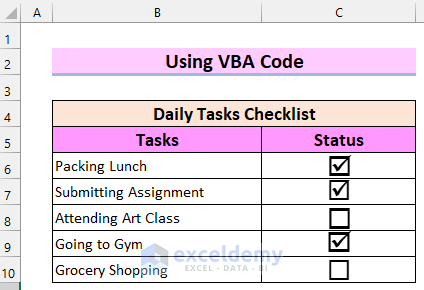
Consider the following Daily Tasks Checklist. The dataset contains Tasks and Status that contains a checkbox. We will resize the Checkbox.
Method 1 – Use the View Tab to Resize a Checkbox in Excel
Step 1 – Adding a Checkbox in Excel
- Go to the Developer tab.
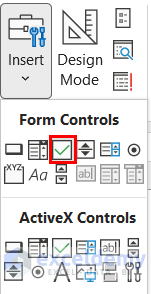
- Select Insert.

- Select Checkbox from Form Controls.
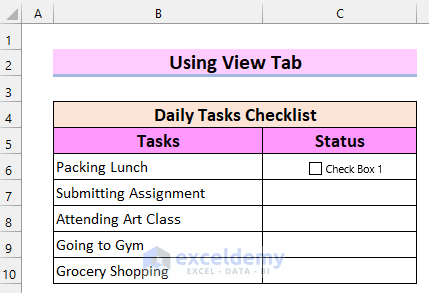
- Draw a Checkbox in the cell by clicking and dragging with the mouse. We drew in cell C6.
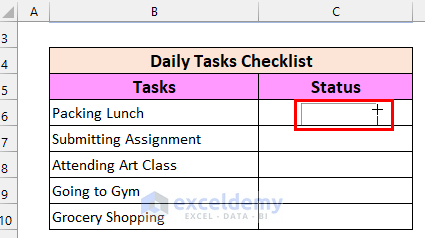
- This inserts your Checkbox.
- Right-click on the Checkbox.
- Select Edit Text.
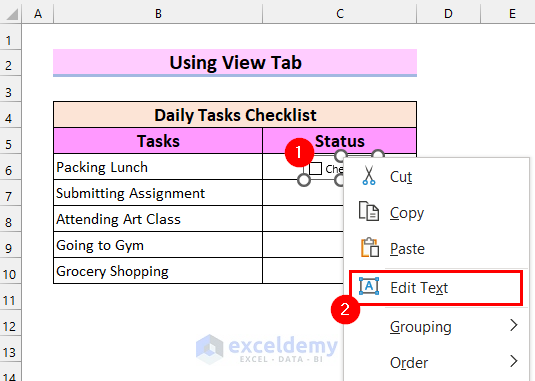
- Edit the text as you want. We only kept the Checkbox and deleted the text.
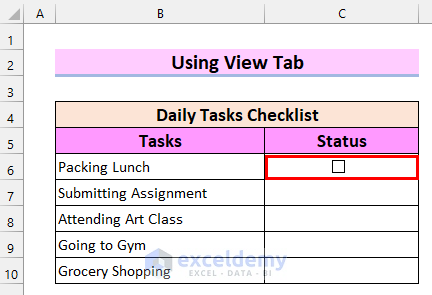
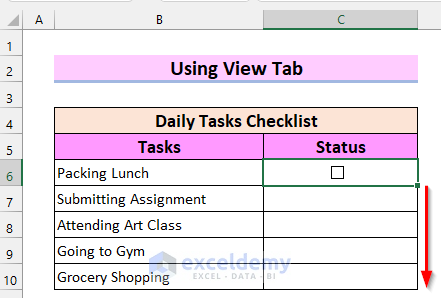
- Select the cell that contains the Checkbox.
- Drag the Fill Handle to copy the Checkbox.
- You will get a Checkbox in all the cells.
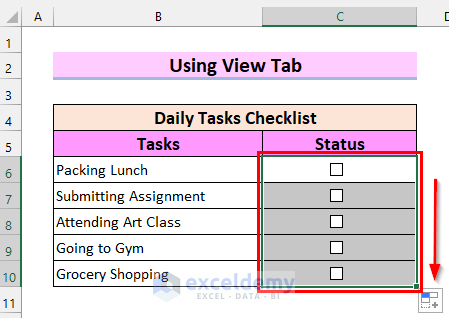
- Check the Checkboxes as needed.
Read More: How to Add Checkbox in Excel without Using Developer Tab
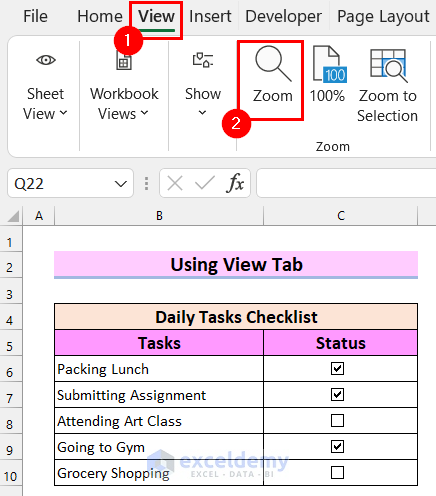
Step 2 – Using the Zoom Feature
- Go to the View tab from the Ribbon.
- Select Zoom.
- You will get the Zoom options.
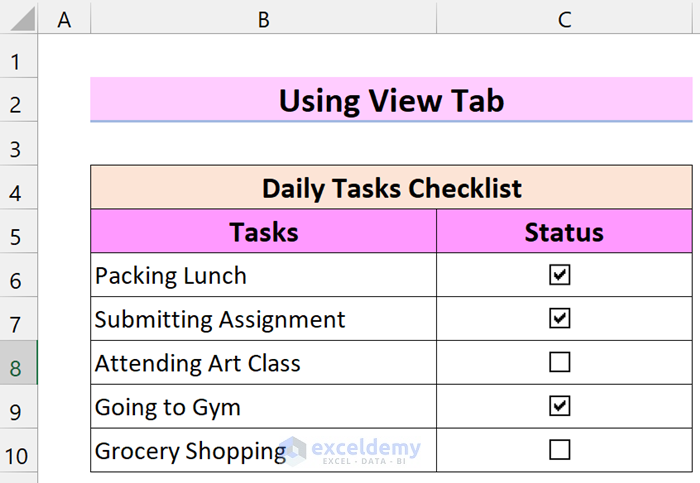
- Choose the zoom percentage you want. We selected Custom and put it at 160%.
- Select OK.

- The entire dataset along with the Checkboxes has been resized.
- Click on the top-left corner to select the whole worksheet.
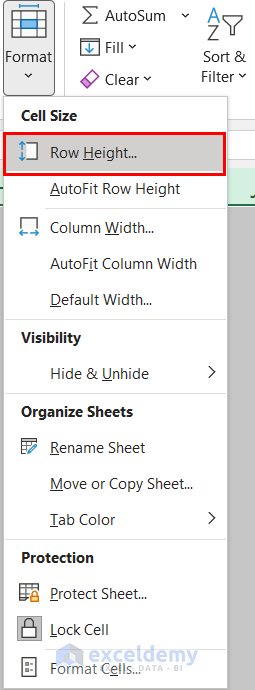
- Go to the Home tab.
- Select Format from Cells.
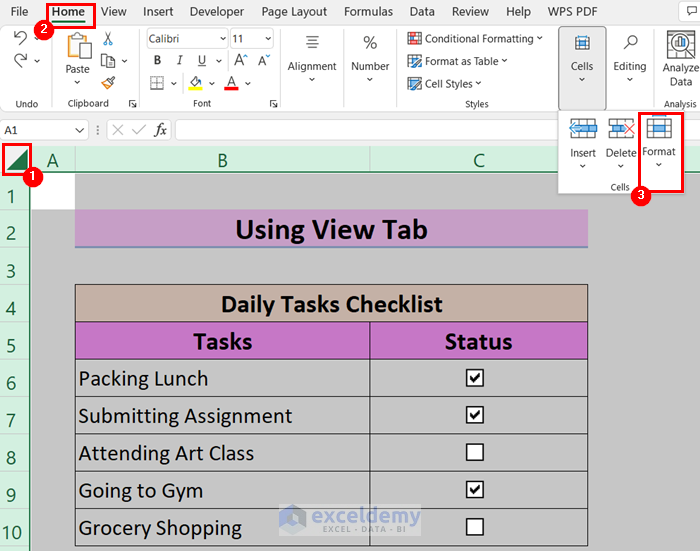
- Select Row Height.
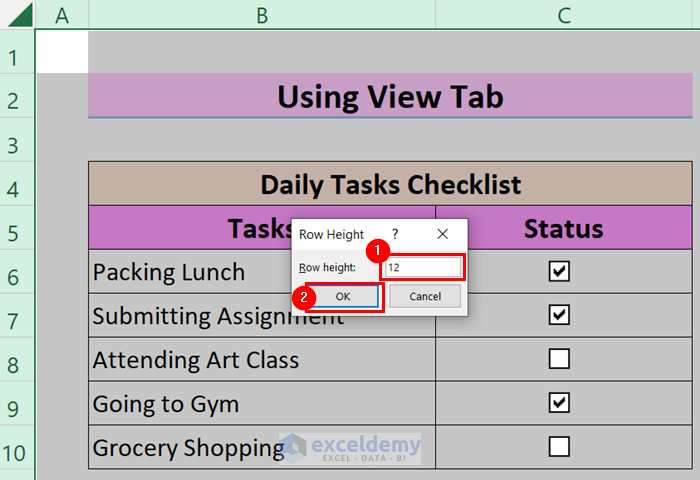
- The Row Height option will appear.
- Choose the Row height you want. We kept it as 12.
- Select OK.
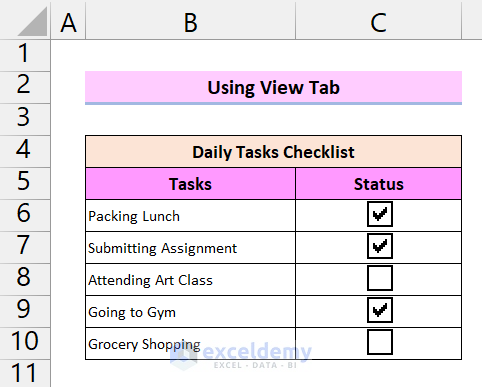
- Change the font size of the text accordingly and you will get your desired dataset.
Method 2 – Using Format Control to Resize a Checkbox in Excel
Step 1 – Adding a Checkbox
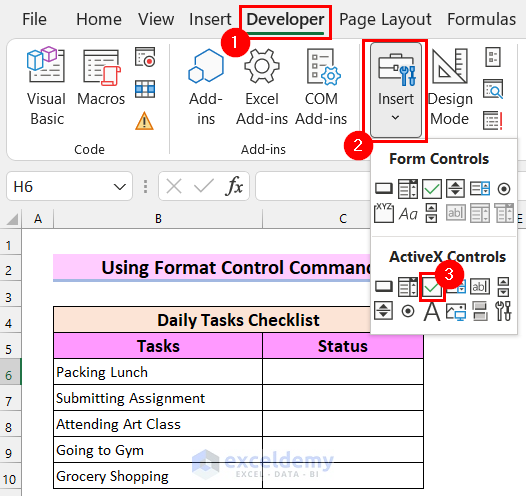
- Go to the Developer tab.
- Select Insert.
- Select the Checkbox from ActiveX Controls.
- Draw a Checkbox in the cell where you want the Checkbox like the following image. We drew in cell C6.
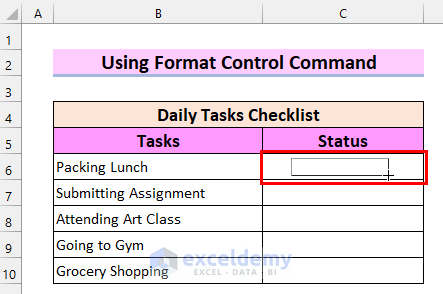
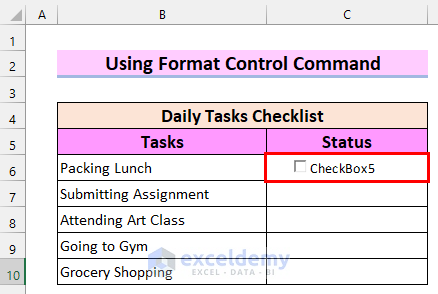
- Here’s the resulting checkbox.
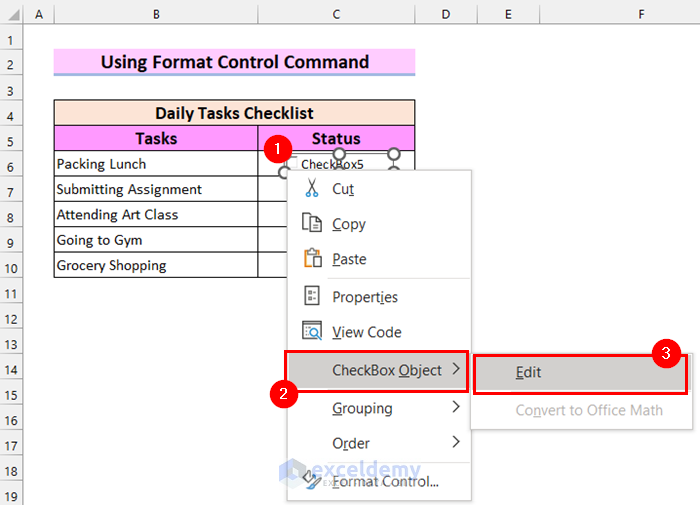
- Right-click on the Checkbox.
- Select CheckBox Object.
- Select Edit.
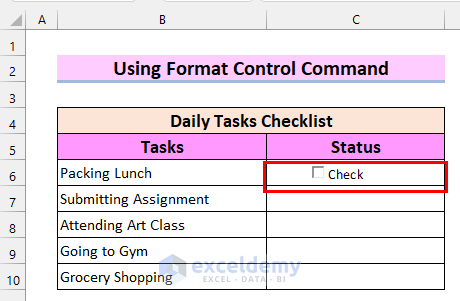
- Edit the text as you want. We edited it as you can see in the following image.
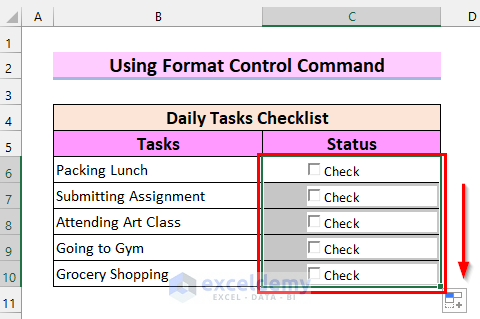
- Select the cell that contains the Checkbox.
- Drag the Fill Handle to copy the Checkbox.
- You will get a Checkbox in all the cells.
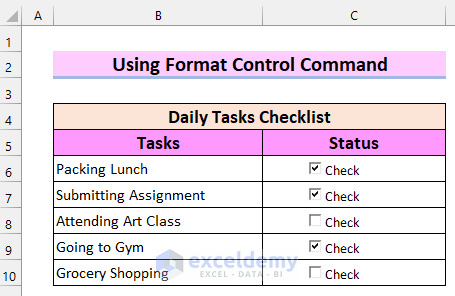
- Check the Checkboxes as per your data.
Step 2 – Using Format Control
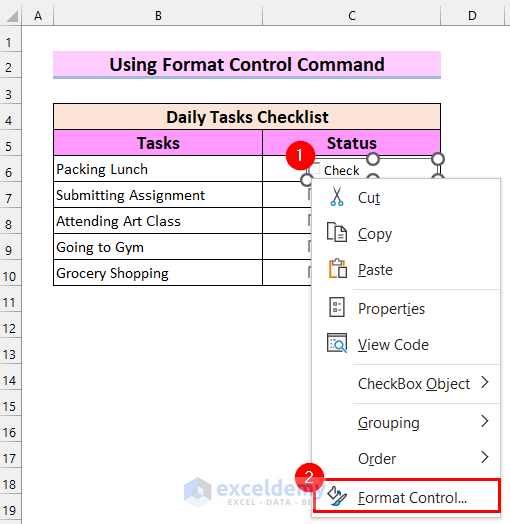
- Right-click on a Checkbox.
- Select Format Control.
- A dialog box will appear.
- Go to Properties.
- Select Move and size with cells.
- Select OK.

- Resize the cells to resize the Checkbox. We have resized the Checkboxes.
Method 3 – Using VBA to Resize a Checkbox in Excel
Step 1 – Inserting a Checkbox
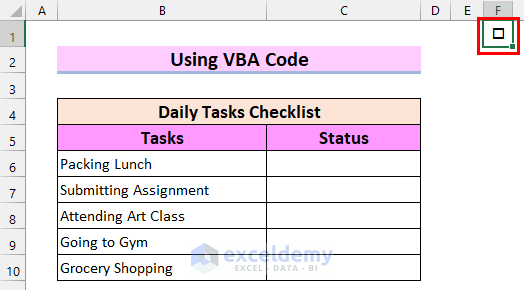
- Select a cell in your worksheet which is not in your dataset. We selected cell F1.

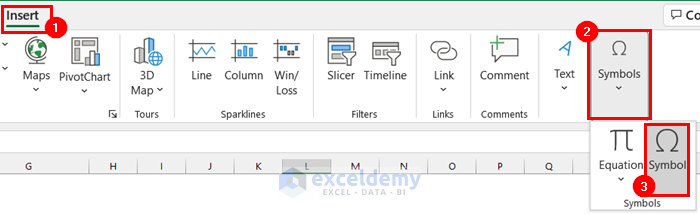
- Go to the Insert tab.
- Select Symbols.
- A drop-down menu will appear.
- Select Symbol from the menu.
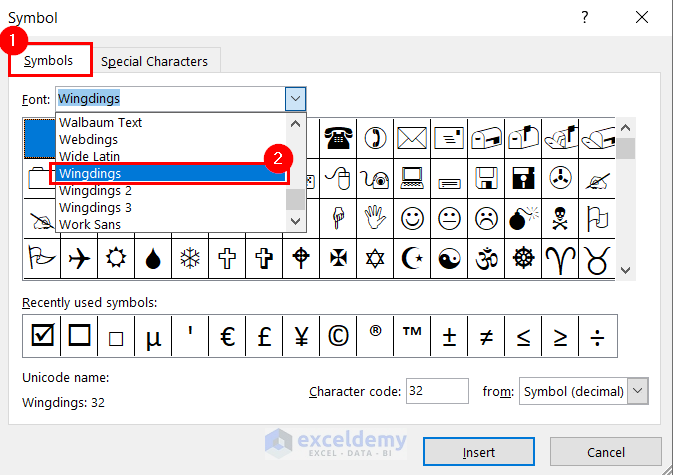
- A dialog box will appear.
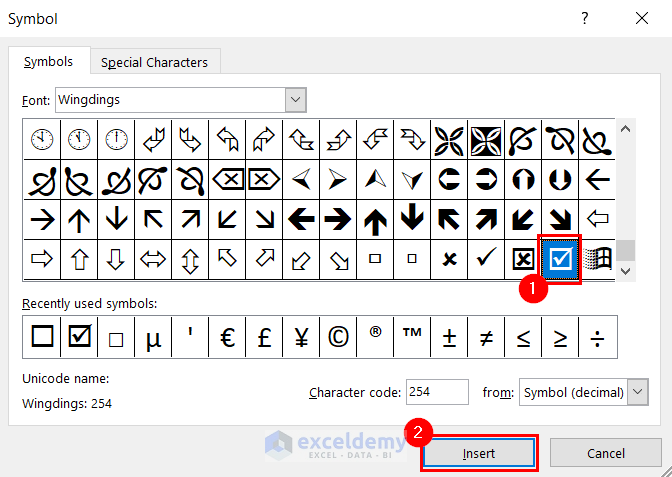
- Go to Symbols.
- Change the Font to Wingdings.
- Select an empty Checkbox.
- Select Insert.
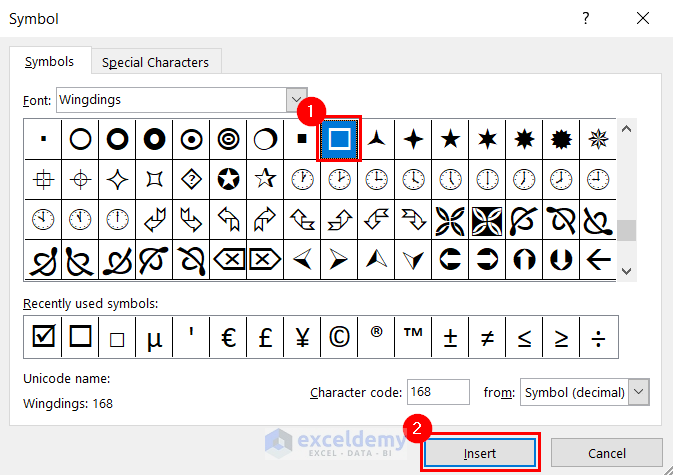
- You will see the empty Checkbox in your selected cell.
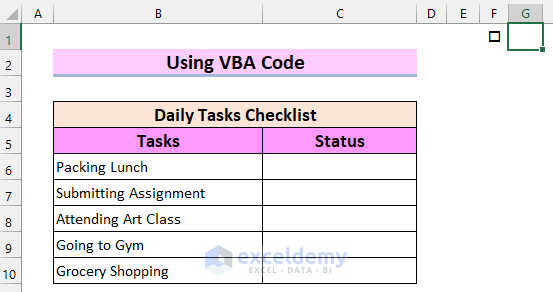
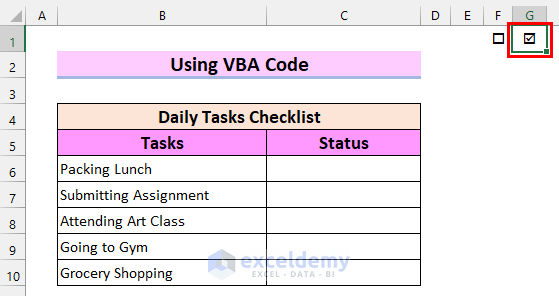
- Select another cell in your worksheet which is not in your dataset. We selected cell G1.
- Repeat the process but select a checked Checkbox.
- Select Insert.
- You will see the checked Checkbox in your selected cell.
- Select the cell that contains the empty Checkbox.
- Drag the Fill Handle to copy the Checkbox as many times as you have rows in the dataset.

- You will get empty Checkboxes in five cells.
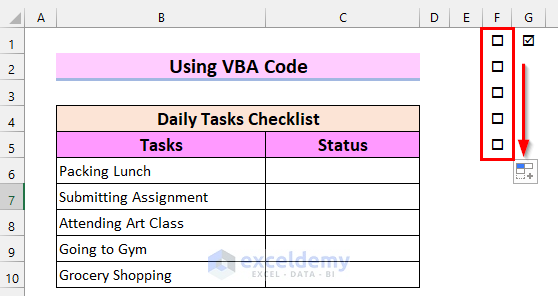
- Copy an empty Checkbox in cell G2.
Step 2 – Using VBA Code
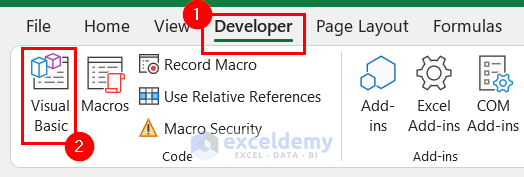
- Go to the Developer tab.
- Select Visual Basic.
- You’ll get a Visual Basic window.
- Go to the Insert tab.
- Select the Module option.
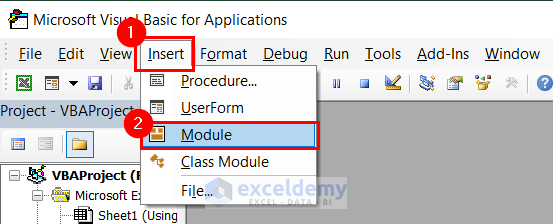
- In the Module, insert the following code.
Sub Resizing_Checkbox(ByRef Index As String)
    If Range("F" & Index).Value = Range("G1").Value Then
    Range("F" & Index).Value = Range("G2").Value
    Else
    Range("F" & Index).Value = Range("G1").Value
    End If
End Sub
Sub CheckBox1()
Call Resizing_Checkbox(1)
End Sub
Sub CheckBox2()
Call Resizing_Checkbox(2)
End Sub
Sub CheckBox3()
Call Resizing_Checkbox(3)
End Sub
Sub CheckBox4()
Call Resizing_Checkbox(4)
End Sub
Sub CheckBox5()
Call Resizing_Checkbox(5)
End Sub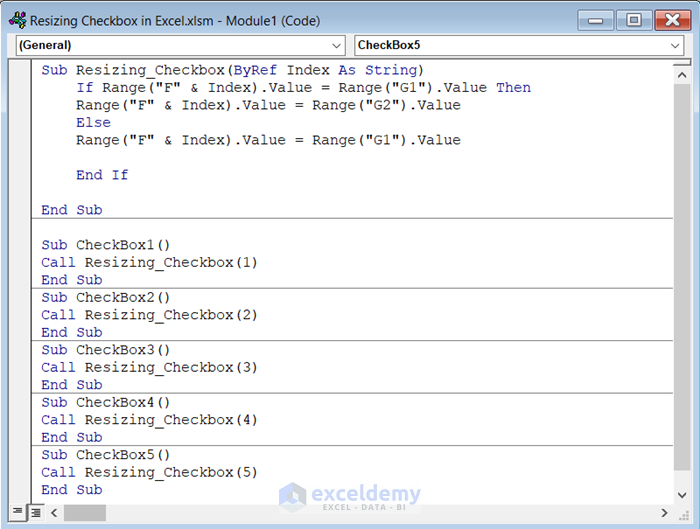
Code Breakdown
- We have created a Sub procedure named Resizing_Checkbox. Then, used Index as String by Reference within the Sub procedure.
- We used a VBA If statement. If the value in the F column matches the value in cell G1. Then, the function returns the value in cell G2. Else, the function will return the value in cell G1.
- We created another Sub procedure named CheckBox1.
- We used the VBA Call Sub to call Resizing_Checkbox and used 1 as Index.
- We added 4 more Sub procedure named CheckBox2, CheckBox3, CheckBox4, and CheckBox5.
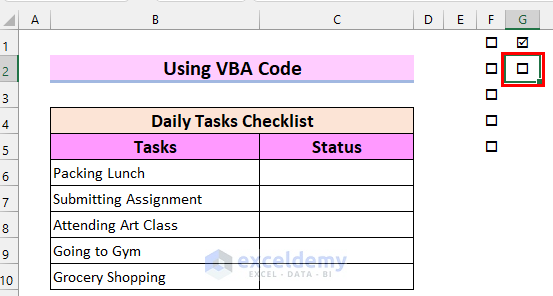
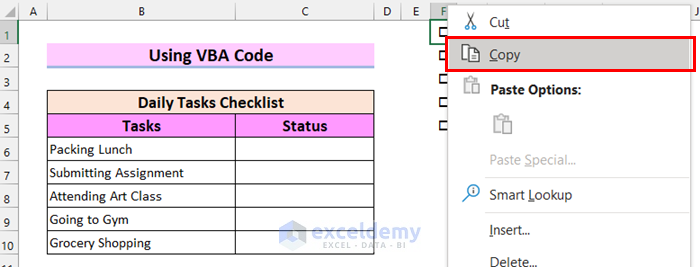
- Right-click on the cell where you have your first empty Checkbox.
- Select Copy.
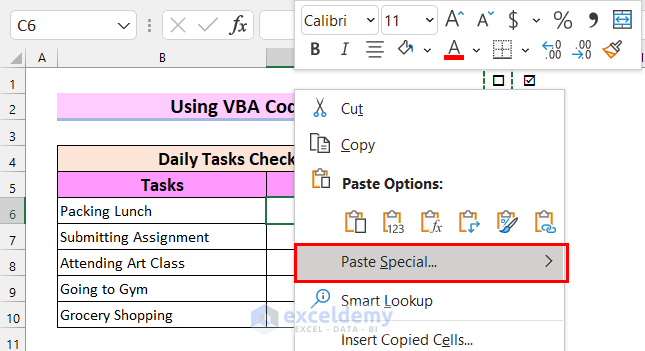
- Right-click on the cell where you want your Checkbox.
- Select Paste Special.
- Select Linked Picture.
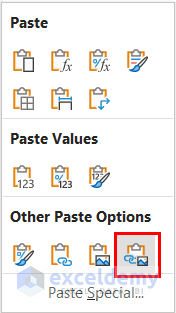
- You have inserted the Checkbox into the cell you want.
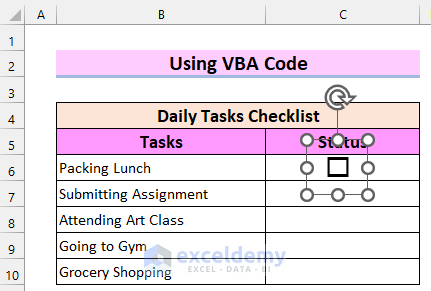
- Drag the Dotted Border of the Checkbox to resize it.
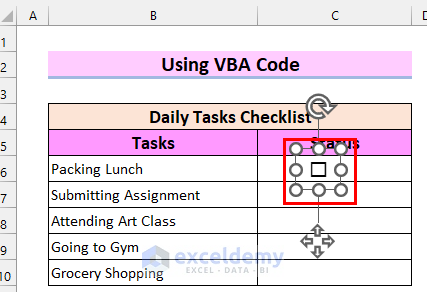
- We have resized the Checkbox.
- Right-click on the Checkbox.
- Select Crop.
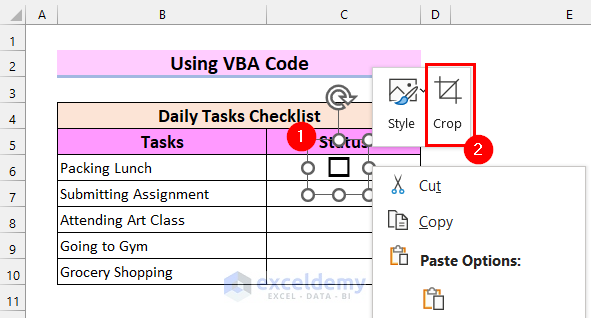
- Crop the border as needed.
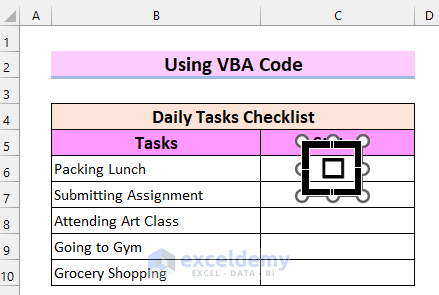
- Here’s the result.

- Repeat the procedure from Step 2 of Method 3 to copy all the Checkboxes.
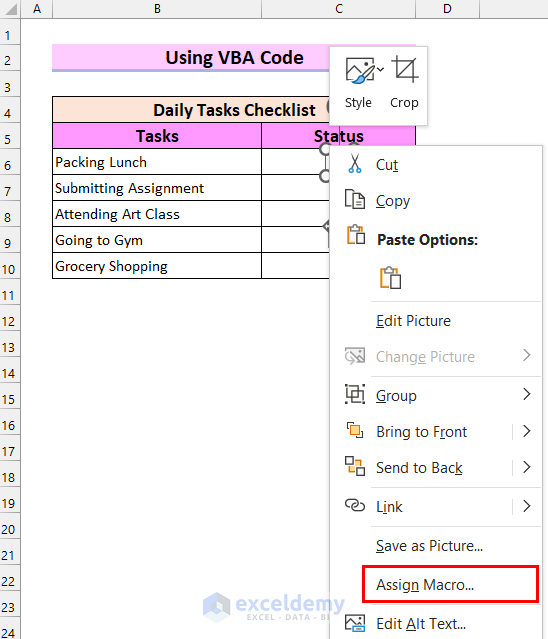
- Right-click on the first Checkbox.
- Select Assign Macro.
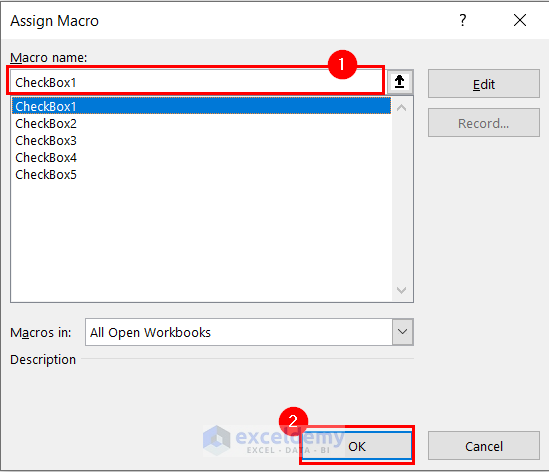
- A dialog box will appear.
- For Macro name, choose ChechBox1.
- Select OK.
- For the second Checkbox, select Macro name as ChechBox2.
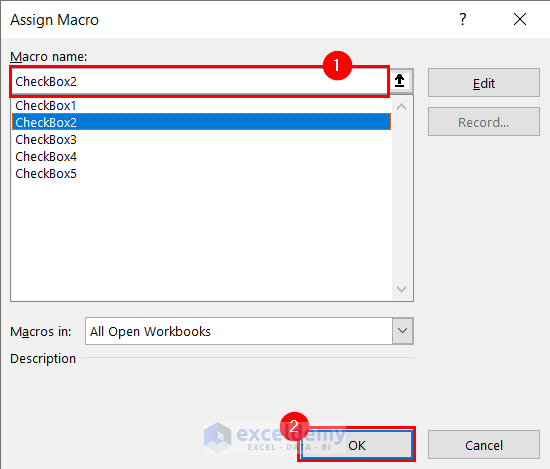
- Repeat to assign a Macro to all the Checkboxes.

- Check the Checkboxes as per your data.
Using the Size Feature to Resize a Checkbox in Excel
Steps:
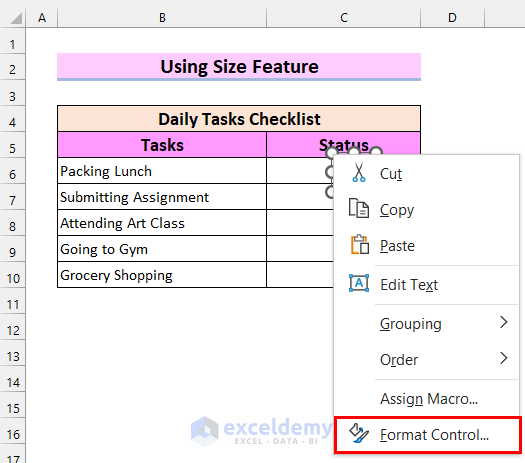
- Right-click on the Checkbox.
- Select Format Control.
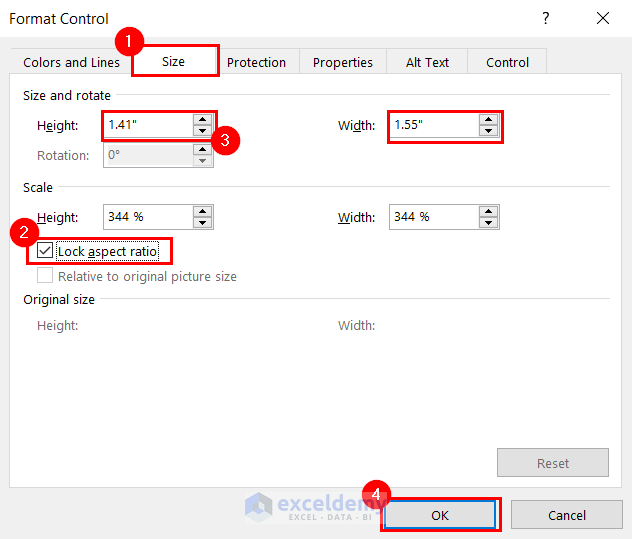
- A dialog box named Format Control will appear.
- Go to Size.
- Select Lock aspect ratio,
- Change the Height as you want. The Width will change automatically.
- Select OK.
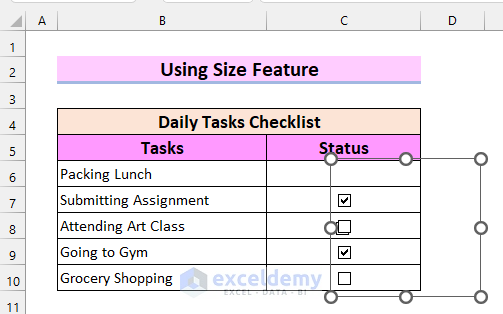
- Only the outer border of the Checkbox is resized. But, the actual size of the Checkbox remains the same. That’s why the methods above are more suitable for resizing a Checkbox in Excel.
Things to Remember
- Whenever working with VBA code, save the file as an Excel Macro-Enabled Workbook.
Practice Section
We have provided a practice sheet for you to practice how to resize a Checkbox in Excel.
Download the Practice Workbook
Related Articles
- How to Align Checkboxes in Excel
- How to Link Multiple Checkboxes in Excel
- How to Count Checkboxes in Excel
- How to Filter Checkboxes in Excel
- How to Remove Checkboxes from Excel
<< Go Back to Excel CheckBox | Form Control in Excel | Learn Excel
Get FREE Advanced Excel Exercises with Solutions!
