Method 1 – Using VBA to Add Checkbox in Excel Without Developer Tab
Steps:
- Press Alt + F11 to open the Microsoft Visual Basic for Applications window.
- Go to Insert and select Module. The Module window will appear.
- Type the code in the Module:
Sub Add_Checkbox()
Dim x As Range
Dim y As checkbox
Dim yRange As Range
On Error Resume Next
Set yRange = Application.InputBox(Prompt:="Select range", Type:=8)
If Err.Number <> 0 Then Exit Sub
On Error GoTo 0
For Each x In yRange
Set y = yRange.Parent.CheckBoxes.Add(0, 1, 1, 0)
With y
.Top = x.Top + x.Height / 2 - y.Height / 2
.Left = x.Left + x.Width / 2 - y.Width / 2
.Locked = False
.Caption = ""
.Name = x.Address
End With
Next x
End Sub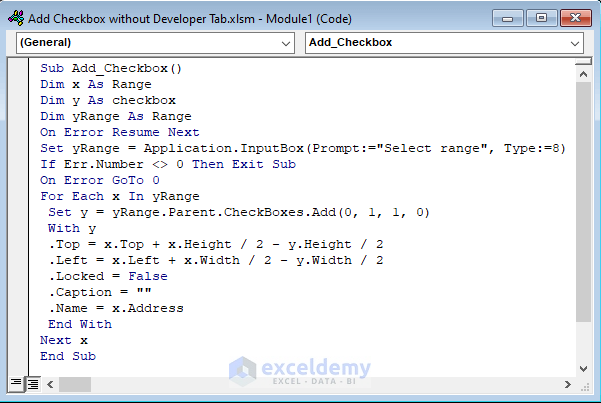
- Press Ctrl + S to save the code.
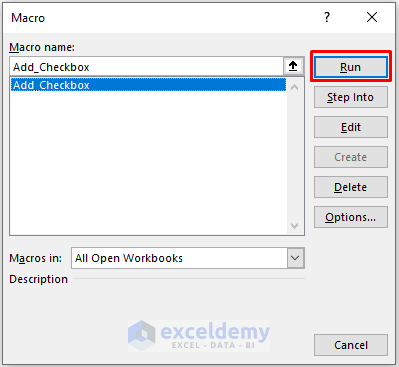
- Press Alt + F8 to open the Macro window.
- Select the code from the Macro window and Run it.
- After running the code, an input box will occur.

- Select the range where you want to add the checkboxes. We selected Cell E5 to E10.
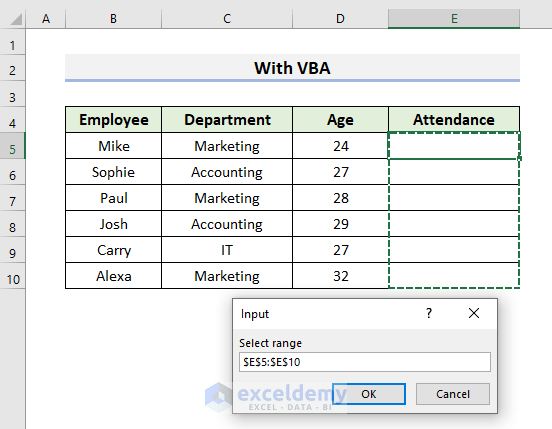
Note: You can also select a single cell to add a checkbox in that particular cell.
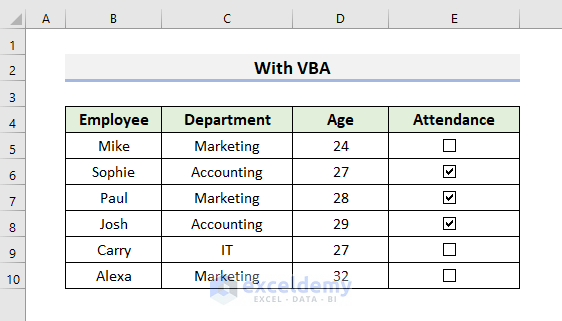
- Click OK to see the results.

- Mark the checkboxex to count the attendance.
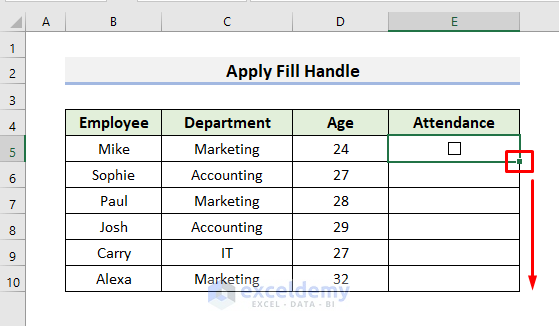
Method 2 – Applying Fill Handle Tool to Insert Multiple Checkboxes in Excel
Steps:
- Place the cursor on the small green rectangular box in the lower-left corner of the cell.
- A black plus sign will appear. It is the Fill Handle.
- Drag the Fill Handle down.
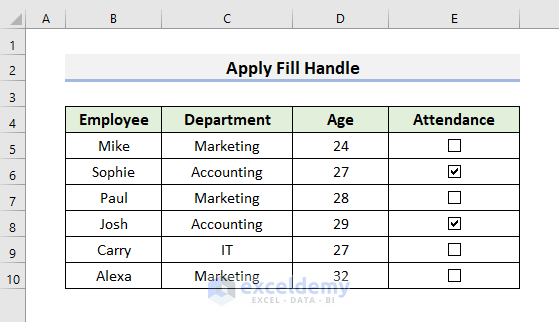
- After dragging the Fill Handle down, you will see checkboxes in the rest of the cells.

- To mark the checkboxes, place the cursor on the blank boxes and left-click your mouse.
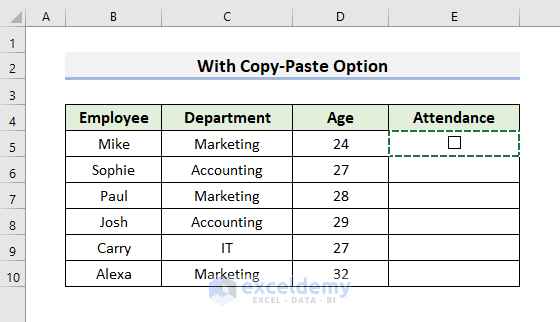
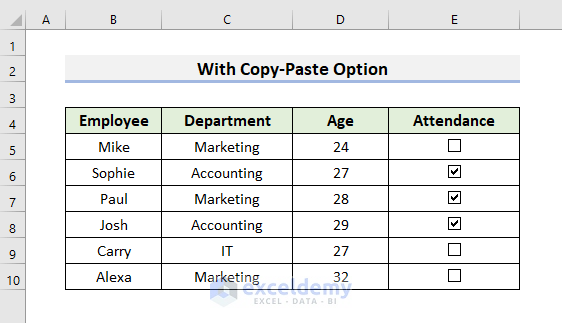
Method 3 – Using Copy & Paste to Add Multiple Checkboxes Without Developer Tab in Excel
Steps:
- Select the cell that contains the checkbox.
- Press Ctrl + C to copy the checkbox.
- Select the cells where you want to paste the checkbox. We selected Cell E6 to E10.
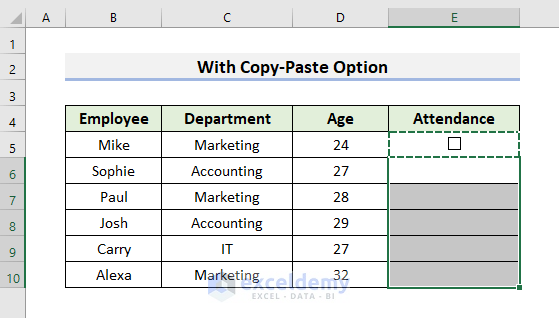
- Press Ctrl + V to paste the checkboxes and press the Esc key.

- Use the mouse to mark the attendance checkboxes.
Things to Remember
There are certain things we need to remember when we are adding a checkbox to our worksheet.
- In Method 1, we have shown the steps to insert multiple checkboxes in Excel. You can also use the same code to add a single checkbox without using the Developer tab.
- In Method 2, we have dragged the Fill Handle down to add the checkboxes. In this case, double-clicking on the Fill Handle will not work.
- Be extra careful when deleting checkboxes. To delete a checkbox, put the cursor on it, right-click, and press Delete from the keyboard.
Download Practice Book
Download the practice book here.
Related Articles
- How to Align Checkboxes in Excel
- How to Resize Checkbox in Excel
- How to Count Checkboxes in Excel
- How to Filter Checkboxes in Excel
- How to Remove Checkboxes from Excel
<< Go Back to Excel CheckBox | Form Control in Excel | Learn Excel
Get FREE Advanced Excel Exercises with Solutions!

Thanks a lot. This was really helpful for me. Can I ask where we can find this option next time we Insert without using shortcuts?
Hi KARTHIKA,
Thanks for your comment. To insert checkboxes without shortcuts, you can follow the steps below:
STEPS:
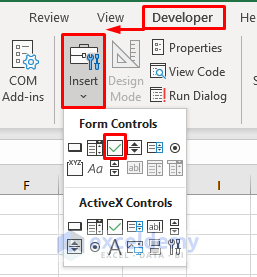
1. Go to the Developer tab and click on the Insert option.
2. A drop-down menu will appear.
3. You can select the checkbox from the “Form Controls” section.
If you don’t find the Developer tab in the ribbon, then you need to add it from the Customize the Ribbon option. You will find the detail in the link below:
https://www.exceldemy.com/add-a-checkbox-in-excel/#2_Steps_to_Add_a_Checkbox_in_Excel
I hope this will help you to solve your problem. Please let us know if you have any other queries.
Thanks!