Microsoft Excel is a spreadsheet that organizes numbers and data with formulas and functions. Excel analysis is used all over the world for financial analysis of all types of business. If you use Excel for personal or professional uses you might feel the need to use two spreadsheets at the same time. In this article, I am going to show you some easy processes to open Excel files in separate windows by default. So that, you don’t have to open files in a similar window.
Today I am explaining 4 suitable methods to open Excel files in separate windows by default. Stay tuned to learn the simple methods.
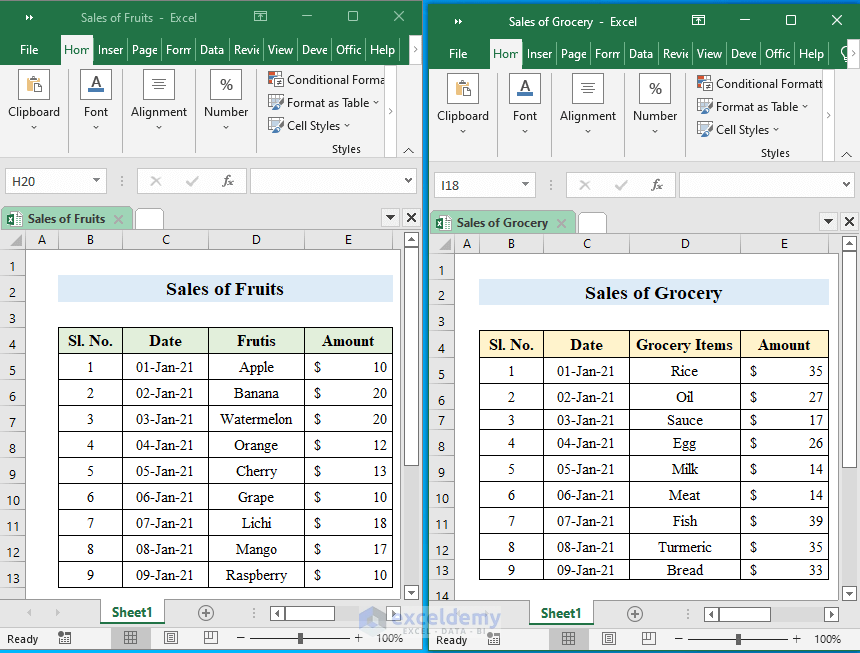
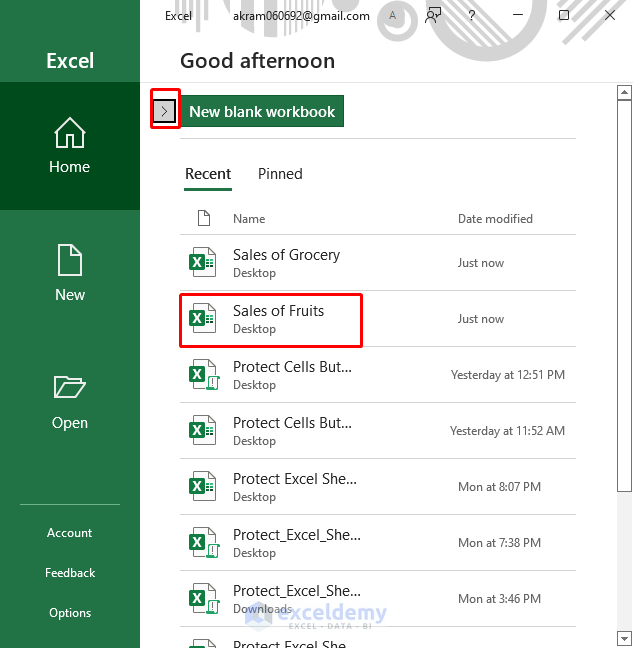
Suppose we have two Excel spreadsheets containing data on sales of two Shops. One is the Sales of Fruits and the other is the Sales of Groceries.
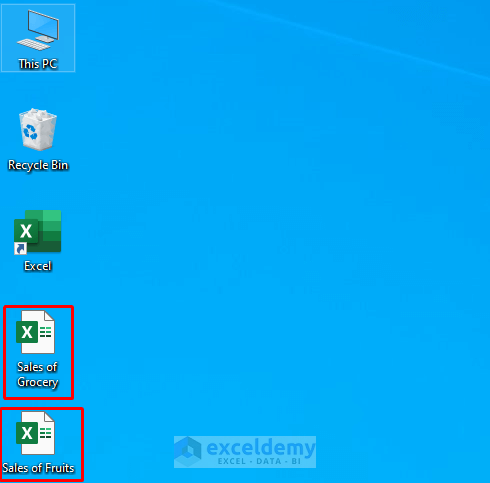
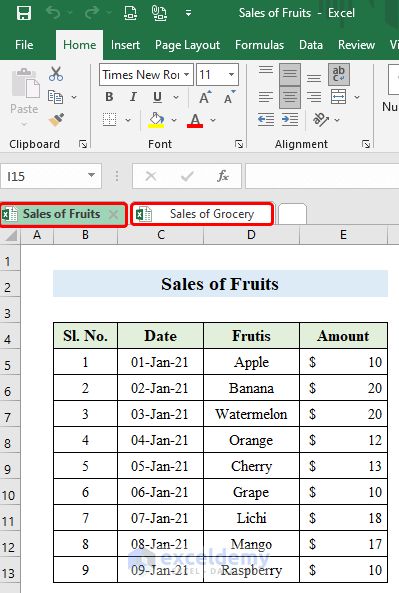
Let’s open these datasets on our PC. As you can see, both files are opened in the same window. Now, we will apply some techniques so that they open in different windows.
1. Using Office Tab to Open Excel files in Separate Windows by Default
If you want to open two Excel spreadsheets in two separate windows without any hesitation then you are in the perfect place for your solution. Utilizing the office tab we can get our precious result. Hope you have the “Office Tab” installed on your PC. If not, don’t forget to check the “Things to Remember” portion at the end of this article. Stay tuned and follow the steps-
Step 1:
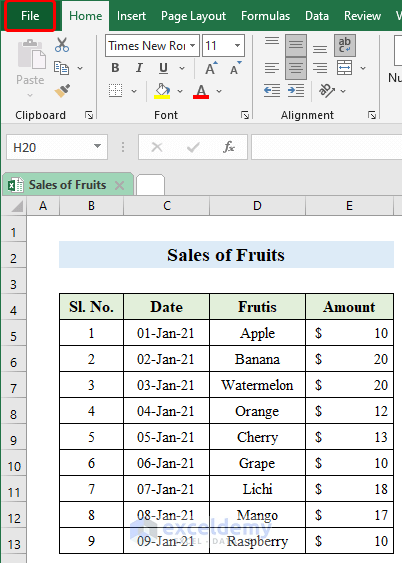
- Firstly, open a spreadsheet. Here I have opened the file “Sales of Fruits”.
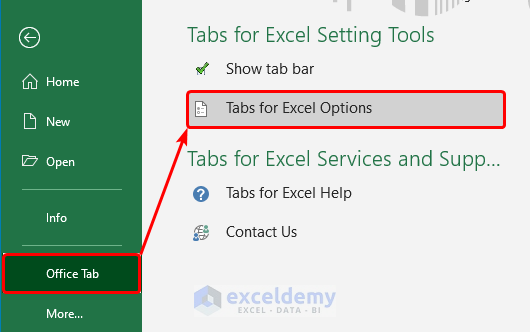
- Go to “File” to open options.
- Choose “Tabs for Excel Options” from the “Office Tab”.
Step 2:
- From the new window uncheck the “Single-window Mode”.
- Press OK to continue.
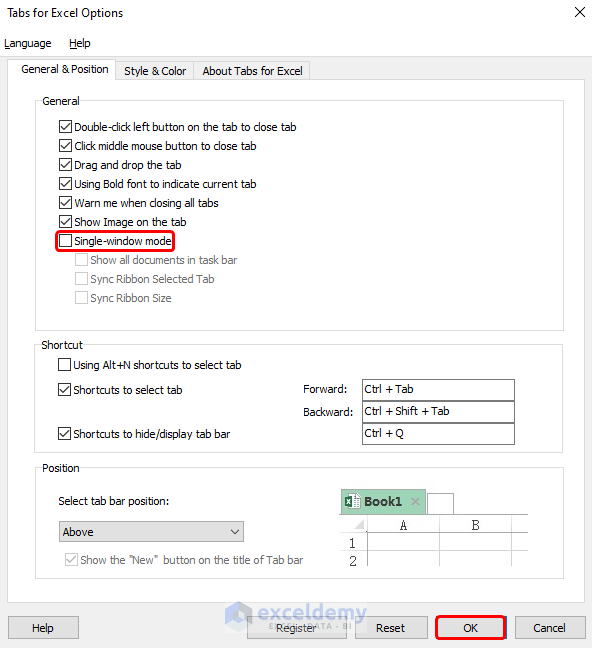
- Hereby unchecking the option we have successfully reached our destination. Now open both Excel files and you will see both of them will open in a separate window.
2. Opening Excel files in Separate Windows with Registry Editor
In the previous method, we used a built-in feature of Excel to do so. Now let’s use “Registry Editor” to open Excel files in two separate windows. Follow the steps carefully and patiently to get your precious result.
Step 1:
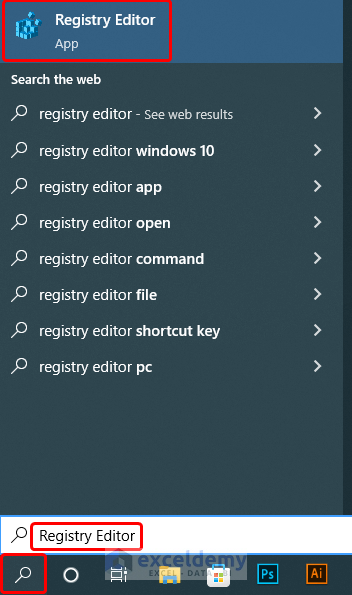
- Click on the “Search” option from your taskbar.
- Type “Registry Editor” to search from your computer.
- Now choose “Registry Editor” from your search result and click on it to open.
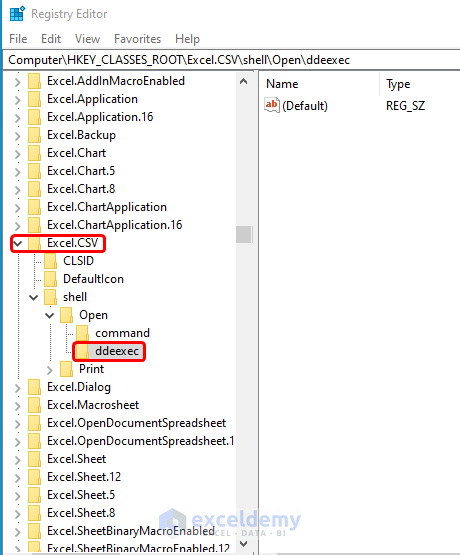
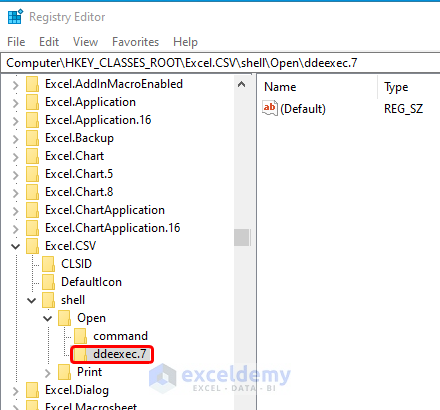
- From the left column press onto “Excel.CSV”.
- Again click on the “Open” option and select “ddeexec”.
- Right-click on the “ddeexc” file and rename the file.
- Now go to the “Command” option and choose “Default” from the right column.
- While selecting the “Default” right-click the mouse button and press “Modify”.
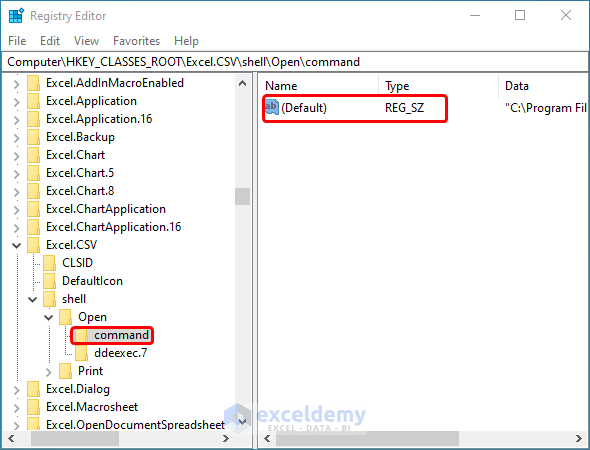
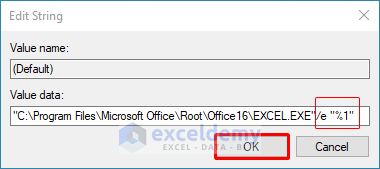
- A new window will open named “Edit String”.
- Here you have to edit the string. At the end of the string type- /e”%1”
- Press OK to change the string.
Now we will do the same steps in a new file from the left column.
Step 2:
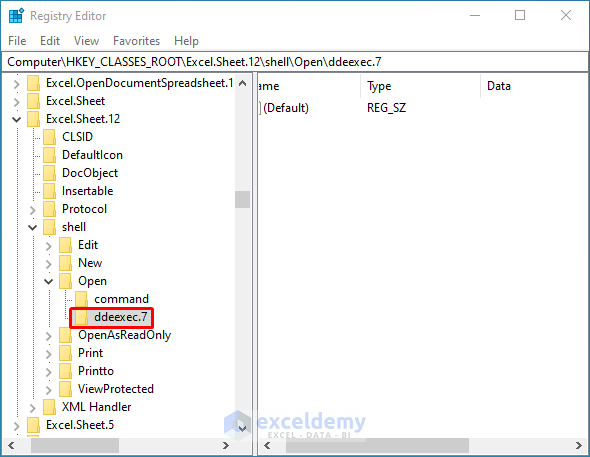
- Go to Sheet.12 > Shell > Open > ddeexec.
- Selecting “ddeexec” click on the right button of the mouse and from the options choose “Rename”.
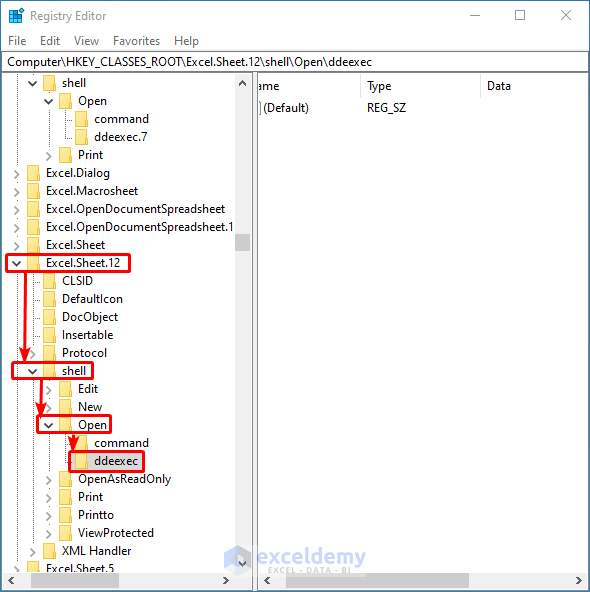
- Here I have renamed the file to “7”.
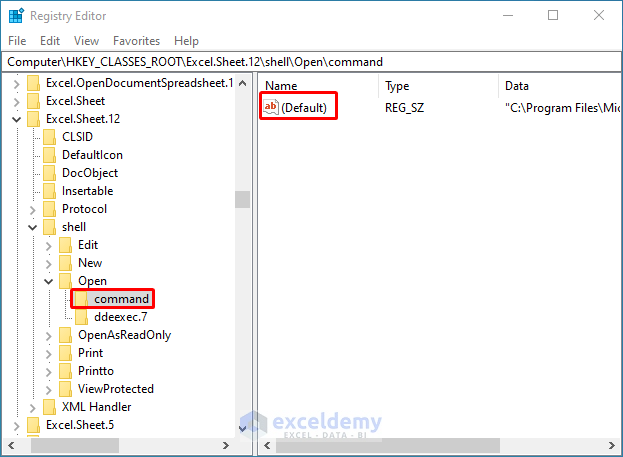
- Now we will head towards the “Command” point.
- After selecting the “Command” point from the left column a new option will appear in the right side column.
- Press the “Default” option and click the right button on the mouse to open options.
- From the options, select modify to edit the string.
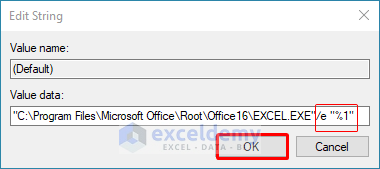
- At the end of the string type- /e”%1”
- Click OK.
- Now close the “Registry Editor” file.
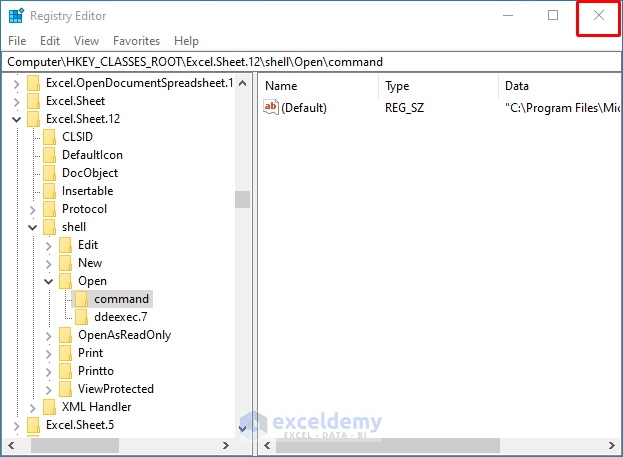
- Let’s open the Excel files. You will see the Excel files will open in two separate windows.
3. Creating Custom Excel Shortcut to Open Files in Separate Windows
By creating a shortcut in your window, you can open an Excel file in Separate windows, too. Follow my steps-
Step1:
- Click the right button on the mouse selecting the “Excel” shortcut from your window.
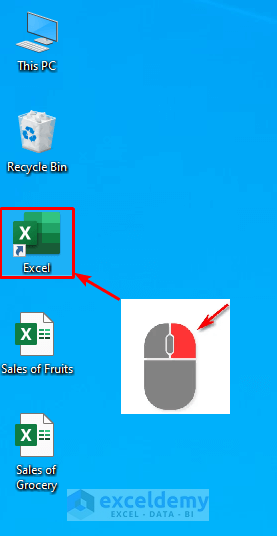
- Options will pop up. From the options choose “Properties”.
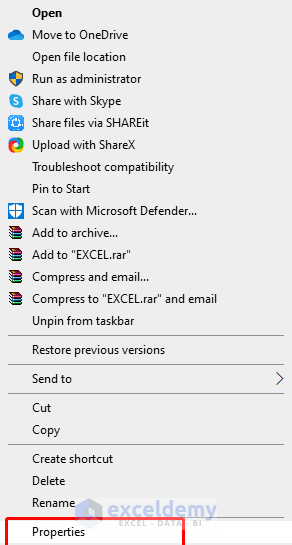
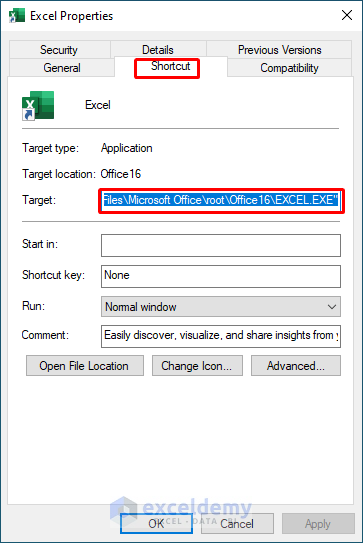
- A new window will appear named “Excel Properties”.
- Click the “Shortcut” and copy the location from the “Target” option.
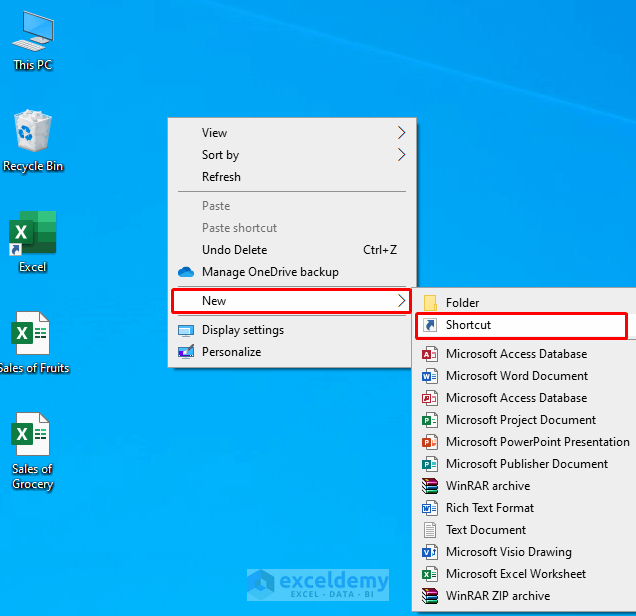
- Now go to your window and again click the right button on the mouse to get some new options.
- Select “Shortcut” from option “New”.
Step 2:
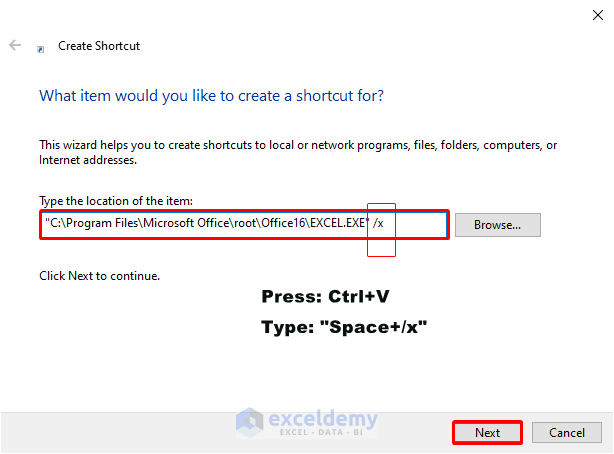
- In the “Create Shortcut” window paste by pressing Ctrl+V from your keyboard in the “Type the location of the item” cell.
- At the end of the string type- “ /x”.
- To continue click “Next”.
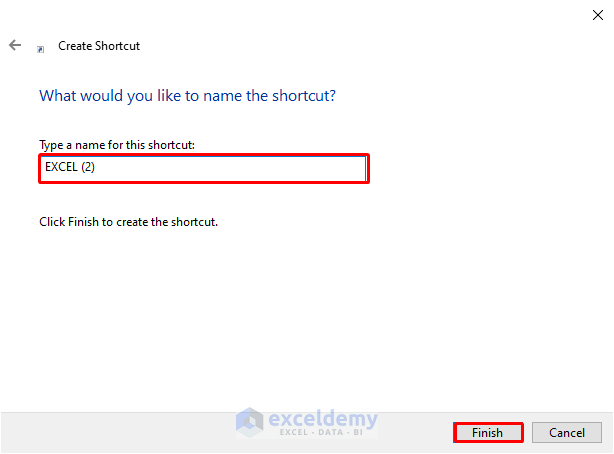
- Now, name your Excel file. Here, I have named the file “Excel (2)”.
- Complete the process by pressing “Finish”.
- Now you will get a new Excel shortcut icon in the window. With the previous icon, you can open a file and with the new icon, you can also open a new file in a separate window every time you click on it. It’s that easy.

4. Searching in Windows to Open Excel files in Separate Windows
Let’s move to our last step. In this method, I will show you some simple and quick steps so that you can open Excel files in a separate window at a glance.
Steps:
- Firstly, open an Excel file.
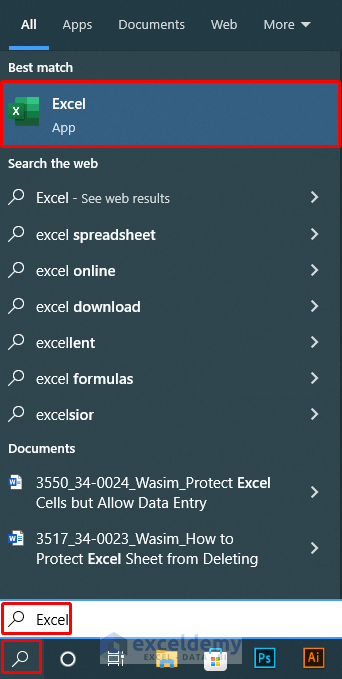
- While it’s opened, go to your “Search” option from the taskbar and type “Excel”.
- Choose the “Excel” app from the search results.
- From the “Home” option click on the icon from the right column to view files.
- Now select another file and press on it to open.
- This time this will open in a new and separate window. Thus you will get your two different files opened in two different windows every time using this method.

Things to Remember
If you don’t have the “Office Tab” installed on your PC. Go to the browser and search “Office Tab”. Then download the file and install it. After completing the installation of the file, open your Excel file to enjoy the “Office Tab”.
Download Practice Workbooks
Download these practice workbooks to exercise while you are reading this article.
Conclusion
In this article, I have tried to cover the simple and quickest ways to open Excel files in separate windows by default. Take a tour of the practice workbook and download the file to practice by yourself. Hope you find it useful. Please inform us in the comment section about your experience.
Related Articles
- How to Open Two Excel Files Side by Side
- How to Open Two Excel Files Separately
- How to Open Multiple Excel Files in One Workbook
<< Go Back to Open Excel Files | Excel Files | Learn Excel
Get FREE Advanced Excel Exercises with Solutions!
