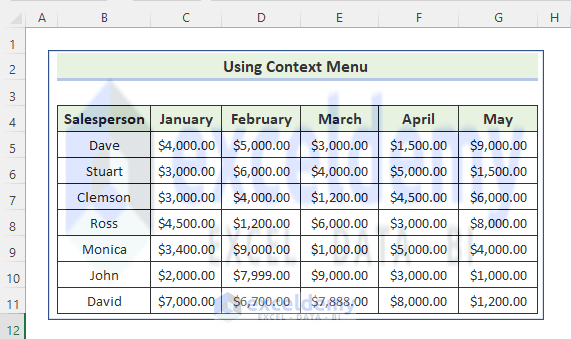
Method 1. Using the Context Menu
Steps:
- Go to the Insert tab and select Shapes in Illustrations.
- Select Rectangle.
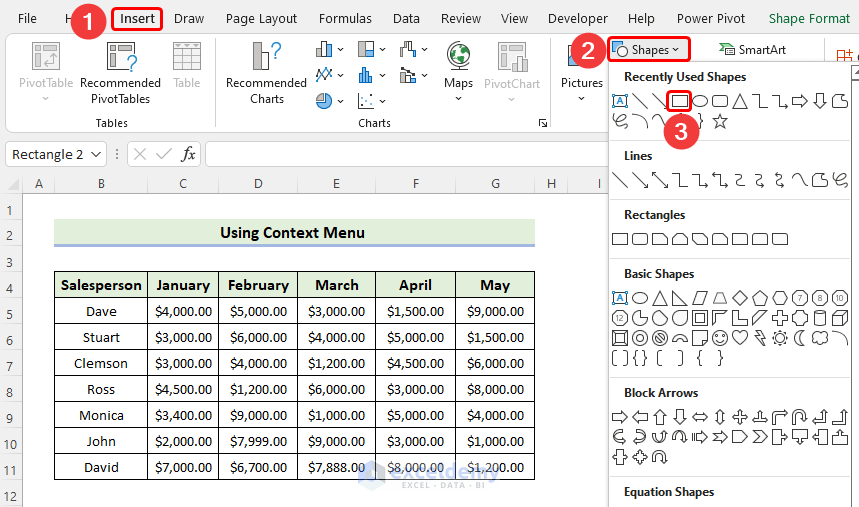
- Draw the shape as shown below.
![]()
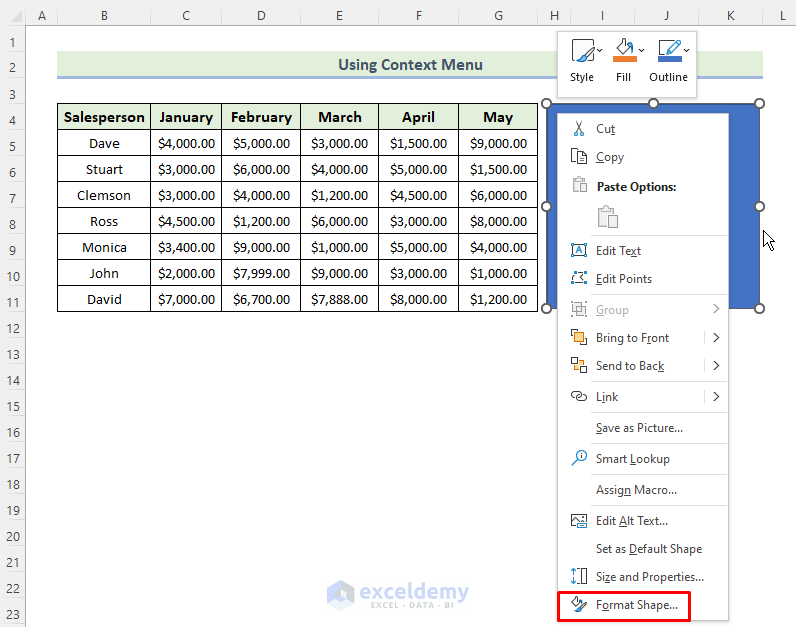
- Right-click the shape.
- Click Format Shape.
- The Format Picture dialog box will open.
- Select Fill & Line, and click Picture or texture fill.
![]()
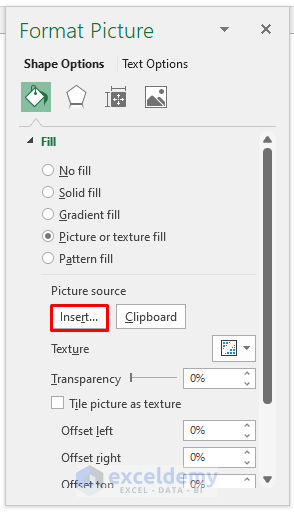
- Click Insert in Picture source.

- In the dialog box, choose a picture from your saved file or online. Here, From a File.
![]()
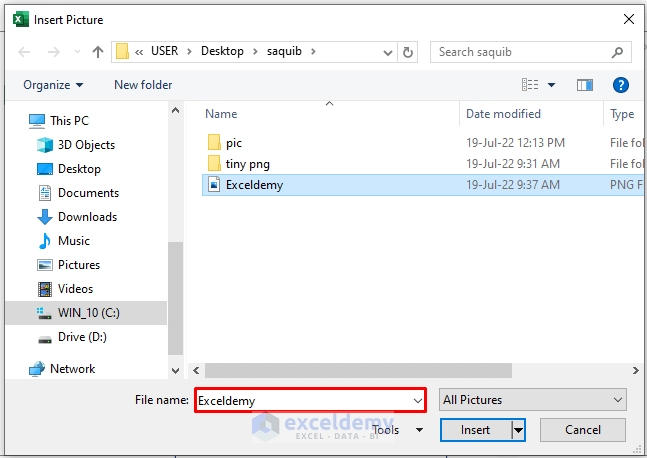
- Select the picture in the File name box and click Insert.

The image is automatically adjusted to the cell size as shown below.
![]()
The picture must be placed over the dataset as shown below.
- To make the picture background transparent, select Transparency, and set the transparency to 80%. You may increase or decrease this value.
![]()
The picture background is transparent.
Read More: How to Make Excel Spreadsheet Colorful
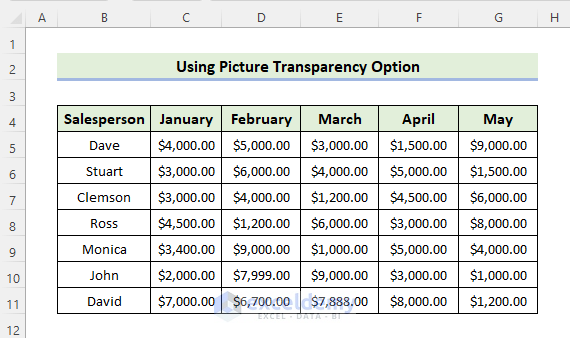
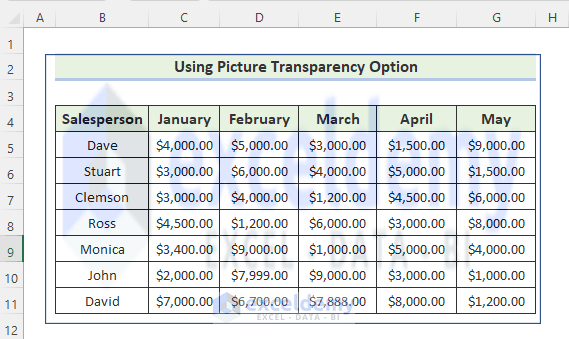
Method 2 – Utilizing the Picture Transparency Option
Steps:
- To insert a shape, go to the Insert tab and select Shapes in Illustrations.
- Select Rectangle.
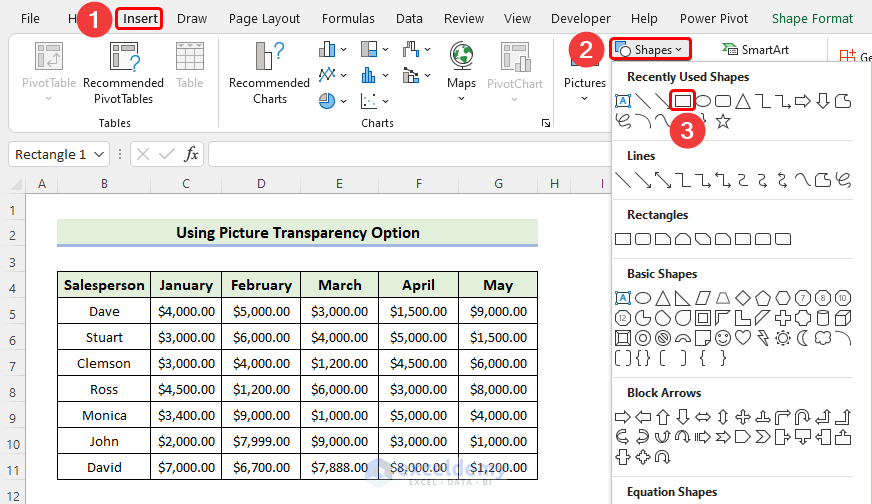
- Draw the shape as shown below.
![]()
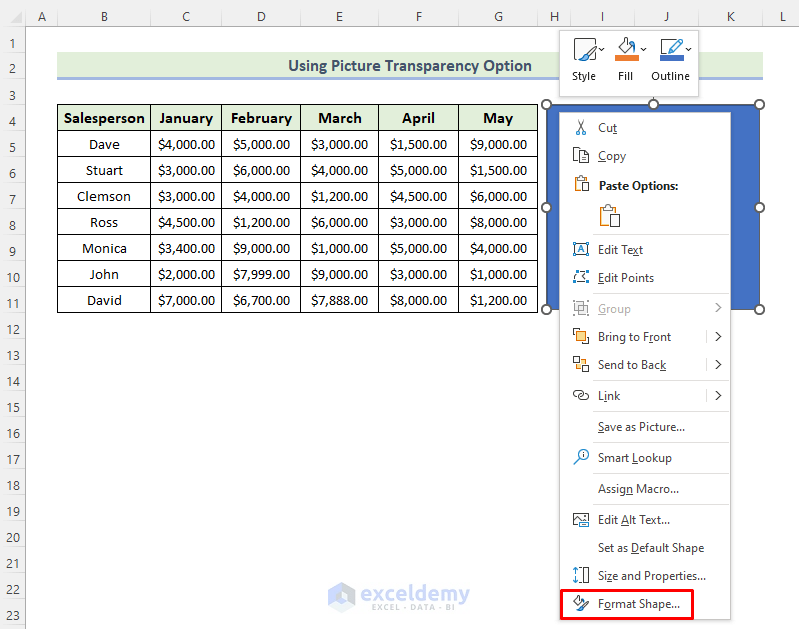
- Right-click the shape.
- Click Format Shape.
- The Format Picture dialog box will open.
- Select Fill & Line, and click Picture or texture fill.
![]()
- To insert a picture, click Insert in Picture source.
- In the dialog box, choose a picture from your saved file or online. Here, From a File.
![]()
- Select the picture in the File name box and click Insert.
The image is automatically adjusted to the cell size as shown below.
![]()
The picture must be placed over the dataset as shown below.

- To make the picture background transparent, go to Picture Format, select Transparency, and choose a format.
![]()
The picture background is transparent.
Download Practice Workbook
Download this practice workbook to exercise.
Related Articles
<< Go Back to Excel Background | Learn Excel
Get FREE Advanced Excel Exercises with Solutions!
