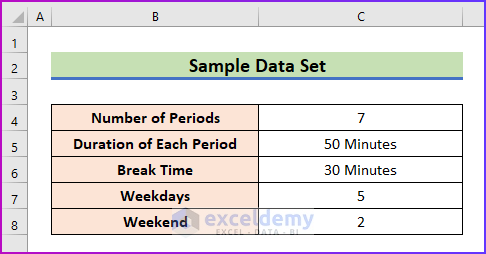
We’ll use the following dataset to create a school timetable.
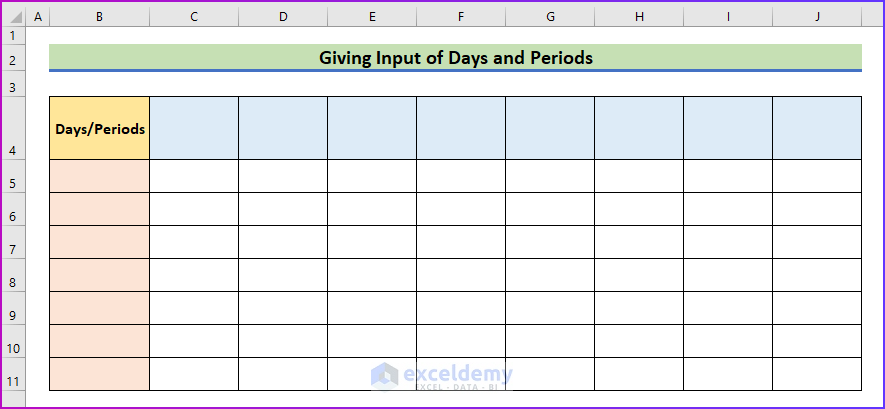
Step 1 – Input Days and Periods
- Make an 8×8 table in your Excel sheet like the following image.
- Format the table with colors of your choice and make the fields for inputting days and periods.
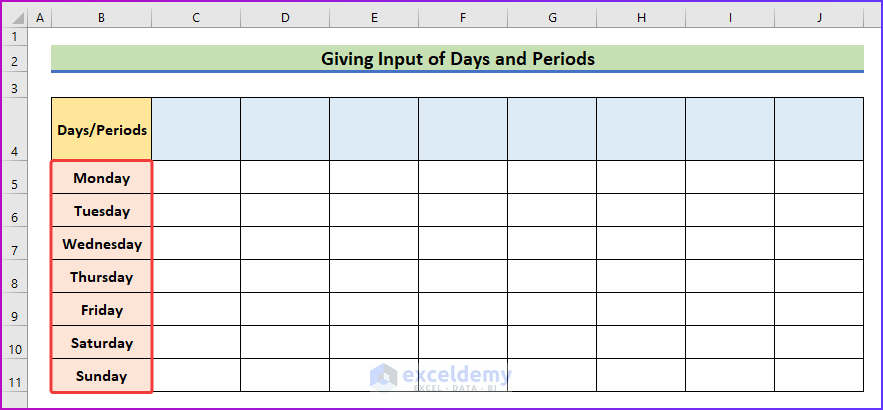
- Under the Days/Periods header, type in the names of the days, starting from Monday.
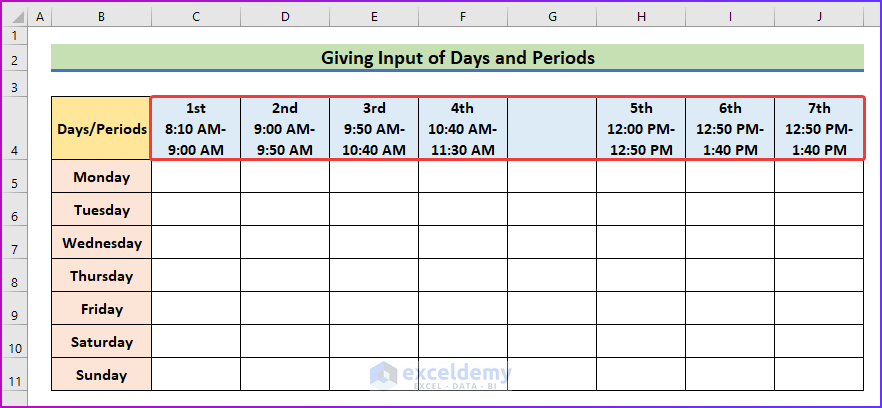
- In the first row, input the number of periods with the duration for each period. After the fourth period, leave one column empty.
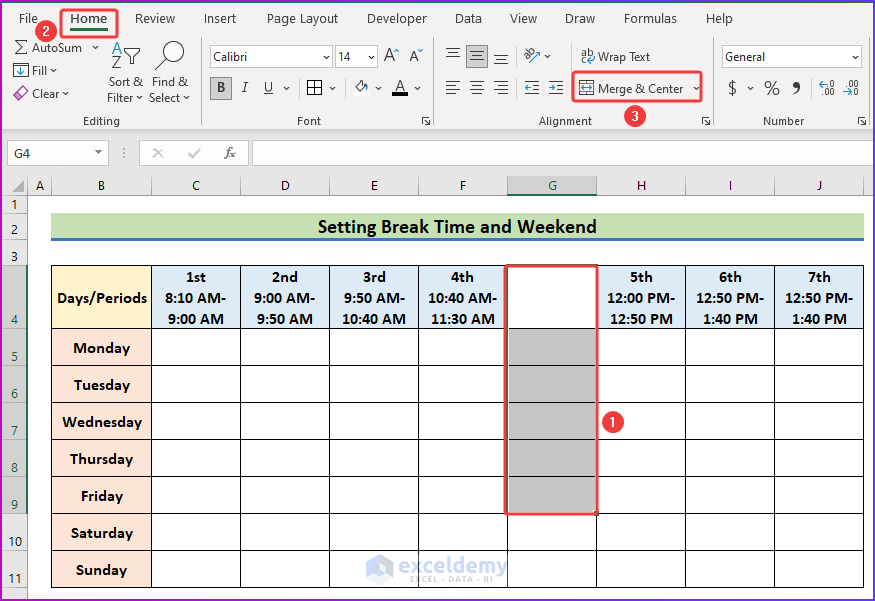
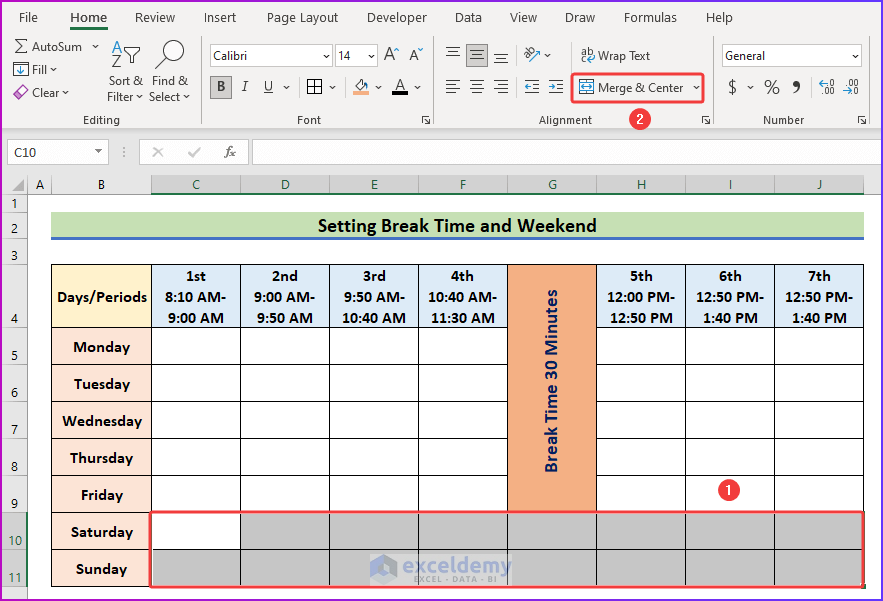
Step 2 – Set the Break Time and Weekend
- After the fourth period in the time table, select the column in the dataset and go to the Home tab of the ribbon.
- Under the Alignment group, select Merge & Center.
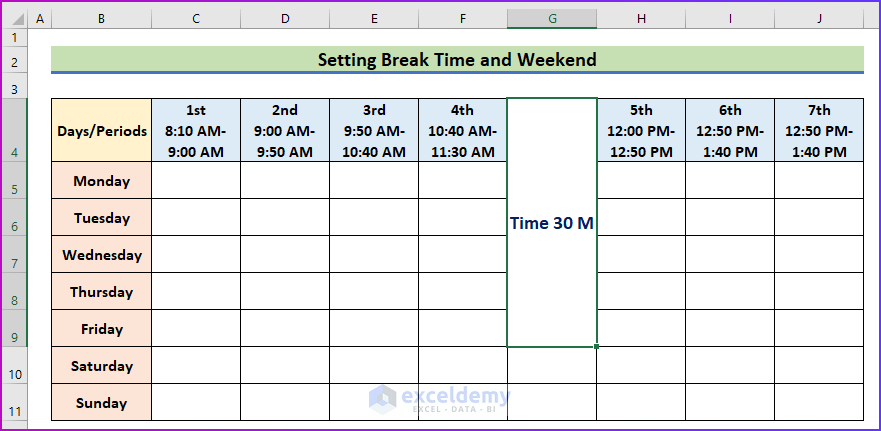
- Type the name and duration of the break time.
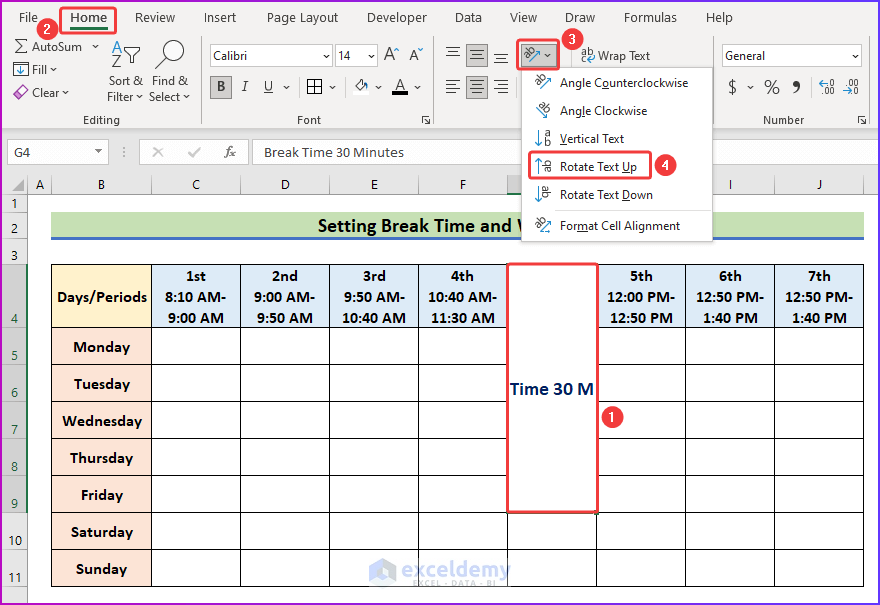
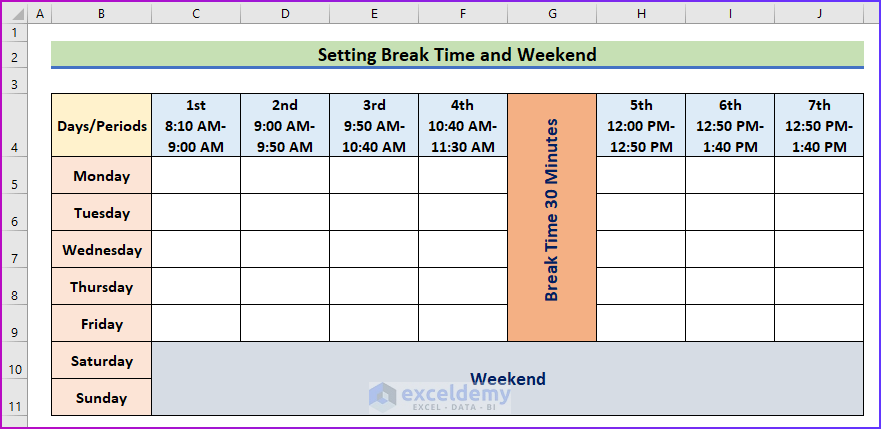
- Go to the Alignment group and choose Orientation.
- Select Rotate Text Up.
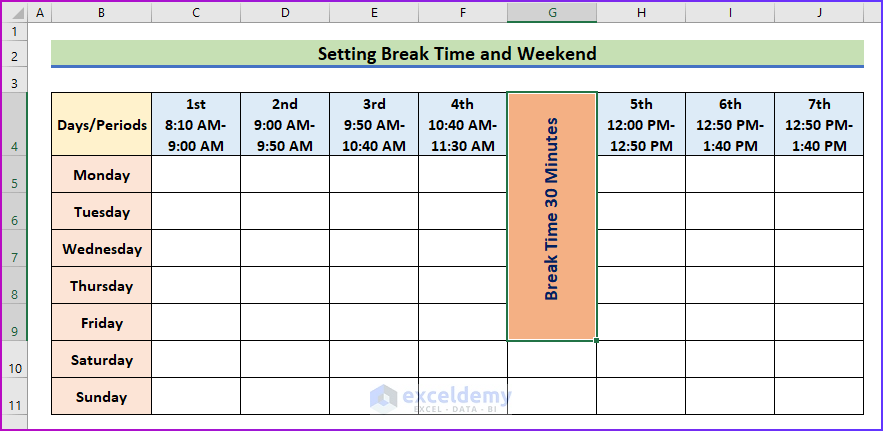
- Format the cell color.
- Select the cell range C10:J11 and choose Merge & Center.
- Type Weekend and format the merged cell however you want.
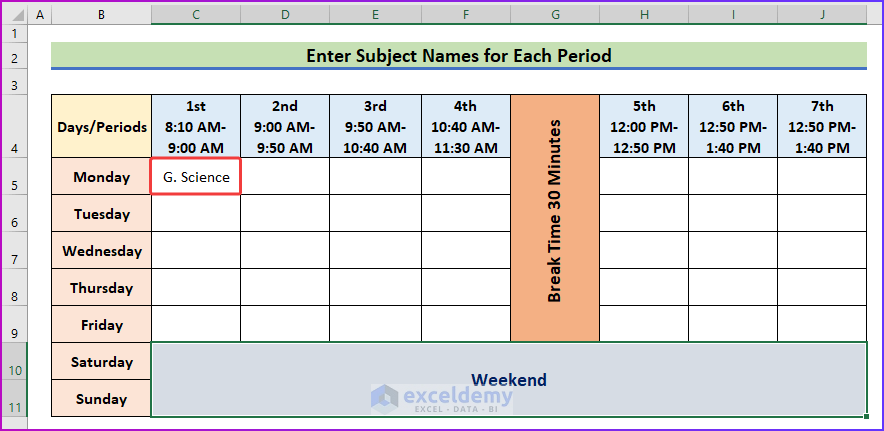
Step 3 – Enter Subject Names for Each Period
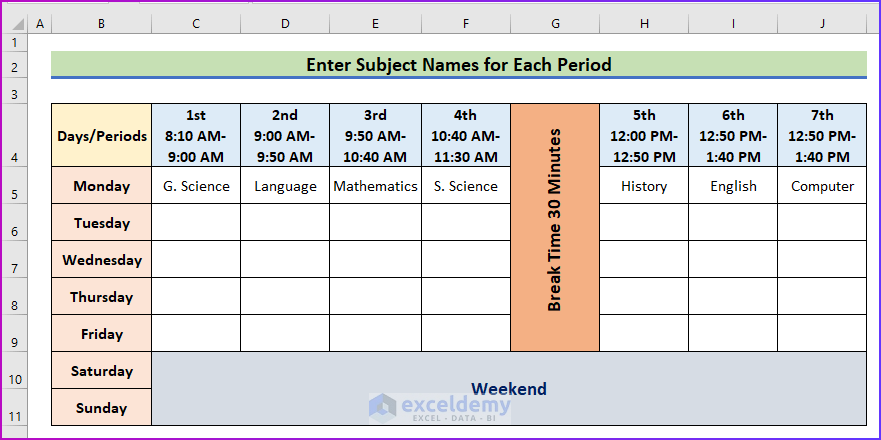
- Insert the subject for each period.
- Insert the row.
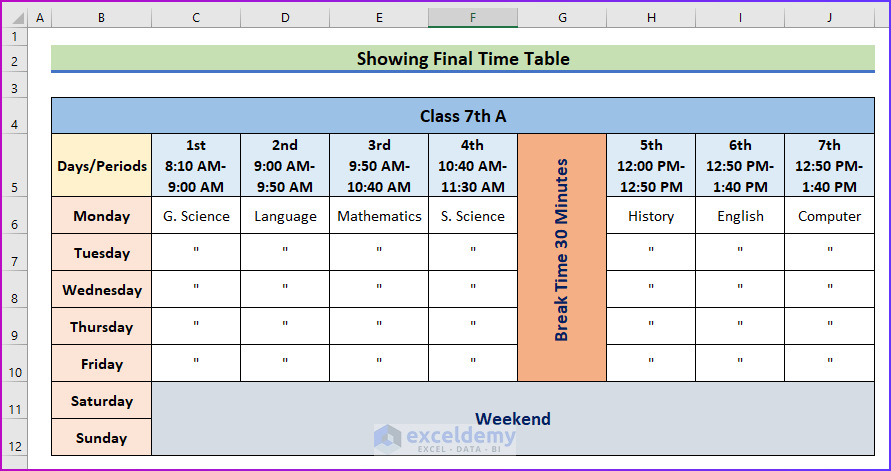
Step 4 – Show the Final Time Table
- As the sequence of the subjects in each period will be the same for the other days as well, type (“) in cell C7 and press Enter.
- Repeat the whole process with AutoFill for the other cells.
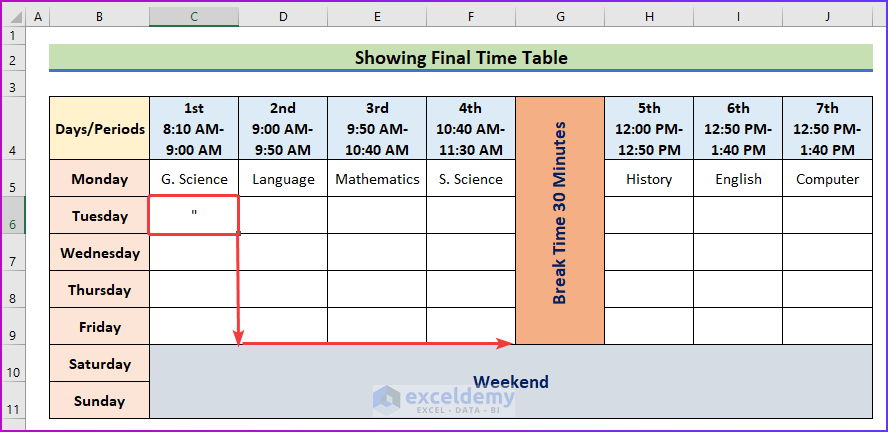
- The completed school timetable will look like the following image.
Read More: How to Make a Class Schedule on Excel
Download the Practice Workbook
Related Articles
- How to Create a Workback Schedule in Excel
- How to Make an Availability Schedule in Excel
- How to Make a Schedule for Employees in Excel
- How to Create a Project Schedule in Excel
- How to Make a Work Schedule in Excel
<< Go Back to Excel for Business | Learn Excel
Get FREE Advanced Excel Exercises with Solutions!
