Watch Video – Create a Weekly Schedule in Excel
Method 1 – Creating a Weekly Schedule in Excel Without Templates
Step 1: Create Outlines for Weekly Schedule
- Use the Merge & Center option from the Alignment ribbon group for cell B2 to I2 and enter the heading “WEEKLY SCHEDULE“.
- Go to Cell Styles. Select Heading 2.
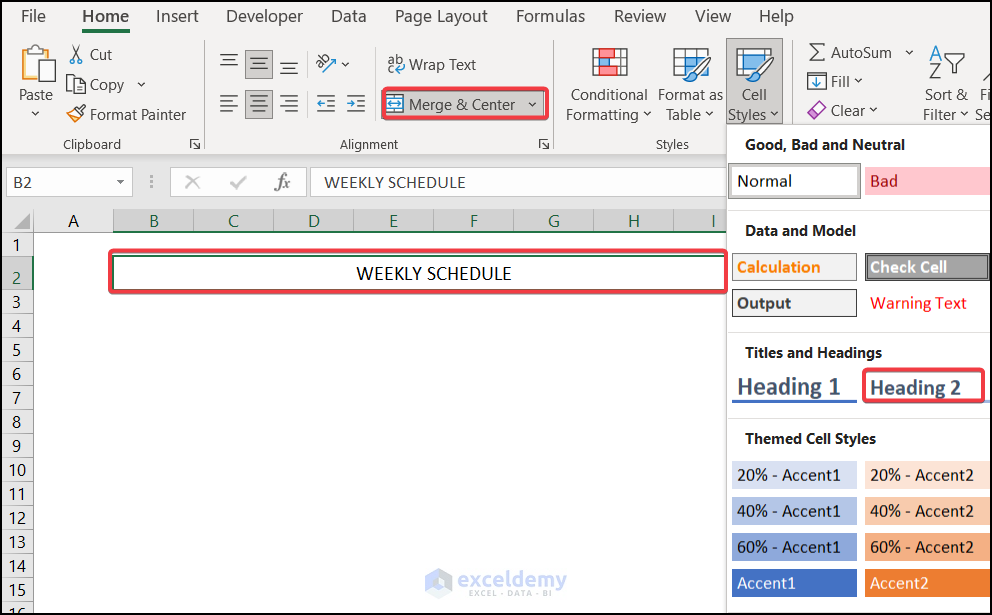
- In cell B4, enter the Starting Time, Time Interval and Ending Time for your working schedule.

Step 2: Enter Necessary Time and Name of Day
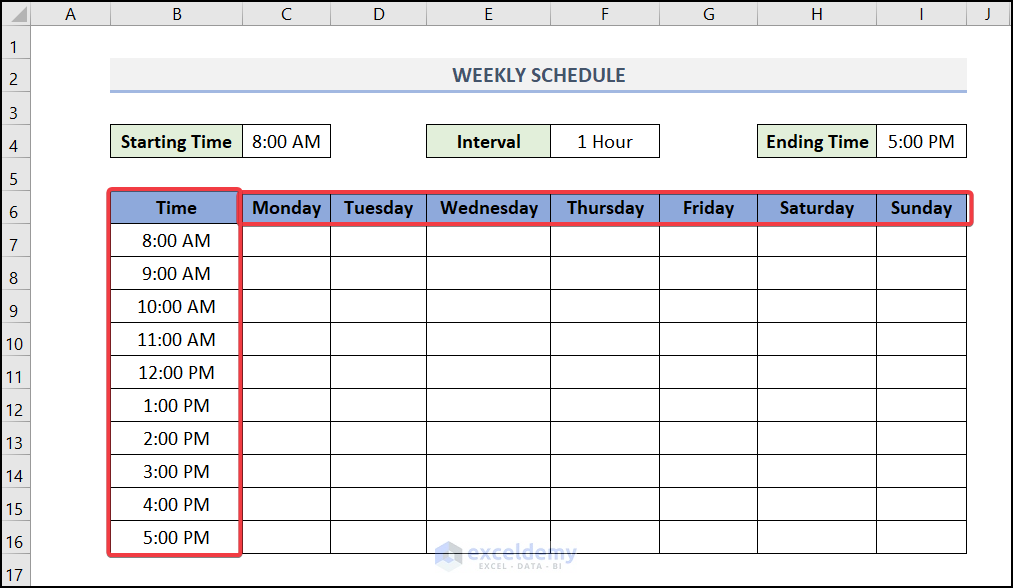
- Enter the time and weekdays in your schedule.
- Enter your starting time and drag down the Fill Handle tool to fill in the remaining cells.
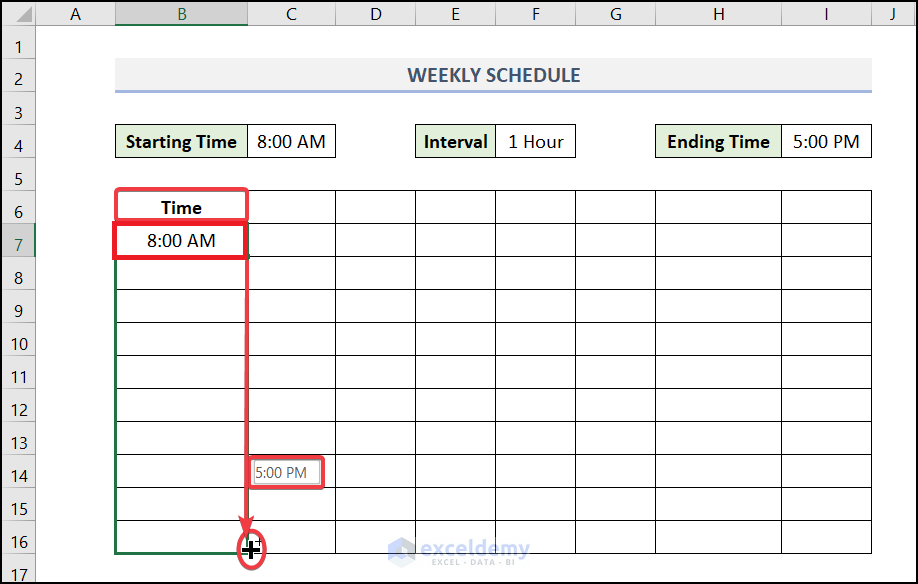
- Enter the first working day and drag down the Autofill feature for other weekdays.

- You have entered the day with time for your weekly schedule.
Step 3: Make a Table
- Make an Excel table with the data.
- Select the entire data and go to Insert tab >> pick Table.
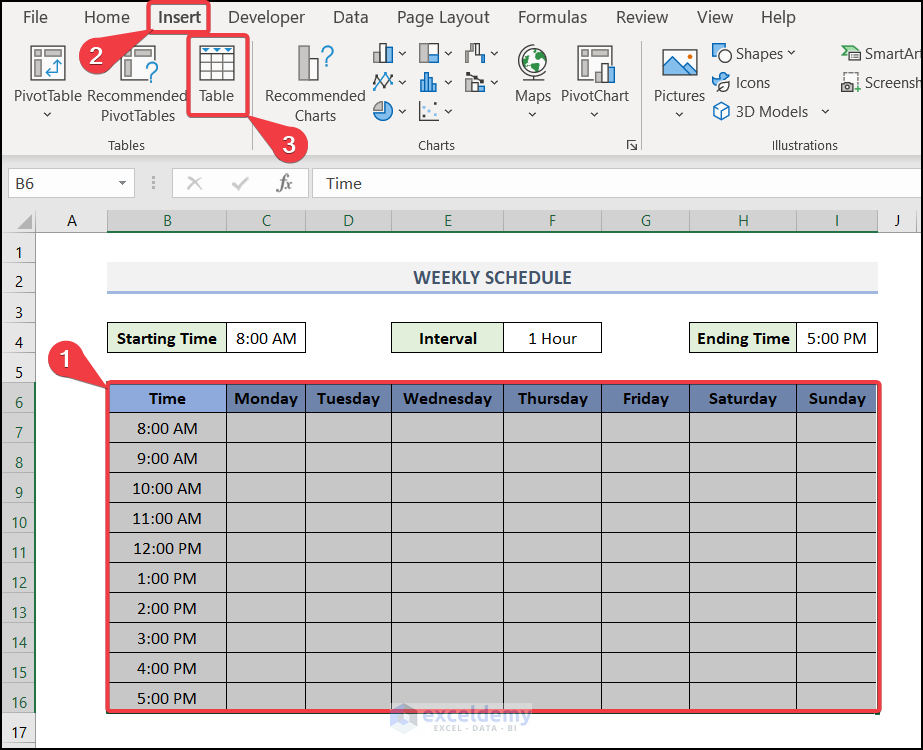
- Create Table dialog box will open. Check the My table has headers. Press OK.
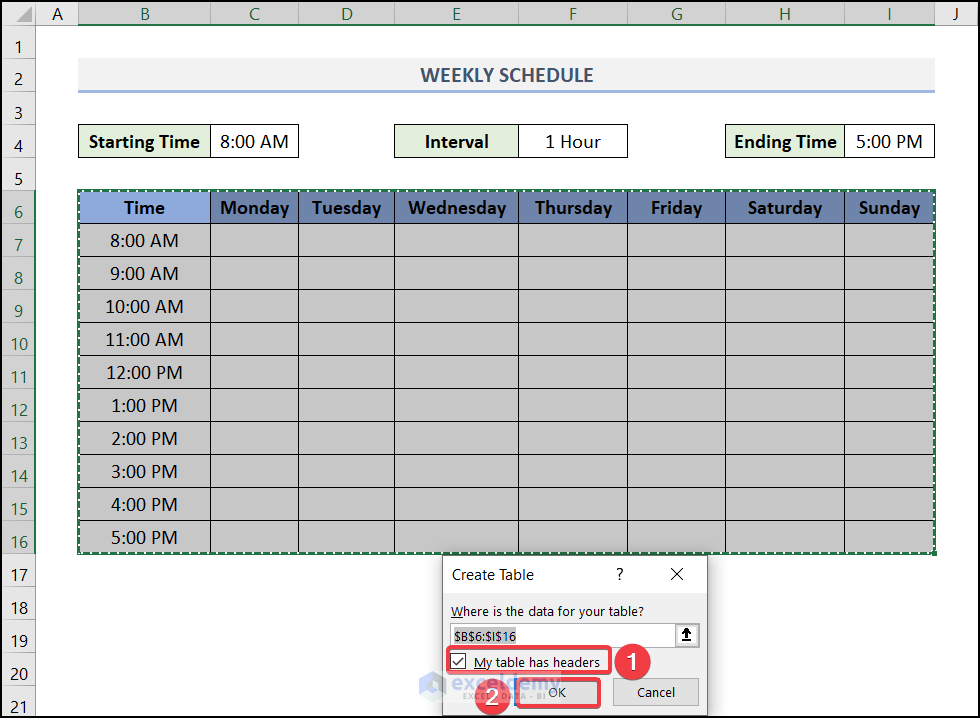
Note: Use keyboard shortcut CTRL + T to create a table.
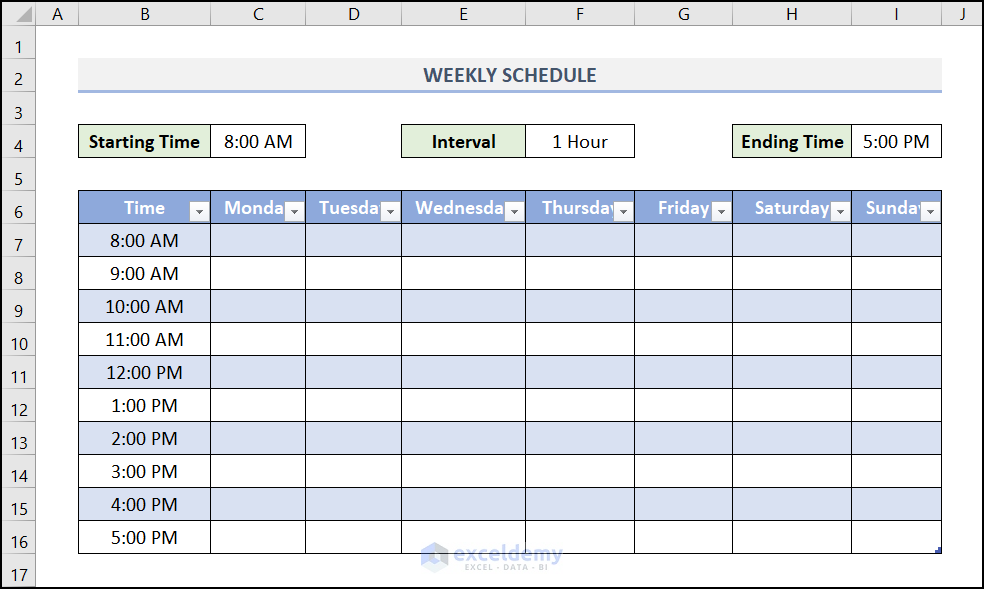
- A table will be created.
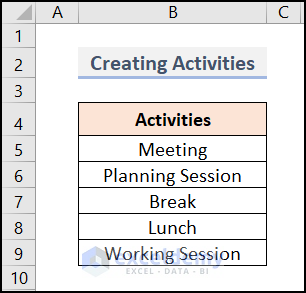
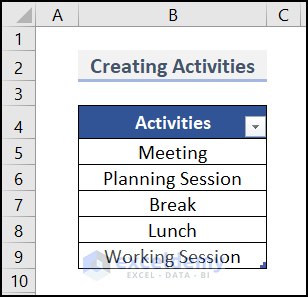
Step 4: Create a List of Activities
- Open a new sheet and enter the Activities list.
- Create a table and select My table has headers. Press OK.
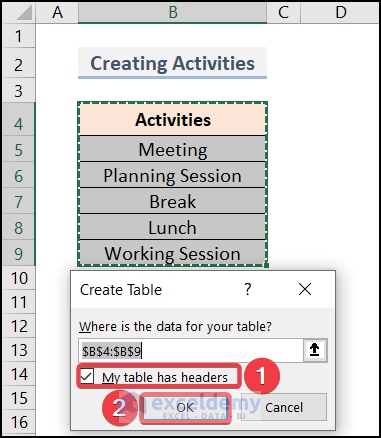
- A table has been created with your activities list.
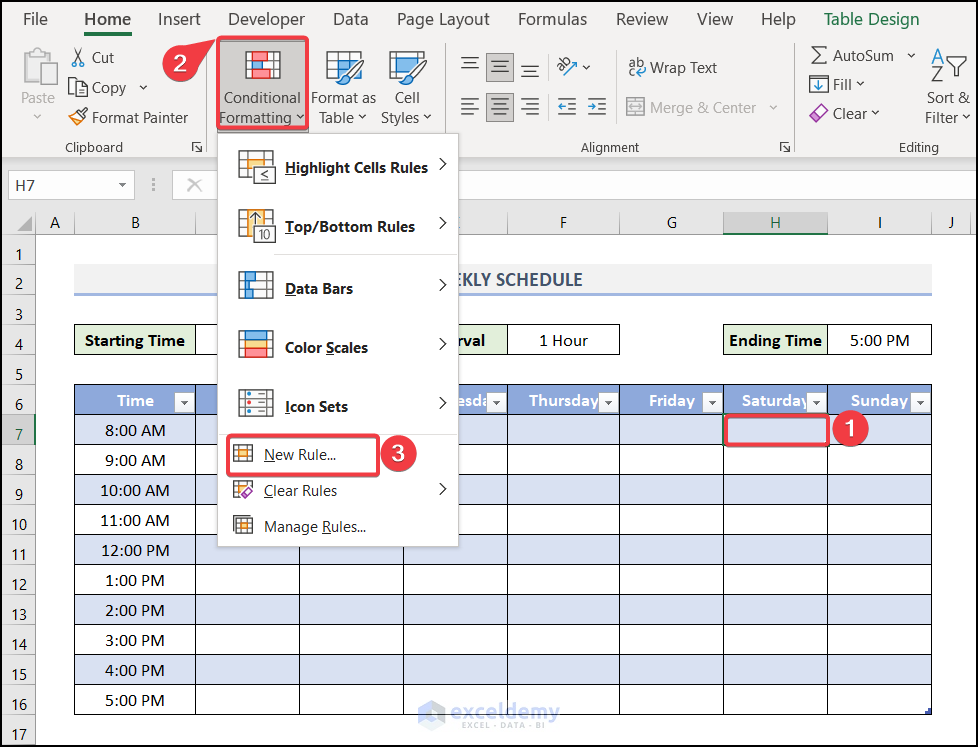
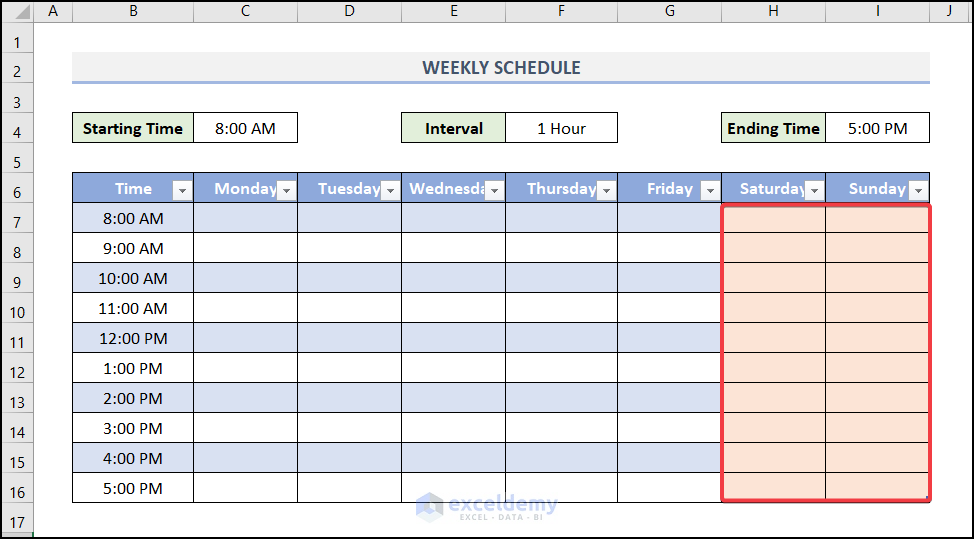
Step 5: Specify the Weekends
- Select a cell of the weekend and go to Conditional Formatting >> move to New Rule.
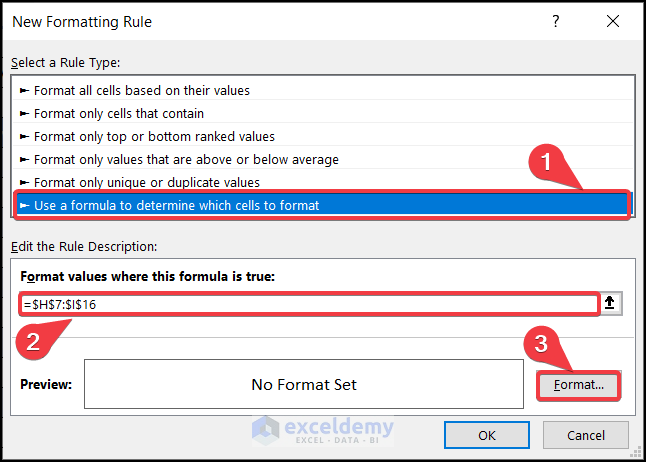
- A New Formatting Rule dialog box will pop out. Select Use a formula to determine which cells to format >> pick the entire range you want to format in the box of Format values where this formula is true. Move to Format.
- The Format Cells dialog box will appear under the Fill option to pick a color.
- Press OK.

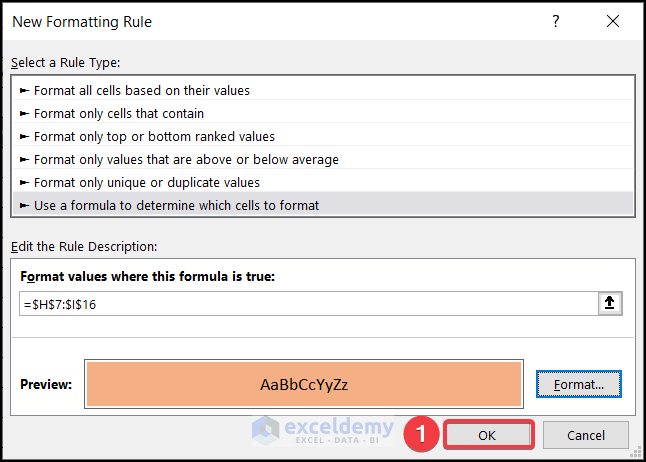
- You will get the New Formatting Rule box, select OK.
- It will format the weekends in your schedule.
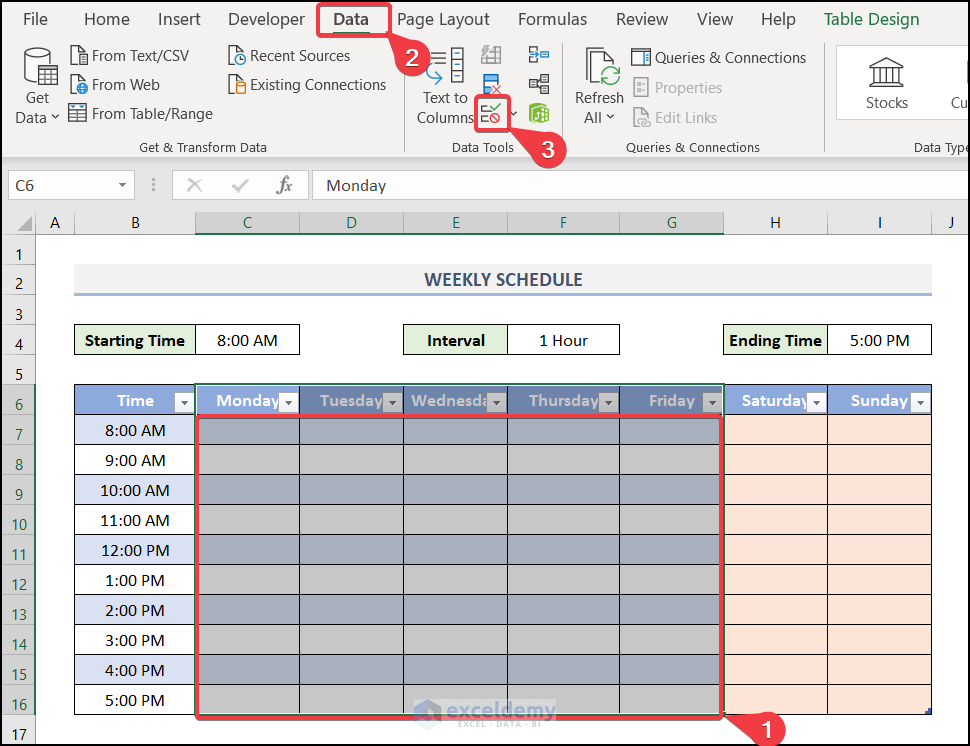
Step 6: Create Drop-down Options Using Data Validation Tool
- Select the weekdays and go to the Data tab >> move to Data Validation.
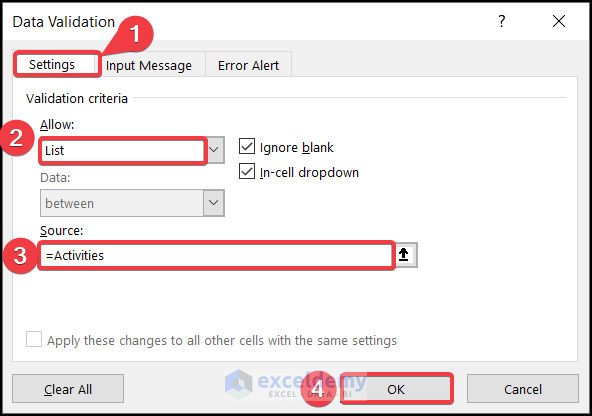
- The Data Validation dialog window will pop out. Go to Settings >> under Allow box select List. In the Source box, select the table named Activities.
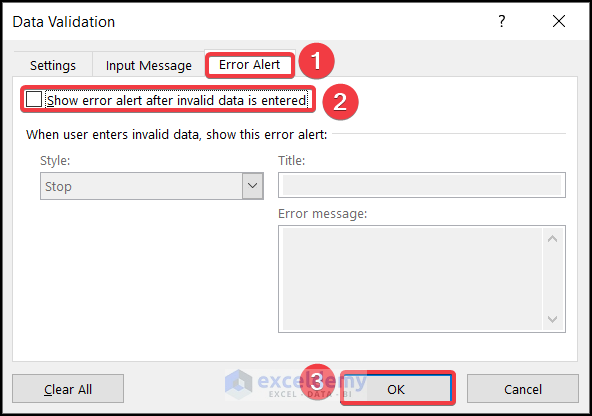
- Move the Error Alert Uncheck Show error alert after invalid data is entered. Click on OK.
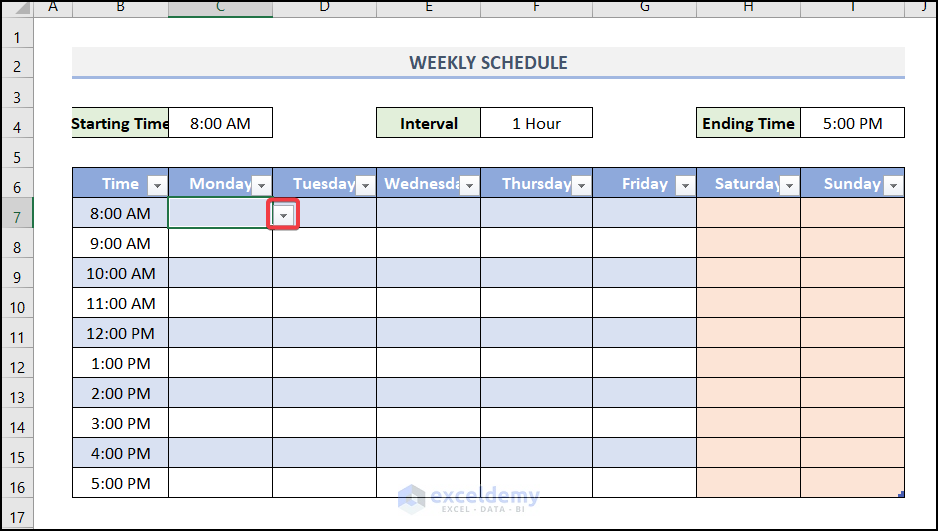
- All the cells will have a drop-down icon.
Step 7: Input Your Activities Now!
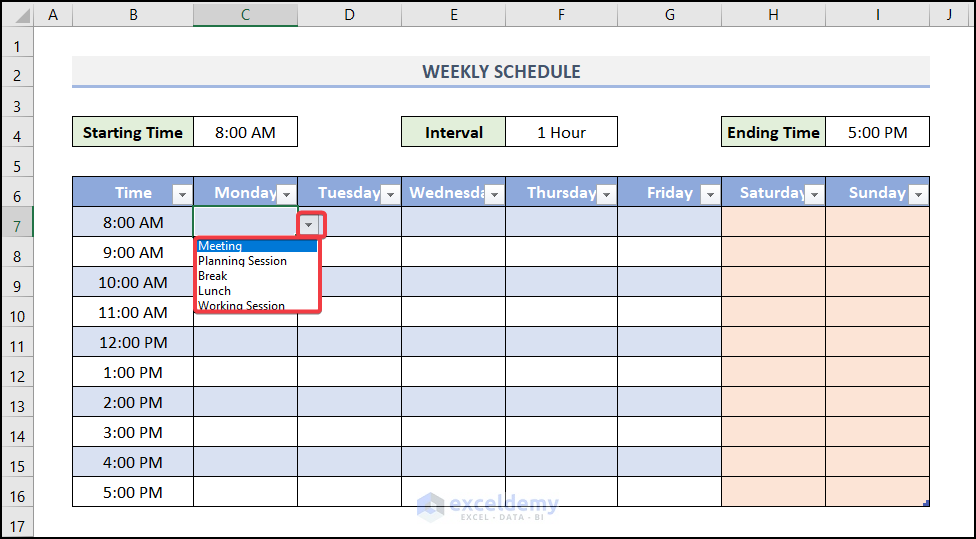
- The drop-down icon provides you with the Activities list table. Pick the activities in your schedule.
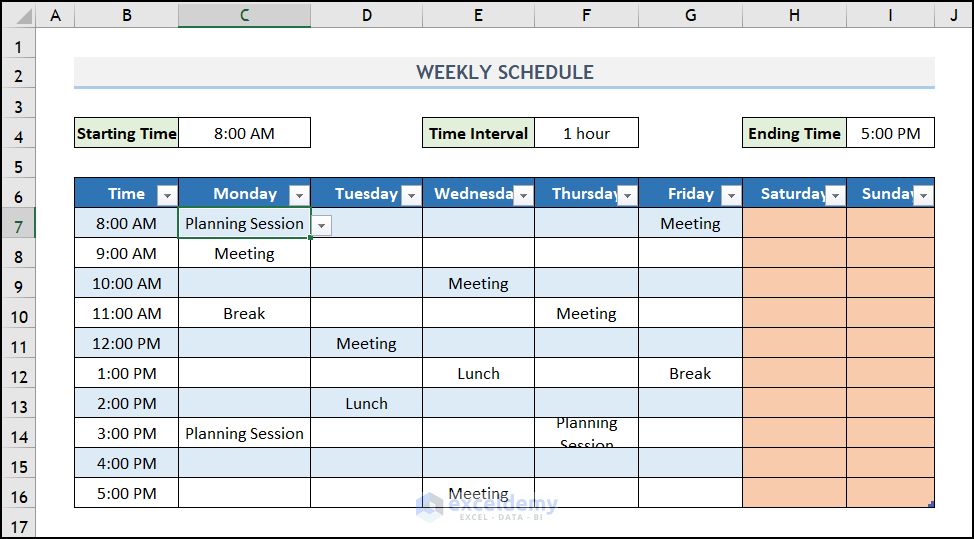
- The weekly schedule will be created. See the image below for better visualization.
Read More: How to Make a Daily Schedule in Excel
Method 2 – Creating a Weekly Schedule in Excel with Templates
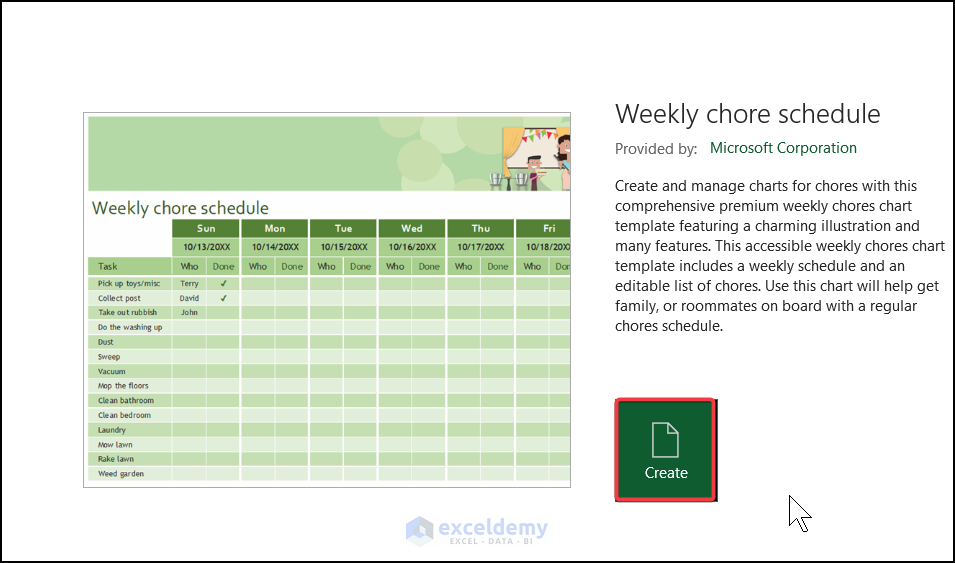
Step 1: Pick the Template from Excel’s Built-in Templates
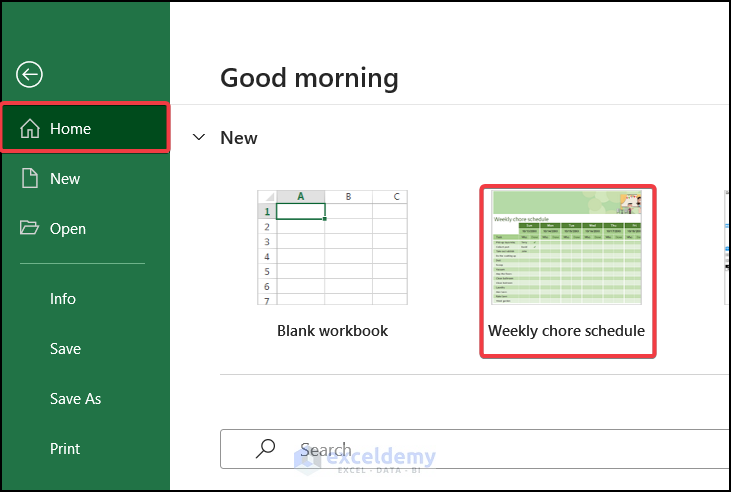
- Go to the File tab and pick the Weekly chore schedule.
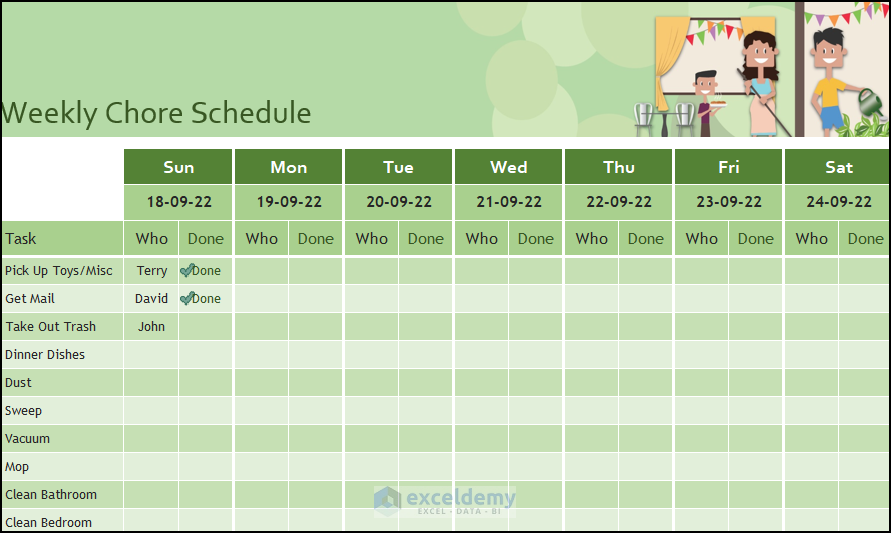
- A dialog window will pop out, select Create.
- A template like the image below will appear on your worksheet.
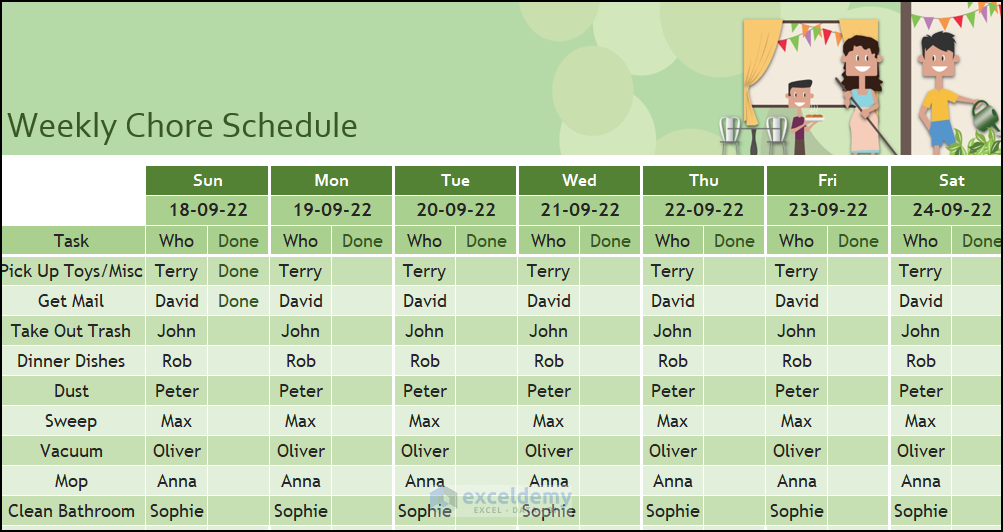
Step 2: Modify the Template
You can easily modify the templates according to the employee and work list of your preference.
We have modified some data with a view of completing our schedule as shown in the image below.
Read More: How to Create a Monthly Schedule in Excel
Related Articles
- How to Make an Hourly Schedule in Excel
- How to Create a Schedule in Excel That Updates Automatically
- How to Create a Recurring Monthly Schedule in Excel
<< Go Back to Excel for Business | Learn Excel
Get FREE Advanced Excel Exercises with Solutions!
