Watch Video – Make a Work Schedule in Excel
[/wpsm_box]
Method 1 – Create a Daily Schedule in Excel
Steps:
- Begin by constructing the dataset. Create a heading and enter “Date” below it to store the date in the cell.
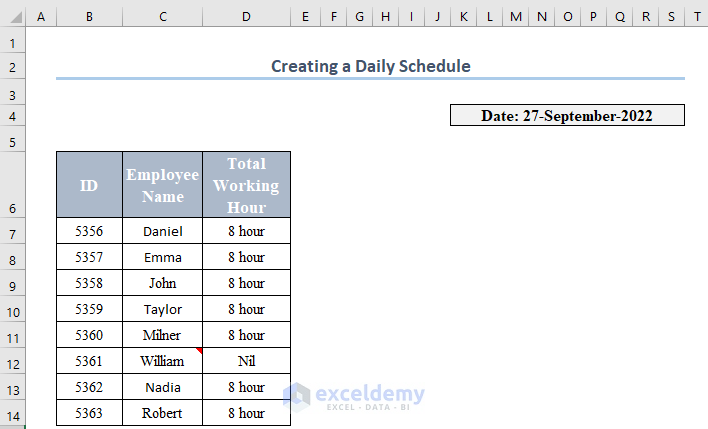
- To complete the dataset, you need “ID,” “Employee Name,” and “Total Working Hour” because we are building a daily schedule.
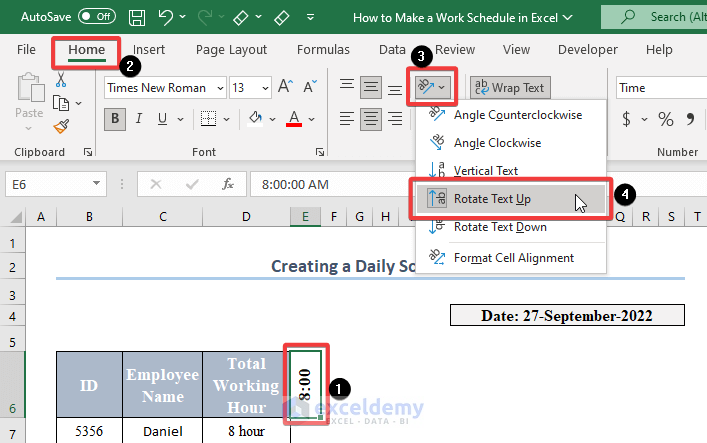
- Draw boundaries around certain columns to hold the time hour by hour. Because the workstation’s start time is “8:00 AM,” we write “8:00” in cell E6. As a result, let’s modify the text rotation by selecting Rotate Text Up from the Home ribbon.
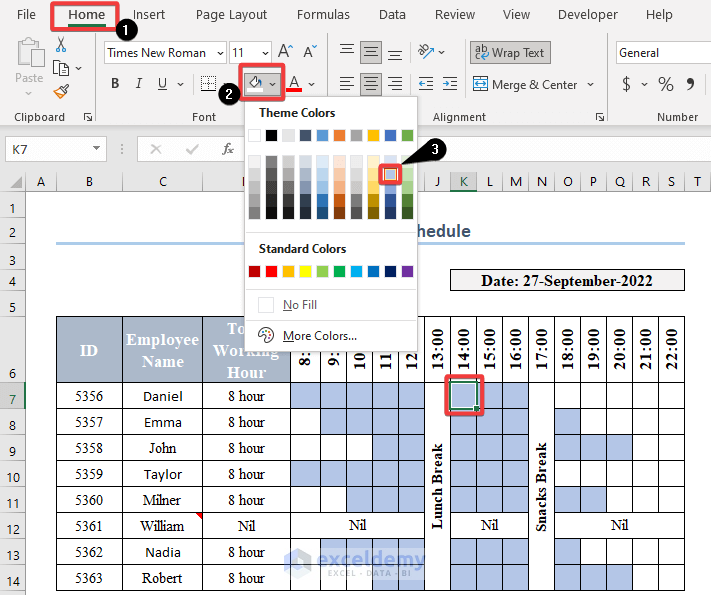
- Fill Handle by row to fill the leading time with a 1-hour gap. To summarize, we shall obtain the hours in cells (E6:S6).

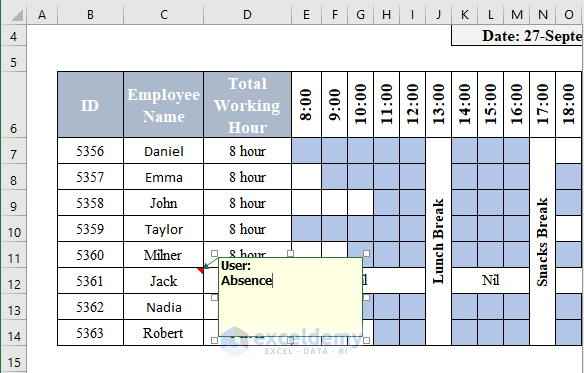
- At the conclusion of each day, we calculated the time period that “Daniel” performed. We noted that he worked on the workstation for a total of “8 Hours” from 8 to 16 o’clock. After gathering data, we obtained a result that represented employees’ efforts on a daily basis.
- Add comments to certain cells in order to conveniently designate them. Pick a cell (C12) and then click New Note from the Review menu.
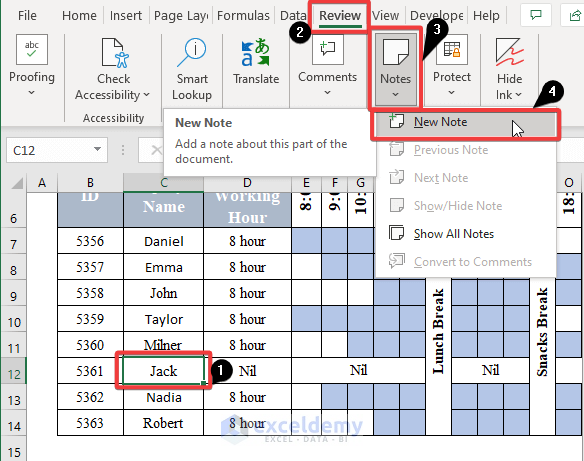
- Write your remark in the cell to make your work easier. We were able to create a daily schedule in Excel in a short time.
Method 2 – Create a Weekly Work Schedule in Excel
Steps:
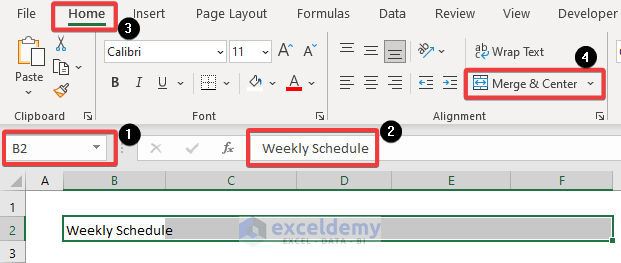
- Choose the Alignment ribbon group’s Merge & Center option for cells B2 to I2, and then type the heading “Weekly Schedule”.
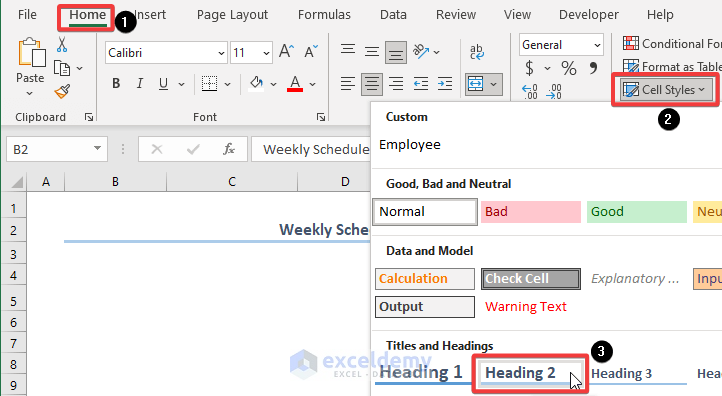
- Navigate to Cell Styles. Choose Heading 2 from the drop-down menu.
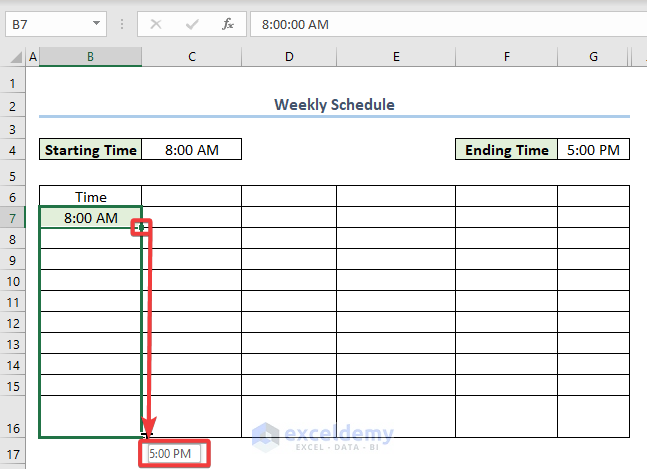
- In column B4, record your work schedule’s Starting and Ending Times. The beginning time is 8:00 AM, and the ending time is 5:00 PM. You can incorporate it as needed.

- Input the time. It is required for accurate visualization of our given job in terms of time and day.
- Enter your beginning time, then drag the Fill Handle tool down to the conclusion of your work. Look at the image below to obtain a general concept.
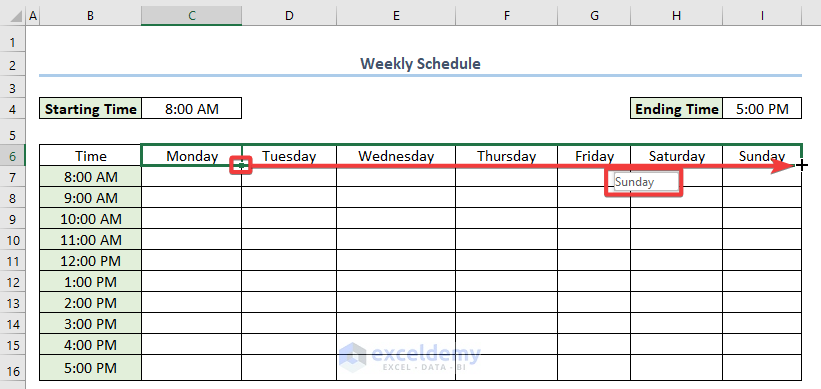
- Type the first working day and drag the Autofill option down for the remaining weekdays.
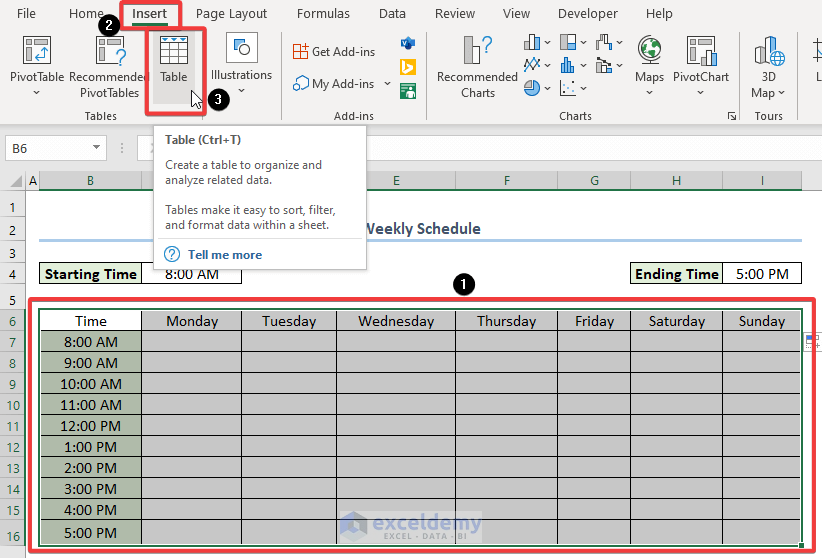
- Create an Excel table using our data. The table will provide a good overview of our timetable. Select all of the data, click on the Insert tab, and select Table.
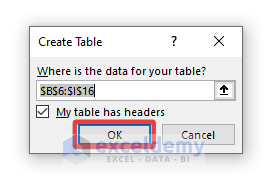
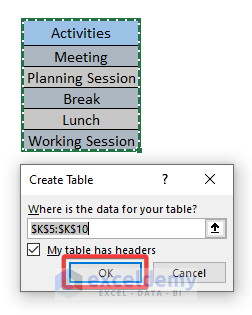
- A dialog window titled Create Table will open. Check that My table has headers. Click OK.
- After you’ve created the table, make a list of the Activities you’d like to include in your schedule. Create a table like previously and choose My table has headings. Select OK.
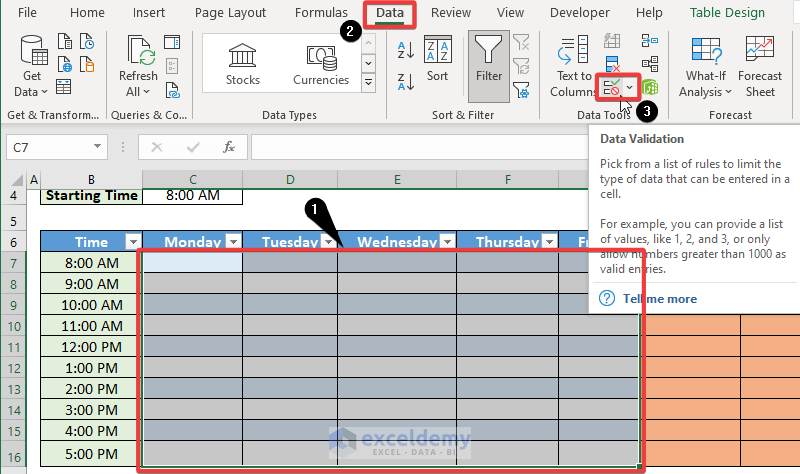
- Select the weekdays and then move to the Data tab >> Data Validation.
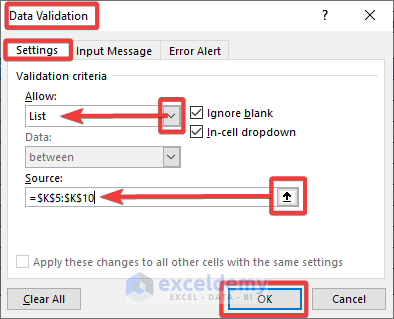
- The Data Validation dialog box will appear. Navigate to Settings >> Allow box >> List. Select the table titled Activities that was created earlier in the Source box.
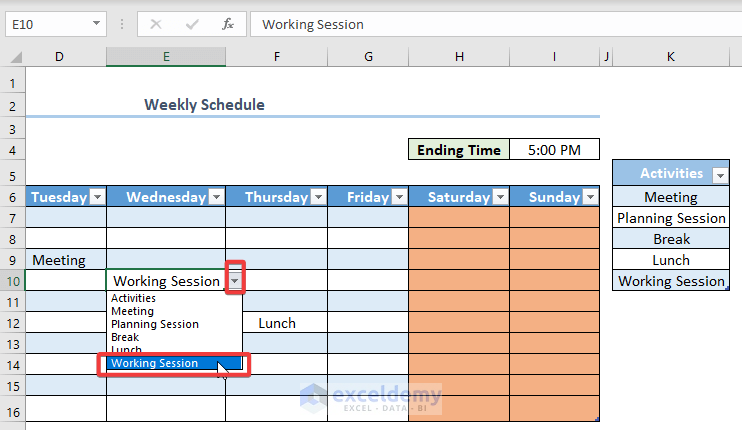
- A drop-down icon will appear in each cell, allowing you to input your work schedule.
Method 3 – Make a Monthly Work Schedule in Excel
Steps:
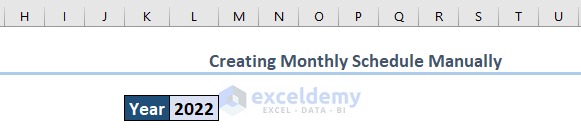
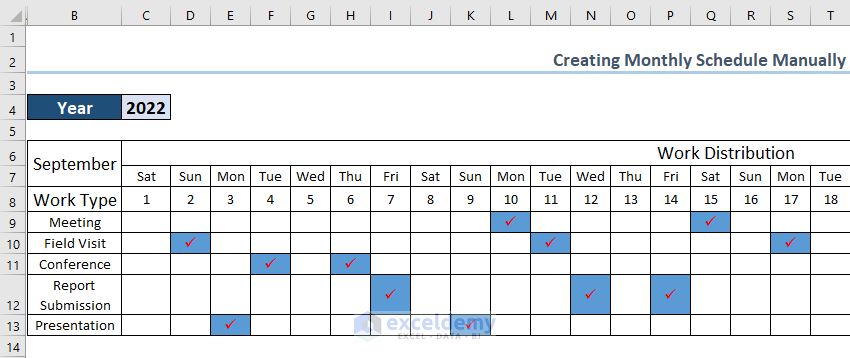
- Enter a title, such as Creating Monthly Schedule Manually, and then the Year to build a monthly work schedule in Excel.
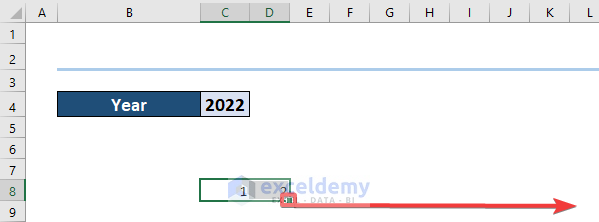
- Place 1 in Cell C8. Insert 2 into Cell D8 next. Then, choose Cell C8 and Cell D8. Slide the Fill Handle tool to the right to add dates up to 30 days in advance.
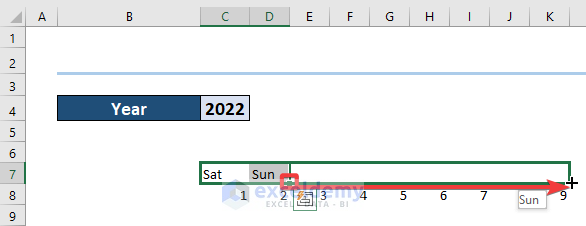
- Insert Sat into Cell C7 now. Insert Sun into Cell D7 next. Choose Cell C7 and Cell D7. Slide the Fill Handle tool to the right to AutoFill the weeks’ days.
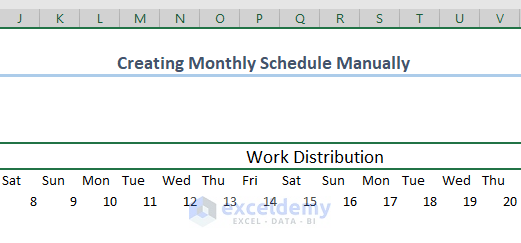
- Enter your selected title now. Work Distribution will be typed here. Hit ENTER. On the Home tab, pick 14 as the Font Size and click the Bold option to make the text bold.
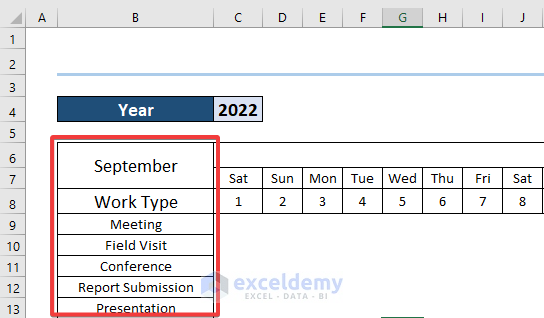
- As titles, we’ll put September and Work Type. Create a column for each field you wish to include in the timetable. Meeting, Field Visit, Conference, Report Submission and Presentation will be included as Work kinds in Cell range B9:B13.
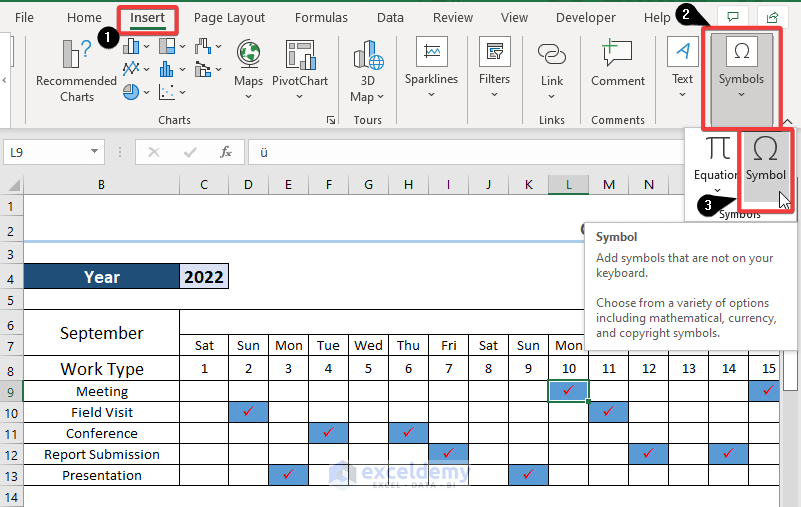
- To place a checkmark next to a specific Work Type on a specific date, navigate to Insert >> Symbol.
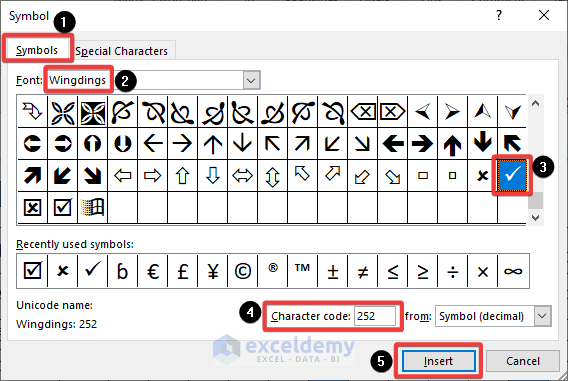
- A Symbol pop-up will appear. Now, Symbols>>Font:Wingdings>>Character code:252>>Insert
- Change the checkmark’s Fill Color and Font Color to our preference and obtain the final monthly schedule.
You can download the practice workbook from the following download button.
Related Articles
- How to Make a Class Schedule on Excel
- How to Make a School Time Table in Excel
- How to Make an Availability Schedule in Excel
<< Go Back to Excel for Business | Learn Excel
Get FREE Advanced Excel Exercises with Solutions!

