Excel table is one of the most useful tools that Excel offers as we can accomplish many tasks conveniently by using Excel Table. In this article, I will show how we can make a table bigger in Excel not only by adding rows or columns but also by increasing the height and width of rows and columns respectively.
How to Make a Table Bigger in Excel: 2 Useful Methods
In this section, I will demonstrate 2 effective methods to make a table bigger in Excel with appropriate illustrations. For that, I have taken a sample table in an Excel worksheet. (see the figure below).

Now we want to make the table bigger. We can do that by actually adding more columns or rows to the table or by increasing the size of rows and columns. I will show you both ways. So let’s begin the first approach.
1. Making a Table Bigger by Adding Rows/Columns in Excel
Excel offers multiple ways to add rows or columns to an existing table. Here, we will see the 6 most effective approaches to adding rows or columns in excel. So, let’s get started with the first approach.
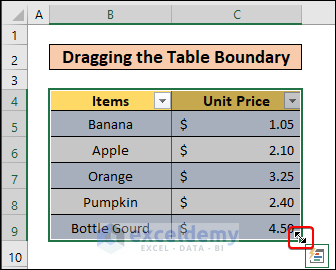
1.1. Dragging the Table Boundary
This is the easiest approach to increasing a table or in other words making a table bigger in size. Follow the described steps below to learn more.
Steps:
- First, select the whole table and then bring your mouse cursor to the below-right corner of the table. You will see a double-headed arrow like this.
- Now if you drag it to the right side, new columns will be added like this.
- On the other hand, if you drag the mouse cursor below, new rows will be added.

- Then you can always input your data into those newly added columns or rows.
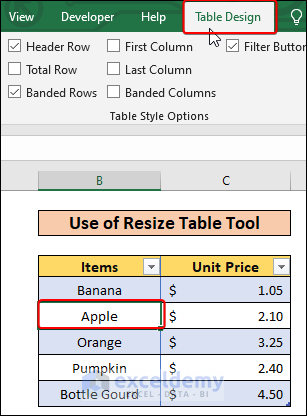
1.2. Use of Resize Table Tool
We can also use the built-in Resize Table tool to add new rows or columns. To do that, follow the steps below.
Steps:
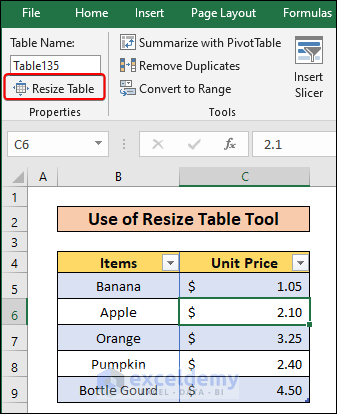
- Click any cell from the table and go to the Table Design tab from the ribbon.
- Now, from the Properties group, click on Resize Table.
- Now, you should see a dialogue box named Resize Table like this below.

- After that, we have to select the new data range to expand the existing excel table. One thing we must bear in mind is that the new range has to include the old table range. Here I have selected the range shown in the figure below.
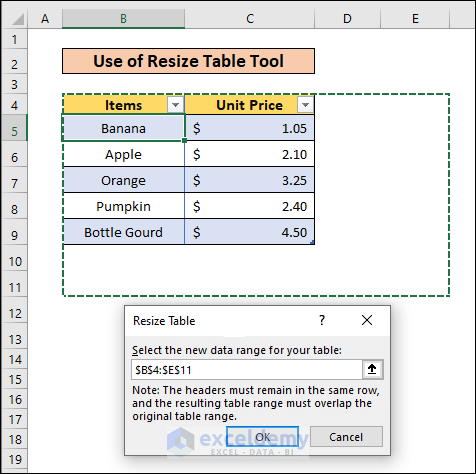
- Now, if I press OK, the extended table will appear like this below.

1.3. Typing Just Below the Last Row
Excel has a very good sense of when to incorporate something into a table. By utilizing this incredible ability to guess similar datatype and formats, we can add rows in an excel table just by inputting data in the adjacent cell. To know more, follow the steps below.
Steps:
- First, go to any cell whose position is just below the last row and write down something on it.

- As we can see, Excel has automatically incorporated the cell into the Excel table.
1.4. Typing Just Right of the Last Column
Similar to the previous table, we can also add columns by typing something on any adjacent right cell of the last column. Follow the steps below.
Steps:
- Like the previous method, click any adjacent right cell to the last column and write something on it.
- As soon as you click Enter, you will see that excel has taken the column inside the table.
1.5. Pasting Data
We can paste the date adjacent to a table to make the table bigger as excel will automatically include those pasted data inside the adjacent table and thus the size of the table will also increase. In order to do that, follow the steps below.
Steps:
- Here, I have some data inside my worksheet. (see the figure below)
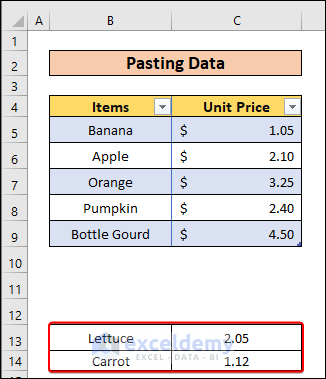
- Now, I will copy them first by selecting and pressing Ctrl+C.
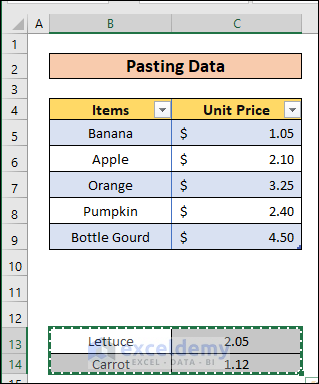
- Then, I will paste them into cell B10 by pressing Ctrl+V.
- As a result, you can see that the pasted data has been incorporated into the Excel table.
1.6. Inserting Columns or Rows
If we want to add a new column in between two old columns, we do that with an Excel built-in tool. It applies the same to the rows as well. Let’s talk about inserting columns first.
Inserting Table Columns to the Left
We can insert a new column on the left side of the existing column by following the steps given below.
Steps:
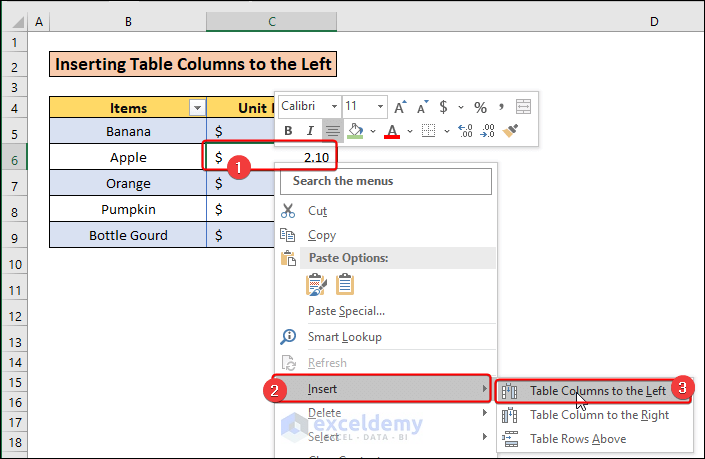
- First, click on any cell of the column, left of which you want to insert a new column. I am clicking the C6 cell as I want to insert a column left of the Unit Price Then right-click on the mouse.
- From the menu, click on Insert >Table Columns to the Left.
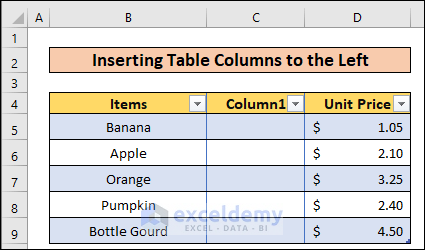
- You will see that a new column will appear on the left side. You can then manually enter data and change the column heading.
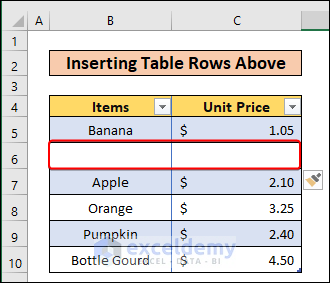
Inserting Table Rows Above
Similar to the Insertion of Columns, we can insert rows by using the following steps.
Steps:
- First, right-click on any cell of the rows above which you want to insert a new row. I am right-clicking on from the appeared menu click on Insert >Table Rows Above.
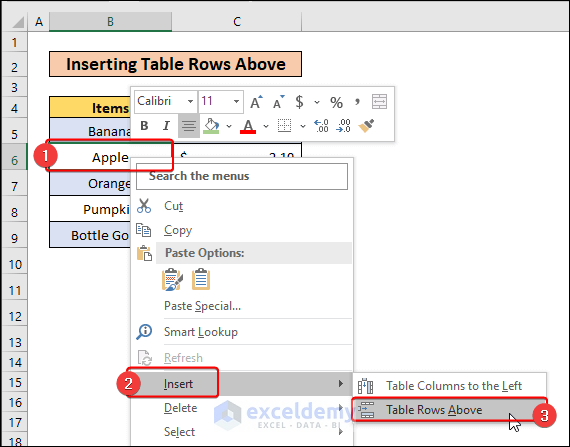
- As a result, you will have a new row like this.
In this way, we can make a table size bigger in Excel.
Read More: How to Create Table from Another Table with Criteria in Excel
2. Making a Table Bigger by Increasing the Size of Columns/Rows
If you only wish to increase the size of the table, not the contents (the number of rows or columns), you can increase the table height and width by either of the two methods described below.
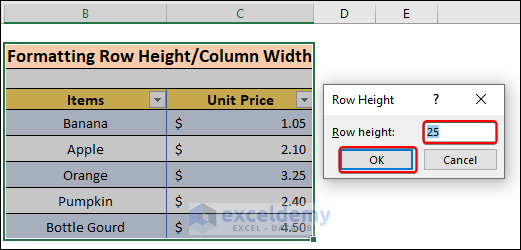
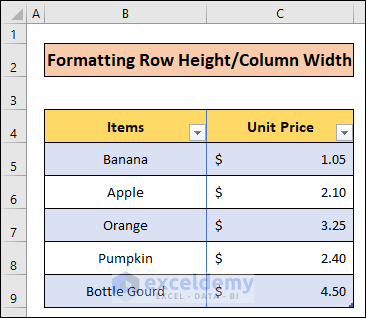
2.1 Formatting Row Height/Column Width
We can increase the height and width of a table by changing its format of it. To do that, follow the steps below.
Steps:
- First, select the whole table, then go to Format > Row Height.

- Now, insert an appropriate row height number to make the table bigger.
- Similarly, to increase table width, go to Format > Column Width.
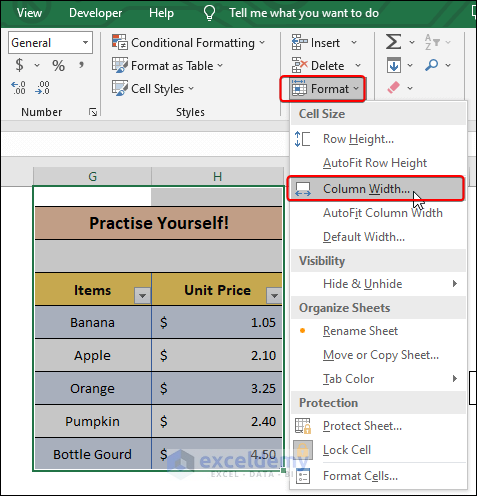
- Now, insert a suitable figure for the Column Width.
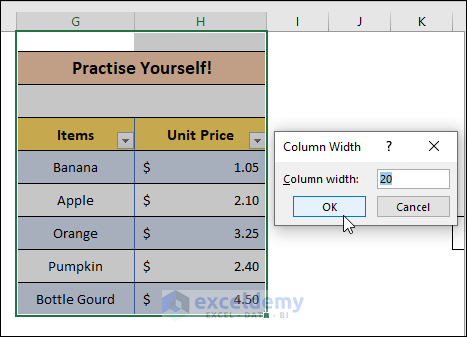
- As a result, your table will be much bigger in size.
2.2 Dragging the Boundary Borders
The more simple way to make the table bigger in size is to drag the boundary like this to change the height of the row or width of the column.
Read More: How to Mirror Table on Another Sheet in Excel
Things to Remember
- In the 5 Pasting Data method, you can Cut and Paste instead of Copy and Paste.
Download Practice Workbook
Download this practice workbook to exercise while you are reading this article.
Conclusion
That is the end of this article. If you find this article helpful in understanding how we can make a table bigger in Excel, please share this with your friends. Moreover, do let us know if you have any further queries.
Related Articles
- How to Create Table from Multiple Sheets in Excel
- How to Create a Lookup Table in Excel
- How to Make 3D Table in Excel
- How to Make a Conversion Table in Excel
- How to Make a Decision Table in Excel
- How to Create a League Table in Excel
<< Go Back to Make a Table | Excel Table | Learn Excel
Get FREE Advanced Excel Exercises with Solutions!
