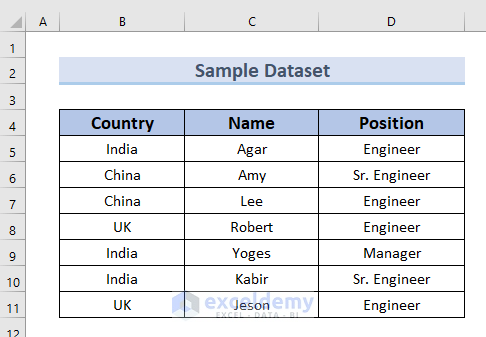
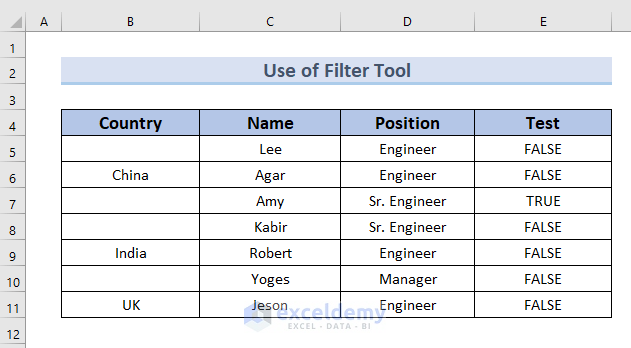
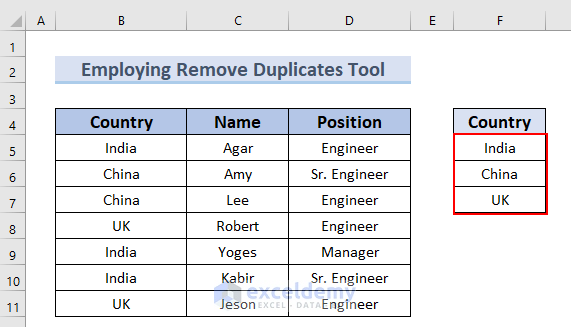
You can see the Country, Name, and Position columns in the following dataset. Using this dataset, we will go through 7 different methods to delete duplicates and keep one value in Excel.
Method 1 – Using Advanced Filter Feature to Delete Duplicates but Keep One Value in Excel
Steps:
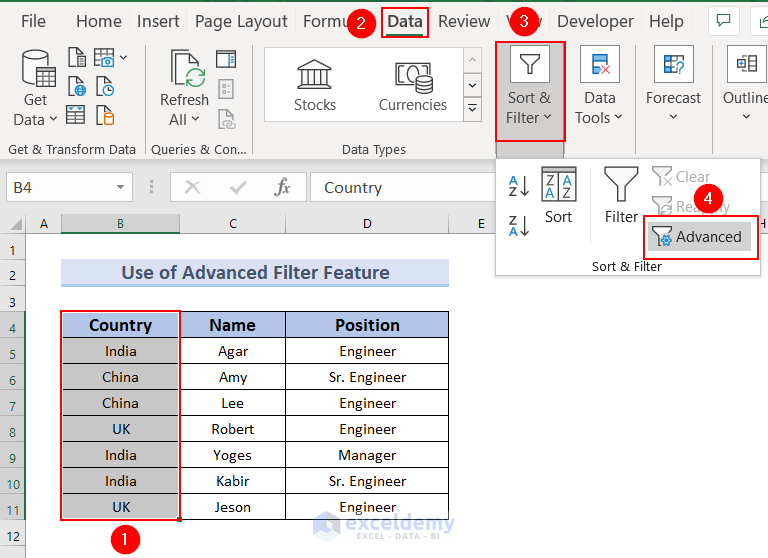
- Select the cells to check for duplicates. We selected cells B4:B11.
- Go to Data from the main tab.
- Click the Sort & Filter feature.
- Choose Advanced.
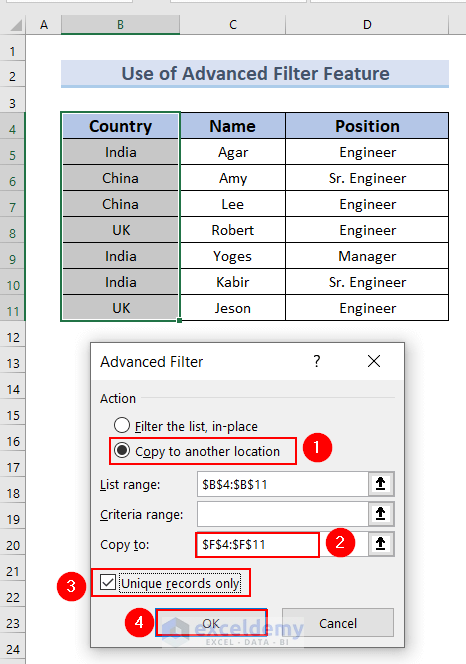
- An Advanced Filter dialog box will appear. Select Copy to another location.
- Select the location on the Copy to box. We selected cells F4:F11.
- Select Unique records only.
- Click OK.
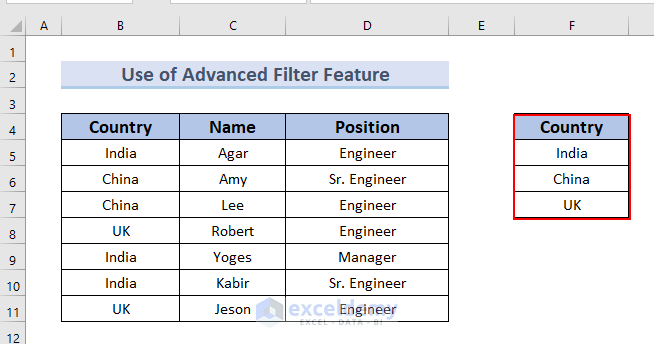
Therefore, from the range of cells F5:F8, we see that duplicates are removed and only one is kept.
Read More: How to Remove Duplicates but Keep the First Value in Excel
Method 2 – Applying Filter Feature to Delete Duplicates But Keep One Value
Steps:
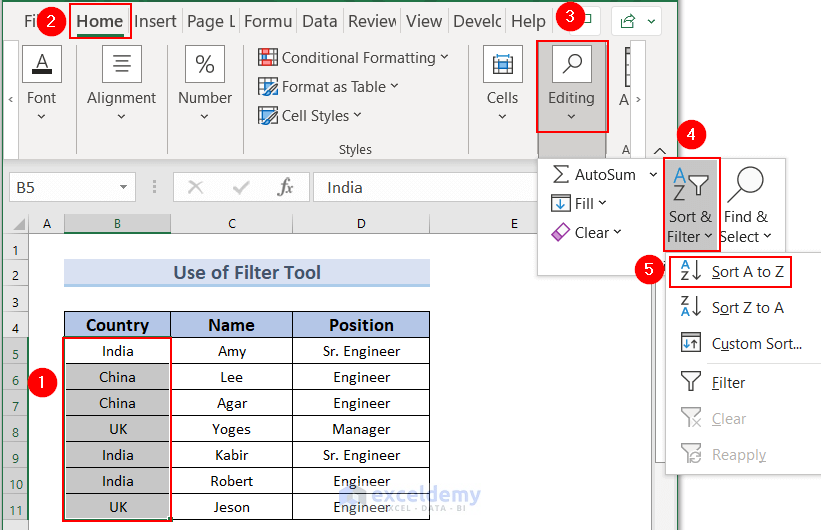
- Select cells B5:B11 and go to the Data tab, then choose Editing.
- From the Sort & Filter group, select Sort A to Z.
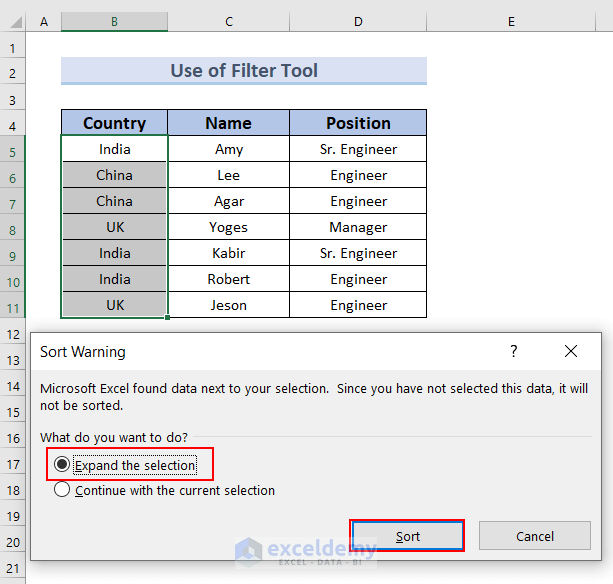
- A Sort Warning will appear. Make sure Expand the selection is marked.
- Click Sort.
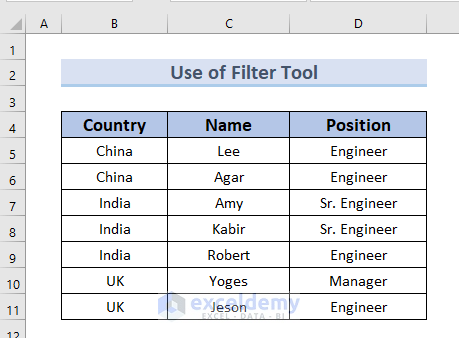
- We get the data in ascending order.
- Add the Test column.
- Go to Cell E5 of the Test column.
- Compare the cells of column Country by copying the following formula in cell E5:
=B5=B6
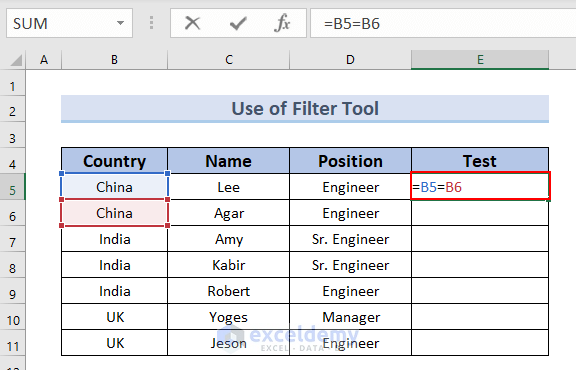
- Press Enter. You can see the result in cell E5.
- Drag down the formula with the Fill Handle tool.
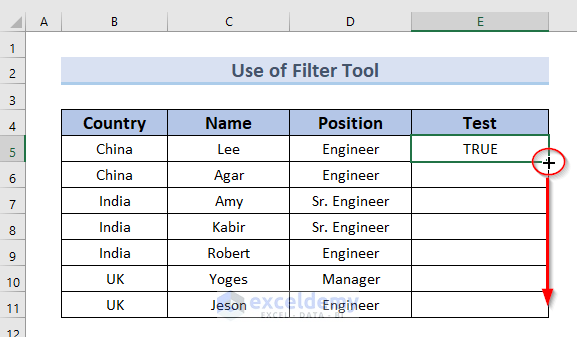
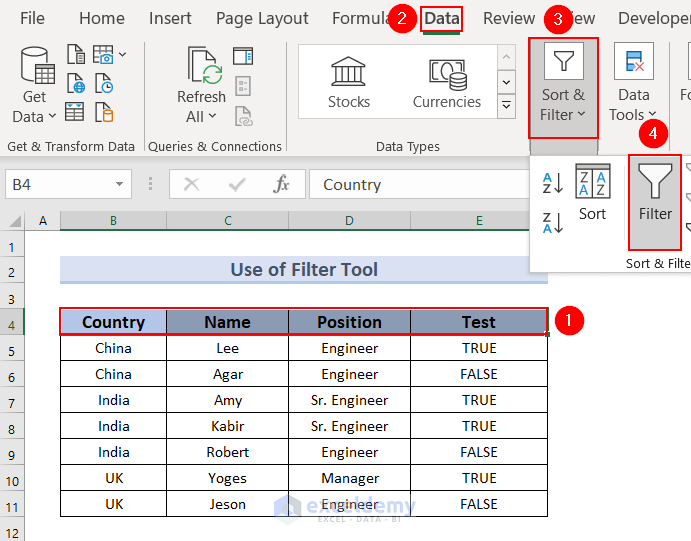
- You can see the complete Test column. To apply the Filter, select the range B4:E4.
- Go to the Home tab.
- Select Data from the main tab.
- Choose the Sort & Filter feature.
- Pick Filter.
- Add the Filter icon by typing Ctrl + Shift + L.
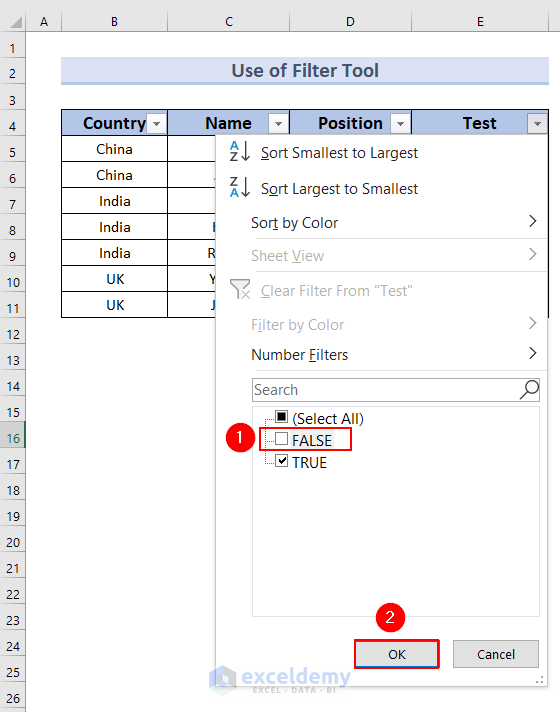
- Click on the Filter icon of the Test column.
- Unmark FALSE.
- Press OK.
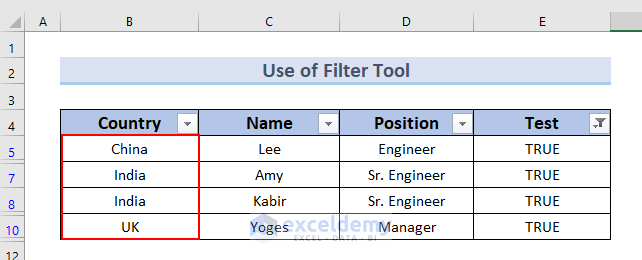
- We get only the TRUE in the Test column.
- Delete the duplicate Country names by selecting the Country names and pressing Delete.
- Duplicate Country names have been deleted.
- Remove the filter from the data range by pressing Ctrl + Shift + L.

- We deleted the duplicates except for the unique values.
Read More: How to Remove Duplicate Names in Excel
Method 3 – Using Excel Remove Duplicates Tool to Remove Duplicates and Keep One Value
Steps:
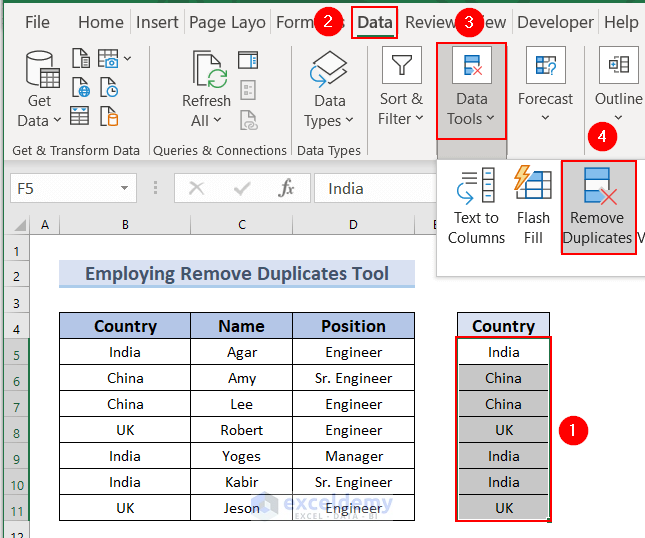
- Copy the Country column to column F to apply the Remove Duplicates Tool.

- Select the data of column F.
- Go to the Data tab.
- From Data Tools, select Remove Duplicates.
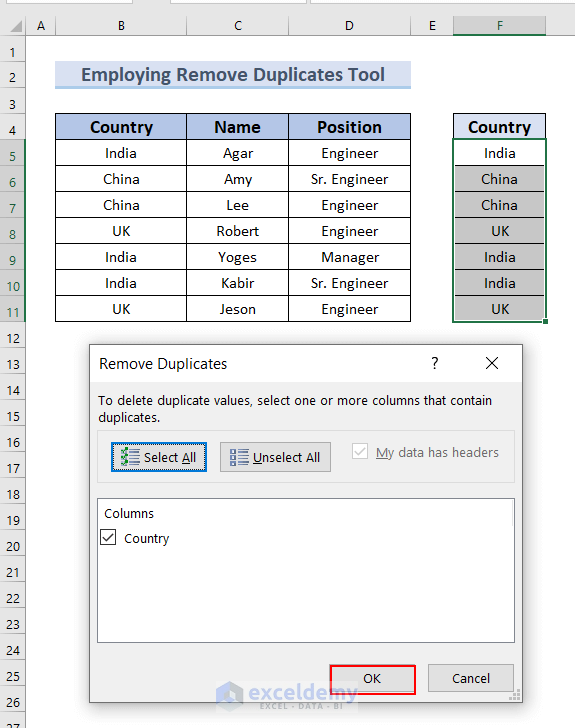
- A Remove Duplicates dialog box will pop up. Click OK.
- A new pop-up will show how many duplicates are removed and how many unique ones are remaining. Press OK.
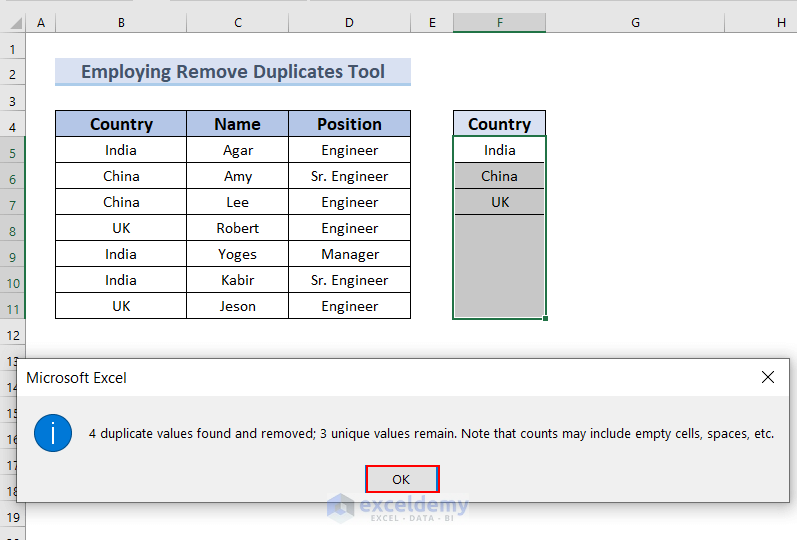
- We get one country name from the duplicates.
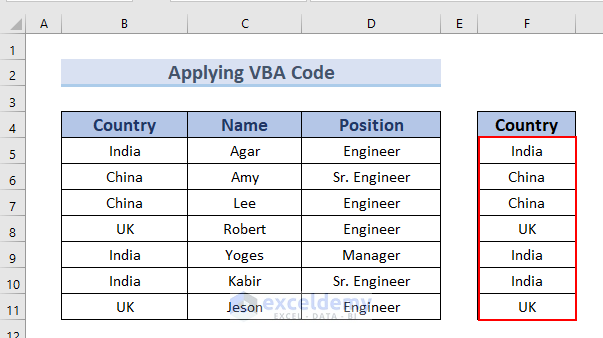
Method 4 – Applying VBA Code to Delete Duplicates Without Unique Values in Excel
Steps:
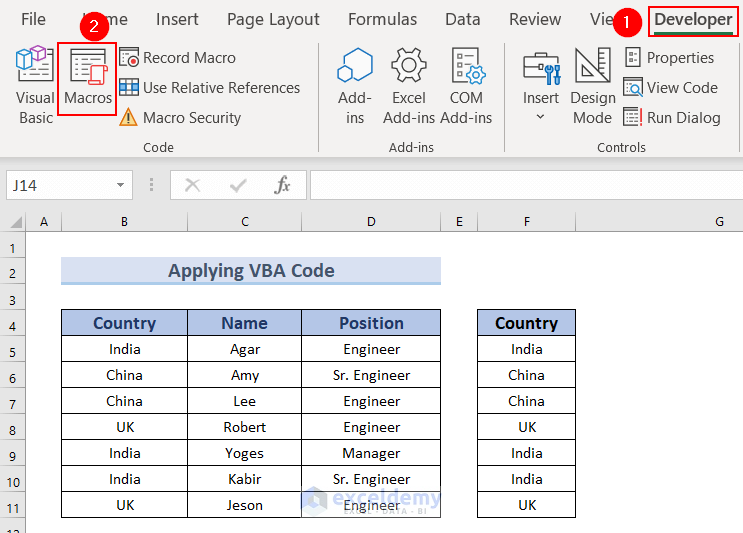
- Copy the Country column on column F to apply for the VBA.
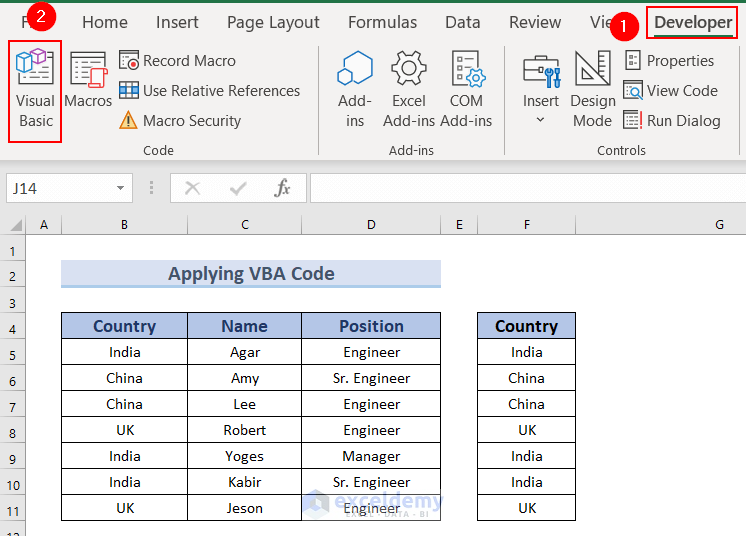
- Go to the Developer tab and select Visual Basic. This will bring out a VBA Editor window. You can also press Alt + F11 to open the VBA Editor window.
- From the Inert tab, select Module.
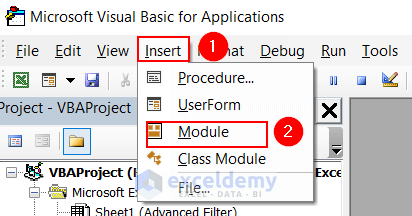
- Copy the following code in the Module:
Sub Remove_Deplicates_but_Keep_One()
Dim CN As Long: CN = Range("F" & Rows.Count).End(xlUp).Row
ActiveSheet.Range("F5:F" & CN).RemoveDuplicates Columns:=1, Header:=Name
End Sub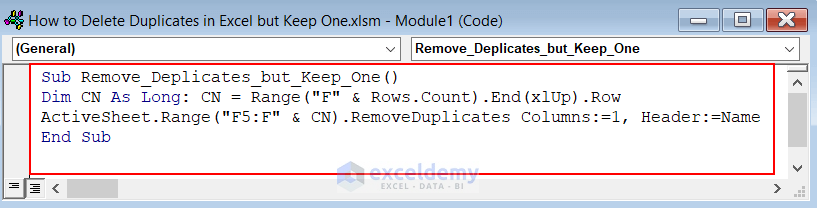
This program will remove duplicates from column F. F5:F means it will search in that range.
- Save the code and go back to our Worksheet.
- From the Developer tab, select Macros.
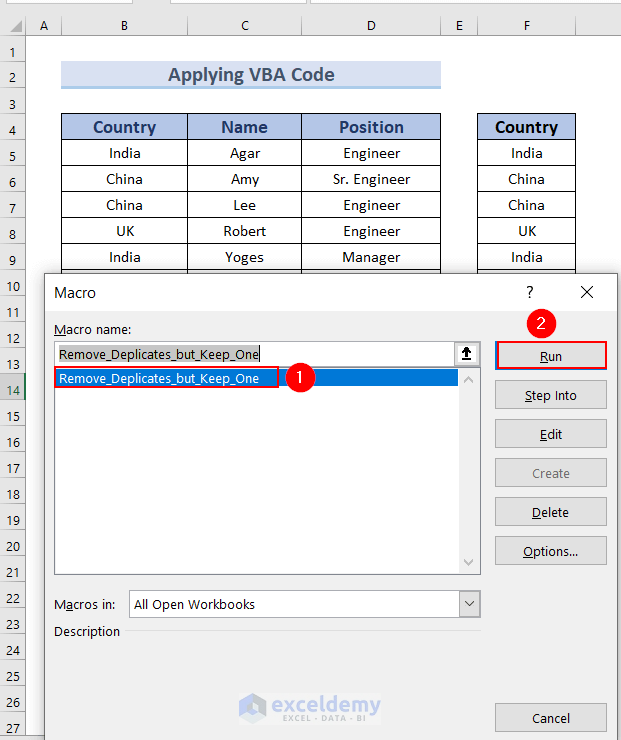
- A Macros dialog box will appear. Select the Sub and click on Run.
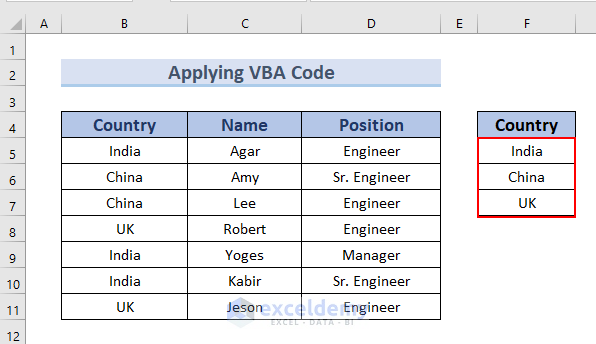
- This VBA function removes all the duplicates and keeps one of each.
- Look at the following GIF for demonstration.
Method 5 – Using Excel Pivot Table Feature to Remove Duplicates But Keep One Value
Steps:
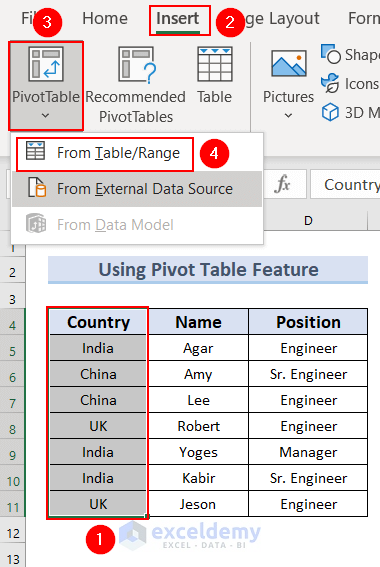
- Select the data from Column B.
- Go to Insert from the main tab.
- Select the Pivot Table from the commands.
- Choose From Table/Range.
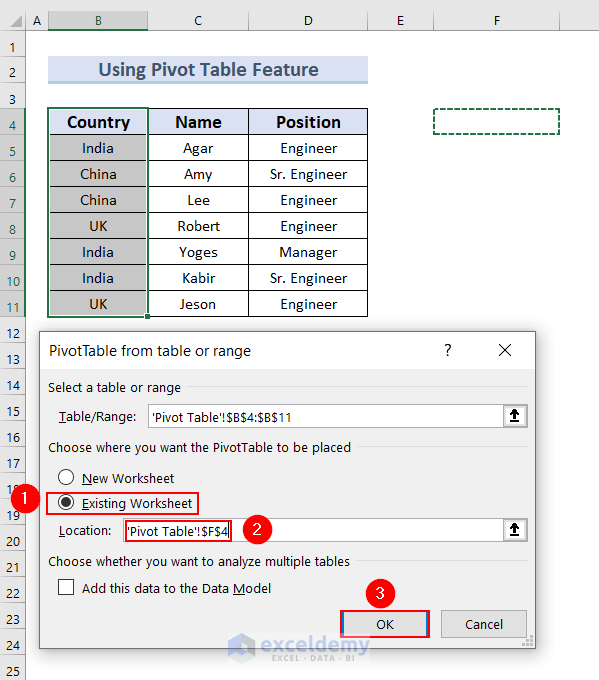
- A dialog box will appear to create the Pivot Table.
- Select the Existing Worksheet for the Pivot Table.
- In Location, select Cell F4.
- Click OK.
- From the PivotTable Fields, select Country.
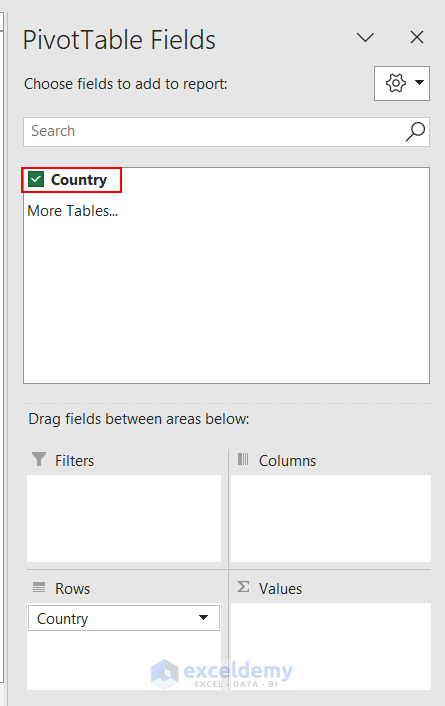
- On the main sheet, this lists the country after deleting the duplicates.

Method 6 – Inserting Power Query to Delete Duplicates But Keep One Value
Steps:
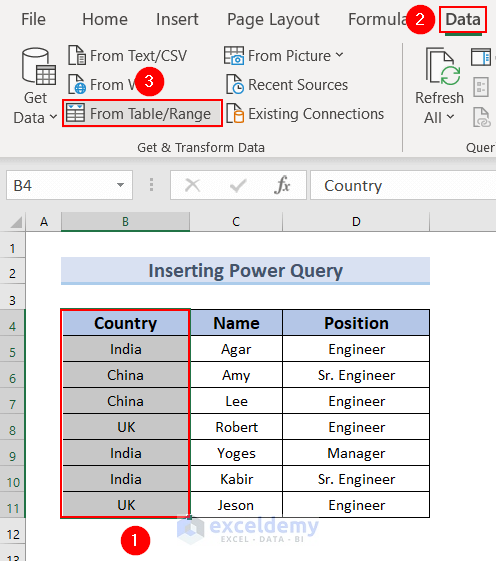
- Select the data you want to filter.
- Go to Data from the Home tab.
- Select From Table/Range.
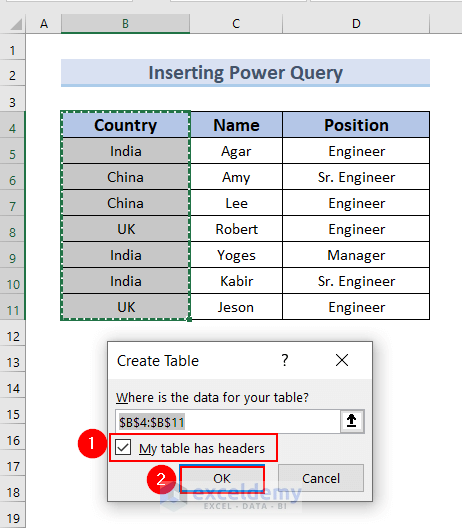
- This opens a Create Table dialog box. Select My table has headers.
- Press OK.
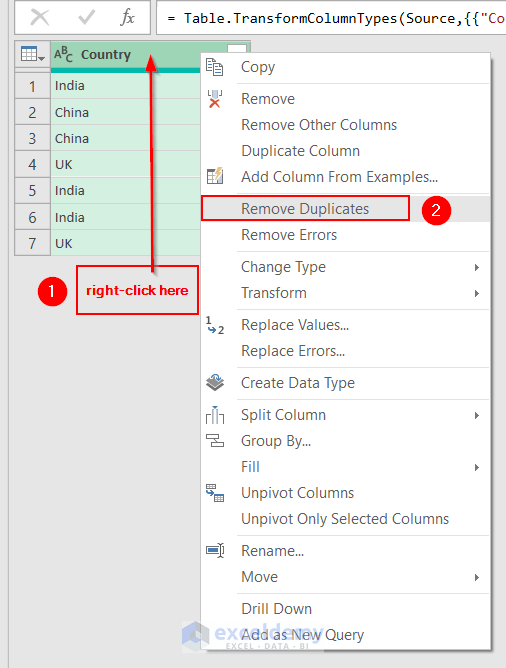
- Right-click on Country.
- From the selection tab, select Remove Duplicates.
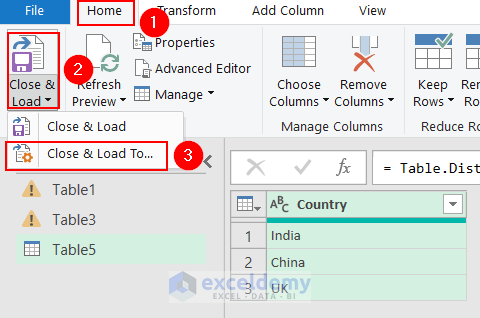
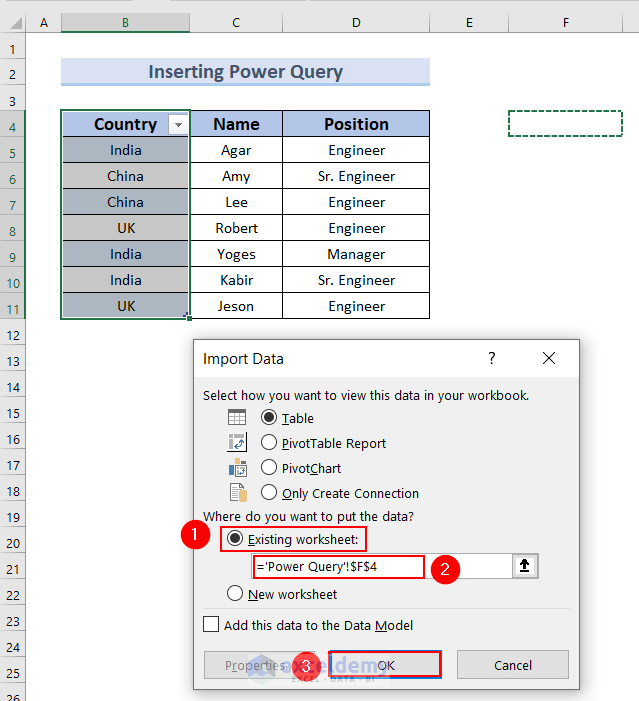
- Go to the Home tab, select Close & Load, and choose Close & Load To.
- An Import Data dialog box will appear. Select Existing worksheet and pick a location. We selected cell F4 as the location.
- Click OK.
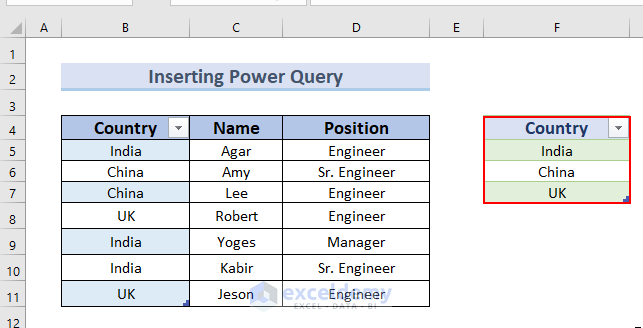
- You can only see the unique values in column F.
Read More: How to Remove Duplicate Rows Except for 1st Occurrence in Excel
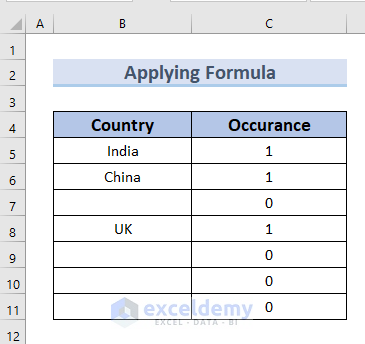
Method 7 – Applying COUNTIFS Function to Delete Duplicates While Keeping One Value in Excel
Steps:
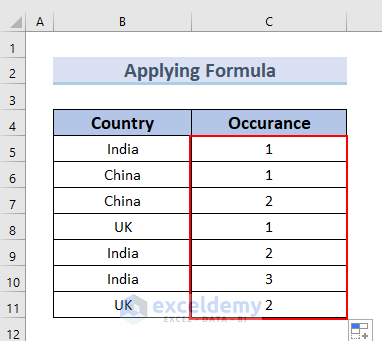
- In Cell C5 copy this formula:
=COUNTIFS($B$5:B5,B5)
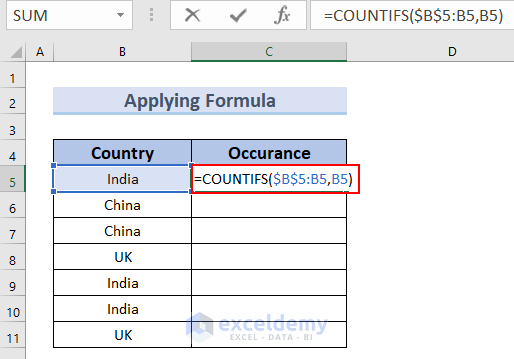
- Press Enter.
- Drag the Fill Handle from C5 to C11.
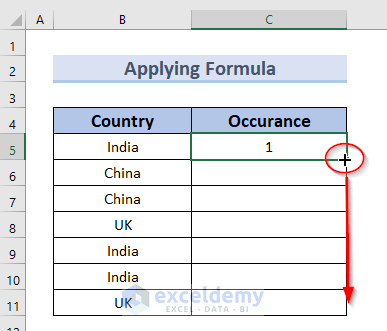
- You can see the complete Occurence column.
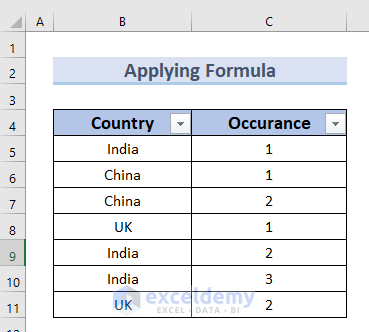
- Press Ctrl + Shift + L to add a filter.
- You can see the Filter icon in the headings.
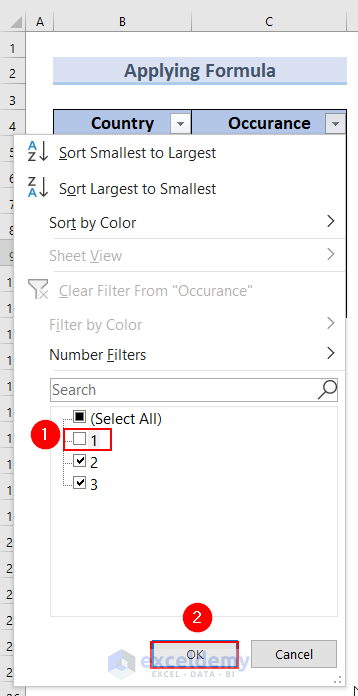
- From the filter option of cell C4, remove 1 and select the rest of the options.
- Press OK.
- We will get the country names except for the 1st occurrence.
- Delete all the country names.
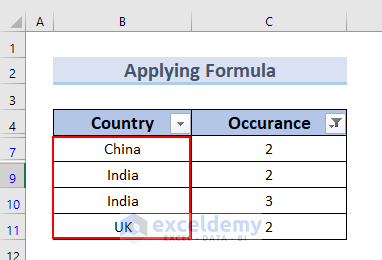
- Disable the filter by pressing Ctrl + Shift + L.
- You can see the unique country names.
Download Practice Workbook
Download this practice workbook to follow along while reading the article.
Related Articles
- How to Undo Remove Duplicates in Excel
- How to Hide Duplicates in Excel
- Excel Remove Duplicates Not Working
- How to Remove Both Duplicates in Excel
- How to Remove Duplicate Rows in Excel Table
<< Go Back to Remove Duplicates in Excel | Learn Excel
Get FREE Advanced Excel Exercises with Solutions!
