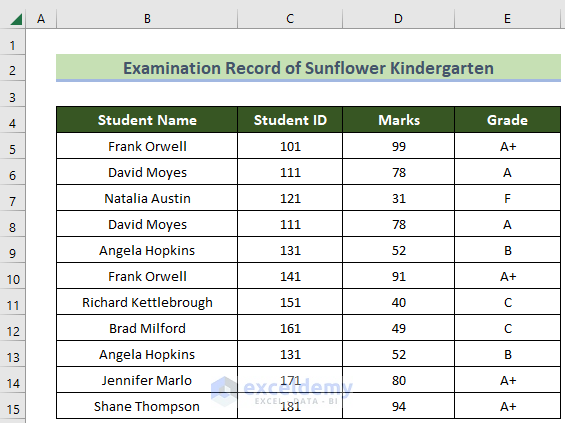
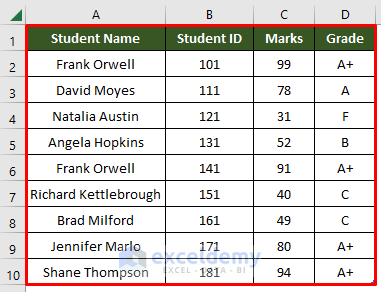
Here we’ve got a data set with the Names, IDs, Marks, and Grades of students in an examination of Sunflower Kindergarten. Our objective is to delete the duplicate values while keeping the first values from this data set.
Method 1 – Using the Remove Duplicates Feature from the Excel Toolbar to Delete Duplicates Excluding First Value
Steps:
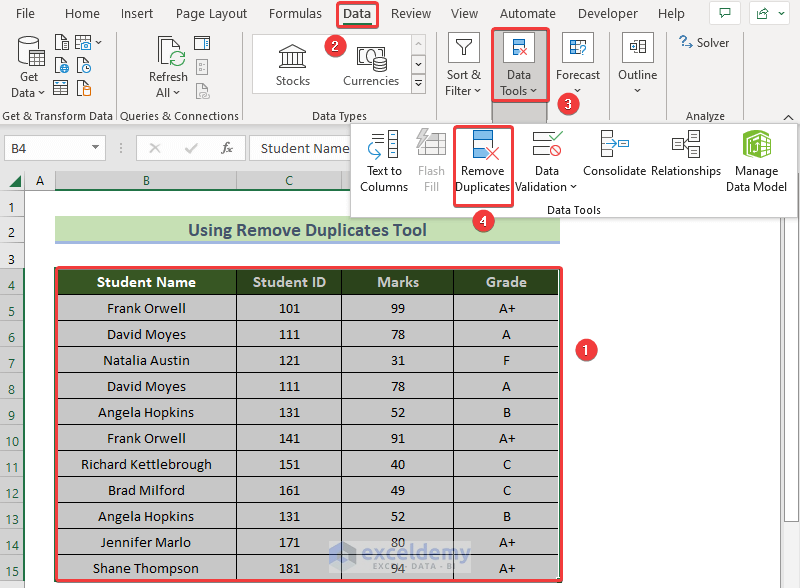
- Select the whole data set.
- Go to Data > Remove Duplicates tool in Excel Toolbar under the section Data Tools.
- Click Remove Duplicates.
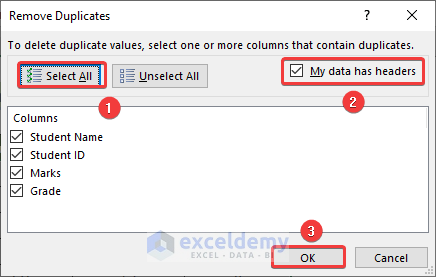
- Put a check on all names of the columns you want to erase duplicates from.
- Click the OK button.
You will get the duplicates removed automatically from your data set.

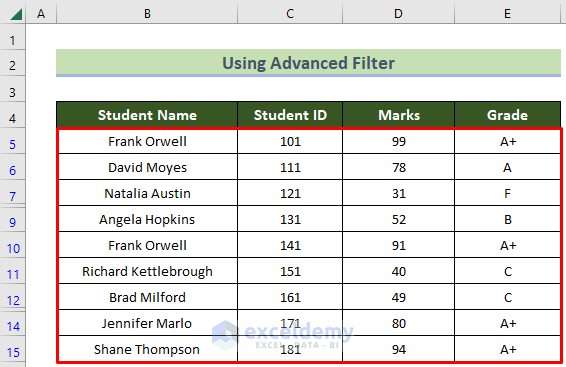
Method 2 – Using Advanced Filter to Remove Duplicates and Keep the First Value
Steps:
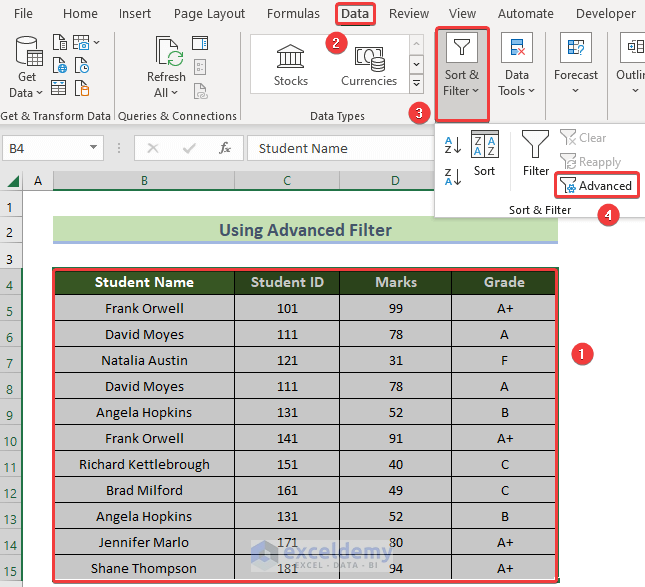
- Select the whole data set.
- Go to Data > Advanced tool in Excel Toolbar under the section Sort & Filter.
- Click Advanced.
- The Advance Filter dialogue box will appear.
- In the Advanced Filter dialogue box, put a check on Unique records only.
- Click OK.

You will get the duplicate rows removed automatically from your data set.
Method 3 – Inserting UNIQUE Function to Remove Duplicates While Keeping the First Value in Excel
Steps:
- Click on cell B5 and insert the following formula.
=UNIQUE('Sample Dataset'!B5:E15,FALSE,FALSE)- Press the Enter key.
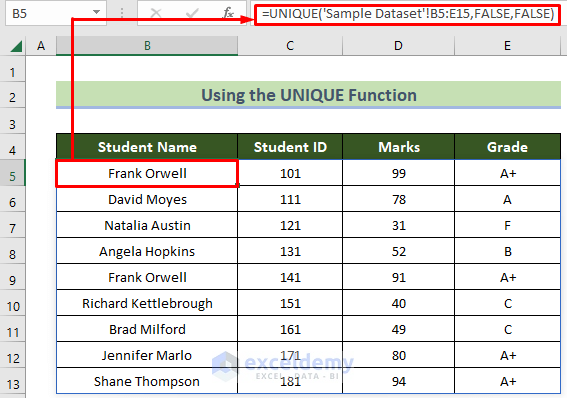
It will delete the rows with duplicate values while keeping the first value, and create a fresh copy of the data set in this new location.
Notes:
- This method is very useful when you want to create a new copy of our data set in a new location.
- The UNIQUE function is available in Office 365 only.
Method 4 – Using Power Query to Remove Duplicates but Keep the First Entry
Steps:
- Select the whole data set.
- Go to Data > From Table / Range tool in the Excel Toolbar under the section Get & Transform Data.
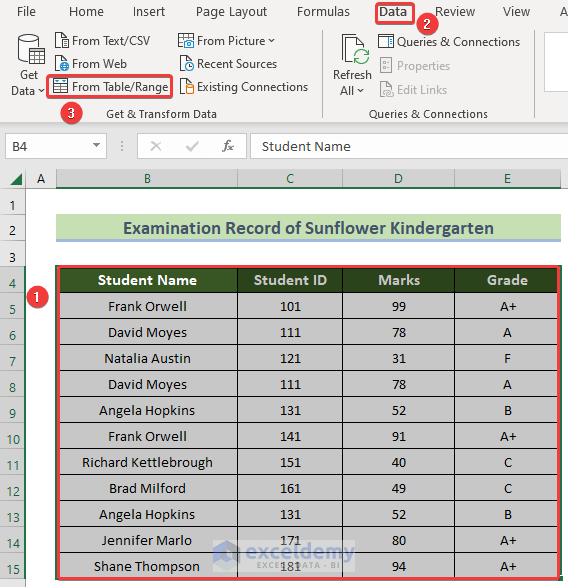
- Click on From Table / Range.
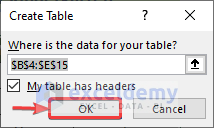
- The Create Table window will appear.
- In the Create Table dialogue box, Put a check on My table has headers.
- Click OK.
- The Power Query Editor will open with your data set.
- Hold the Ctrl of your keyboard and select individual column headers.
- From the Remove Rows option under the Home tab, click on Remove Duplicates.
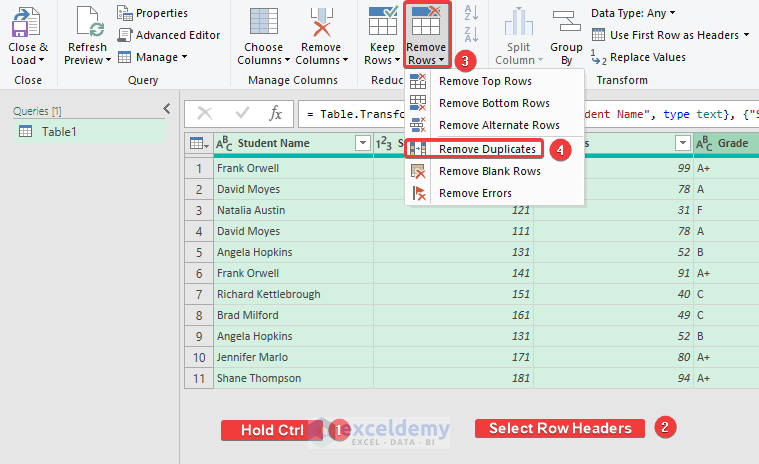
- The duplicate rows will be removed, keeping the first rows.
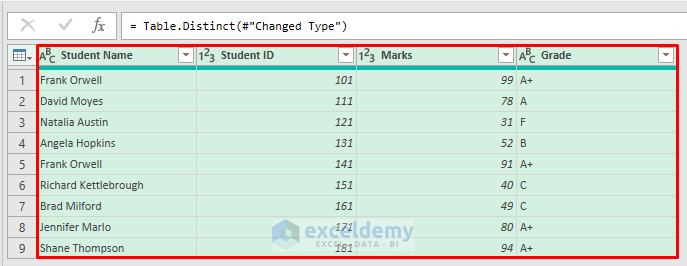
- Under the Home tab, click the Close & Load button.

- The filtered table will be loaded to a sheet in your Excel file. Customize its properties as you want to see the result.
The result would look like this:
Method 5 – Applying VBA Codes to Eliminate Duplicates and Keep the First Value
Steps:
- Open a new VBA window and insert another new module.
- Go to the Developer tab > Visual Basic Tool.

- The VB Editor will open.
- Click on the Insert tab > choose the Module option.
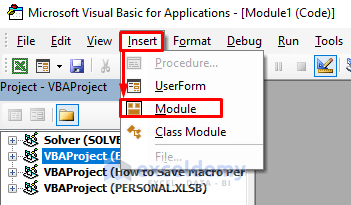
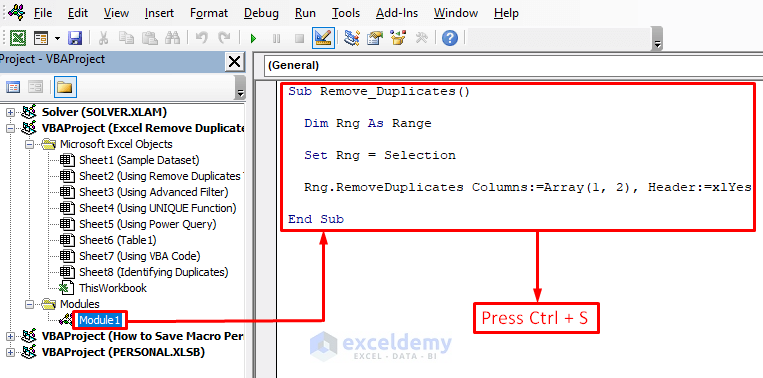
- Insert the following code in the module and press Ctrl + S.
Code:
Sub Remove_Duplicates()
  Dim Rng As Range
  Set Rng = Selection
  Rng.RemoveDuplicates Columns:=Array(1, 2), Header:=xlYes
End Sub- It produces a Macro called Remove_Duplicates. I want to remove the duplicate rows based on Columns 1 and 2 (Name and ID). You use your one.
- A Microsoft Excel dialogue box will appear.
- Following, click the No button.

- The Save As dialogue box will appear.
- Choose the Save as type: option as .xlsm file and click on the Save button.
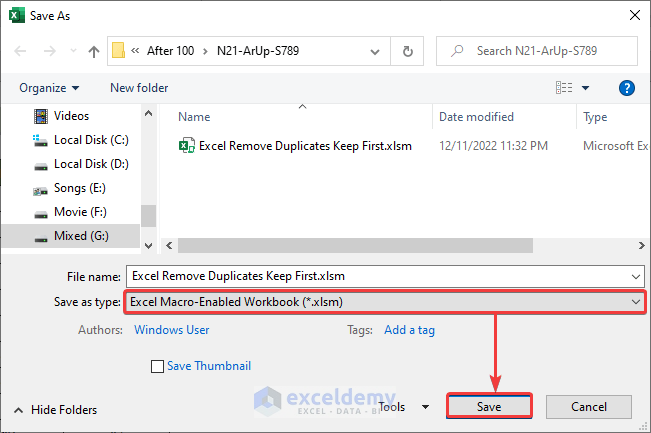
- Your file is macro-enabled now.
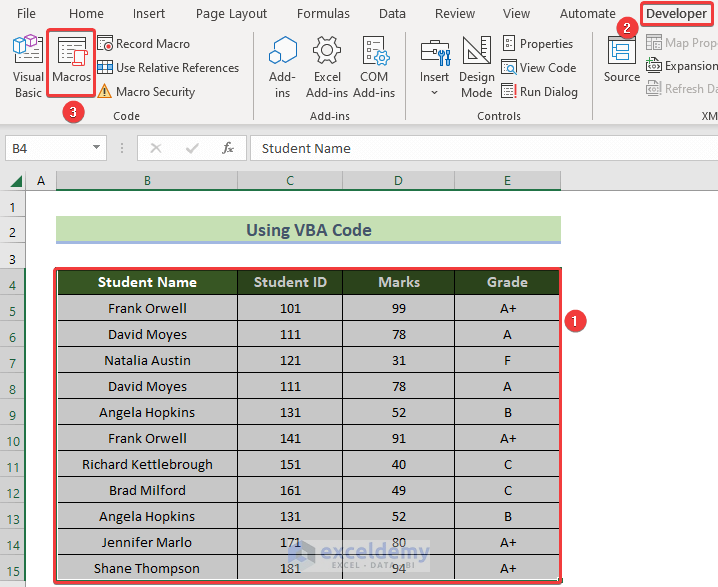
- Close the VB Editor and select your whole dataset.
- Go to the Developer tab > Macros tool.
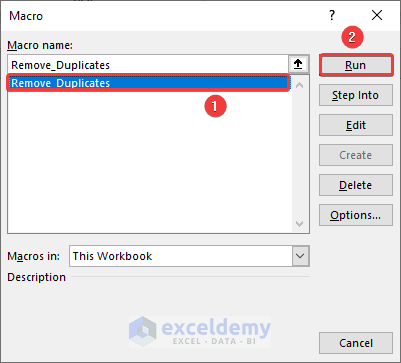
- The Macro window will appear.
- Choose the Remove_Duplicates macro and click on the Run button.
The duplicates will be removed and the first values will remain. The outcome should look like this:
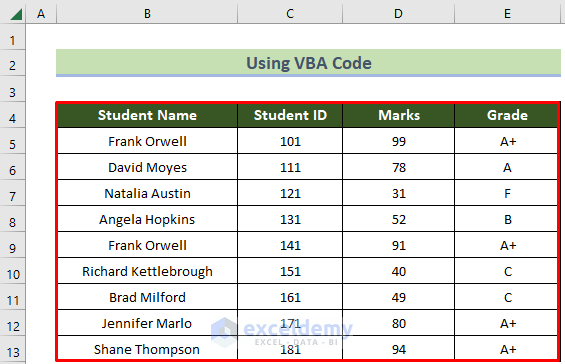
Here it has not removed Frank Orwell because the IDs of the two students are different, that is, they are two different students.
How to Identify Duplicates in Excel Without Deleting
Steps:
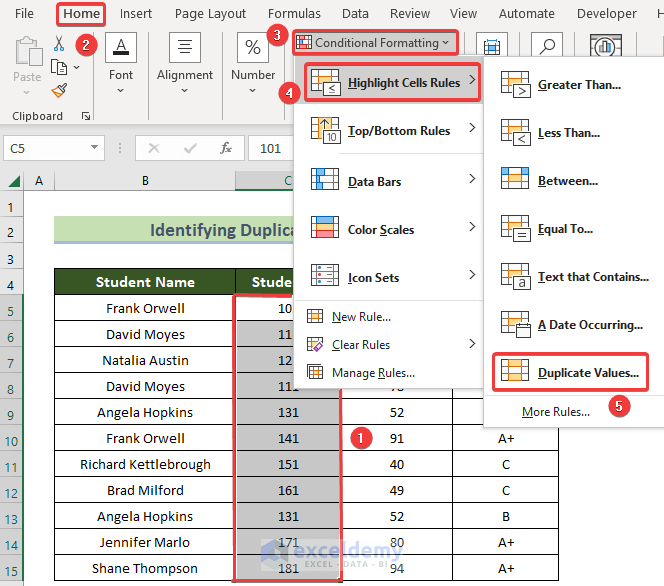
- Select the student IDs cells (cells C5:C15 here).
- Go to the Home tab > Conditional Formatting tool > Highlight Cells Rules option > choose the Duplicate Values option.
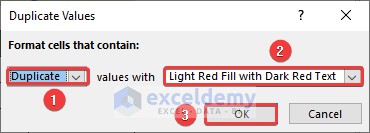
- The Duplicate Values window will appear.
- Choose the styling in the values with text box and click on the OK button.
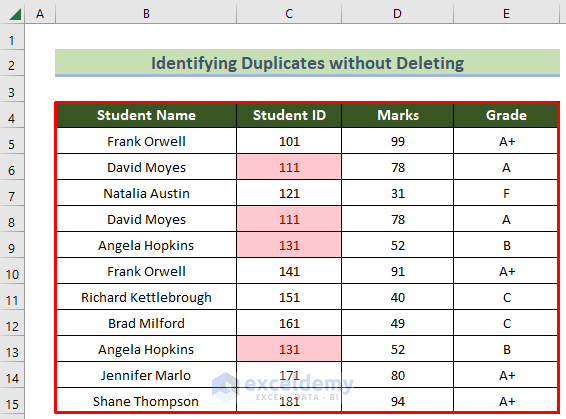
You will see the duplicate student IDs filled with light red color with dark red text. The result should look like this:
Download Practice Workbook
You can download our practice workbook from here for free!
Related Articles
<< Go Back to Duplicates in Excel | Learn Excel
Get FREE Advanced Excel Exercises with Solutions!


Excellent summary of all the Excel solutions to remove duplicates, thanks!
Hello Veekay,
You are most welcome. We try to summarize all possible solutions so that you can use any of the solution based on your dataset type. Keep solving Excel problems with ExcelDemy.
Regards
ExcelDemy