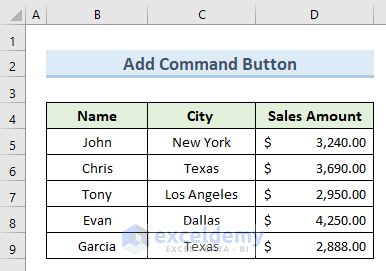
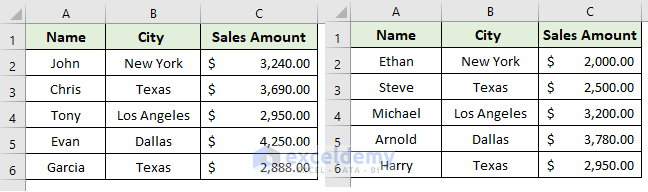
The dataset showcases a sales report. It contains the name, city, and sales amount of different people.
Method 1 – Using Excel VBA to Add a Command Button to Generate a Report in PDF Format
STEPS:
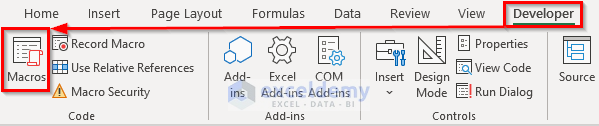
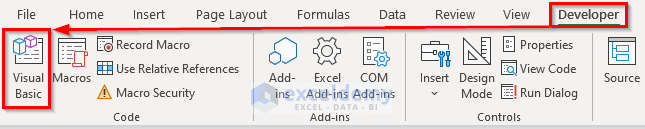
- Go to the Developer tab.
- Click Macros.
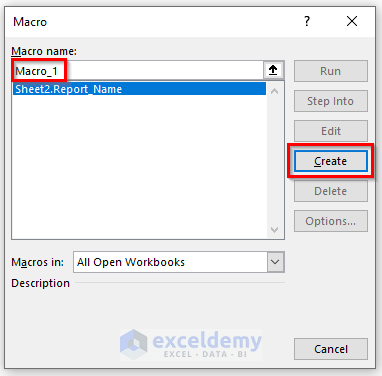
- Enter Macro_1 in Macro name.
- Click Create.
- In the blank code window, enter the following code:
Sub Macro_1()
ChDir "C:\Users\User\Desktop\ExcelDemy"
ActiveSheet.ExportAsFixedFormat Type:=xlTypePDF, Filename:= _
"C:\Users\User\Desktop\ExcelDemy\Generate Report in PDF.pdf", Quality:= _
xlQualityStandard, IncludeDocProperties:=True, IgnorePrintAreas:=False, _
OpenAfterPublish:=False
End Sub- Click Save or press Ctrl + S to save the code. Close the window.
The highlighted line in the code indicates the location to save the PDF.

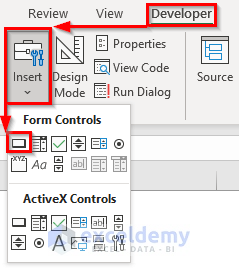
- Go to the Developer tab.
- Select Button in the Insert tab.
- Draw a button. Right-click it.
- Select Edit Text.
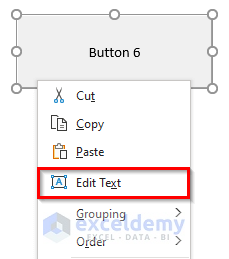
- Rename the button: ‘Generate Report to PDF’.

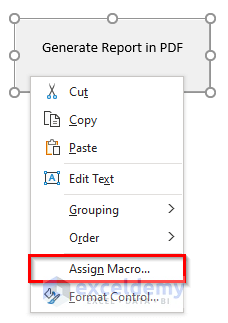
- Right-click the button.
- Select Assign Macro.
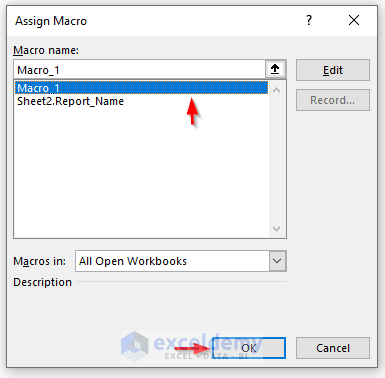
- Select Macro-1 and click OK.
- Click the button ‘Generate Report in PDF’.
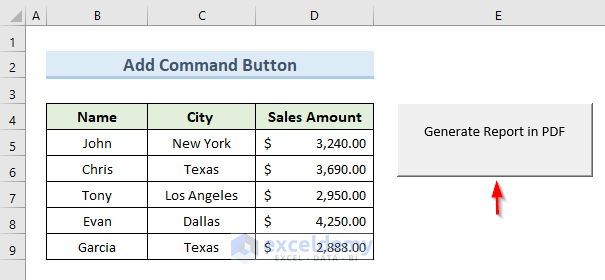
- An excel report in PDF format is created.
- The PDF report is stored in the selected folder.

Read More: How to Generate PDF Reports from Excel Data
Method 2 – Create a Report in PDF Format with a Specific File Name Using Excel VBA
STEPS:
- Go to the Developer tab and select Visual Basic.
- A new VBA project window will open.
- Right-click Sheet2 (Save with Name).
- Select Insert > Module.
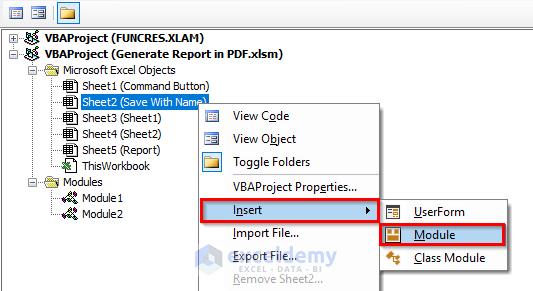
- A blank VBA code window is displayed.
- Enter the following code:
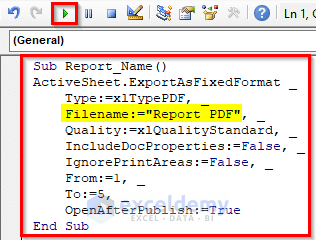
Sub Report_Name()
ActiveSheet.ExportAsFixedFormat _
Type:=xlTypePDF, _
Filename:="Report PDF", _
Quality:=xlQualityStandard, _
IncludeDocProperties:=False, _
IgnorePrintAreas:=False, _
From:=1, _
To:=5, _
OpenAfterPublish:=True
End Sub- Press the F5 key or click Run to run the code.
The highlighted line in the code indicates the new name of the PDF format.
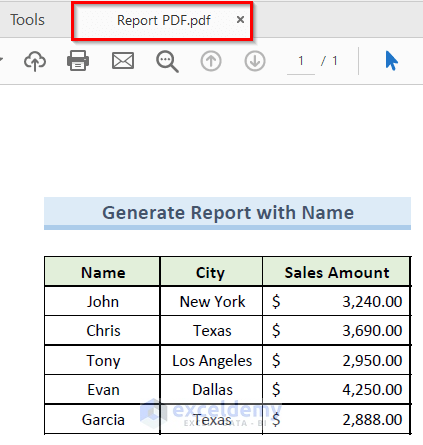
The excel sheet opens in PDF format.
Read More: How to Generate Reports in Excel Using Macros
Method 3 – Generating a Report in PDF Format from Multiple Sheets with Excel VBA
Create a report in another sheet using these two sheets:
STEPS:
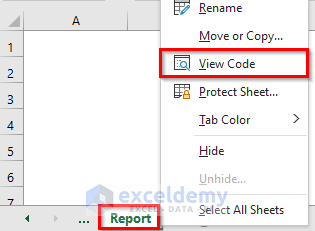
- Go to another sheet: Report.
- Right-click the sheet.
- Select View Code.
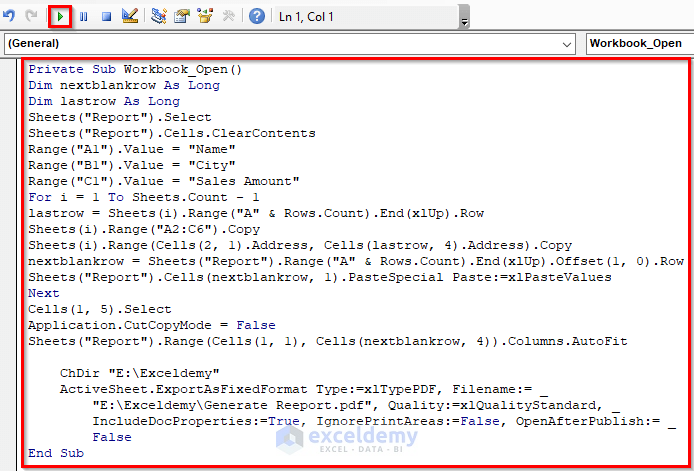
- In the new blank VBA code window, enter the following code:
Private Sub Workbook_Open()
Dim nextblankrow As Long
Dim lastrow As Long
Sheets("Report").Select
Sheets("Report").Cells.ClearContents
Range("A1").Value = "Name"
Range("B1").Value = "City"
Range("C1").Value = "Sales Amount"
For i = 1 To Sheets.Count - 1
lastrow = Sheets(i).Range("A" & Rows.Count).End(xlUp).Row
Sheets(i).Range("A2:C6").Copy
Sheets(i).Range(Cells(2, 1).Address, Cells(lastrow, 4).Address).Copy
nextblankrow = Sheets("Report").Range("A" & Rows.Count).End(xlUp).Offset(1, 0).Row
Sheets("Report").Cells(nextblankrow, 1).PasteSpecial Paste:=xlPasteValues
Next
Cells(1, 5).Select
Application.CutCopyMode = False
Sheets("Report").Range(Cells(1, 1), Cells(nextblankrow, 4)).Columns.AutoFit
ChDir "E:\Exceldemy"
ActiveSheet.ExportAsFixedFormat Type:=xlTypePDF, Filename:= _
"E:\Exceldemy\Generate Reeport.pdf", Quality:=xlQualityStandard, _
IncludeDocProperties:=True, IgnorePrintAreas:=False, OpenAfterPublish:= _
False
End Sub- Press F5 key or click Run.
Data from the two sheets is merged into the Report sheet.
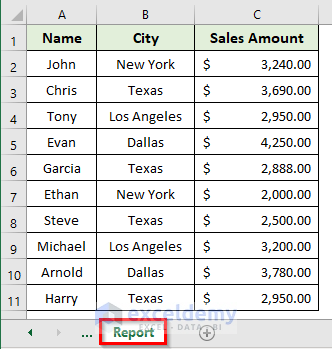
- Browse the folder specified in the code and find the PDF file.

Read More: How to Automate Excel Reports Using Macros
Download Practice Workbook
Download the practice workbook.
Related Articles
- How to Make Report Card in Excel
- Create a Report in Excel as a Table
- How to Generate Reports from Excel Data
- How to Create a Summary Report in Excel
<< Go Back to Report in Excel | Learn Excel
Get FREE Advanced Excel Exercises with Solutions!
