We have a DOCTYPE HTML code that contains information about several Customers. We will create an HTML table using Notepad.
Step 1 – Create an HTML Table Using Notepad
- Paste the below HTML code into Notepad to create a table.
<!DOCTYPE HTML>
<html>
<head>
<title>Customers Information</title>
<meta http-equiv="content-type" content="text/plain; charset=UTF-8"/>
<!-- Favicon -->
<link rel="shortcut icon" href="/favicon.ico">
<!-- Bootstrap -->
<link rel="stylesheet" href="https://cdn.jsdelivr.net/npm/[email protected]/dist/css/bootstrap.min.css">
<!-- Fontawsome -->
<link rel="stylesheet" href="https://cdnjs.cloudflare.com/ajax/libs/font-awesome/6.2.0/css/all.min.css">
</head>
<body>
<div class="d-flex justify-content-center profile-container">
<div class='col-md-10 text-center sort-profile' id='sort-profile'>
<div class='row'>
<div class='col-md-12 text-center' ><br/>
<h4><b>Customer Details</b></h4><hr/>
<table class='table table-light table-striped table-bordered' id='excel-table' style="background-color: transparent; border:2px solid black; margin-top:15px;">
<tr>
<th class="text-center">Name</th>
<th class="text-center">Age</th>
<th class="text-center" >Profession</th>
<th class="text-center">Address</th>
</tr>
<tr>
<td class="text-center">Jhon Doe</td>
<td class="text-center">29Y</td>
<td class="text-center">Engineer</td>
<td class="text-center">Sherman Oaks, California</td>
</tr>
<tr>
<td class="text-center">Devid Jones</td>
<td class="text-center">35Y</td>
<td class="text-center">Doctor</td>
<td class="text-center">Tampa, Florida</td>
</tr>
<tr>
<td class="text-center">Liana Lawrence</td>
<td class="text-center">25Y</td>
<td class="text-center">Architect</td>
<td class="text-center">Illinois, Chicago</td>
</tr>
<tr>
<td class="text-center">Ava Hawkins</td>
<td class="text-center" >45Y</td>
<td class="text-center">Accountant</td>
<td class="text-center">Buffalo, New York</td>
</tr>
</table>
</div>
</div>
<hr/>
<button type="button" style='font-size:23px;border:2px solid black;' class="btn btn-danger col-md-4" onclick="tableToExcel('excel-table', 'W3C Excel Table')"><i class="fa-sharp fa-solid fa-file-excel"></i>  Export to Excel</button>
</div>
</div>
</body>
</html>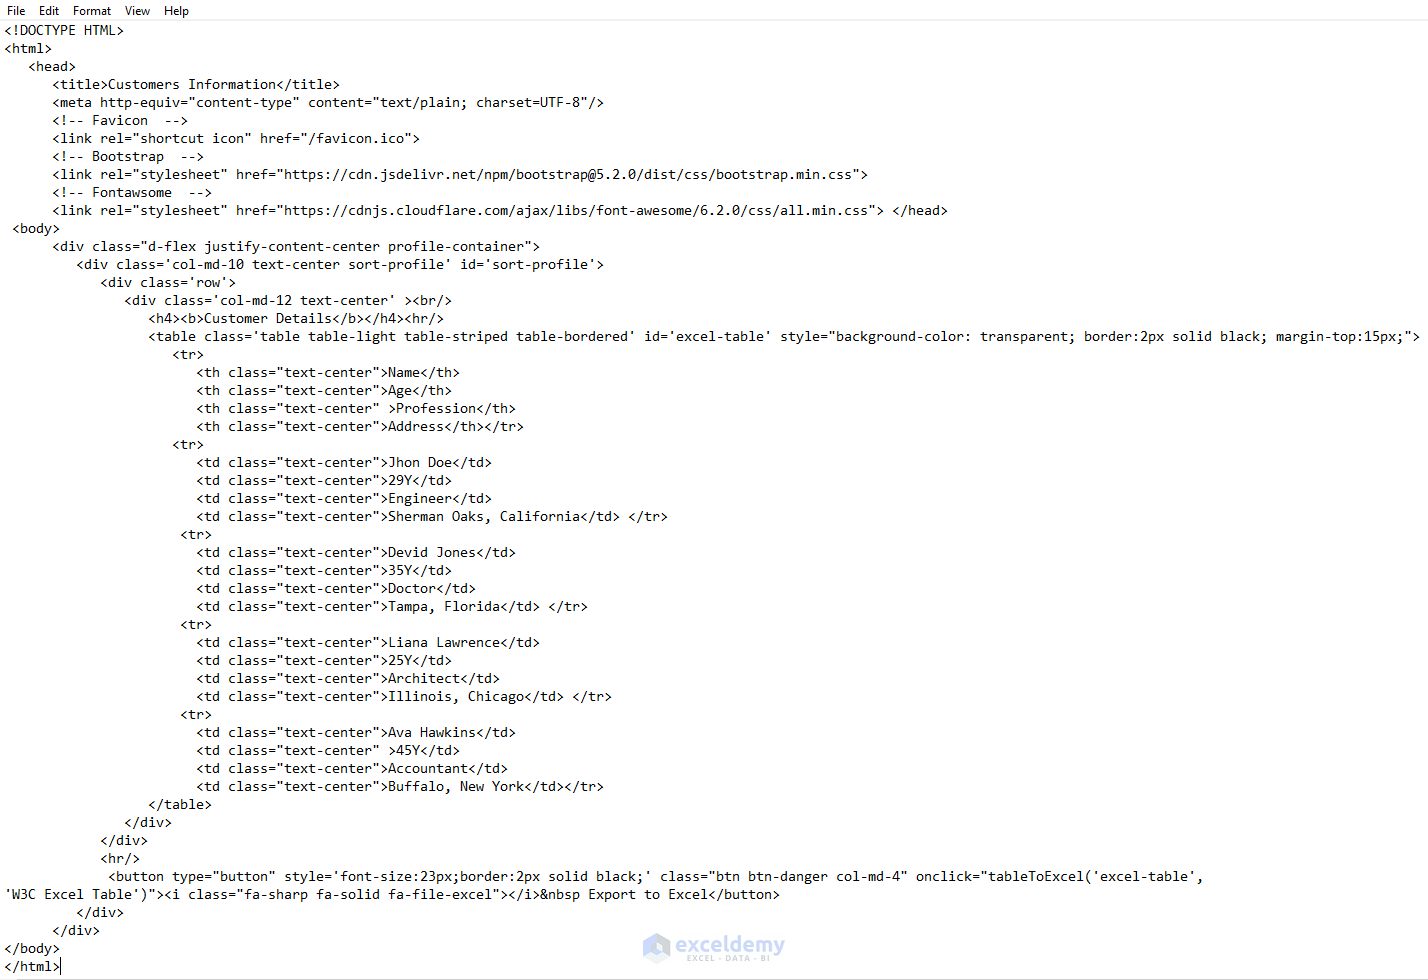
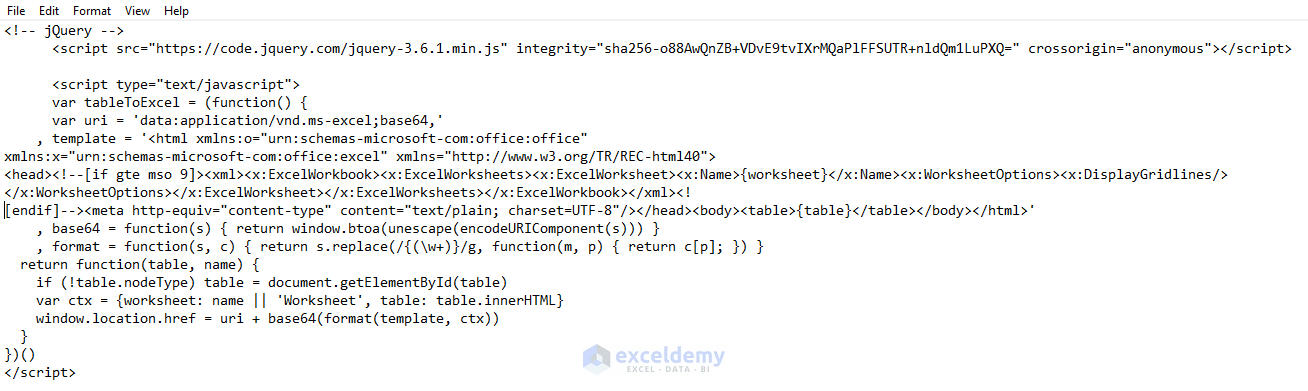
- Paste the below HTML code in Notepad to generate the download button.
<!-- jQuery -->
      <script src="https://code.jquery.com/jquery-3.6.1.min.js" integrity="sha256-o88AwQnZB+VDvE9tvIXrMQaPlFFSUTR+nldQm1LuPXQ=" crossorigin="anonymous"></script>

      <script type="text/javascript">
      var tableToExcel = (function() {
      var uri = 'data:application/vnd.ms-excel;base64,'
    , template = '<html xmlns:o="urn:schemas-microsoft-com:office:office" xmlns:x="urn:schemas-microsoft-com:office:excel" xmlns="http://www.w3.org/TR/REC-html40"><head><!--[if gte mso 9]><xml><x:ExcelWorkbook><x:ExcelWorksheets><x:ExcelWorksheet><x:Name>{worksheet}</x:Name><x:WorksheetOptions><x:DisplayGridlines/></x:WorksheetOptions></x:ExcelWorksheet></x:ExcelWorksheets></x:ExcelWorkbook></xml><![endif]--><meta http-equiv="content-type" content="text/plain; charset=UTF-8"/></head><body><table>{table}</table></body></html>'
    , base64 = function(s) { return window.btoa(unescape(encodeURIComponent(s))) }
    , format = function(s, c) { return s.replace(/{(\w+)}/g, function(m, p) { return c[p]; }) }
  return function(table, name) {
    if (!table.nodeType) table = document.getElementById(table)
    var ctx = {worksheet: name || 'Worksheet', table: table.innerHTML}
    window.location.href = uri + base64(format(template, ctx))
  }
})()
</script>
- Save the below Doctype HTML code as an .html.
<!DOCTYPE HTML>
<html>
<head>
<title>Customers Information</title>
<meta http-equiv="content-type" content="text/plain; charset=UTF-8"/>
<!-- Favicon -->
<link rel="shortcut icon" href="/favicon.ico">
<!-- Bootstrap -->
<link rel="stylesheet" href="https://cdn.jsdelivr.net/npm/[email protected]/dist/css/bootstrap.min.css">
<!-- Fontawsome -->
<link rel="stylesheet" href="https://cdnjs.cloudflare.com/ajax/libs/font-awesome/6.2.0/css/all.min.css">
</head>
<body>
<div class="d-flex justify-content-center profile-container">
<div class='col-md-10 text-center sort-profile' id='sort-profile'>
<div class='row'>
<div class='col-md-12 text-center' ><br/>
<h4><b>Customer Details</b></h4><hr/>
<table class='table table-light table-striped table-bordered' id='excel-table' style="background-color: transparent; border:2px solid black; margin-top:15px;">
<tr>
<th class="text-center">Name</th>
<th class="text-center">Age</th>
<th class="text-center" >Profession</th>
<th class="text-center">Address</th>
</tr>
<tr>
<td class="text-center">Jhon Doe</td>
<td class="text-center">29Y</td>
<td class="text-center">Engineer</td>
<td class="text-center">Sherman Oaks, California</td>
</tr>
<tr>
<td class="text-center">Devid Jones</td>
<td class="text-center">35Y</td>
<td class="text-center">Doctor</td>
<td class="text-center">Tampa, Florida</td>
</tr>
<tr>
<td class="text-center">Liana Lawrence</td>
<td class="text-center">25Y</td>
<td class="text-center">Architect</td>
<td class="text-center">Illinois, Chicago</td>
</tr>
<tr>
<td class="text-center">Ava Hawkins</td>
<td class="text-center" >45Y</td>
<td class="text-center">Accountant</td>
<td class="text-center">Buffalo, New York</td>
</tr>
</table>
</div>
</div>
<hr/>
<button type="button" style='font-size:23px;border:2px solid black;' class="btn btn-danger col-md-4" onclick="tableToExcel('excel-table', 'W3C Excel Table')"><i class="fa-sharp fa-solid fa-file-excel"></i>  Export to Excel</button>
</div>
</div>
<!-- jQuery -->
<script src="https://code.jquery.com/jquery-3.6.1.min.js" integrity="sha256-o88AwQnZB+VDvE9tvIXrMQaPlFFSUTR+nldQm1LuPXQ=" crossorigin="anonymous"></script>
<script type="text/javascript">
var tableToExcel = (function() {
var uri = 'data:application/vnd.ms-excel;base64,'
, template = '<html xmlns:o="urn:schemas-microsoft-com:office:office" xmlns:x="urn:schemas-microsoft-com:office:excel" xmlns="http://www.w3.org/TR/REC-html40"><head><!--[if gte mso 9]><xml><x:ExcelWorkbook><x:ExcelWorksheets><x:ExcelWorksheet><x:Name>{worksheet}</x:Name><x:WorksheetOptions><x:DisplayGridlines/></x:WorksheetOptions></x:ExcelWorksheet></x:ExcelWorksheets></x:ExcelWorkbook></xml><![endif]--><meta http-equiv="content-type" content="text/plain; charset=UTF-8"/></head><body><table>{table}</table></body></html>'
, base64 = function(s) { return window.btoa(unescape(encodeURIComponent(s))) }
, format = function(s, c) { return s.replace(/{(\w+)}/g, function(m, p) { return c[p]; }) }
return function(table, name) {
if (!table.nodeType) table = document.getElementById(table)
var ctx = {worksheet: name || 'Worksheet', table: table.innerHTML}
window.location.href = uri + base64(format(template, ctx))
}
})()
</script>
</body>
</html>
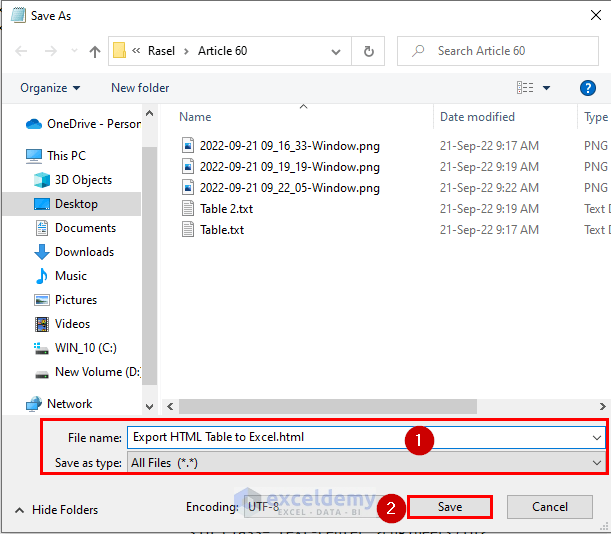
- To save the HTML code, from the File tab, go to Save As.
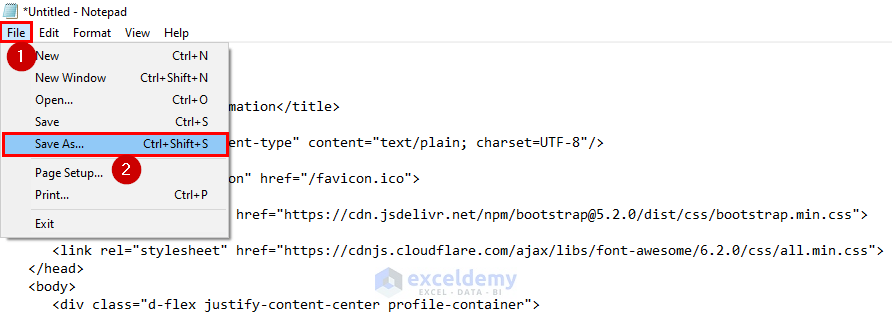
- Put the File name as Export HTML Table to Excel with .html.
- Press the Save option.
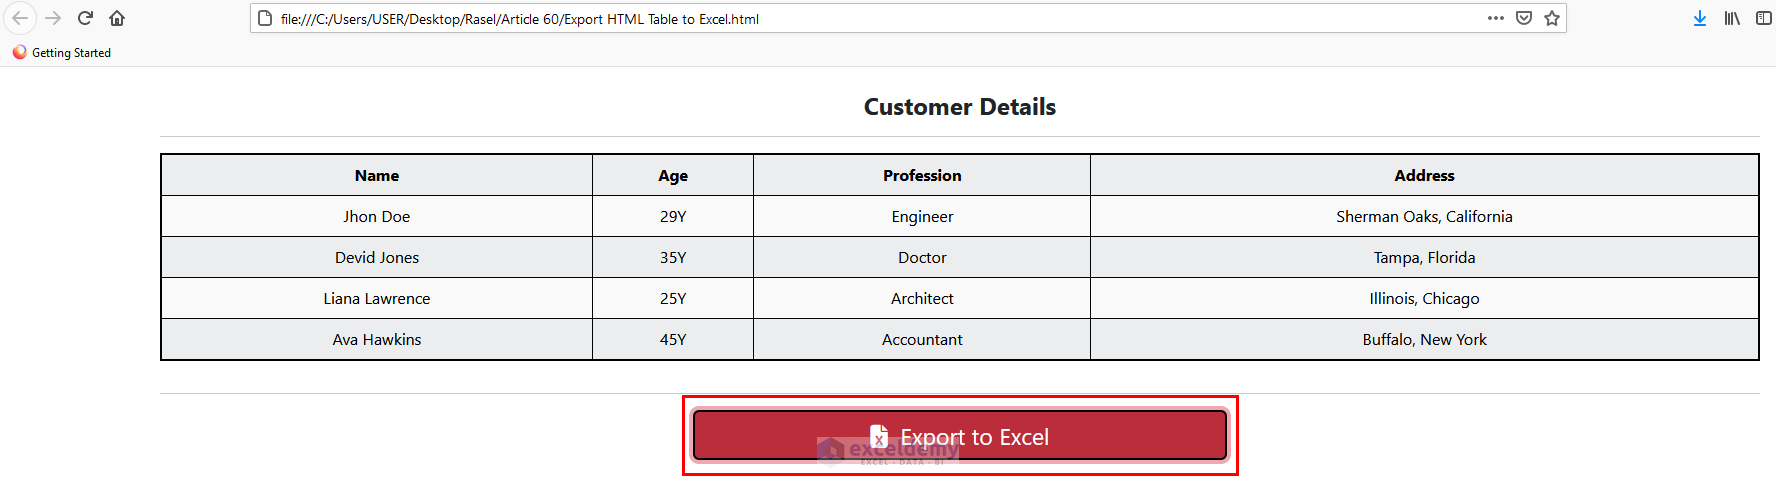
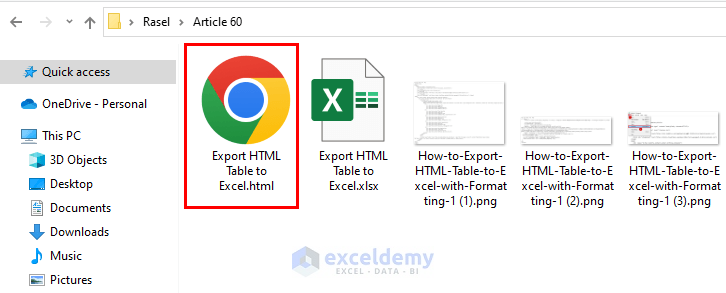
- Here’s the resulting file.
Step 2 – Export the HTML Table with Formatting to Excel
- Go to the file you saved as HTML and open it.
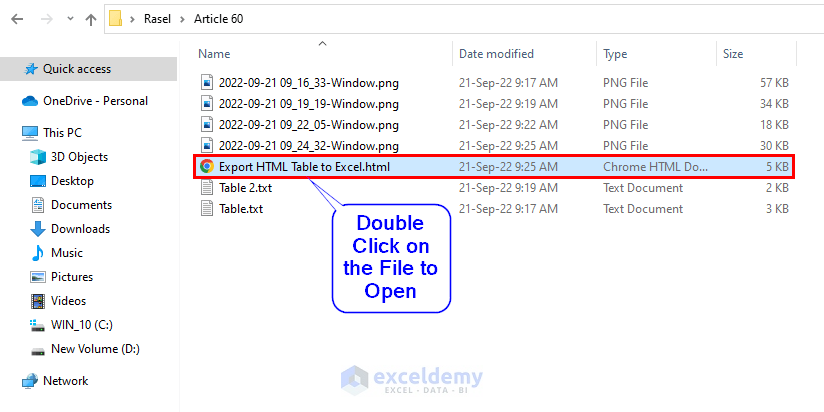
- An HTML table will open in a browser with a download button.
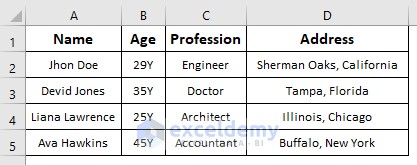
- Click on the download button named Export to Excel to export the HTML table to Excel.
- This exports the DOCTYPE HTML table to Excel.
Download the Practice Workbooks
Get FREE Advanced Excel Exercises with Solutions!
