Looking for ways to delay timer with VBA in Excel? Then, this is the right place for you. Sometimes we want to run a macro after some time delay. To do that, you can follow different ways. Here, you will find 3 ways to delay timer with VBA in Excel.
3 Easy Ways to Delay Timer with VBA in Excel
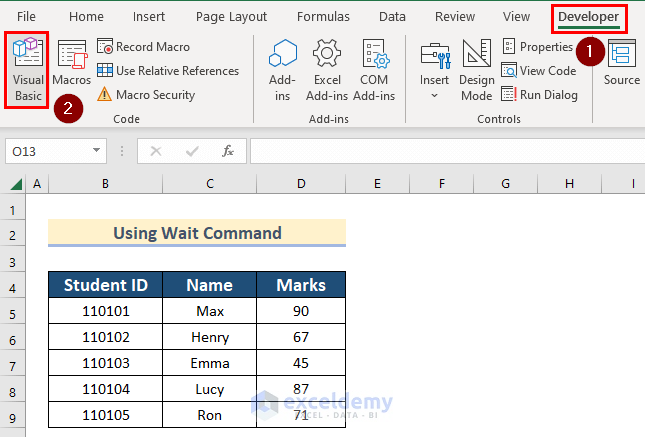
Suppose we have a dataset containing the Student ID, Name and Marks of some students. Now, we want to open a message box after a specific time delay. We can do it by applying 3 different ways. Follow any of the ways given below to run your code after a time delay in Excel.

1. Use Wait Command to Delay Timer in Excel
Using the Wait command you can delay your code for a specific time. In the first method, we will use this command along with Now and TimeValue functions to delay the timer in Excel.
Here are the steps.
Steps:
- Firstly, go to the Developer tab >> click on Visual Basic.
- Now, the Microsoft Visual Basic for Application box will open.
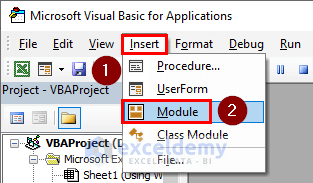
- Then, click on Insert >> select Module.
- Next, write the following code in your Module.
Sub wait_command()
If Application.Wait(Now + TimeValue("00:00:10")) = True Then
    MsgBox "Wait Over!! Result Published."
End If
End Sub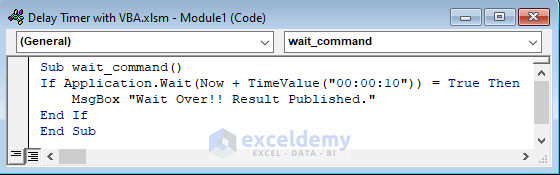
Code BreakDown
- Firstly, we created a Sub Procedure named wait_command.
- Then, we used the Wait command to delay the timer by 10 seconds using Now and TimeValue functions.
- Lastly, added a MsgBox with text.
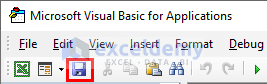
- After that, click on the Save button to save the code and go back to your Excel Sheet.
- Further, go to the Developer tab >> click on Macros.

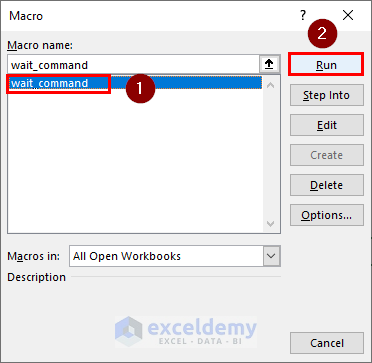
- Now, the Macros box will appear.
- Next, select wait_command.
- After that, click on Run.
- Finally, after 10 seconds a MsgBox will pop up.
2. Delay Timer Applying Sleep Function in Excel
You can also delay the timer by applying the Sleep function by using a special declaration statement to access it from Windows Operating System.
Firstly, the declaration statement directs Excel where to search the function. Next, it helps to apply the 32bit or 64bit version of the function in Excel depending on your Windows Operating System.
Follow the steps given below to use this function in your Excel file.
Steps:
- In the beginning, insert a module going through the same steps shown in Method 1.
- Then, write the following code in your Module.
Public Declare PtrSafe Sub Sleep Lib "kernel32" (ByVal dwMilliseconds As LongPtr)
Sub Sleep_Function()
MsgBox "File Opened"
Sleep 10000
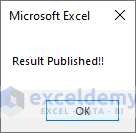
MsgBox "Result Published!!"
End Sub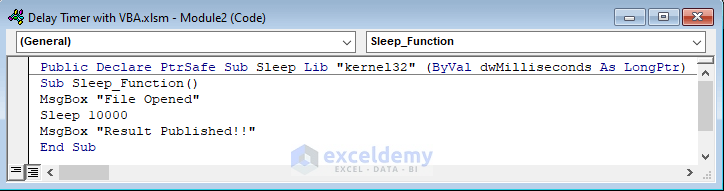
Code BreakDown
- To start with, we used a declaration statement to access the Sleep function.
- After that, we created a Sub Procedure named Sleep_Function.
- Then, we added a MsgBox with text to start the timer.
- Next, we used the Sleep function to delay the timer by 10000 milliseconds.
- Lastly, we added another MsgBox.
- For Excel 64 bit, use the following statement.
Public Declare PtrSafe Sub Sleep Lib "kernel32" (ByVal dwMilliseconds As LongPtr)- On the other hand, For Excel 32 bit, use this statement.
Public Declare Sub Sleep Lib "kernel32" (ByVal dwMilliseconds as Long)- After that, save the code and go back to your Excel Sheet.
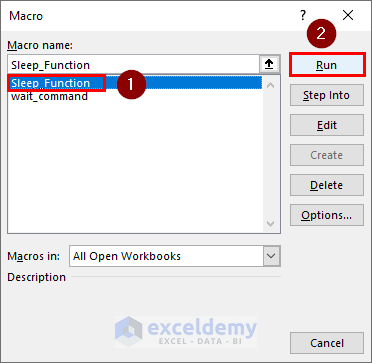
- Now, open the Macro box following the steps given in Method 1.
- Next, select Sleep_Function.
- Lastly, click on Run.
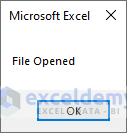
- Now, a MsgBox will open.
- Then, click on OK.
- Finally, after 10000 milliseconds another MsgBox will pop up.
Read More: How to Create a Timer with Milliseconds in Excel VBA
3. Insert Command Button from ActiveX Control to Delay Timer After Running Macro
In the last method, we will show you how to use a Command Button to delay time after running a macro. We will insert this Command Button from ActiveX Control.
Steps:
- Firstly, insert a module going through the same steps shown in Method 1.
- Then, write the following code in your Module to insert an InputBox and MsgBox.
Sub Student_Name()
Dim Name As String
Name = InputBox("What's your name?")
MsgBox "Hello " + Name
End Sub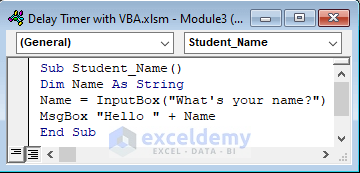
Code BreakDown
- Firstly, we created a Sub Procedure named Student_Name.
- Then, we declared Name as String.
- Next, we added an InputBox.
- Lastly, we added a MsgBox.
- After that, save the code and go back to your Excel Sheet.
- Next, go to the Developer tab >> click on Insert >> select Command Button from ActiveX Controls.
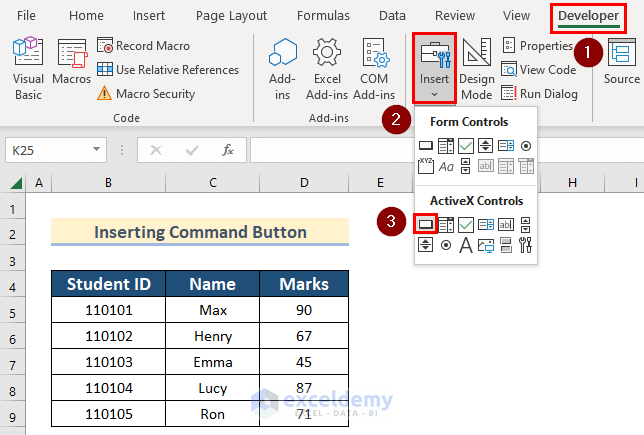
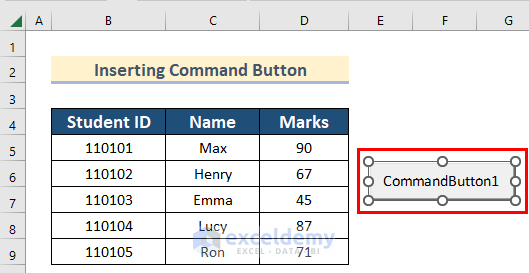
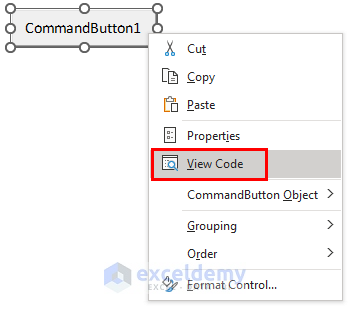
- Then, insert a Command Button into your Excel Worksheet.
- Further, right-click on the Button and click on View Code.
- Afterward, write the following code in your CommandButton.
Private Sub CommandButton1_Click()
Application.OnTime Now() + TimeValue("00:00:10"), "Student_Name"
End Sub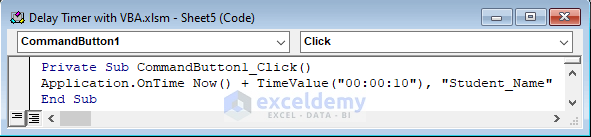
Code BreakDown
- Here, to delay the timer we used the Now and TimeValue functions and called the Student_Name using the CommandButton.
- Next, turn off Design Mode and click on the CommandButton.

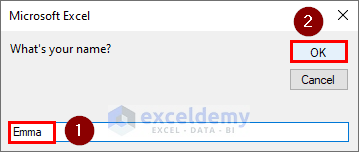
- Now, after 10 seconds an InputBox will appear.
- After that, insert any name in the box and press OK.
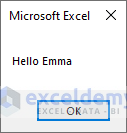
- Finally, a message box will appear containing that name.
Read More: How to Create a Countdown Timer in Excel VBA
Download Practice Workbook
You can download the workbook to practice yourself.
Conclusion
So, in this article, we have shown you 3 ways to delay timer with VBA in Excel. I hope you found this article interesting and helpful. If something seems difficult to understand, please leave a comment. Please let us know if there are any more alternatives that we may have missed. Thank you!

