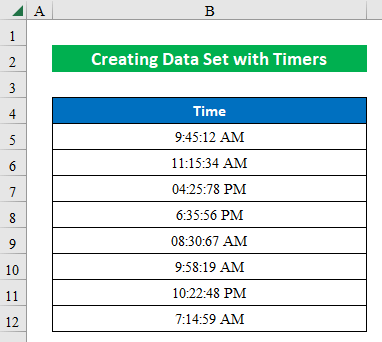
Step 1 – Creating a Data Set with Timers
- Open a workbook and put your desired alert times, just like the screenshot below.
Read More: Excel VBA to Create Timer Loop
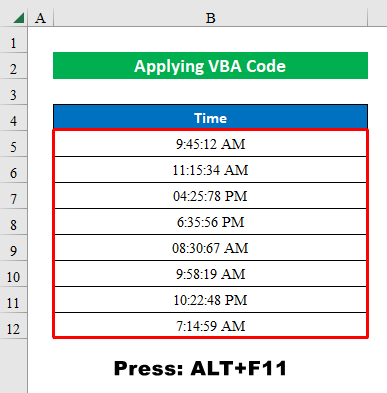
Step 2 – Applying VBA Code to Convert Time to Milliseconds
- Select cells (B5:B12) and click Alt + F11 to open Microsoft Visual Basic for Applications.
- Go to Insert and select Module.
- Inside the Module, place the following code and click on Save.
Sub Timer_Milliseconds()
Selection.NumberFormatLocal = "h:mm:ss.000"
ActiveCell.Value = Format(Now, "h:mm:ss") & Right(Format(Timer, "0.000"), 4)
End Sub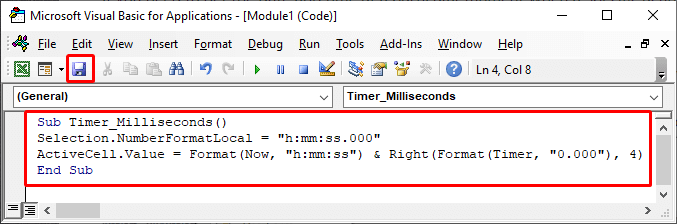
Read More: How to Create a Countdown Timer in Excel VBA
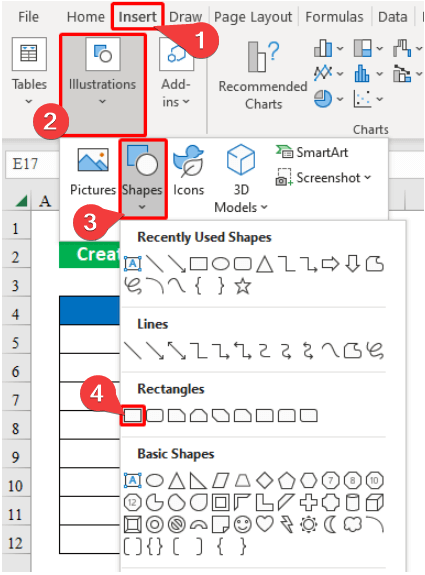
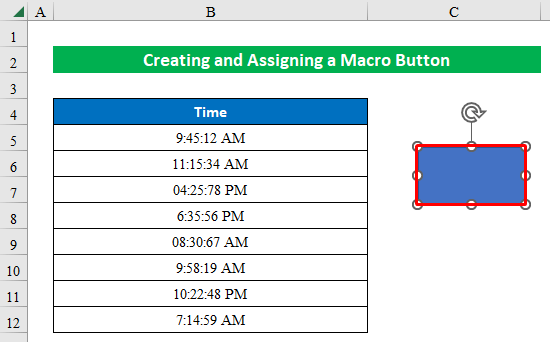
Step 3 – Creating and Assigning a Macro Button
- Choose a Rectangle Shape from the Insert option.
- Double-click on the worksheet to create the shape.
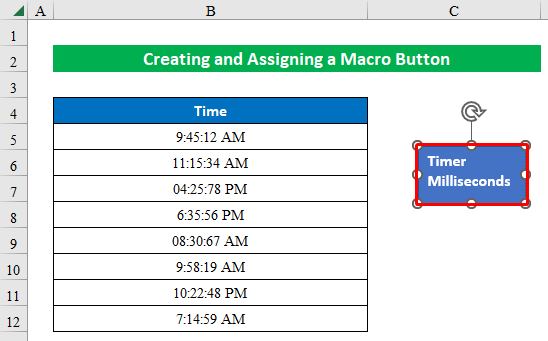
- Type Timer Milliseconds inside the box.
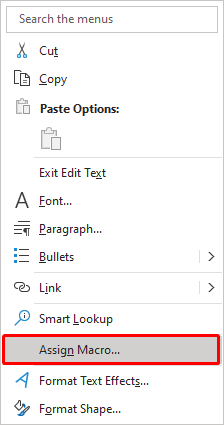
- Right-click on the shape and choose Assign Macro.
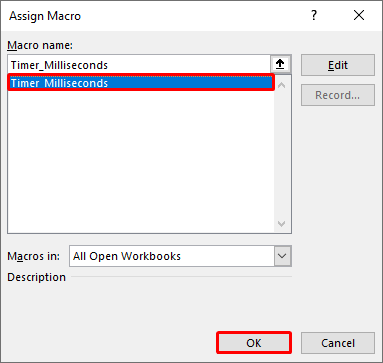
- Select Timer Milliseconds from the Macro Name and press OK.
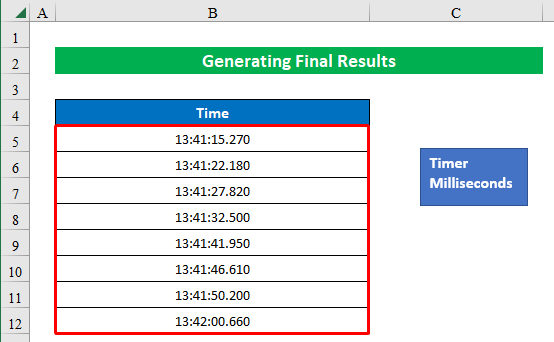
Step 4 – Generating Final Results
- Click the button and you will get your output with a millisecond timer.
Read More: How to Create Timer Event with VBA in Excel
Download the Practice Workbook
Get FREE Advanced Excel Exercises with Solutions!
