Example 1 – Create a Timer Loop with Intervals in Excel
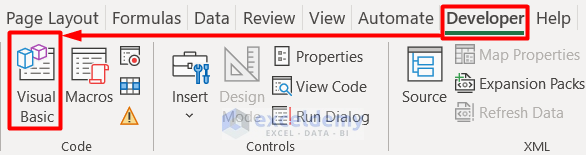
- Go to the Developer tab and select Visual Basic from the Code section.
- Select ThisWorkbook in the Project – VBAProject window and insert this code.
Private Sub Workbook_Open()
'Call timer_loop
End Sub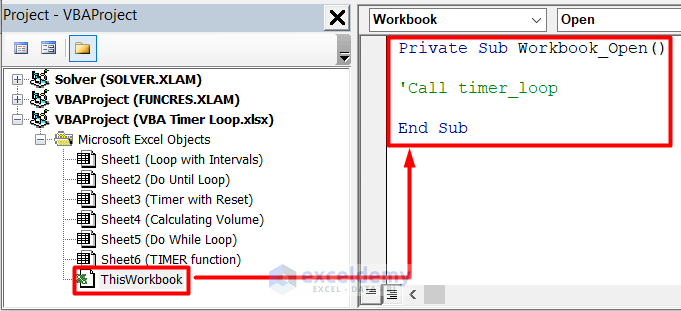
This code will run the process of showing the message box when we will give a command with a command button.
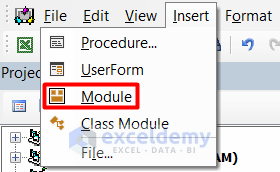
- Open a Module from the Insert tab.
- Insert this code in the Code window and press Ctrl + S to save it.
Public interval As Date
Sub timer_loop()
interval = Now + TimeValue("00:00:5")
Application.OnTime interval,"timer_macro"
End Sub
Sub timer_macro()
MsgBox "This is a timer loop output."
Call timer_loop
End Sub
Sub end_macro()
On Error Resume Next
Application.OnTime earliesttime:=interval, procedure:="timer_macro", schedule:=False
End Sub
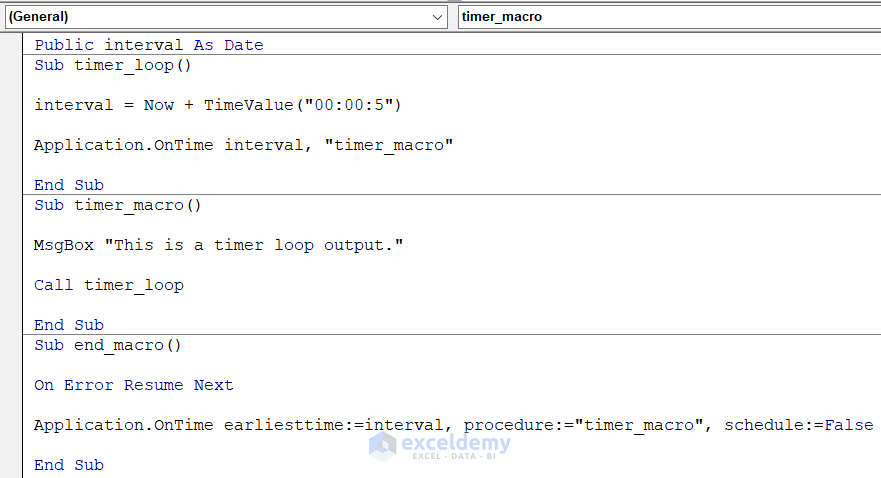
From this code, we can see that there are 3 parts of code. Sub timer_loop will start the process to show the message box. Then Sub timer_macro generates the message box. Lastly, Sub end_macro helps to stop the code.
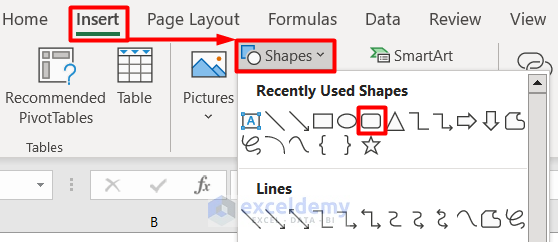
- Go to the Insert tab and select Rectangle:Rounded Corner from the Shapes group. You can choose any other shape.
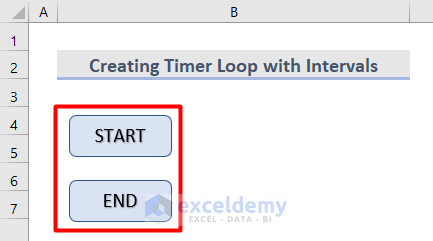
- Insert shapes as buttons in the worksheet like this.
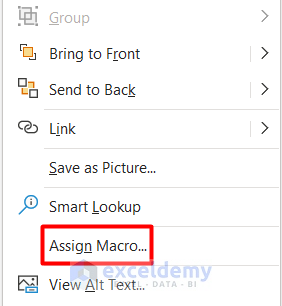
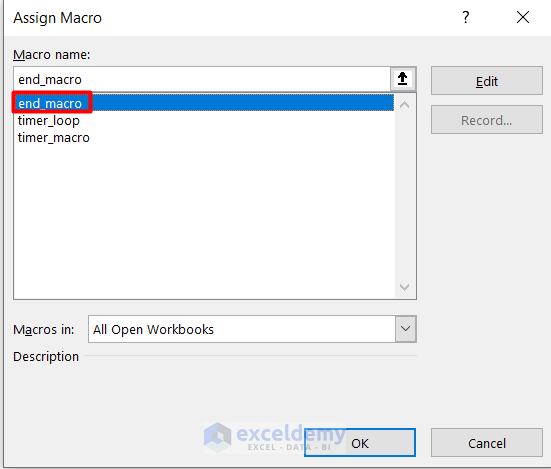
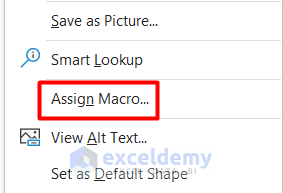
- Right–click on the START button and choose Assign Macro from the Context Menu.
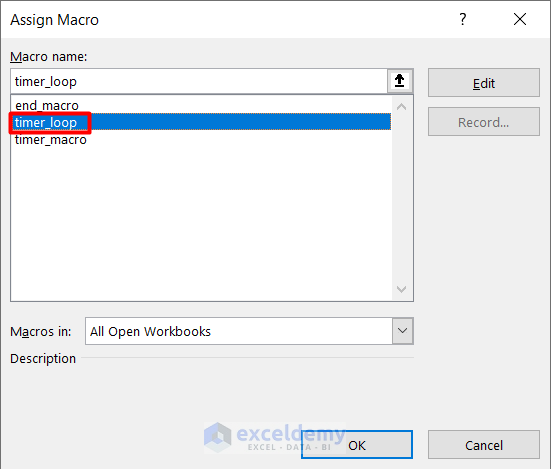
- Select the timer_loop macro from the Assing Macro window and press OK.
- Assign the end_macro code to the END button.
- Press the START button and, after every 5 seconds, this message box will appear in your workbook.
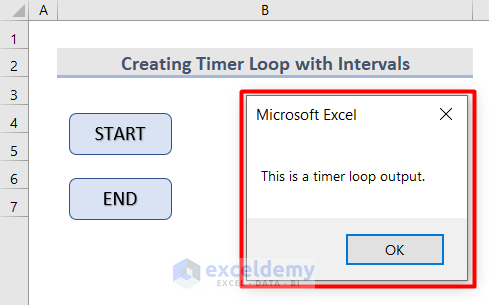
- Press the END button to stop the process.
Read More: How to Create a Timer with Milliseconds in Excel VBA
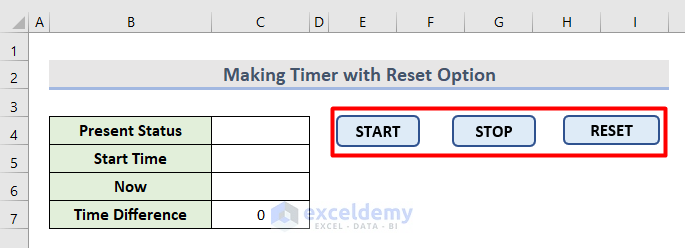
Example 2 – Make a Timer with a Reset Option in Excel
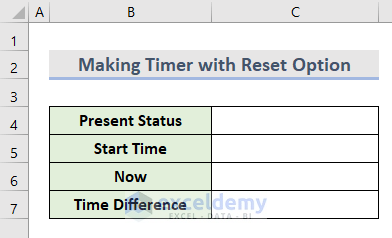
- Make a dataset with the following cells.
- Insert this formula in C7 that will define the Time Difference between the Start Time and Now time.
=C6-C5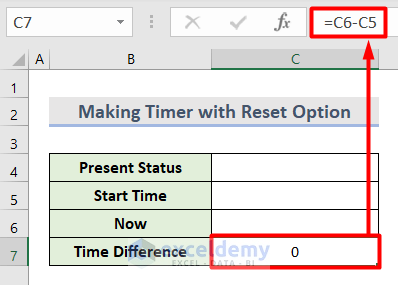
- Open the VBA Editor by pressing Alt + F11 on your keyboard.
- Open Insert and choose Module, then insert this code in the Code page.
Sub Timer_Start()
Dim wksh As Worksheet
Set wksh = ThisWorkbook.Sheets("Timer with Reset")
wksh.Range("C4").Value = "Start"
If wksh.Range("C5").Value = "" Then
   wksh.Range("C5").Value = Now
End If
x:
VBA.DoEvents
If wksh.Range("C4").Value = "Stop" Then Exit Sub
wksh.Range("C6").Value = Now
GoTo x
End Sub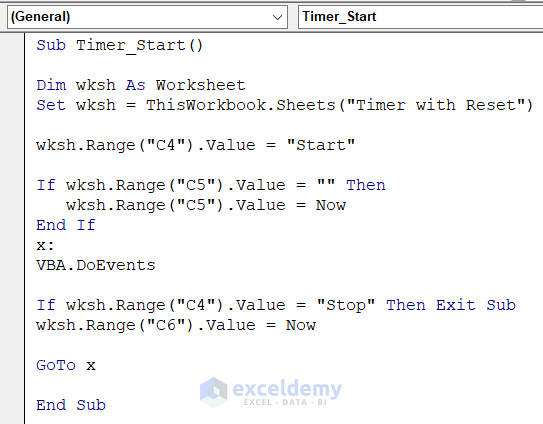
This code will start the timer and insert time values in the C5 and C6 Cells. We will get the state of the timer in Cell C4.
- Open a new Module window and insert this code that will stop the time.
Sub Timer_Stop()
Dim wksh As Worksheet
Set wksh = ThisWorkbook.Sheets("Timer with Reset")
wksh.Range("C4").Value = "Stop"
End Sub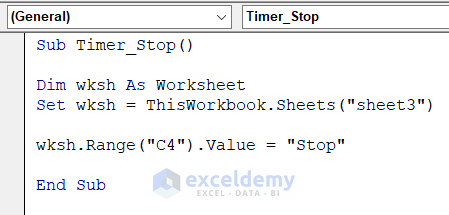
- Open another Module window and enter this code that will reset the timer to 0.
Sub Timer_Reset()
Dim wksh As Worksheet
Set wksh = ThisWorkbook.Sheets("Timer with Reset")
wksh.Range("C4").Value = "Stop"
wksh.Range("C5:C6").ClearContents
End Sub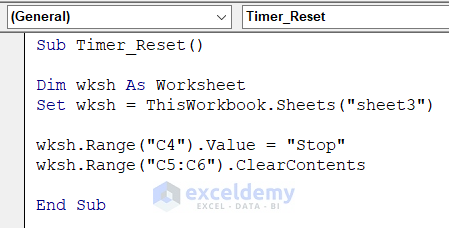
- Assign buttons with the Insert and Shapes command and choose any shape from the drop-down list.
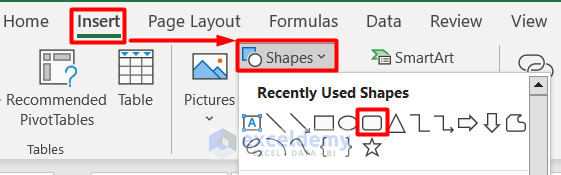
- Insert 3 buttons, START, STOP, and RESET.
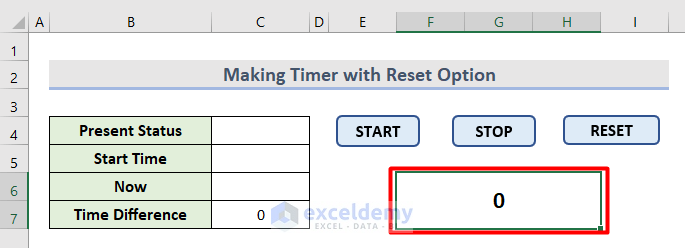
- Put 0 in Cell F6.
- Right–click on it and select Format Cells from the Context Menu.

- Choose any time format from the Time section in the Format Cells window.
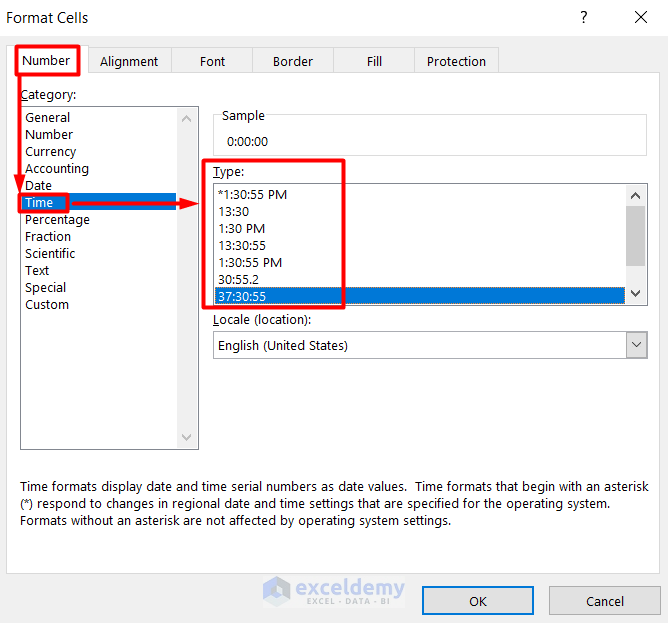
- Format the time format of Cell C7 as well.
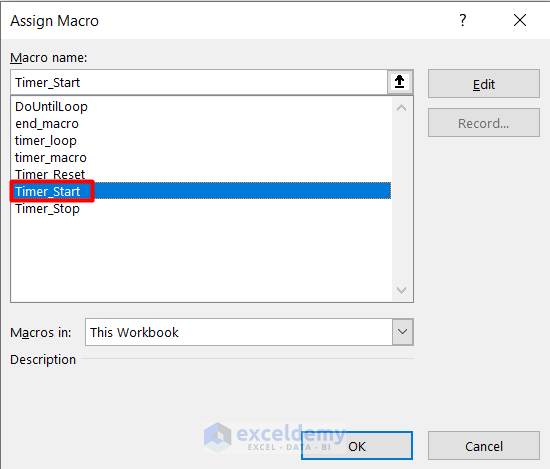
- Right-click on the START button and choose Assign Macro.
- Select Timer_Start macro and press OK to assign it to the button.
- Assign the Timer_Stop and Timer_Reset macros to the STOP and RESET buttons, respectively.
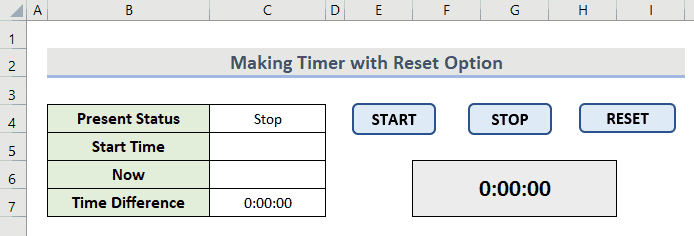
- Insert this formula in F6.
=C7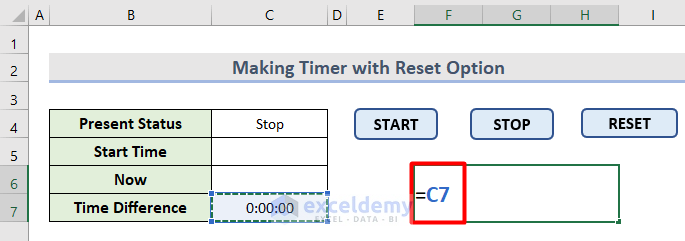
- Operate the timer with the buttons in a loop like this.
Read More: How to Create Timer Event with VBA in Excel
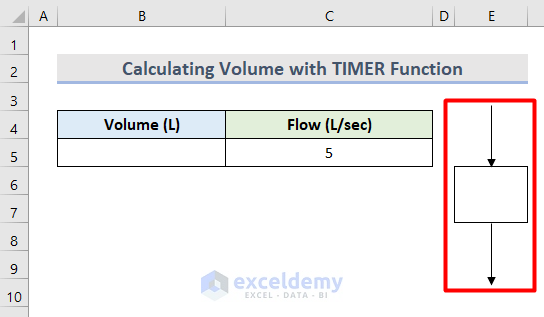
Example 3 – Calculate the Volume with a VBA TIMER Function in Excel
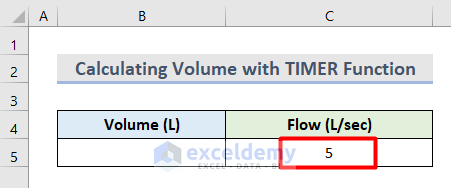
We need to calculate the amount of water to be filled in a tank with the pump machine. We will consider the Flow is 5 L/sec to fill up the tank.
- Insert this value in Cell C5.
- Make a box in Cell E6.
- Isert two Arrows from the Insert Shapes command.
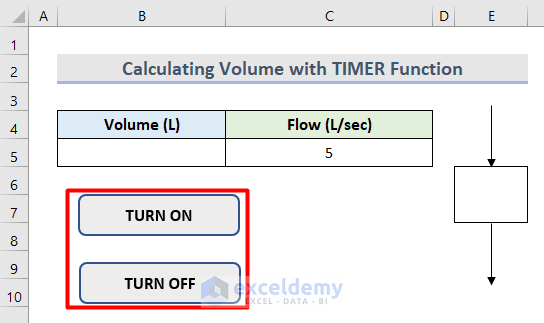
- Along with this, insert the TURN ON and TURN OFF buttons in the worksheet.
- Open the VBA Editor, then go to Insert and choose Module.
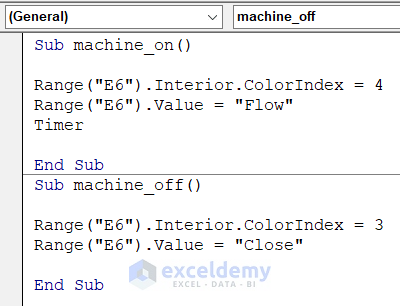
- Insert this code that will work on the TURN ON and TURN OFF buttons.
Sub machine_on()
Range("E6").Interior.ColorIndex = 4
Range("E6").Value = "Flow"
Timer
End Sub
Sub machine_off()
Range("E6").Interior.ColorIndex = 3
Range("E6").Value = "Close"
End Sub
- Open another Module and insert this code.
Sub Timer()
If Range("E6").Value = "Flow" Then
Application.OnTime Now() + TimeValue("00:00:01"), "Volume"
End If
End Sub
Sub Volume()
Range("B5").Value = Range("B5").Value + Range("C5").Value
Timer
End Sub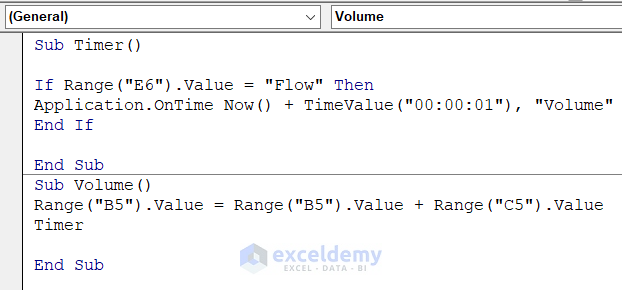
In this code, we used the TIMER function to measure the time intervals after every 1 second based on the condition in the Volume macros.
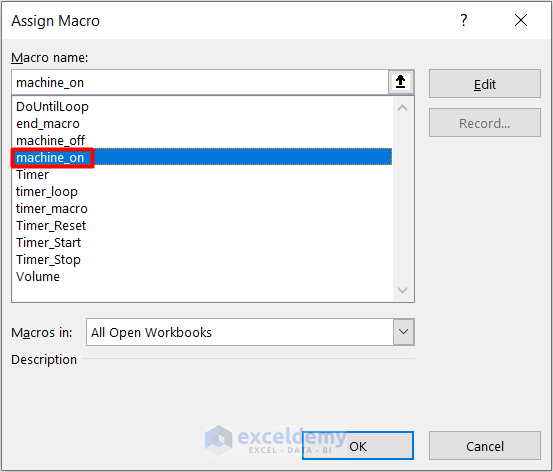
- Right–click the TURN ON button, select Assign Macro.
- Choose the machine_on macro and press OK.
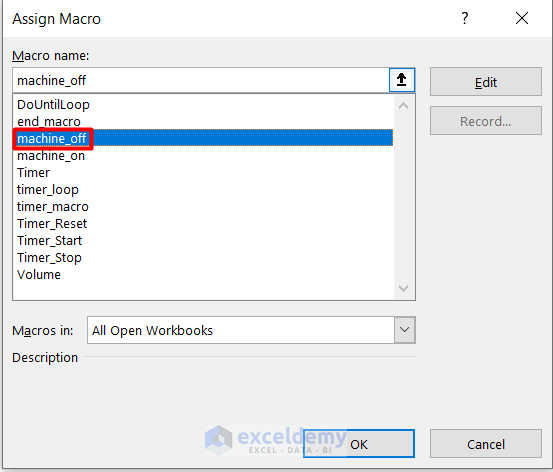
- Assign the machine_off macro to the TURN OFF button.
- You can find the Volume of the water in the tank by clicking the buttons.

- To start the loop from 0, delete the value in Cell C5 and start the process again.
How to Use VBA Loops in Excel
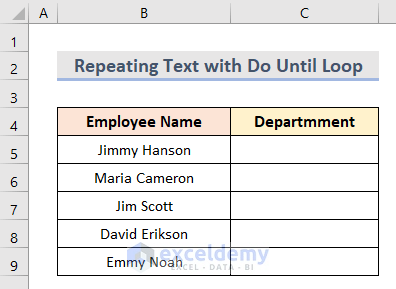
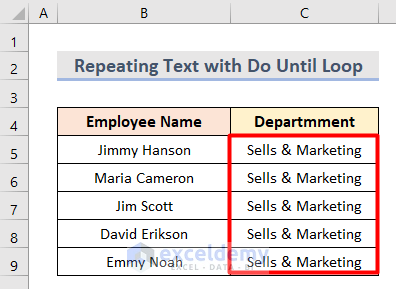
Repeat a Text with Do Until Loop
We have a sample dataset that shows the information of 5 Employee Names in the cell range B5:B9. We want to define the Department in which each employee is working.
- Open the Microsoft Visual Basic for Applications window by pressing Alt + F11.
- Open Insert and choose Module, then insert this code.
Sub DoUntilTimerLoop()
Dim x As Integer
x = 5
Do Until x > 9
Cells(x, 3).Value = "Sells & Marketing"
x = x + 1
Loop
End Sub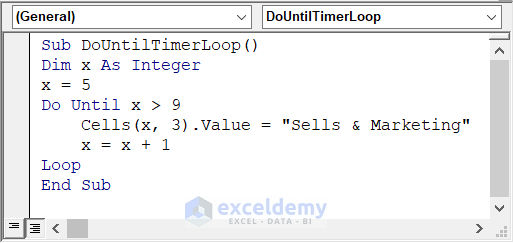
In this code, x = 5 defines the number of rows where we want the output. Then x > 9 states that only integer values from 0 to 8 will be acceptable to this code. This condition is signified with the Do Until loop in VBA. Lastly, Cells (x,3) defines that we will have the output in the 3rd column. Along with it, x=x+1 helps to alter every row one after another to insert the text “Sells & Marketing”.
- Press F5 on your keyboard to run the code.
- We have all the Department names.
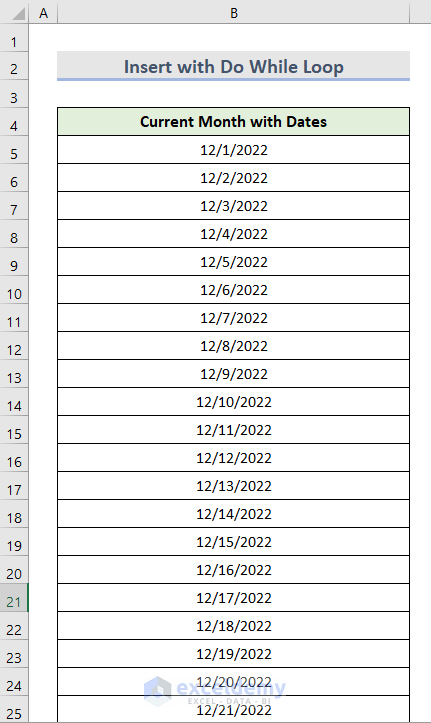
Insert the Month and Dates with a Do While Loop in Excel
- Insert this code inside a new Module in the VBA Editor window.
Sub CurrentMonthDates()
Dim CMDt As Date
Dim x As Integer
x = 0
CMDt = DateSerial(Year(Date), Month(Date), 1)
Do While Month(CMDt) = Month(Date)
Range("B5").Offset(x, 0) = CMDt
x = x + 1
CMDt = CMDt + 1
Loop
End Sub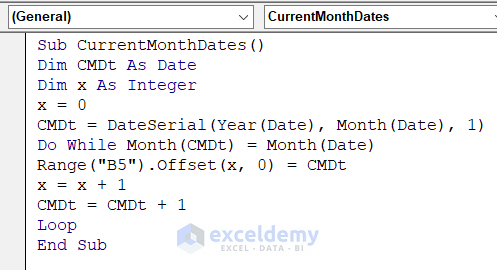
- Press F5 to Run the code. The code enters a list of dates in the current month.
Download the Practice Workbook

