In this article, we’ll illustrate how to delete a sheet if it exists from a workbook using VBA in Excel with 4 examples. As deleting worksheets is a common task in Excel, we should know how to delete sheets by defining the sheet names in the VBA code just like we can delete them using the keyboard’s Delete key. Let’s dive into the examples to get a clear understanding of the VBA codes to use.
Delete Sheet If It Exists Using VBA in Excel: 4 Methods
To illustrate how to delete single or multiple sheets if exist, we’re going to apply different methods with VBA code. We’ll use the following command to delete a sheet using VBA code.
Worksheets(“Worksheet Name”).delete
In this command, we call the Worksheet.Delete method of Excel that deletes a Worksheet object. We need to put the worksheet name, such as Sheet1, Sheet2, etc. inside the quotation mark.
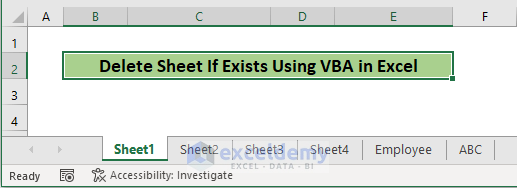
Let’s say we want to delete a worksheet named “Sheet5” from the workbook in the above screenshot.
The code in the visual basic editor would be-
Sub DeleteSheet()
Worksheets("Sheet5").delete
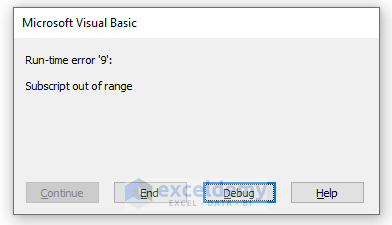
End SubIt would return an error message as we don’t have a worksheet named “Sheet5”.
In the following examples, we’re going to use the If…Then…Else statement to check whether the worksheet name exists or not. If exists, it will apply the Worksheets(“Worksheet Name”).delete command. By using the For…Next statement, we’ll check the existence of the worksheet name through all the worksheets of the workbook. Finally, if the worksheet doesn’t exist, the code is configured to show a message using the MsgBox function. Let’s dive into the examples with the required VBA code to run.
Write Code in Visual Basic Editor
Follow the steps to open the Visual Basic Editor and write some code there.
- Go to the Developer tab from the Excel Ribbon.
- Click the Visual Basic option.

- In the Visual Basic for Applications window, click the Insert dropdown to select the new Module.

Now that a new module is opened write some code there and press F5 to run.
1. Delete a Sheet by Its Name If Exists Using VBA in Excel
In this example, we’ll try to delete a sheet by its name by checking first whether it exists or not. Let’s say we want to delete the worksheet named “Sheet1”. We need to follow the steps below.
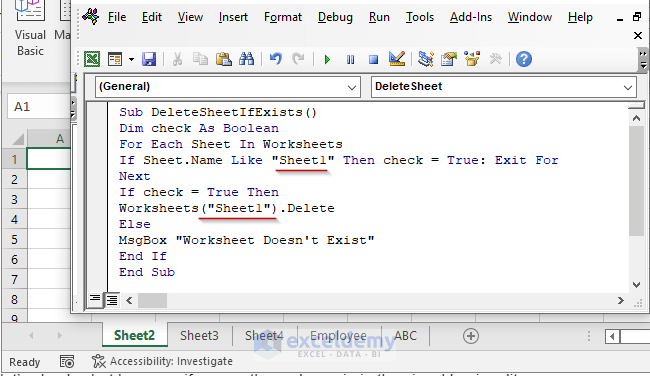
- In the visual basic editor copy and paste the following code.
Sub DeleteSheetIfExists()
Dim check As Boolean
For Each Sheet In Worksheets
If Sheet.Name Like "Sheet1" Then check = True: Exit For
Next
If check = True Then
Worksheets("Sheet1").delete
Else
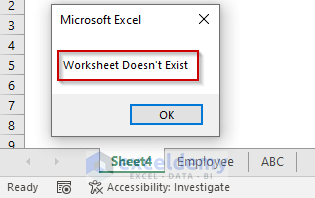
MsgBox "Worksheet Doesn't Exist"
End If
End Sub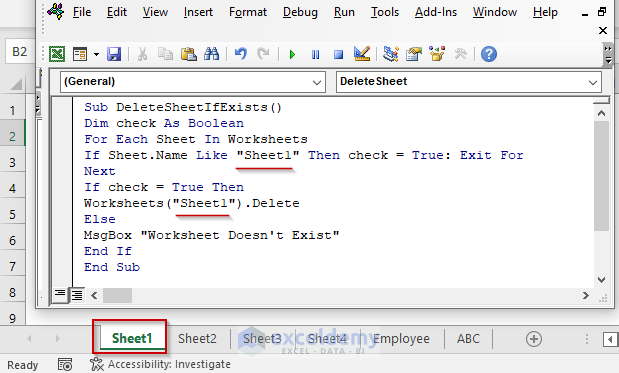
- Now press F5 to run the code.
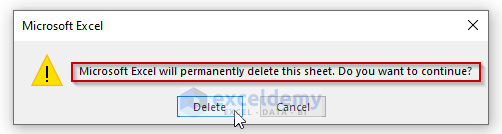
- Click the Delete button to delete the worksheet from the workbook.
- As a result, we successfully deleted the worksheet named “Sheet1”.

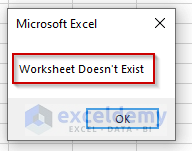
If Worksheet Doesn’t Exist:
Now, let’s check what happens if we run the code again in the Visual Basic Editor.
There is a Msg Box popped up with the message that we wrote in the code- ” Worksheet Doesn’t Exist.” as the Sheet1 no more exists in the workbook.
2. Use of VBA Code to Delete a Sheet If Exists Without Alert Message
In this illustration, we want to get rid of the alert message that the Worksheet.Delete method shows the user to confirm the deletion. For this, we need to set the Application.DisplayAlerts property to False inside the code. Now, let’s apply the following code to accomplish this.
Sub DeleteSheetIfExists()
Dim check As Boolean
For Each Sheet In Worksheets
If Sheet.Name Like "Sheet2" Then check = True: Exit For
Next
If check = True Then
    Application.DisplayAlerts = False
Worksheets("Sheet2").delete
 Application.DisplayAlerts = True
Else
MsgBox "Worksheet Doesn't Exist"
End If
End Sub
This code directly deleted the worksheet named “Sheet2” without any alert message.

3. Delete a Sheet If Exists Based on User Input Using VBA in Excel
This example shows how to take the worksheet name as a user input rather than hardcode it in the VBA code to delete a sheet if it exists in Excel. We need to use Excel’s InputBox function and configure it so that it takes a string value as an input. For this, we declared a variable named SheetName as String and configured the InputBox’s type property to 2, which takes string inputs. Follow the steps below to see this working.
- Put the following code inside the visual code editor.
Sub DeleteSheetIfExists()
Dim check As Boolean
 Dim SheetName As String
    SheetName = Application.InputBox( _
      Prompt:="Put the Sheet Name you want to delete", _
      Type:=2)
For Each Sheet In Worksheets
If Sheet.Name Like SheetName Then check = True: Exit For
Next
If check = True Then
    Application.DisplayAlerts = False
Worksheets(SheetName).delete
 Application.DisplayAlerts = True
Else
MsgBox "Worksheet Doesn't Exist"
End If
End Sub- Press F5 to run the code.
- In the input box, put the worksheet name (in this example, Sheet3) and hit OK.
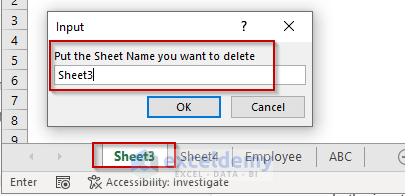
- We’ve successfully deleted the Sheet3 worksheet.

If Worksheet Doesn’t Exist:
Now let’s check what happens if we run the code again and put Sheet3 as the input in the input box.
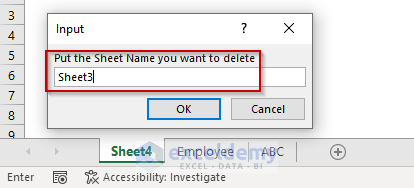
There is a Msg Box popped up with the message that we wrote in the code-” Worksheet Doesn’t Exist.” as the Sheet3 no more exists in the workbook.
4. Run a VBA Code to Delete Multiple Sheets If Exists Based on User Input in Excel
In this example, we modified our VBA code to delete multiple sheets from a workbook based on user input. Copy and paste the following code and press F5 to run it.
Sub DeleteMulltipleSheets()
  Dim SheetName As String
For Each Sheet In ActiveWorkbook.Worksheets
    SheetName = Application.InputBox( _
      Prompt:="Put the Sheet Name you want to delete, left Blank to exit ", _
      Type:=2)
    If Sheet.Name = SheetName Then
Application.DisplayAlerts = False
        Worksheets(SheetName).delete
Application.DisplayAlerts = True
    ElseIf SheetName = "" Then Exit Sub
    ElseIf Sheet.Name <> SheetName Then MsgBox "Sheet Doesn't Exist"
    End If
Next Sheet
End Sub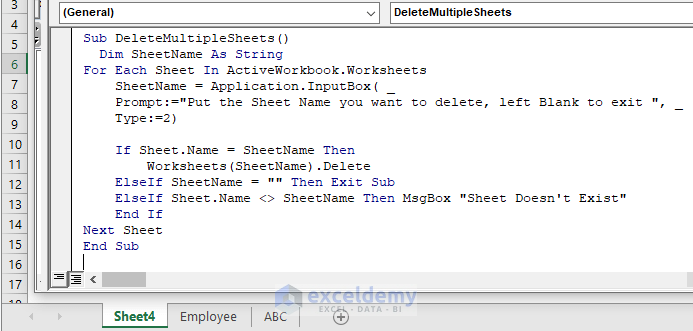
Case 1:
Input = Sheet4, which exists in the workbook.
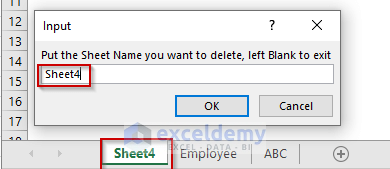
It shows the alert to confirm the deletion. Click the Delete button.
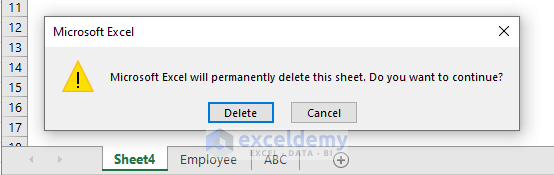
The Sheet4 is deleted from the workbook.
Case 2:
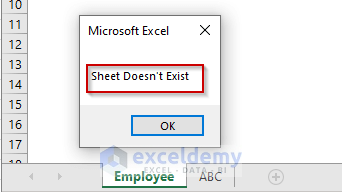
Input = Sheet4, could be anything that doesn’t exist in the workbook.

It shows the message that the worksheet doesn’t exist.
Case 3:
Input = left black and press Enter or hit OK to exit.
Read More: Excel VBA: Delete Same Sheet from Multiple Workbooks
Notes
The Delete method, by default, shows the confirmation dialogue box message to confirm whether the user is sure to delete the worksheet or not. When the method works on the Worksheet object, it returns a Boolean true or false. If the user chooses the Cancel button, the return value is False. On the other hand, it returns True if the user chooses the Delete button.
Download Practice Workbook
Conclusion
Now, we know how to delete a sheet if it exists in the workbook with 4 different examples. Hopefully, it will help you to use these methods more confidently. If you have any questions or suggestions, please put them in the comment box below.
Related Articles
- How to Delete a Worksheet with No Prompt Using Excel VBA
- Excel VBA: Delete Sheet If It Contains Name


Hello,
I need to delete a an excel sheet named “BETA” from a number of excel files which are in the same folder.
Can you please help me with a VBA code?
Thank you and best regards,
Dan
Hello Dan,
You can use this VBA code to delete sheet named “BETA”, from multiple Excel files which are in same folder.
Regards
ExcelDemy