Overview:
Sub Timestamp_When_a_Macro_is_Run()
Timestamp_Sheet = “Sheet1”
Timestamp_Column = “B”
Set Timestamp_Range = Worksheets(Timestamp_Sheet).Range(Timestamp_Column + Right(Str(1), 1))
i = 1
While Timestamp_Range.Cells(i, 1) <> “”
i = i + 1
Wend
Timestamp_Range(i, 1) = Now
Timestamp_Range(i, 1).NumberFormat = “m/d/yyyy h:mm:ss AM/PM”
End Sub

Step 1 – Code Input
- Enter the name of the worksheet to record the timestamps.
- Enter the column.
Timestamp_Sheet = "Sheet1"
Timestamp_Column = "B"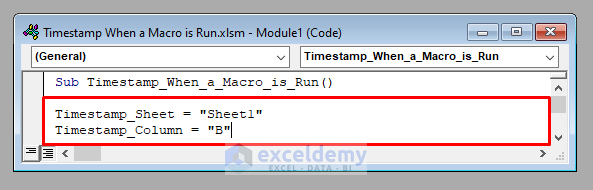
Step 2 – Iterating Through a While-Loop to Find the Position of a New Timestamp
Set Timestamp_Range = Worksheets(Timestamp_Sheet).Range(Timestamp_Column + Right(Str(1), 1))
i = 1
While Timestamp_Range.Cells(i, 1) <> ""
    i = i + 1
Wend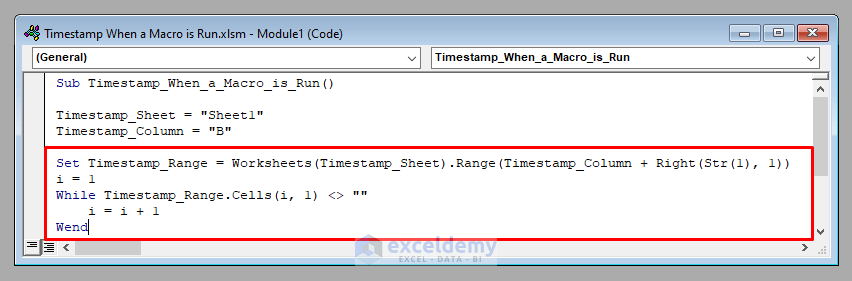
Step 3 – Timestamps
Use the Now function and number formatting.
Timestamp_Range(i, 1) = Now
Timestamp_Range(i, 1).NumberFormat = "m/d/yyyy h:mm:ss AM/PM"
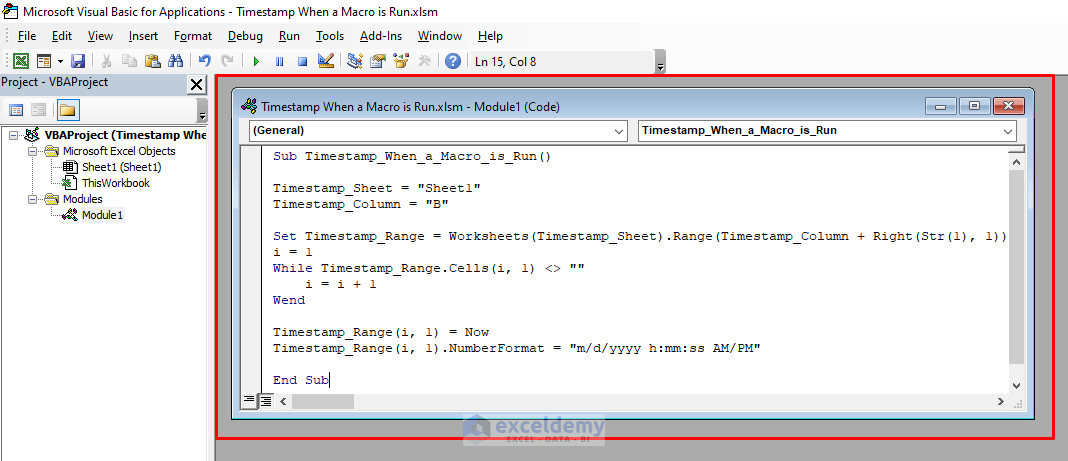
The complete VBA code is:
VBA Code:
Sub Timestamp_When_a_Macro_is_Run()

Timestamp_Sheet = "Sheet1"
Timestamp_Column = "B"

Set Timestamp_Range = Worksheets(Timestamp_Sheet).Range(Timestamp_Column + Right(Str(1), 1))
i = 1
While Timestamp_Range.Cells(i, 1) <> ""
    i = i + 1
Wend

Timestamp_Range(i, 1) = Now
Timestamp_Range(i, 1).NumberFormat = "m/d/yyyy h:mm:ss AM/PM"

End Sub
Developing the Macro to Insert Timestamps When It Is Run
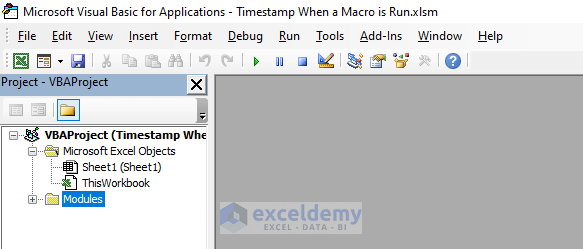
Step 1 – Opening the VBA Window
- Press ALT + F11 to open the Visual Basic window.
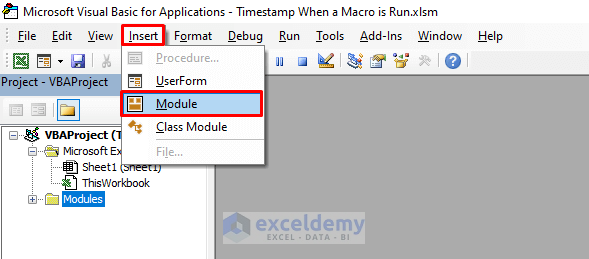
Step 2 – Inserting a New Module
- Go to Insert > Module.
Step 3 – Enter the VBA Code
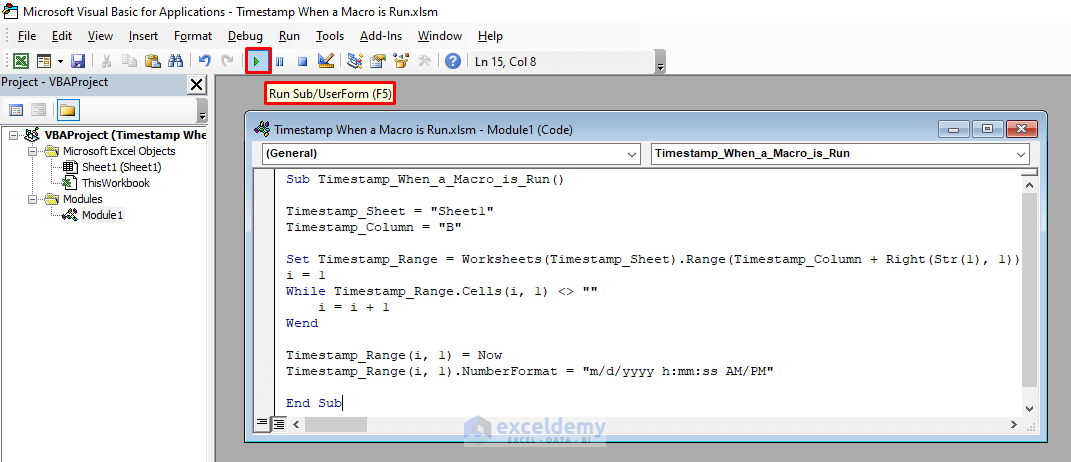
Step 4 – Run the Code
- Click Run Sub / UserForm.
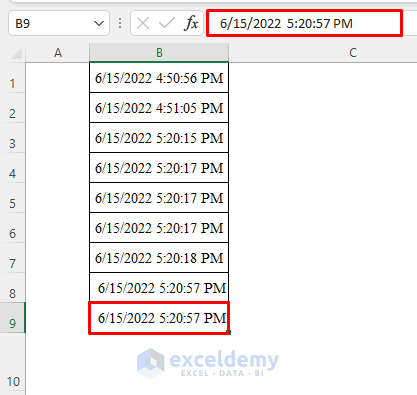
The code will record the timestamps in the selected column (Column B, here).
Read More: Now and Format Functions in Excel VBA
Things to Remember
“m/d/yyyy h:mm:ss AM/PM” was used in the code. You can change the date format.
Download Practice Workbook
Download the practice workbook.
Get FREE Advanced Excel Exercises with Solutions!
