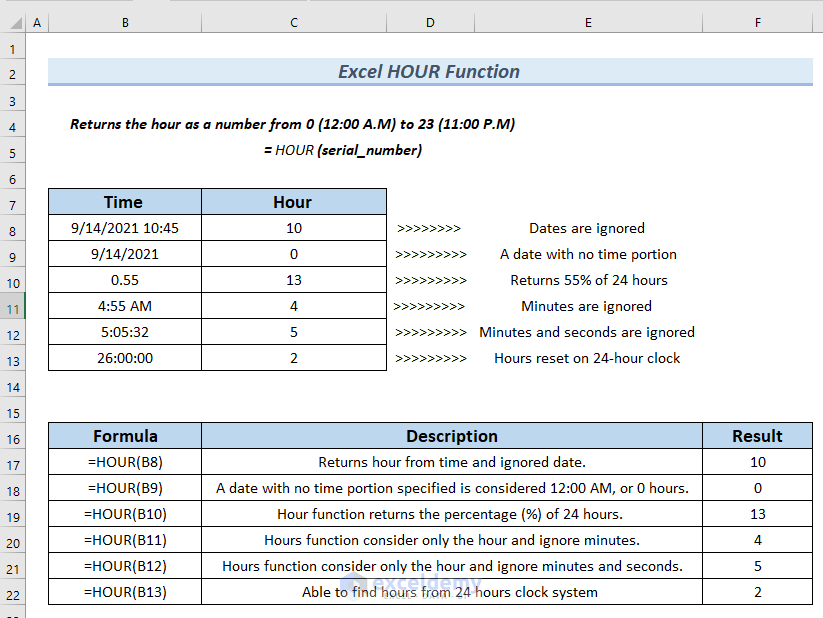
Quick View of the HOUR Function in Excel
In the following picture, you can see a quick view of the HOUR function.
Syntax & Argument
- Summary
The HOUR function returns the hour as a number from 0 (12:00 A.M) to 23 (11:00 P.M).
- Syntax
=HOUR(serial_number)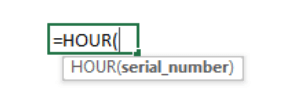
It can take only one argument in its parameter.
- Argument
| Argument | Required or Optional | Value |
|---|---|---|
| serial_number | Required | Represents the time value you want to analyze. It can be entered as:
|
Note: If you convert 0.78125 to a 12-hour clock system, it becomes 6:45 PM.
Dataset Overview
In the following dataset, you can see ID, Name, and Entry Time columns. We’ll use this data table to work through the 7 examples.
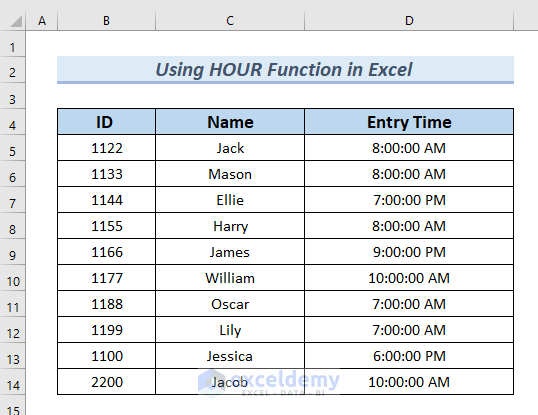
[ Note: Here all the hours are shown based on a 24-hour clock system]
Example 1 – Calculate Hour from Time
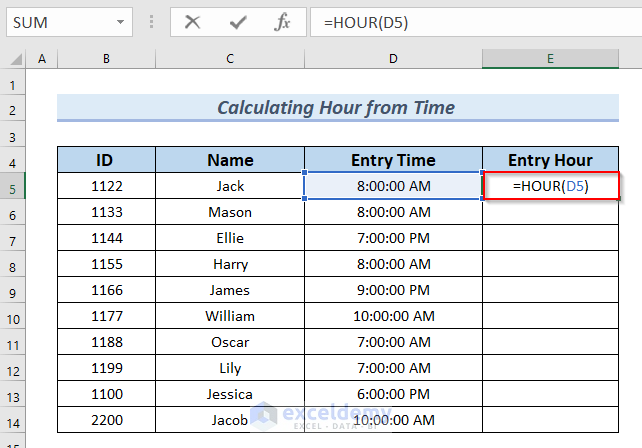
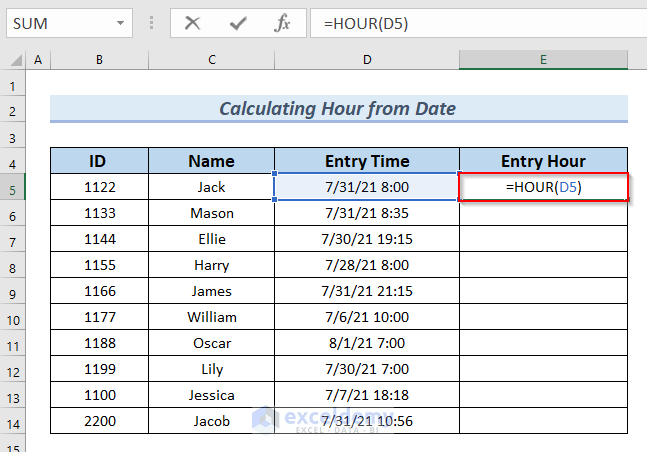
Suppose we want to find the entry hour from the Entry Time column.
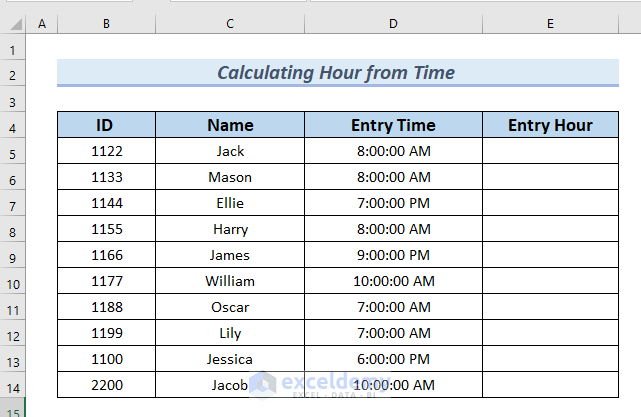
- In cell E5, insert:
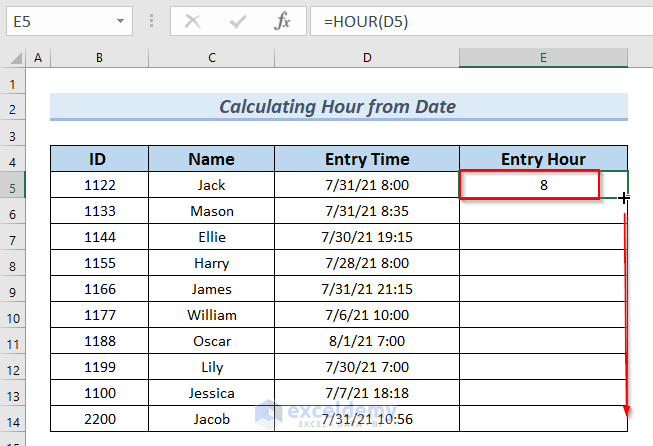
=HOUR(D5)- Press ENTER.
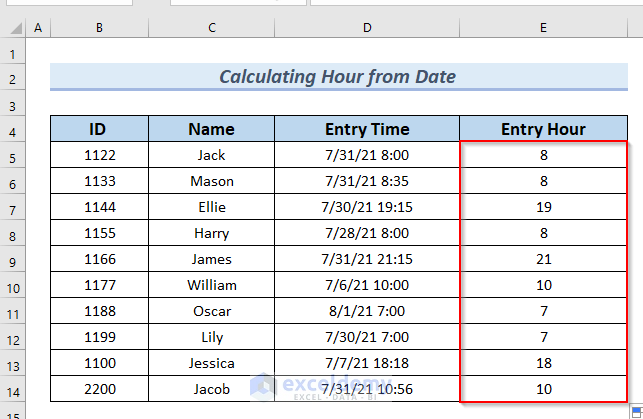
- Drag down the formula using the Fill Handle to populate the entire Entry Hour column.
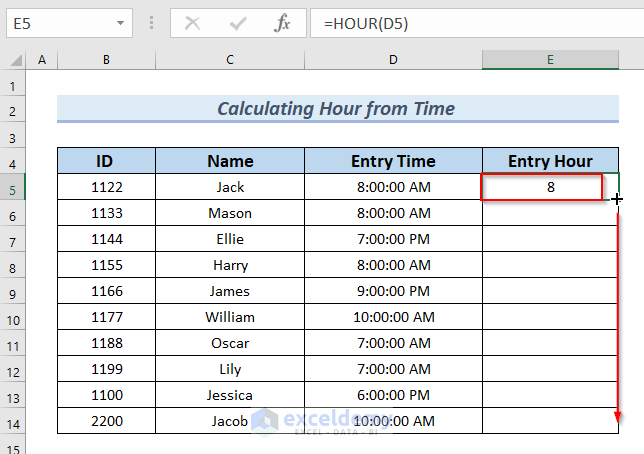
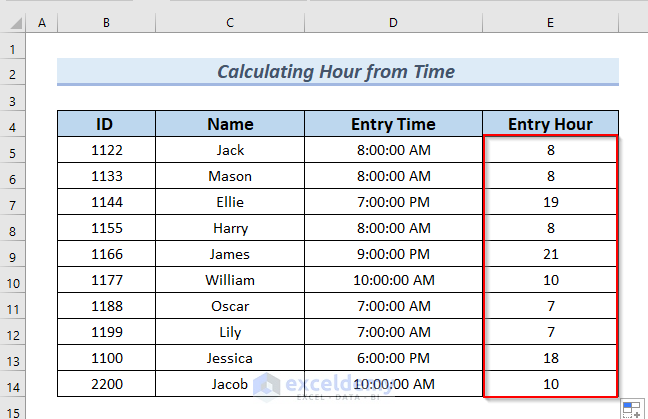
As a result, you can see the complete Entry Hour column.
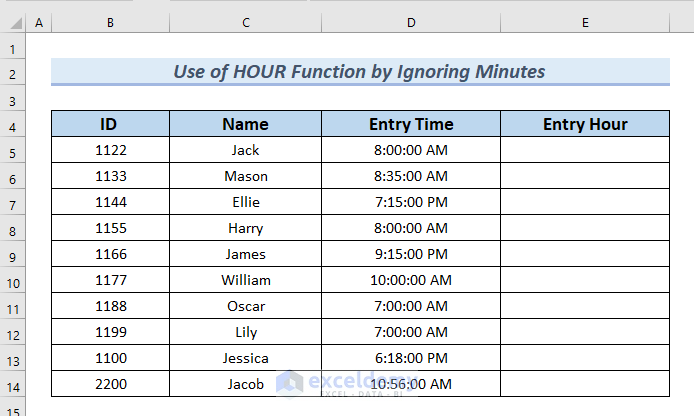
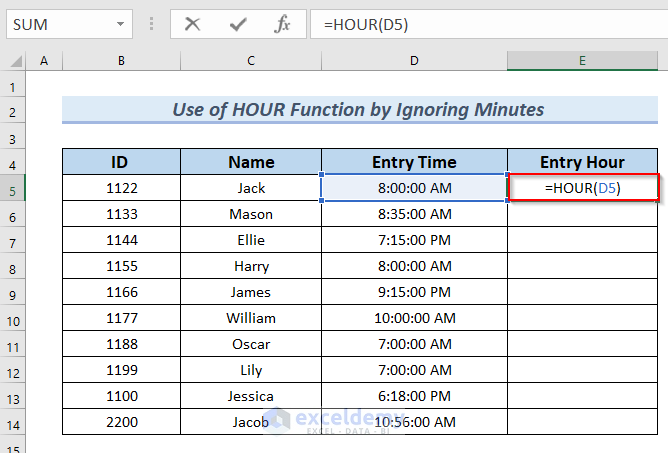
Example 2 – Ignoring Minutes
We’ll demonstrate that the HOUR function only considers the hour, ignoring minutes.
Assume we’ve modified the dataset by adding minutes to the Entry Time column.
- In cell E5, insert:
=HOUR(D5)- Press ENTER.
- Drag down the formula to complete the Entry Hour column.
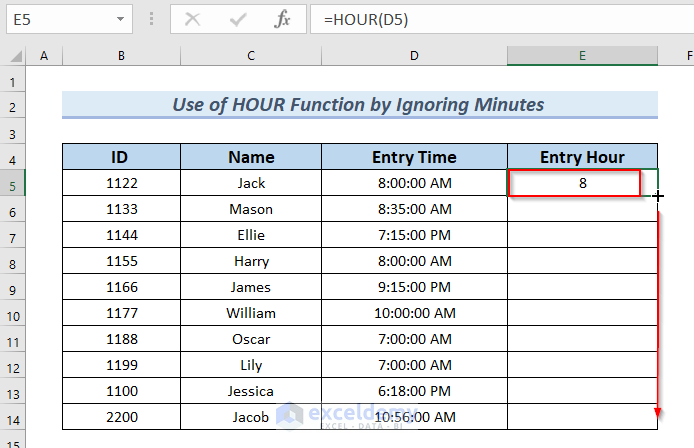
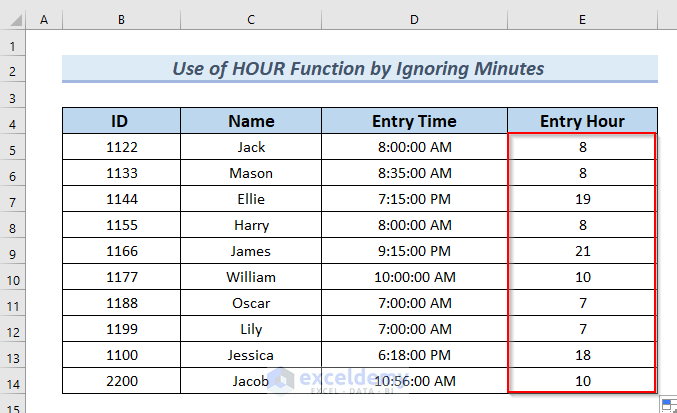
You can see the complete Entry Hour column displaying only the hours, no minutes.
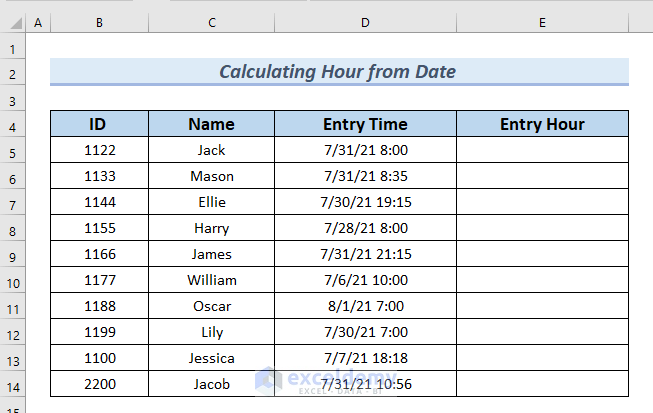
Example 3 – Calculating Hour from Date and Time
The HOUR function ignores the date and focuses solely on the hours.
Add a date with time in the Entry Time column.
- In cell E5, insert:
=HOUR(D5)- Press ENTER.
- Drag down the formula to fill the Entry Hour column.
You can see the complete Entry Hour column.
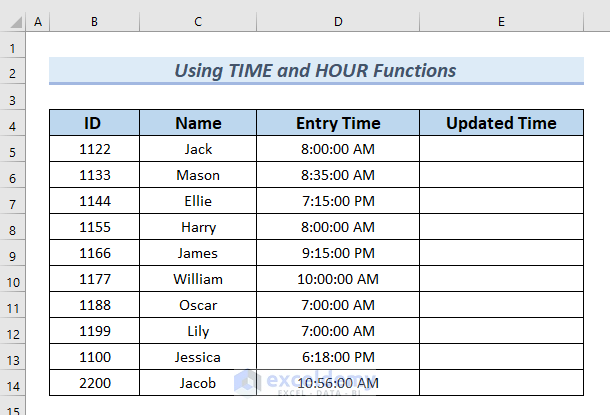
Example 4 – Using TIME and HOUR
We’ll combine the HOUR function with the TIME function to create proper time values.
The TIME function syntax is:
=TIME(hour, minute, second)It can take three arguments in its parameter.
| Argument | Details |
|---|---|
| hour | The desired hour. |
| minute | The desired minute. |
| second | The desired second. |
Our goal is to add 40 minutes to each Entry Time, resulting in a new column called Updated Time.
Steps:
- In cell E5, insert:
=TIME(HOUR(D4),40,0)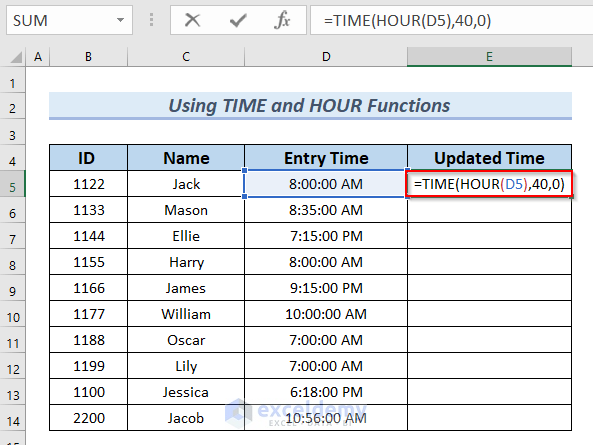
Formula Breakdown
- The inner function which is HOUR(D4) returns the hour from the Entry Time. The return value will be 0 to 23 decimal numbers.
- The TIME(HOUR(D4),40,0) full function calculates the final update time. The second argument is 40 as we want to increase to 40 minutes. And for a second, we have used 0 as we don’t need to insert any value for this argument.
- Press ENTER.
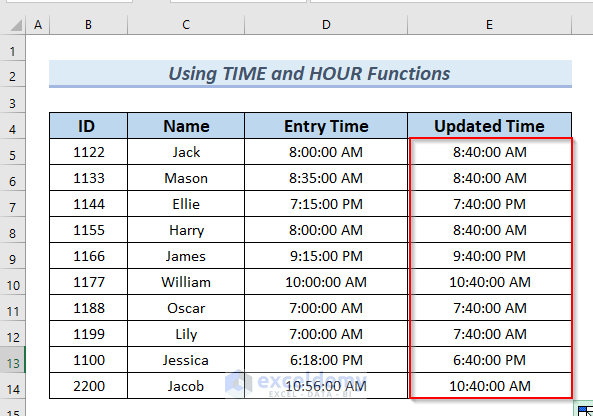
- Drag down the formula using the Fill Handle to complete the Updated Time column.
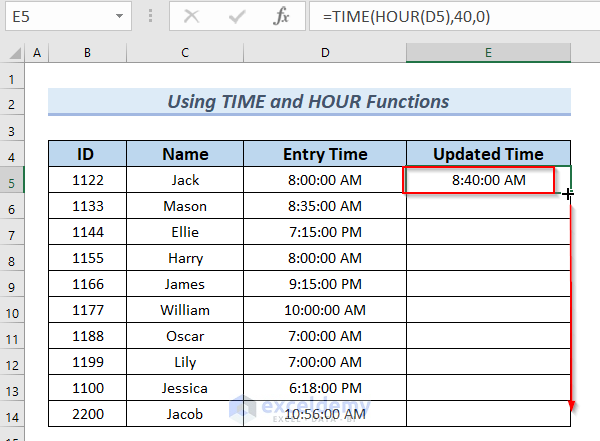
You can see the complete Updated Time column.
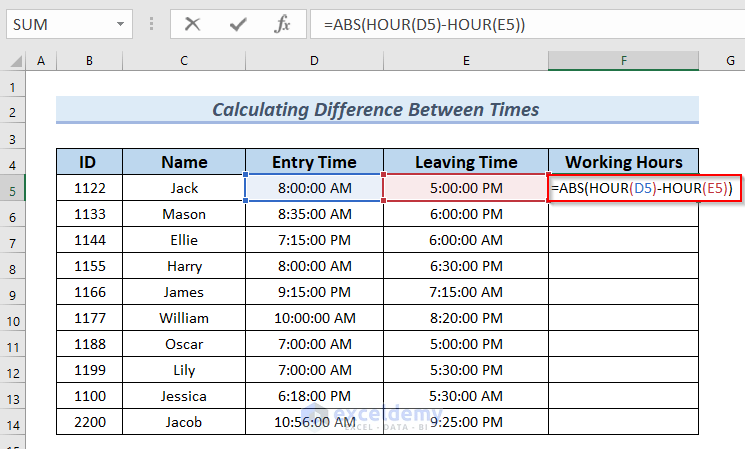
Example 5 – Calculating Differences Between Times
We’ll use the HOUR function to find the difference between times.
Assume we have an extra column named Leaving Time in the dataset.
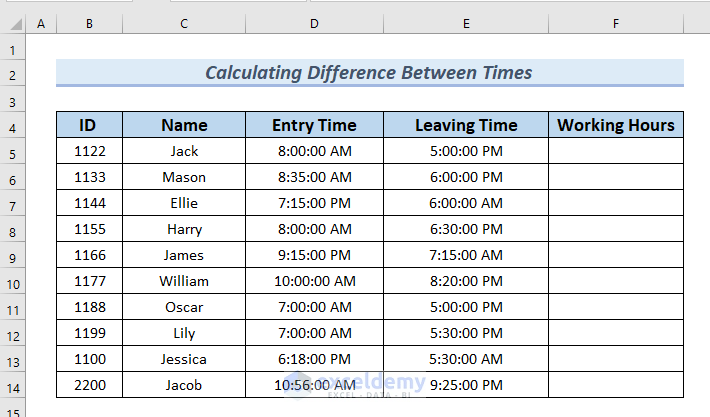
- In cell F5, insert:
=ABS(HOUR(D4)-HOUR(E4))-
- This formula extracts hours from Entry Time and Leaving Time, then calculates the absolute difference.
Formula Breakdown
- For finding the absolute differences I have used the ABS. This will help to get values by ignoring the negative sign.
- HOUR(D4)-HOUR(E4) These two HOUR functions extract hours from Entry time and Leaving Time and then do subtraction among them.
- Finally, ABS(HOUR(D4)-HOUR(E4)) returns the absolute difference of the two hours.
- Press ENTER.
- Drag down the formula to fill the Working Hours column.
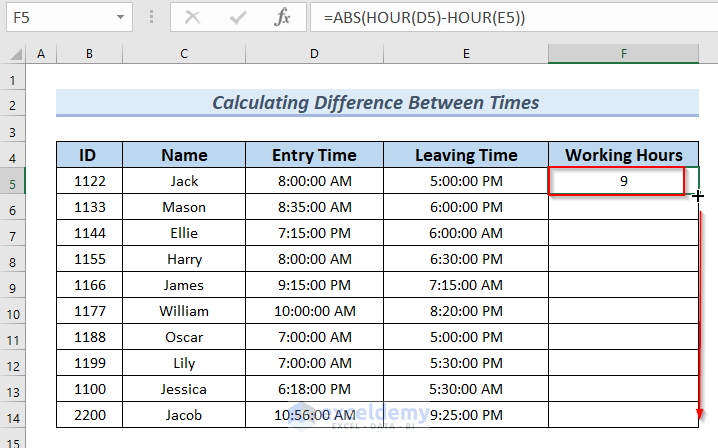
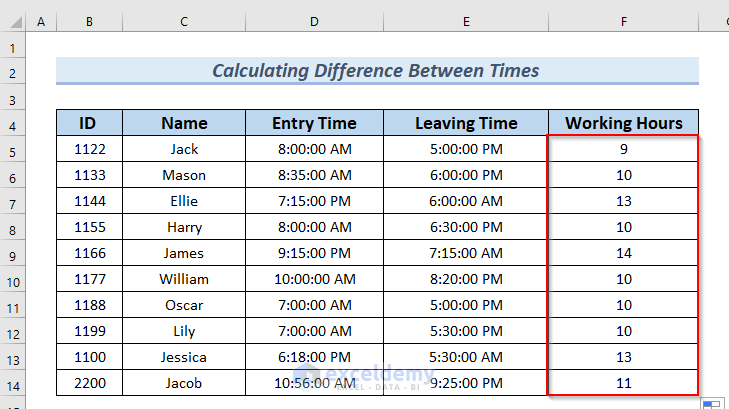
You can see the complete Working Hours column.
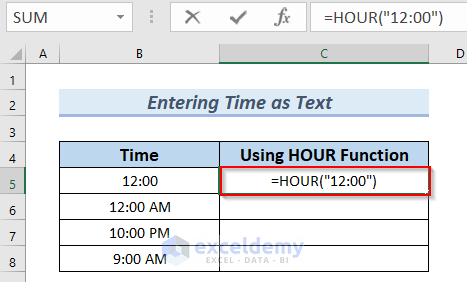
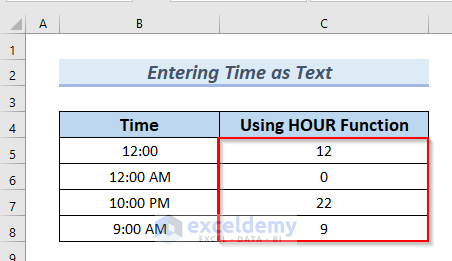
Example 6 – Entering Time as Text in HOUR Function
We’ll use time as text within the HOUR function.
- In cell C5, insert:
=HOUR("12:00")- Press ENTER to see the result.
You can see the result in cell C5.

- Similarly, insert the following formula in cell C6.
=HOUR("12:00 AM")- Press ENTER.
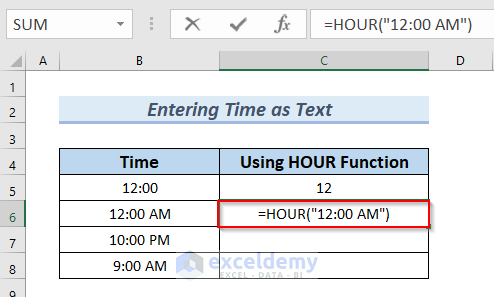
You can see the result in cell C6.

Explore other time values like 10:00 PM and 9:00 AM.
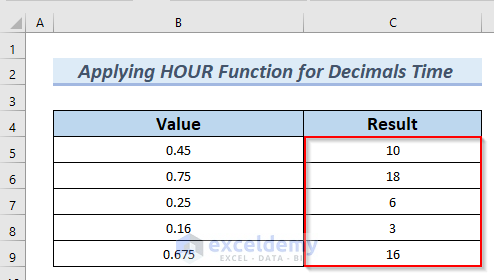
Example 7 – Applying Excel HOUR Function for Decimals Time
The Value column contains time represented as decimals.
- In cell C5, insert the following formula to extract the hour.
=HOUR(B5)- Press ENTER.

- Drag down the formula with the fill Handle tool to complete the Result column.
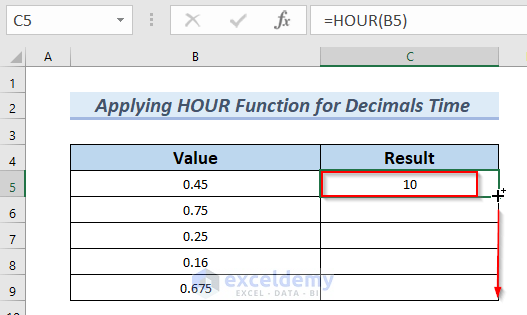
You can see the complete Result column.
Common Errors While Using HOUR Function in Excel
Here, we will discuss the errors that are shown by the HOUR function, and we will show the reasons why that types of errors occur.
| Common Errors | When They Show |
|---|---|
| #VALUE! | This error occurs when the cells containing time and date are in an invalid format. To avoid this error, ensure that your time values are correctly formatted. |
| #NUM! | If the input (referred to as serial_number) is out of range, the HOUR function will return this error. Make sure the input falls within the valid range. |
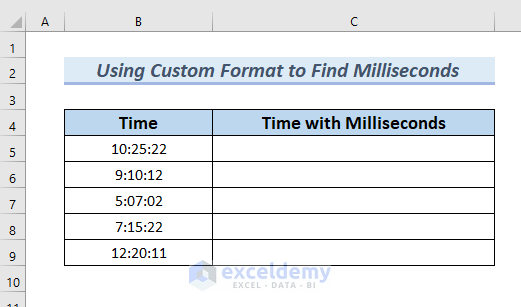
How to Use Time with Milliseconds in Excel
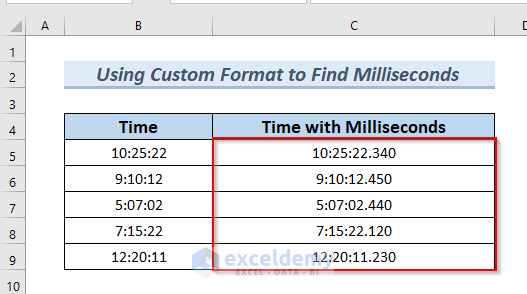
Suppose we have a dataset with a Time column.
Our goal is to display the time values along with milliseconds using a custom number format.
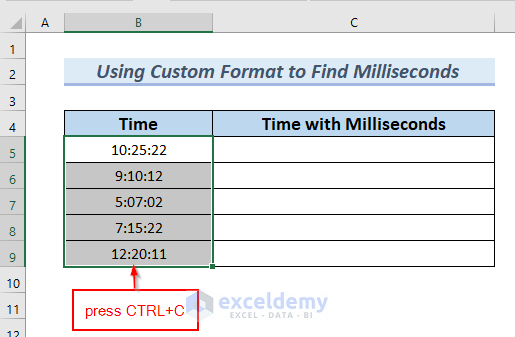
- Follow these steps:
- Select cells B5:B9 (containing the time values).
- Copy these cells using the keyboard shortcut CTRL+C.
- Go to cell C5 and paste the copied cells using CTRL+V.
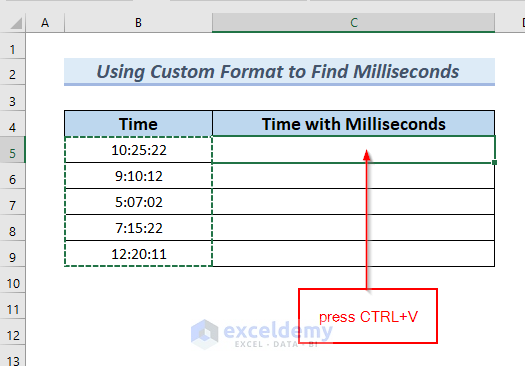
Now, the values are in cells C5:C9.
- Format these cells:
- Select cells C5:C9.
- Go to the Home tab.
- From the Number group, click the Number Format icon (marked with a red color box).
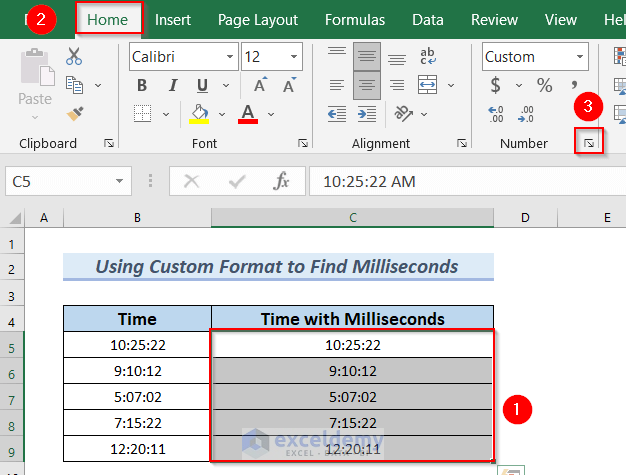
-
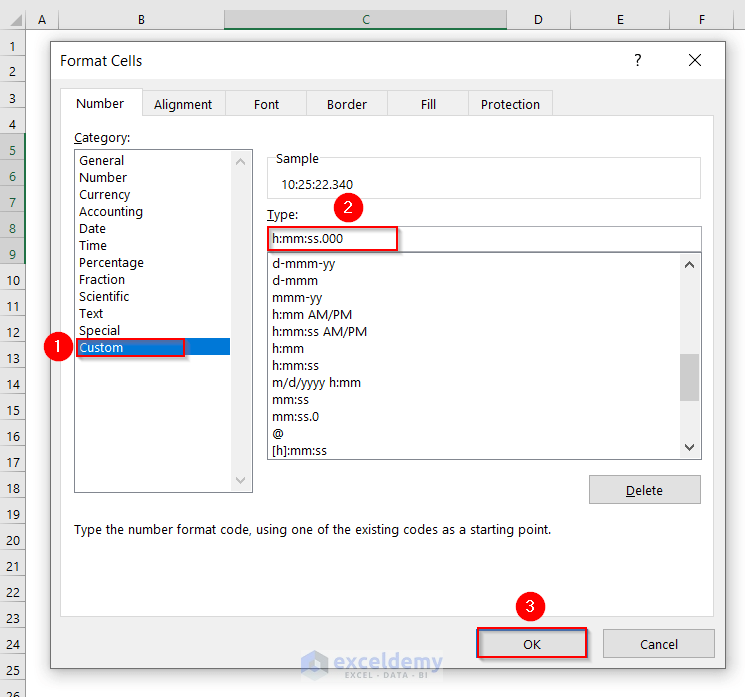
- In the Format Cells dialog box, choose Custom from the Category.
- In the Type box, enter h:mm:ss.000 as the format.
- Click OK.
You can see the complete Time with Milliseconds column.
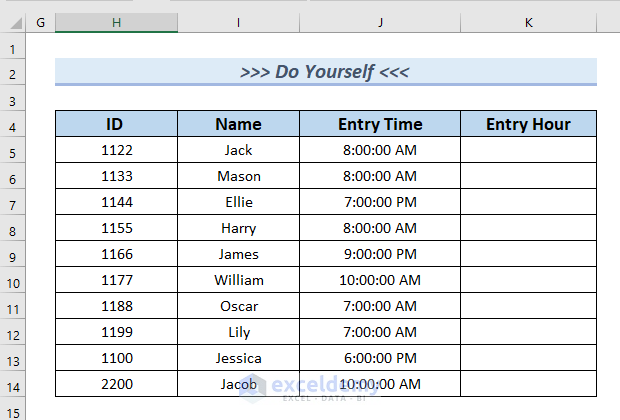
Practice Section
In each Excel sheet of the above Excel file, there is a practice section where you can practice the above methods.
Download Practice Workbook
You can download the practice workbook from here:
<< Go Back to Excel Functions | Learn Excel
Get FREE Advanced Excel Exercises with Solutions!
