Method 1 – Using the Paste Special Command
Steps:
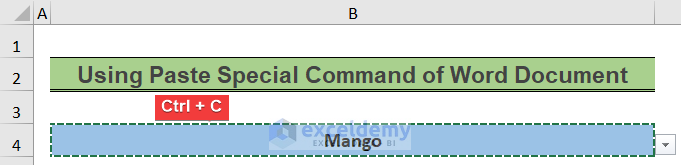
- Select the cell that contains the drop-down list in the Excel file. In this case, it will be B4.
- Press Ctrl+C to copy it.
- Open the Word file.
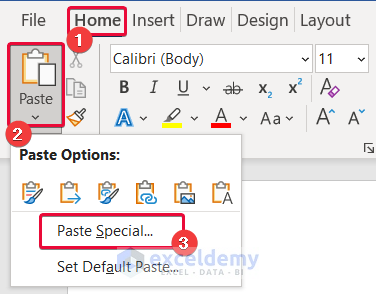
- Go to the Home tab.
- Select the Paste option.
- Click on the Paste Special command.
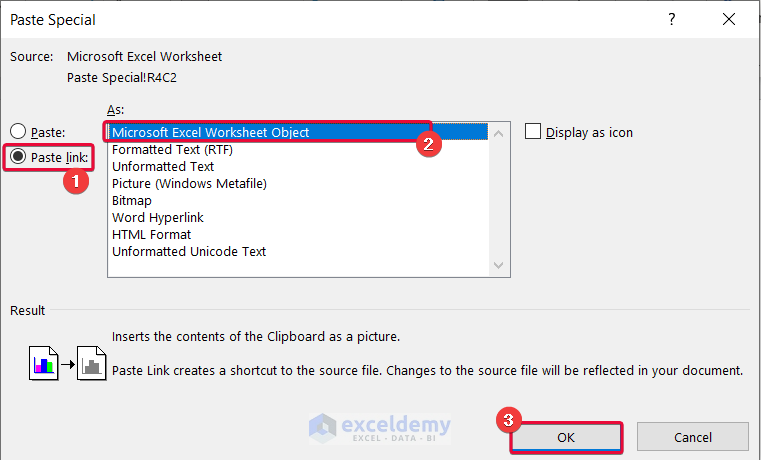
- A prompt will show up on the screen.
- In the prompt, first, select the Paste Link oval.
- Sselect the Microsoft Excel Worksheet Object under As.
- Click OK.
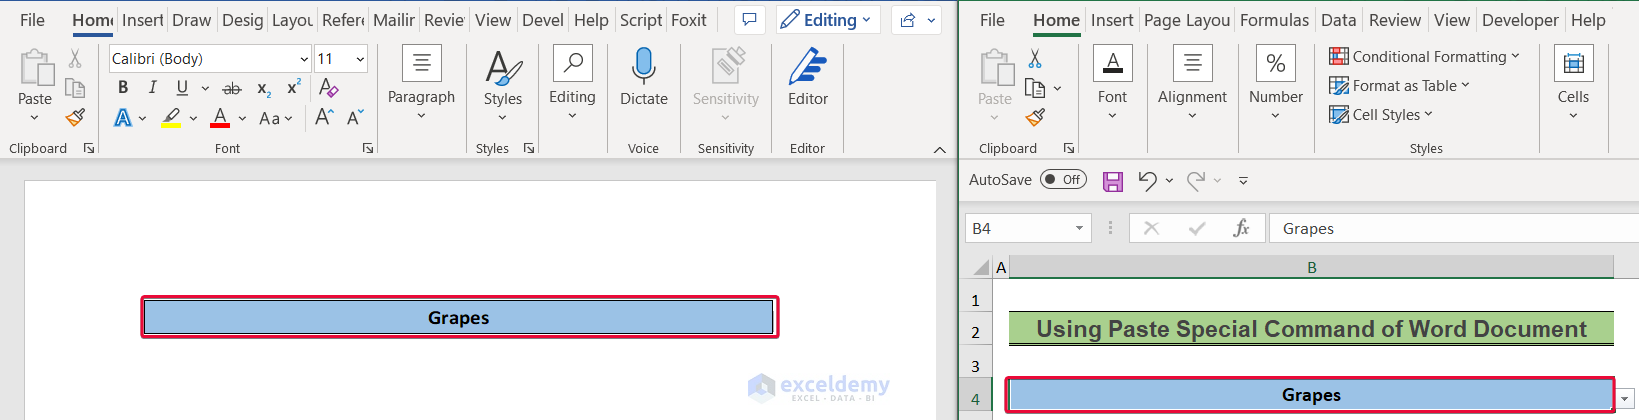
- Change the list contained in the drop-down list in the Excel file.

- The content in the Word file will be changed accordingly.
Read More: How to Put a Large Excel Table into Word
Method 2 – Applying VBA Code
Steps:
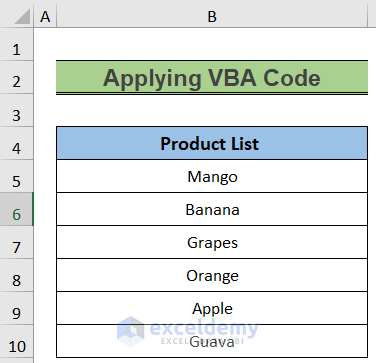
- Create a list in the Excel file that you want to add as a drop-down list in the Word file.
- Open the Word file.
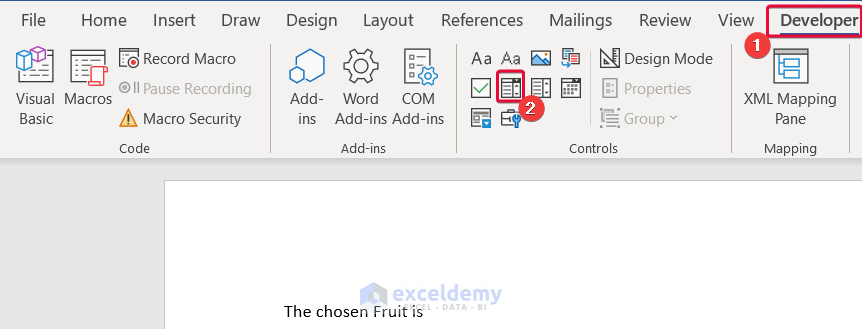
- Go to the Developer tab.
- From the Controls group, select the insert Combo Box Content Control command.
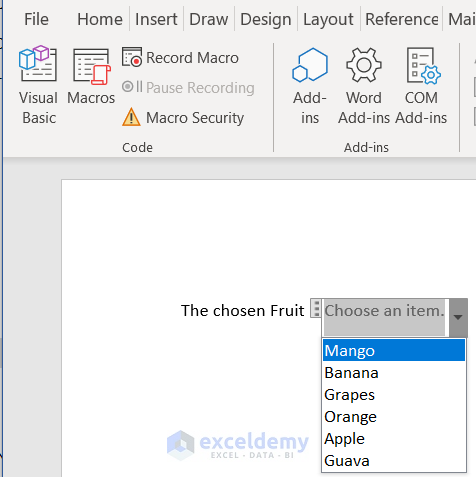
- We will have a drop-down box on the screen.
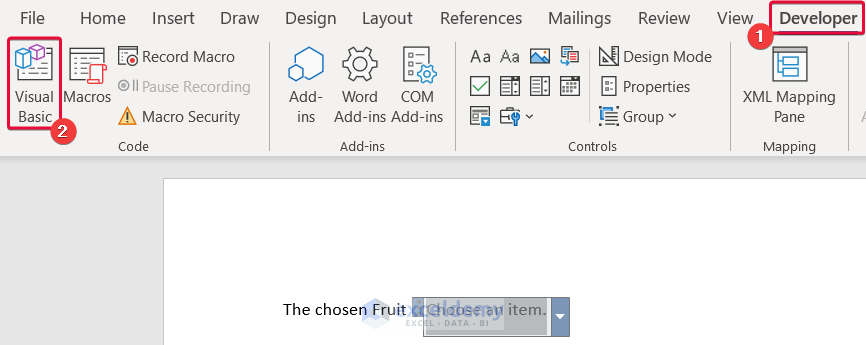
- Select the Developer tab.
- Choose the Visual Basic command.
- A prompt will open.
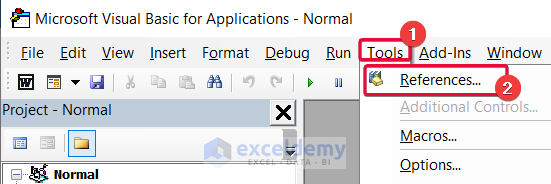
- In the Visual Basic window, choose the Tools option.
- From the drop-down list, choose the References option.
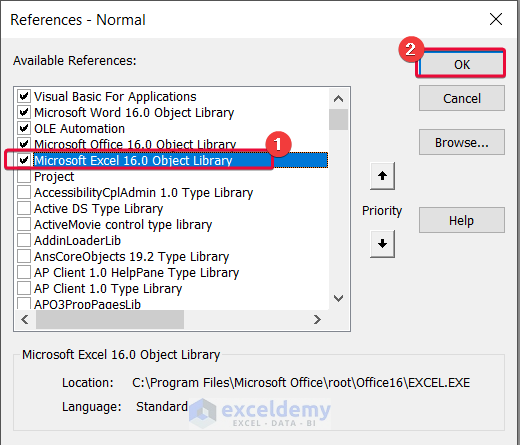
- In the References dialog box, choose the Microsoft Excel 16.0 Object Library option under Available References.
- Click OK.
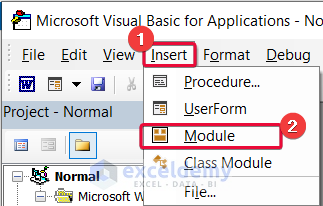
- Go to the Insert tab.
- Select the Module option.
- In the opened module, enter the following code and save it.
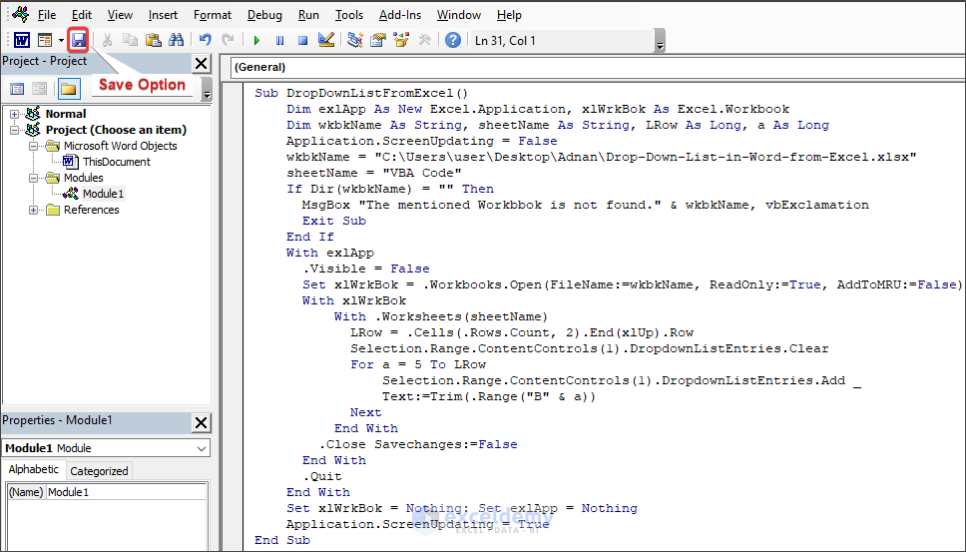
Sub DropDownListFromExcel()
    Dim exlApp As New Excel.Application, xlWrkBok As Excel.Workbook
    Dim wkbkName As String, sheetName As String, LRow As Long, a As Long
    Application.ScreenUpdating = False
    wkbkName = "C:\Users\user\Desktop\Adnan\Drop-Down-List-in-Word-from-Excel.xlsx"
    sheetName = "VBA Code"
    If Dir(wkbkName) = "" Then
      MsgBox "The mentioned Workbook is not found." & wkbkName, vbExclamation
      Exit Sub
    End If
    With exlApp
      .Visible = False
      Set xlWrkBok = .Workbooks.Open(FileName:=wkbkName, ReadOnly:=True, AddToMRU:=False)
      With xlWrkBok
          With .Worksheets(sheetName)
            LRow = .Cells(.Rows.Count, 2).End(xlUp).Row
            Selection.Range.ContentControls(1).DropdownListEntries.Clear
            For a = 5 To LRow
                Selection.Range.ContentControls(1).DropdownListEntries.Add _
                Text:=Trim(.Range("B" & a))
            Next
          End With
        .Close Savechanges:=False
      End With
      .Quit
    End With
    Set xlWrkBok = Nothing: Set exlApp = Nothing
    Application.ScreenUpdating = True
End Sub
- Run the code by clicking the triangle-shaped green button.
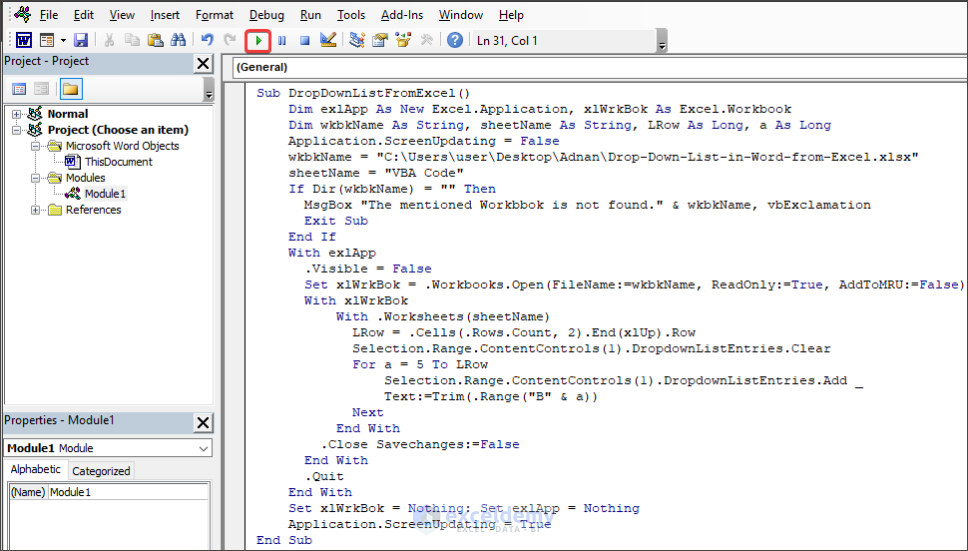
- We will see that a drop-down list is added to the Word file from the Excel file.
How to Create Drop-Down List in Excel
Steps:
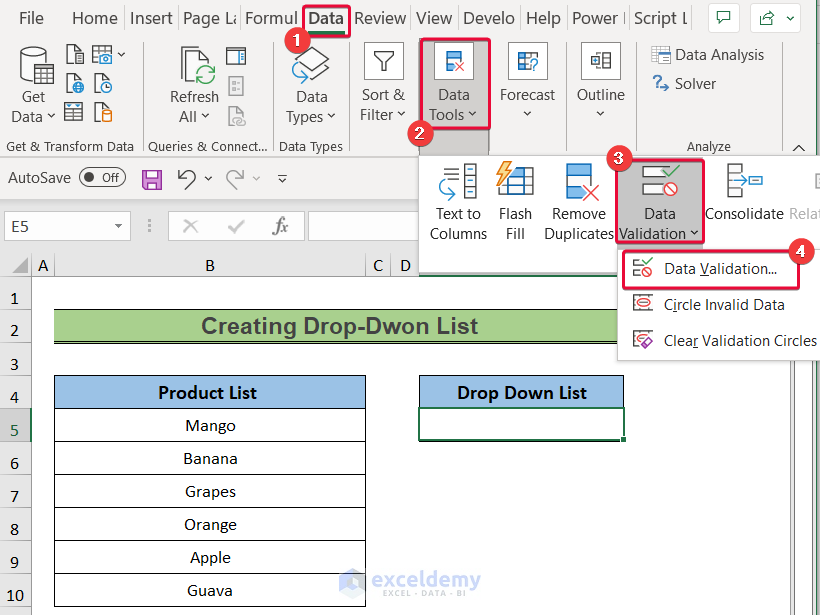
- Select the cell where you want to add the drop-down list. In this case, the cell will be D5.
- Go to the Data tab.
- Choose the DataTools group.
- From the Data Validation option, select the Data Validation command.
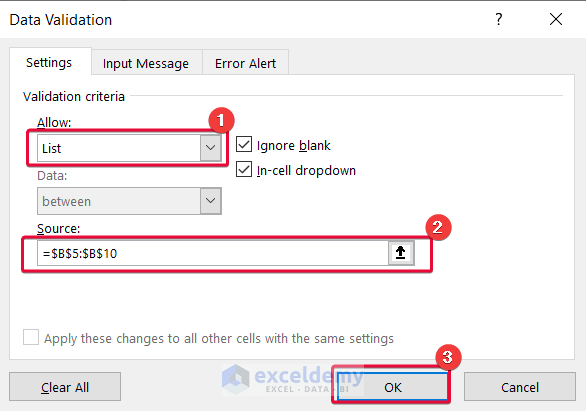
- In the Data Validation dialog box, choose List under the Allow option.
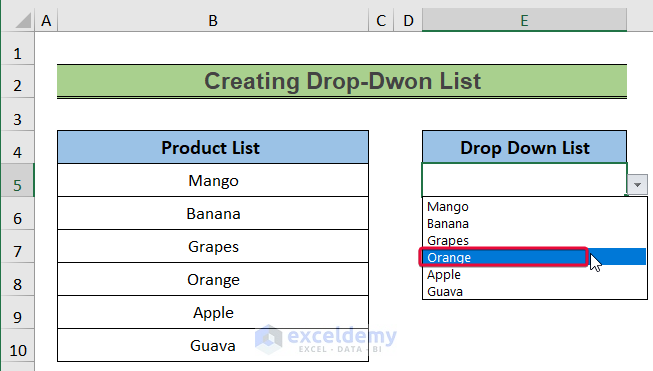
- Select the range of data that you want to add to that list under the Source option. In our case, the range will be B5:B10.
- Click OK.
- We will have a drop-down list in our desired cell.
Download the Practice Workbook
Related Articles
- How to Insert Excel Table into Word
- How to Copy Table from Excel to Word
- How to Paste Excel Table into Word Fit to Page
- How to Copy Excel Table to Word with Gridlines
- How to Paste Excel Table into Word in Landscape
- How to Auto Populate Word Document from Excel
- How to Create Multiple Word Documents from Excel
- How to Insert Excel Table into Word with Formulas
<< Go Back to Export Excel to Word | Export Data from Excel | Learn Excel
Get FREE Advanced Excel Exercises with Solutions!

Hello Adnan,
I am trying to do VBA option link dropdown list from excel to Word, when I run code, it appears message Compile error. User defined type not defined and it marks exlAPP as New Excel.Application in 1st row. Could you help me out with this?
Hello Stanka,
The issue may arise if the Microsoft Excel Object Library is not enabled in your VBA settings. This is a critical step mentioned in the article, so please ensure it has been followed:
1. Open VBA editor (Alt + F11).
2. Go to Tools > References.
3. Check Microsoft Excel Object Library and click OK.
If you’ve done this and still face issues, double-check the file path and worksheet name.
Regards
ExcelDemy
Hello Shamima,
thanks for your help, I thought that it enabled 🙂
Please, could you help me out once again? When I click Run it appears error 5941 and highlight: Selection.Range.ContentControls(1).DropdownListEntries.Clear.
Thank you very much.
Stanka 🙂
Hello Stanka,
Thank you for reaching out! The error 5941 typically occurs when the Word document doesn’t have a content control matching the code’s reference. Please ensure:
1. The targeted content control exists in your Word document.
2. The Selection is correctly pointing to the content control.
Try reviewing the document’s structure and rechecking the macro code. If you need further assistance, feel free to share more details, and I’ll be happy to help!
Regards
ExcelDemy
Select the drop-down box by clicking on the three dots and run the Macro.
Hello Joe,
Thanks for your comment! After inserting the Drop-Down List Content Control in Word and linking it with your Excel data through VBA, you need to click the three dots on the drop-down box to select it and then run the macro.
The macro (as shown in the article) reads the Excel file and automatically fills the Word drop-down list with the values from your selected Excel range.
Regards,
ExcelDemy