Example 1 – Returning Different Values Using the CHOOSE Function in Excel
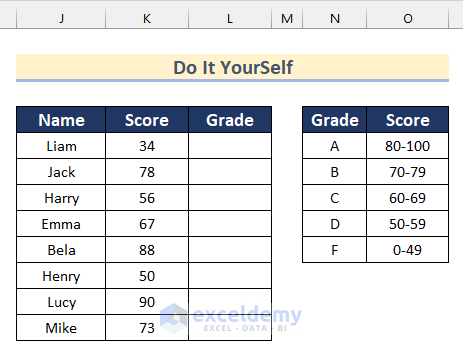
The sample dataset contains students’ Names and Scores.
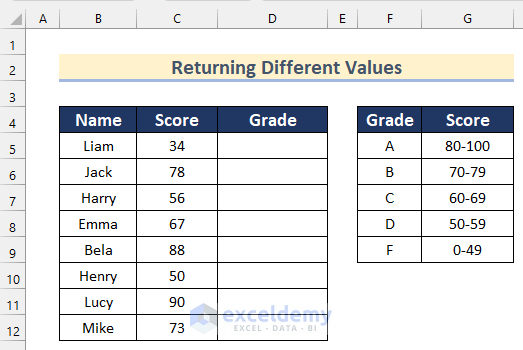
To find the Grade for a given Score.
Steps:
- Select D5 and enter the following formula.
=CHOOSE((C5>0)+(C5>=50)+(C5>=60)+(C5>=70)+(C5>=80), "F", "D", "C", "B","A")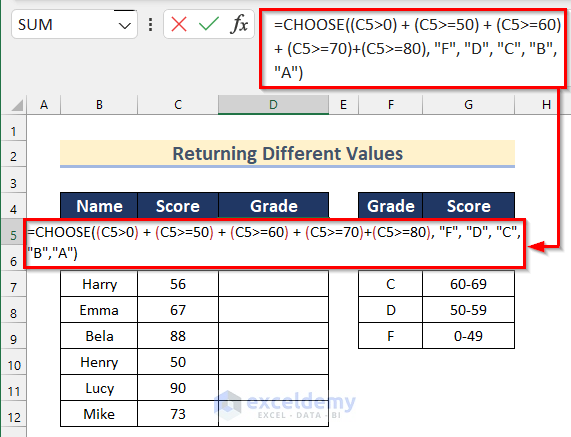
- Press Enter to see the result.
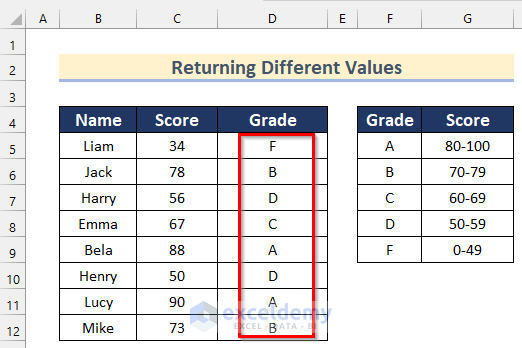
- Drag down the Fill Handle to see the result in the rest of the cells.
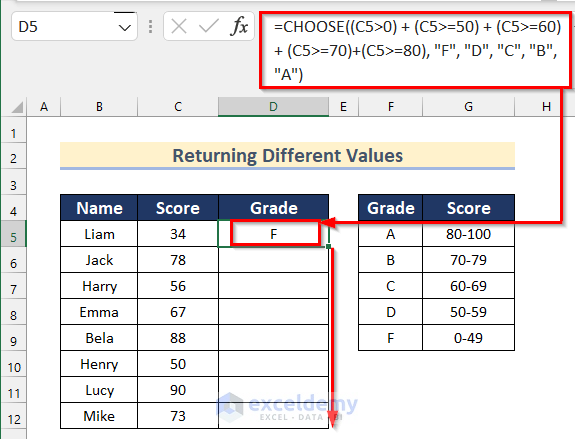
The CHOOSE Function checks if C5 is greater than 0 and returns F. If the value is greater than or equal to 50, it will return D. According to the given condition it will return C, B, or A.
This is the output.
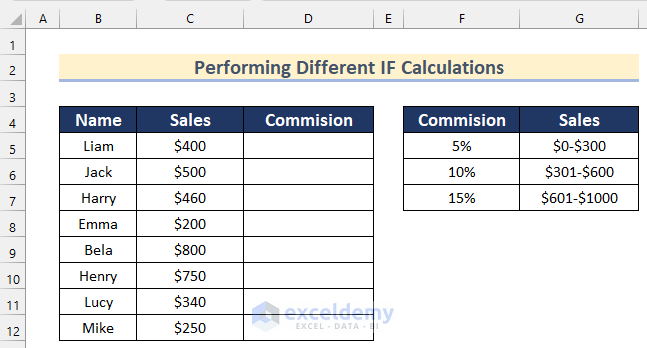
Example 2 – Applying the Excel CHOOSE Function to Perform Different IF Calculations
The dataset contains the Name of the Salesperson and Sales value. To calculate a Commission depending on the Sales:
Steps:
- Select D5 and enter the following formula.
=CHOOSE((C5>0)+(C5>300)+(C5>=600),C5*5%,C5*10%,C5*15%)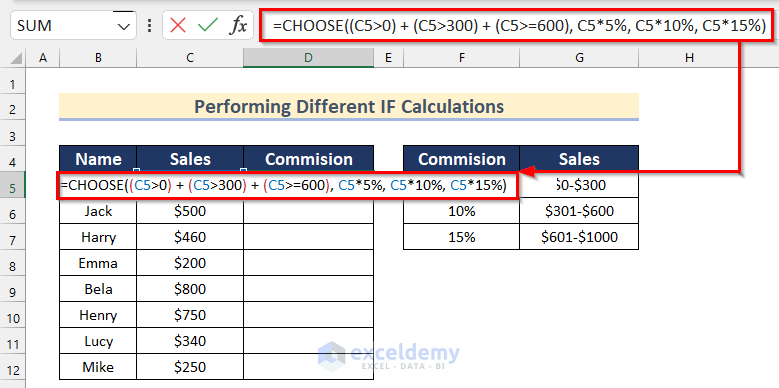
- Press Enter to see the result.
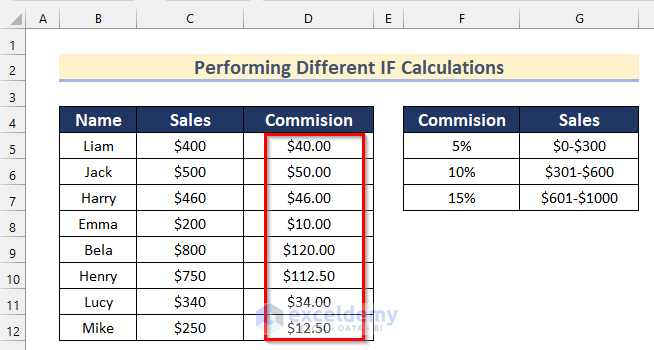
- Drag down the Fill Handle to see the result in the rest of the cells.
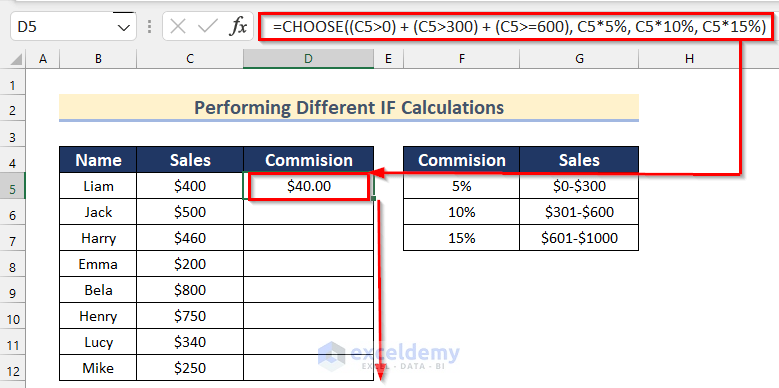
The CHOOSE function checks if C5 is greater than 0 and multiplies the value of C5 by 5%. If the value is greater than 300, it multiplies the value of C5 by 10% and if the value is greater than or equal to 600, it multiplies the value of C5 by 15%.
This is the output.
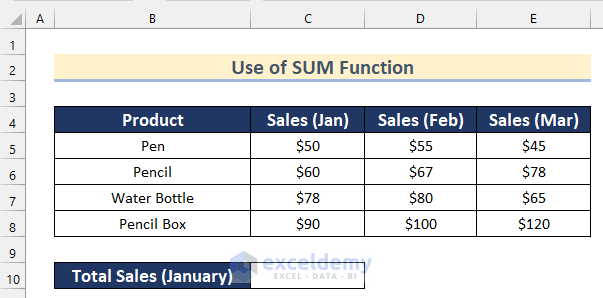
Example 3 – Using the CHOOSE Function to Sum Values with an IF Condition
The dataset contains Sales in January, February, and March.
Steps:
- Select C10 and enter the following formula.
=SUM(CHOOSE(1,C5:C8,D5:D8,E5:E8))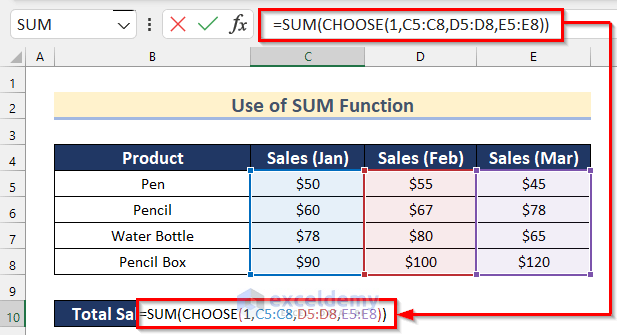
- Press Enter to see the Total Sales (January).
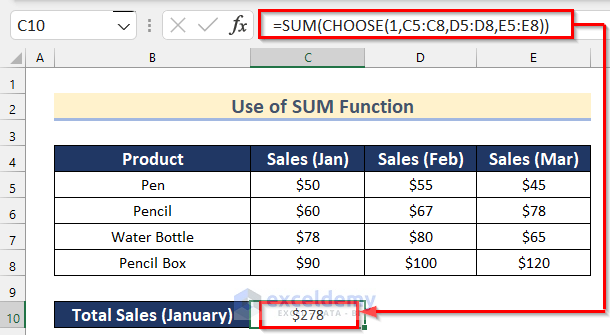
In the CHOOSE function, 1 is the index_num, the cell range is C5:C8, D5:D8, and E5:E8 is the value. The function adds the values returned by the CHOOSE function.
Read More: Advanced Uses of CHOOSE Function in Excel
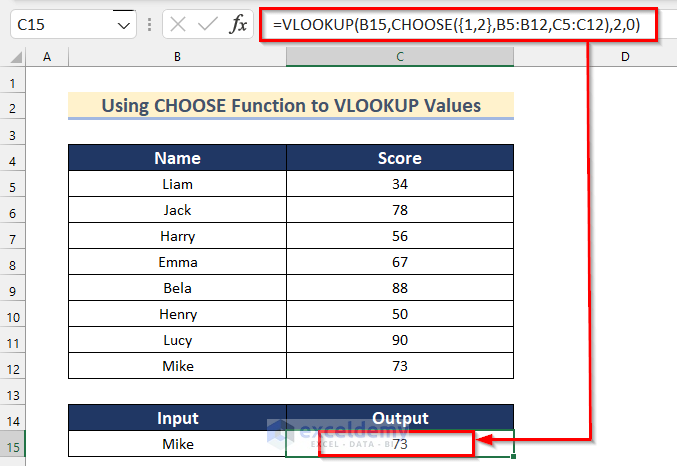
Example 4 – Using the CHOOSE Function to Perform an IF Condition to VLOOKUP Values in Excel
The dataset contains students’ Names and Score.
To find the Score using the student’s Name.

Steps:
- Select C15 and enter the following formula.
=VLOOKUP(B15,CHOOSE({1,2},B5:B12,C5:C12),2,0)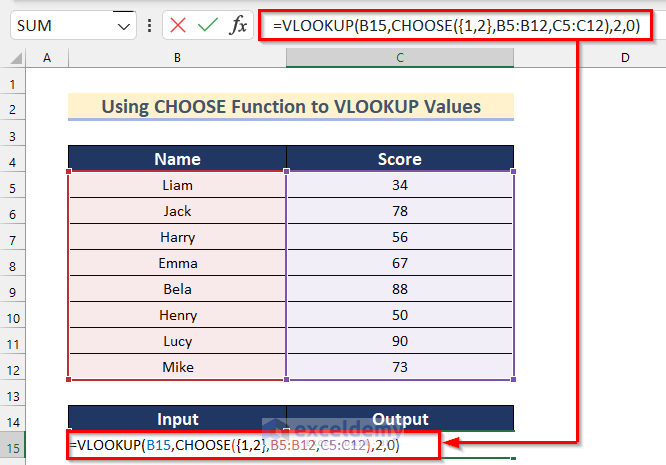
- Press Enter to see the Score.
Formula Breakdown
- CHOOSE({1,2},B5:B12,C5:C12)—–> returns the value from a list using the given position.
Output: {“Liam”,34;”Jack”,78;”Harry”,56;”Emma”,67;”Bela”,88;”Henry”,50;”Lucy”,90;”Mike”,73}
- VLOOKUP(B15,CHOOSE({1,2},B5:B12,C5:C12),2,0)—–> returns the Vlookup values from a given cell range according to the column index.
VLOOKUP(B15,{“Liam”,34;”Jack”,78;”Harry”,56;”Emma”,67;”Bela”,88;”Henry”,50;”Lucy”,90;”Mike”,73},2,0)—–> turns into
Output: {73}
Read More: How to Use VLOOKUP with CHOOSE Function in Excel
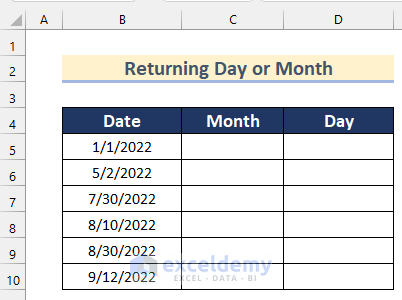
Example 5 – Returning the Day or Month by Performing an IF Condition with the CHOOSE Function
The dataset below showcases Dates, Month and Day.
Steps:
- Select C5 and enter the following formula.
=CHOOSE(MONTH(B5), "Jan","Feb","Mar","Apr","May","Jun","Jul","Aug","Sep","Oct","Nov","Dec")
- Press Enter to see the result.
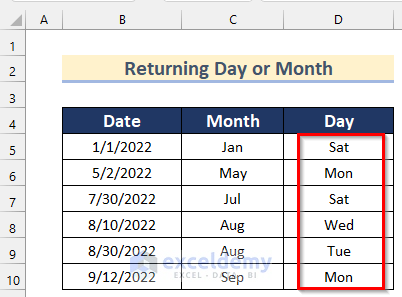
- Drag down the Fill Handle to see the result in the rest of the cells.
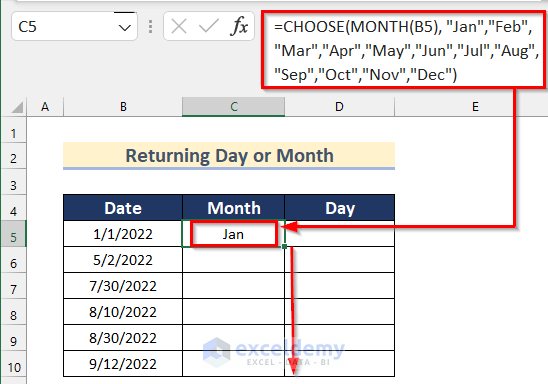
The MONTH function finds the month value of a given date. The CHOOSE function returns the month value from the list.
This is the output.

- Select D5 and enter the following formula.
=CHOOSE(WEEKDAY(B5),"Sun","Mon","Tue","Wed","Thurs","Fri","Sat")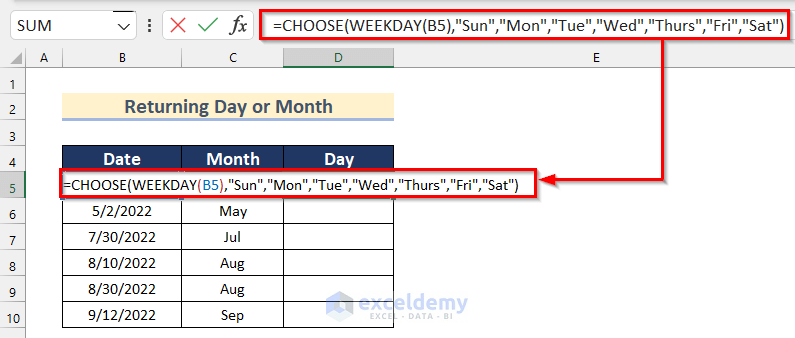
- Press Enter to see the result.
- Drag down the Fill Handle to see the result in the rest of the cells.
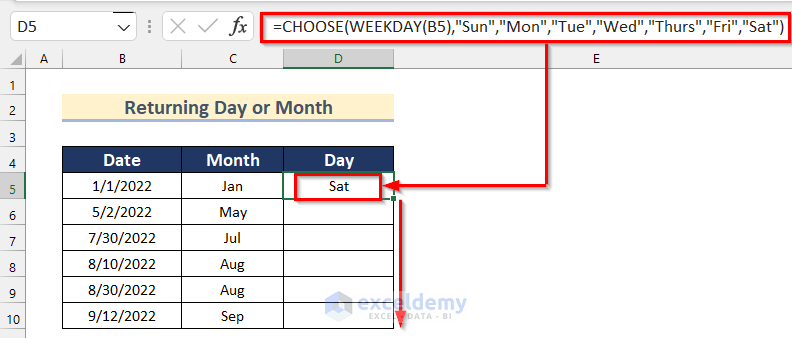
The WEEKDAY function finds the day value of the given date. The CHOOSE function returns the day value from the list.
This is the output.
Practice Section
Practice here.
Download Practice Workbook
Related Articles
- How to Use CHOOSE Function with Array in Excel
- How to Use CHOOSE Function in Excel for Scenarios
- How to Apply CHOOSE Function to Create Drop-Down List in Excel
- How to Use Excel Formula to Choose Between Two Values
<< Go Back to Excel CHOOSE Function | Excel Functions | Learn Excel
Get FREE Advanced Excel Exercises with Solutions!
