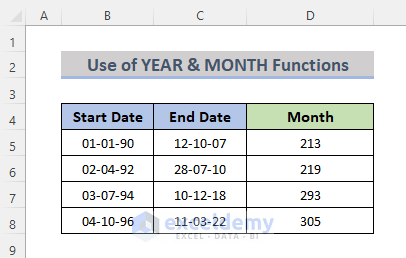
To calculate years and months between two dates we are going to use this dataset. It contains some start dates and end dates, and we’ll get the number of years and months that have passed between the two dates.
Method 1 – Using the Excel DATEDIF Function to Calculate Years and Months Between Two Dates
➧ Syntax:
The syntax for the DATEDIF function is:
➧ Arguments:
start_date: The first date is often known as the commencement date.
end_date: A date that signifies the end of a period of time.
unit: The kind of information you’d like to get (“y”, “m”, “ym”, etc.)
Case 1.1 – Calculating Age in Years
Steps:
- Select the cell where you want the calculated year. We selected cell D5.
- Use this formula in that cell.
=DATEDIF(B5,C5,"y")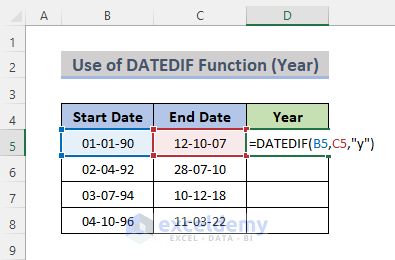
Cell B5 indicates the start date and cell C5 indicates the end date. We use y as the unit because we want the difference between two dates in years.
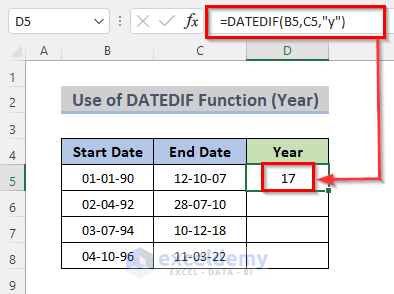
- Press Enter. The formula will be shown in the formula bar.
- Drag the Fill Handle down.
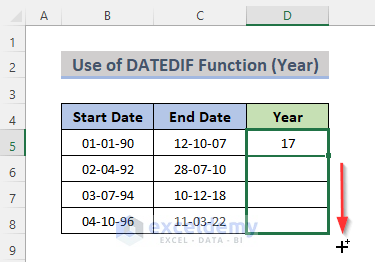
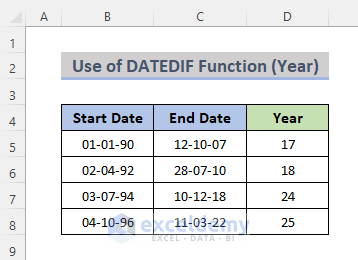
- The years are calculated in the resulting cells.
Case 1.2 – Calculating Age in Months
Steps:
- Select cell D5 and insert the formula below:
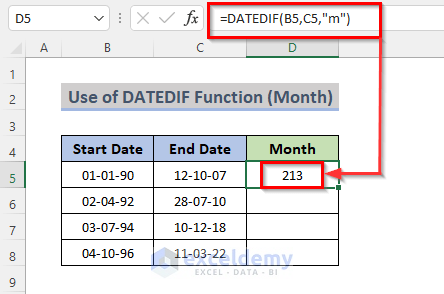
=DATEDIF(B5,C5,"m")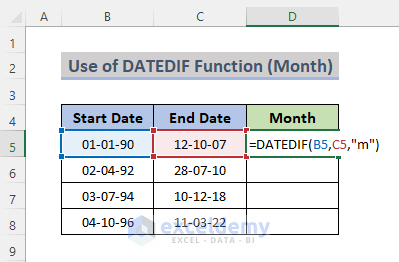
Cell B5 represents the start date, whereas cell C5 represents the end date. We inserted m as the unit because we’re looking for the difference in months between the two dates.
- Hit the Enter key.
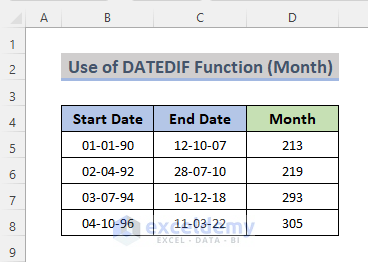
- Drag the Fill Handle down to duplicate the formula over the dataset.
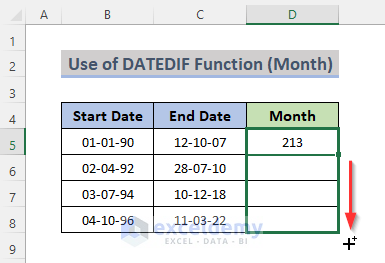
- The months are calculated.
Case 1.3 – Merging Excel Formulas to Calculate the Age in Years and Months
Steps:
- Enter this formula into cell D5.
=DATEDIF(B5,C5,"y") & " years, " & DATEDIF(B5,C5,"ym") & " months"- Cell B5 signifies the start date, and cell C5 signifies the end date.
- Press the Enter key.
- Drag the Fill Handle down to copy the formula over the dataset.

Read More: How to Calculate Tenure in Years and Months in Excel
Method 2 – Applying the Excel LET Function to Calculate Years and Months
➧ Syntax:
The syntax for the LET function is:
➧ Arguments:
name1: This is the first name to be assigned. It needs to start with a letter.
name_value1: Name1’s assigned value or calculation.
[name2] / [name_value2]: The second name, as well as its worth.
calculation: A calculation that employs names and values that have been assigned.
Now, let’s have a look at the steps below.
STEPS:
- Select the cell where you want the calculated years and months to appear. We picked cell D5.
- Insert the formula in that cell.
=LET(s,B5,e,C5,

Y, DATEDIF(s,e,"y"),

M, DATEDIF(s,e,"ym"),

TEXTJOIN(", ",TRUE,

IF(Y>0,Y & " year"&IF(Y>1,"s",""),""),

IF(M>0,M & " month"&IF(M>1,"s",""),"")

))
- Cell B5 denotes the start date, while cell C5 denotes the end date.
- Press the Enter key.
- Drag the Fill Handle down to copy the formula over the range.

Read More: How to Calculate Years Between Two Dates in Excel
Method 3 – Computing Years and Months between Two Dates with the YEARFRAC Function
➧ Syntax:
The syntax for the YEARFRAC function is:
➧ Arguments:
start_date: The start date is represented by this date.
end_date: The termination date is represented by this date.
[basis]: The day count basis to be used.
Case 3.1 – Calculating Years between Two Dates
Steps:
- Choose the cell in which you want the calculated years to appear. We chose cell D5.
- Use the following formula there.
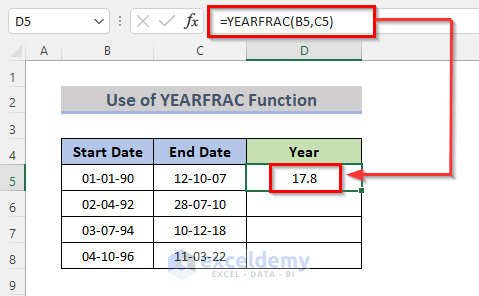
=YEARFRAC(B5, C5)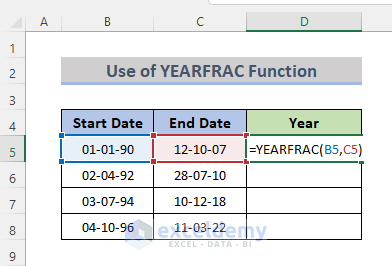
Cell B5 is the starting date, and cell C5 is the ending date.
- Press Enter.
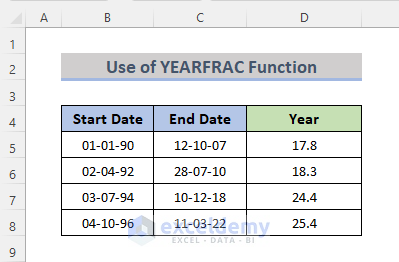
- Drag the Fill Handle down to repeat the formula over the column.
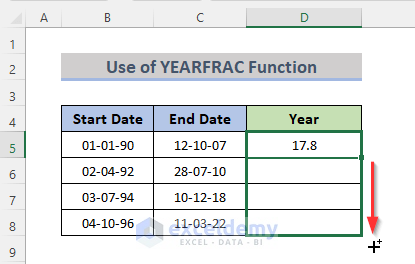
- You will see the results.
Case 3.2 – Calculating Months between Two Dates
Steps:
- Select cell D5 and insert the formula given below:
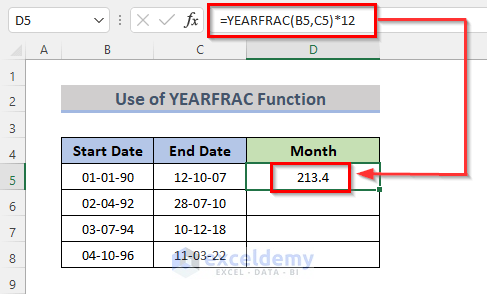
=YEARFRAC(B5,C5)*12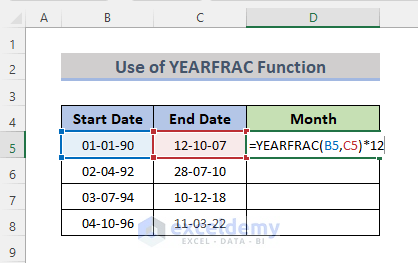
Cell B5 indicates the start date and cell C5 indicates the end date.
- Hit Enter.
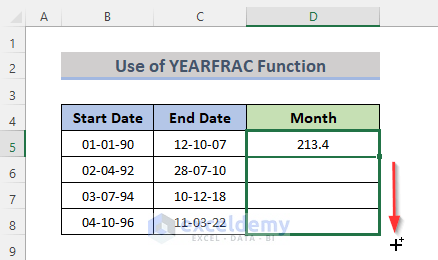
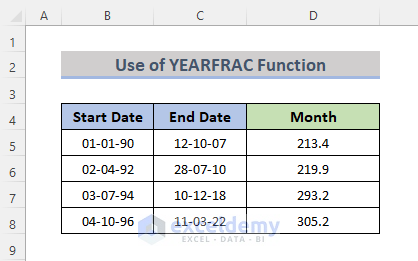
- Copy the formula over the range D5:D8 by dragging the Fill Handle down.
- The months are calculated between the two dates.
Read More: How to Calculate Years from Today in Excel
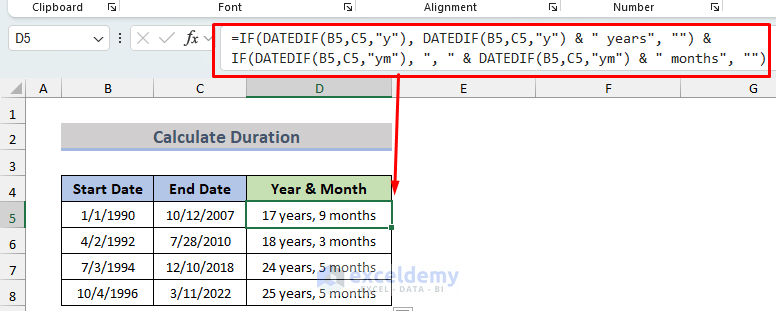
Method 4 – Calculating the Duration between Two Dates Without a Zero Value
Steps:
- Select cell D5.
- Insert the following formula:
==IF(DATEDIF(B5,C5,"y"), DATEDIF(B5,C5,"y") & " years", "") &

IF(DATEDIF(B5,C5,"ym"), ", " & DATEDIF(B5,C5,"ym") & " months", "")- Press Enter and drag the Fill Handle down.
Read More: How to Count Months from Date to Today by Using Excel Formula
Method 5 – Combining YEAR and MONTH Functions to Count Months in Excel
Steps
- Move to cell D5 and use this formula in that cell.
=(YEAR(C5)-YEAR(B5))*12+MONTH(C5)-MONTH(B5)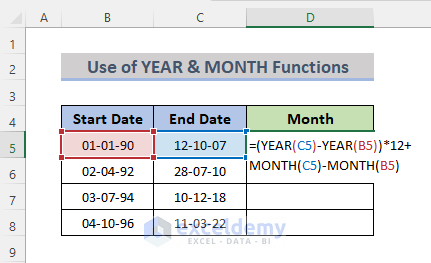
- Hit Enter.
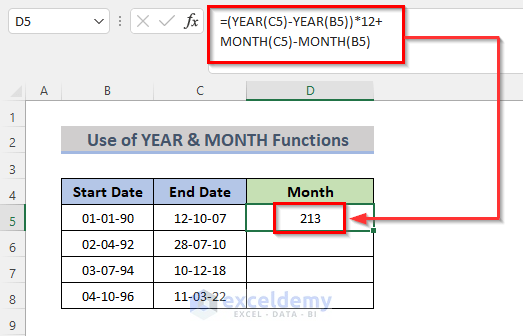
- Drag the Fill Handle down.
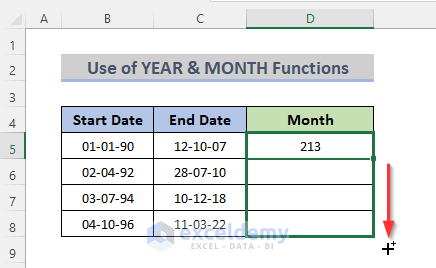
- You’ll get the results.
Read More: How to Find Number of Weeks Between Two Dates in Excel
Method 6 – Applying VBA to Calculate Years and Months Between Two Dates
Steps:
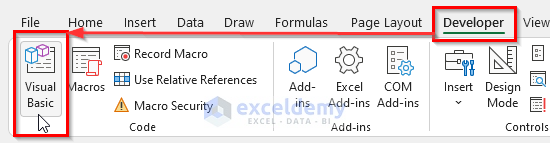
- Go to the Developer tab on the ribbon.
- Click on Visual Basic or press Alt + F11 to open the Visual Basic Editor.
- Another way to open the Visual Basic Editor is to right-click on the sheet and select View Code.
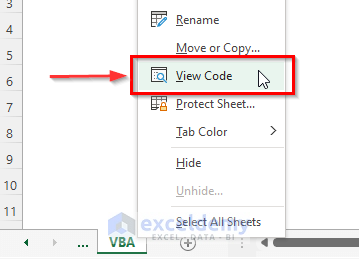
- This will open the Visual Basic Editor where you can write the code.
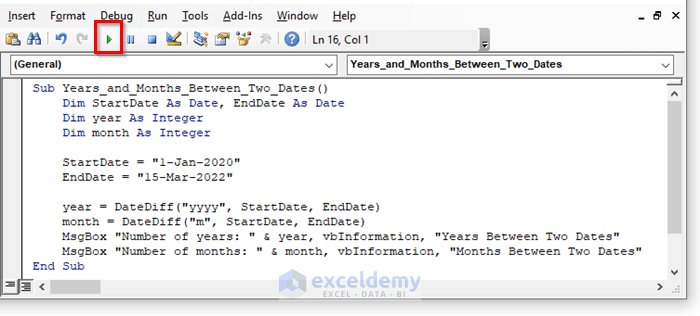
- Copy the VBA code below and paste it into the editor.
Sub Years_and_Months_Between_Two_Dates()
Dim StartDate As Date, EndDate As Date
Dim year As Integer
Dim month As Integer
StartDate = "1-Jan-2020"
EndDate = "15-Mar-2022"
year = DateDiff("yyyy", StartDate, EndDate)
month = DateDiff("m", StartDate, EndDate)
MsgBox "Number of years: " & year, vbInformation, "Years Between Two Dates"
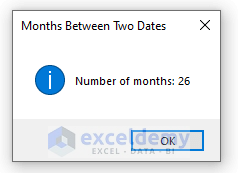
MsgBox "Number of months: " & month, vbInformation, "Months Between Two Dates"
End Sub- Run the code by pressing the F5 key or clicking the Run Sub button.
- This will first show the number of years in the MsgBox.
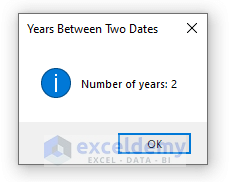
- Click on the OK button to show the number of months between the given two dates.
Read More: Calculate Number of Days between Two Dates with VBA in Excel
Download the Practice Workbook
Related Articles
- Excel Calculates Difference Between Two Dates in Days
- Excel Formula to Calculate Number of Days Between Today and Another Date
- Excel Formula to Count Days from Date
- How to Calculate Expiration Date with Excel Formula
<< Go Back to Days Between Dates | Date-Time in Excel | Learn Excel
Get FREE Advanced Excel Exercises with Solutions!

Your year and month calculations are a little weird. If two dates were, say, 14 months apart, you’d say “1 year, 2 months” not “1 year, 14 months” as it does with the calculations above.
Hello Melds,
Thank you for pointing that out! You’re correct, the month part should show the remaining months after the full years are counted, not the total months.
I’ve updated the article so the formulas now use DATEDIF(…,”ym”) instead of “m”, which fixes the “1 year, 14 months” issue.
I appreciate your feedback, it helped improve the accuracy of the tutorial!
Best regards,
Shamima Sultana
ExcelDemy