Method 1 – Use Excel’s General Options to Auto Backup an Excel File
Step 1: Create an Auto Backup File
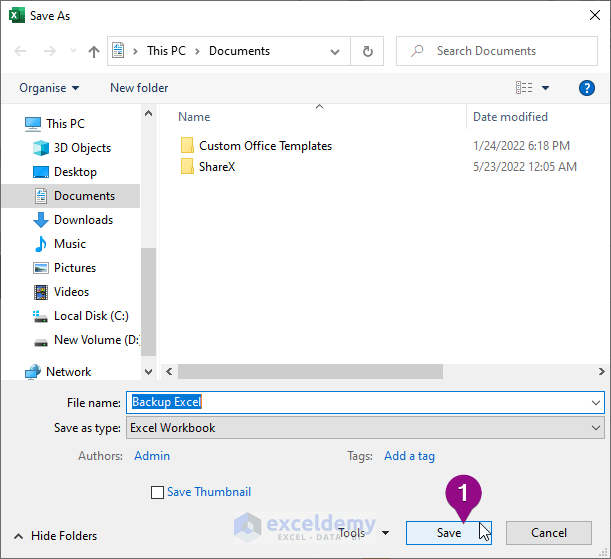
- Click the File tab.
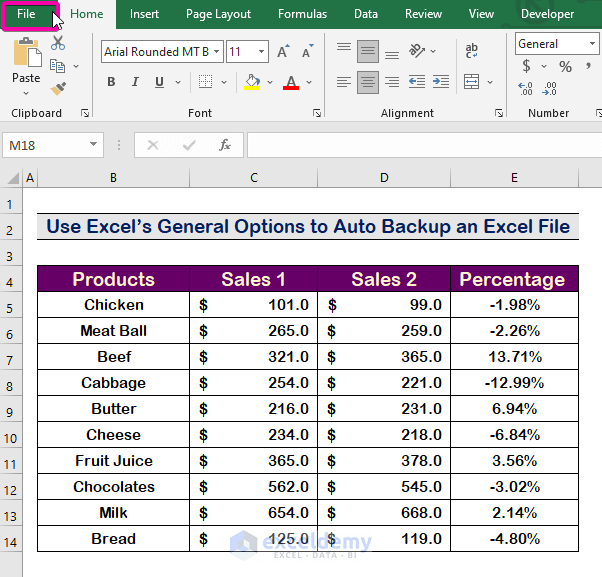
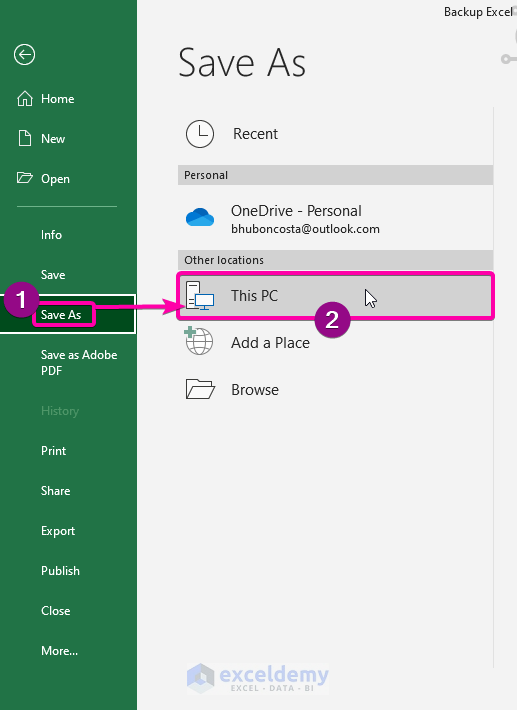
- Select Save As.
- Click-double the This PC.
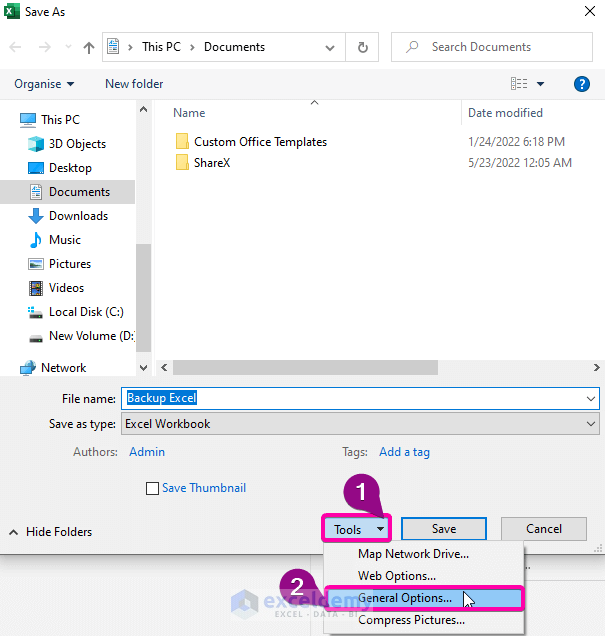
- Click the Tools.
- From the list, choose the General Options.
- Click to mark checked the box named Always create backup.
- Press Enter.
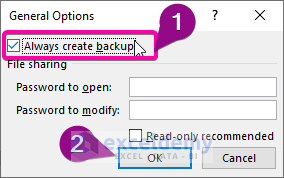
- Click Save.
- Choose Yes to Replace the existing file.
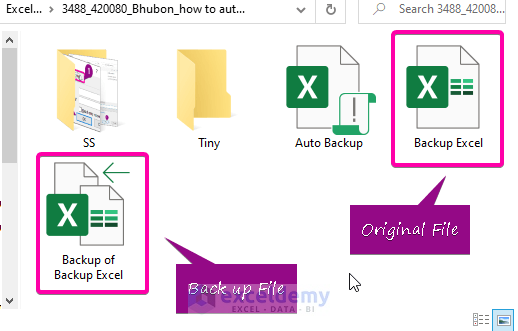
- The name “Backup of” and the current worksheet name will be produced, as seen in the figure below.
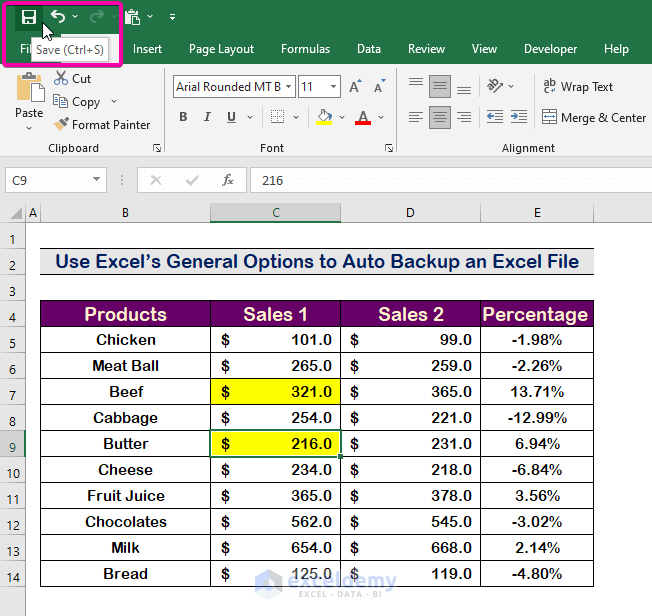
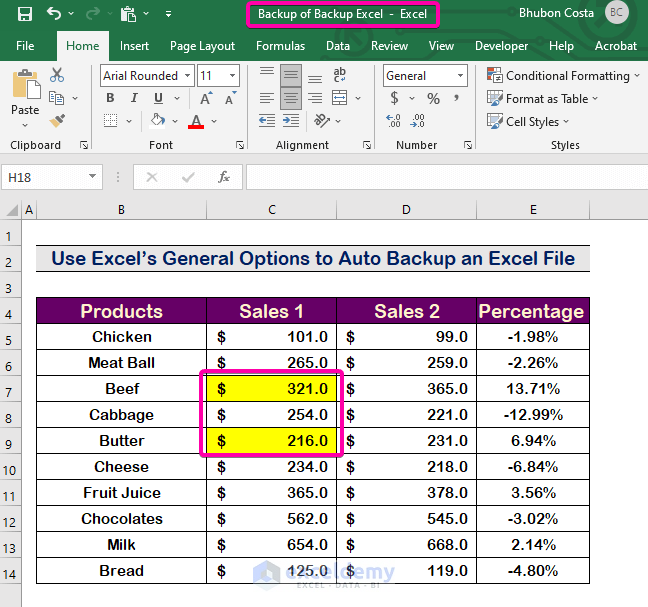
Step 2: Update Any Data in the Main worksheet
- Highlight the two following cells first.
- Save the file by clicking the Save icon or pressing Ctrl + S.
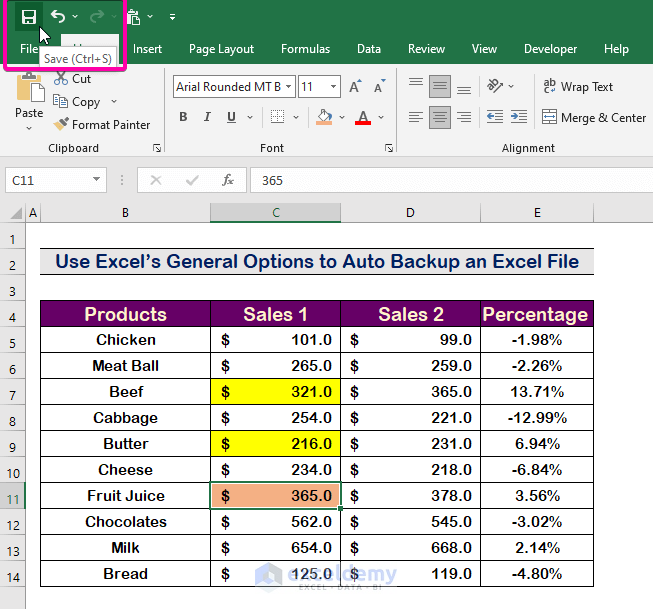
- Color another cell or make any changes as you wish and save the file.
Step 3: Open the Backup File
- Open the backup (Backup of Backup Excel) file.
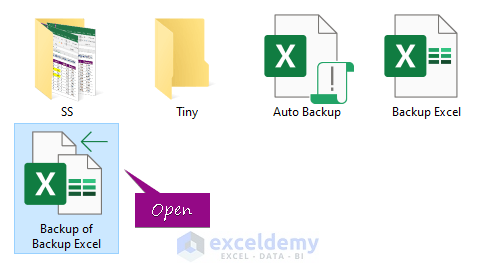
- Show the result from the last edit before the previous saving.
Notes. Whenever you save a modification to the current spreadsheet, the Excel backup file is changed to match the state of the spreadsheet before the latest save. The .XLK extension is used for the Excel backup file, which is saved in the same directory as the source. It’s worth noting that the first time you save, the files will be identical. But when you change and save the file for the third time, it will show the results from the second save. In general, the backup file is one version behind the current version.
Method 2 – Run a VBA Code to Auto Backup an Excel File
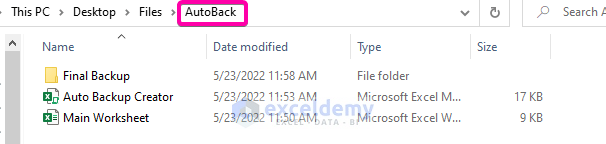
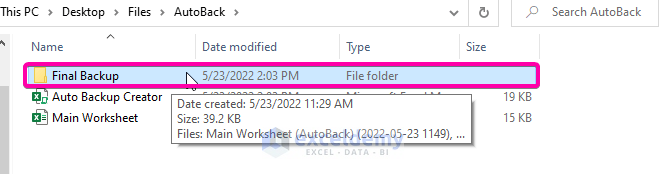
Step 1: Create a Folder
- Create a folder (AutoBack) with three files: one folder (Final Backup), a VBA worksheet for writing VBA codes (Auto Backup Creator), and your current worksheet (Main Worksheet).
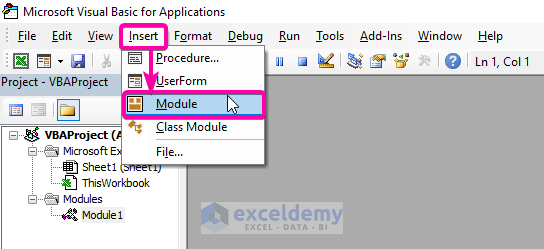
Step 2: Create a Module
- Open the Auto Backup Creator file.
- Press Alt + F11 to open the VBA Macro.
- Click the Insert tab.
- Select the Module option to create a new Module.
Step 3: Run the VBA codes
- Paste the following VBA codes.
- Press F5 to run the program.
Sub AutoBackup()
Application.DisplayAlerts = False
Application.ScreenUpdating = False
'Insert the file path/location of your current workbook
Workbooks.Open Filename:="C:\Users\Admin\Desktop\Files\AutoBack\Main Worksheet.xlsx" _
, UpdateLinks:=3
'Insert the file path/location of your Backup file workbook
Workbooks("Main Worksheet.xlsx").SaveAs Filename:="C:\Users\Admin\Desktop\Files\AutoBack\Final Backup\Main Worksheet " & "(AutoBack) " & Format(Now(), "(yyyy-mm-dd hhmm)") & ".xlsx"
ActiveWindow.Close
Workbooks("Auto Backup Creator.xlsm").Close SaveChanges:=True
Application.DisplayAlerts = True
Application.ScreenUpdating = True
End Sub
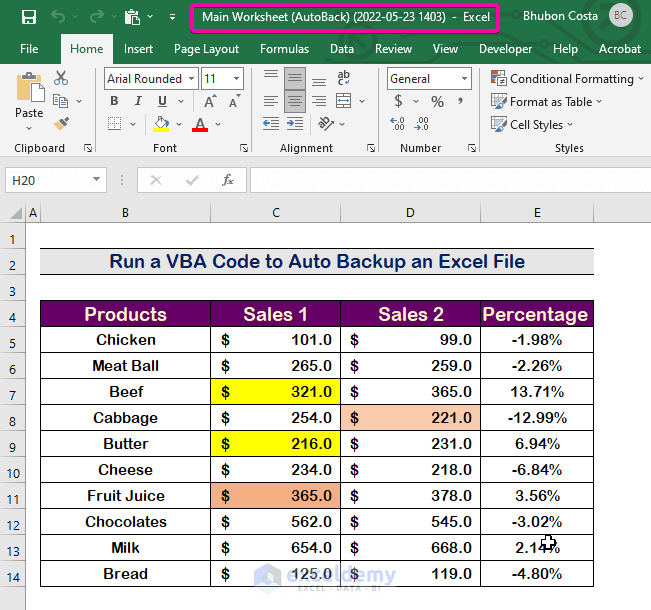
Step 4: Check the Backup File
- Go to the Final Backup folder.
- Get a created auto-backup file (Main Worksheet (AutoBack)) containing the date and time.
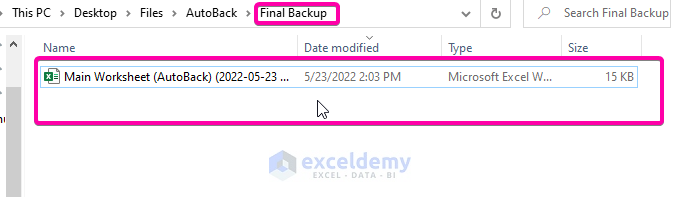
- Click the Main Worksheet (AutoBack) file and see the backup results from your previous savings.
Download Practice Workbook
Download this practice workbook to exercise while you are reading this article.
Related Articles
- How to Recover Corrupted Excel File
- How to Recover Corrupted Excel Files from USB
- How to Recover Excel File after Crash
- How to Recover Previous Version of Excel File
- How to Recover Overwritten Excel File with No Previous Version
- How to Recover Permanently Deleted Excel Files Online
- How to Undo Changes in Excel after Save and Close
- [Fixed:] Unsaved Excel File Not in Recovery
- How to Backup Excel Files to a Flash Drive
<< Go Back to Recover Excel File | Excel Files | Learn Excel
Get FREE Advanced Excel Exercises with Solutions!
