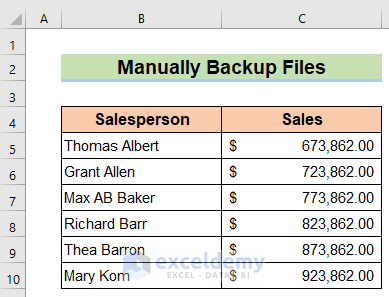
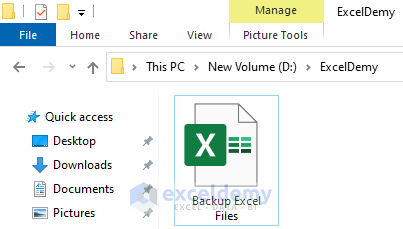
This is the sample dataset.
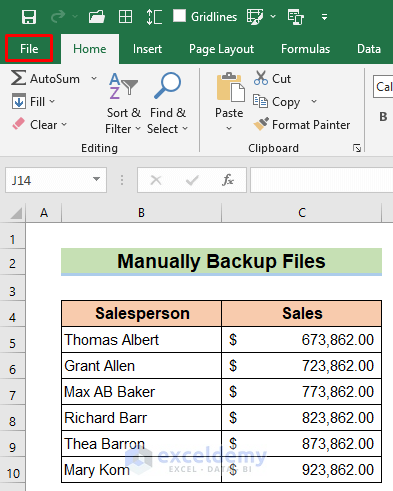
Method 1- Manually Backup Excel Files to a Flash Drive
Steps:
- Click File.
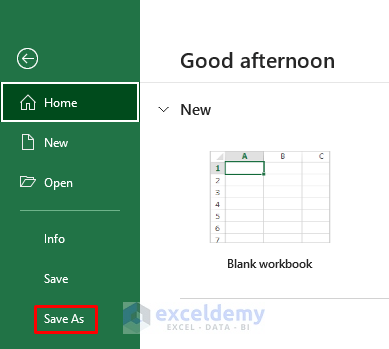
- Select Save As.
- Click Browse.
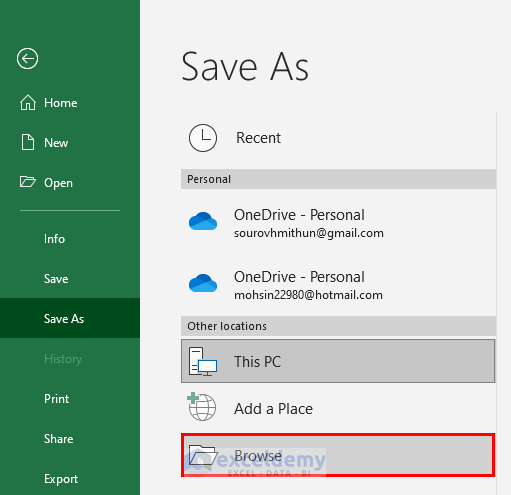
- Select a folder in the flash drive and click Save.
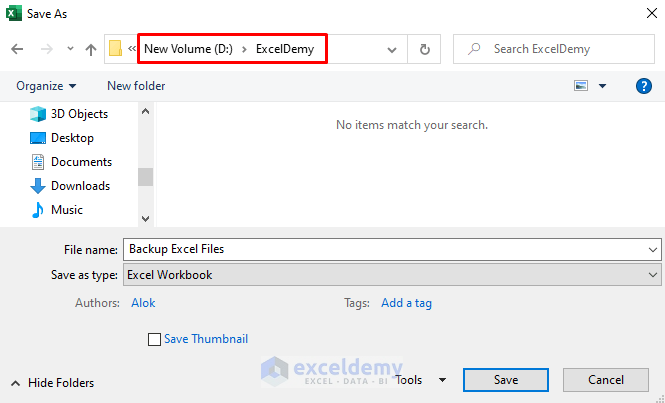
A backup copy is created.

Read More: How to Find Backup Files in Excel
Method 2 – Automatically Backup Excel Files to a Flash Drive
Steps:
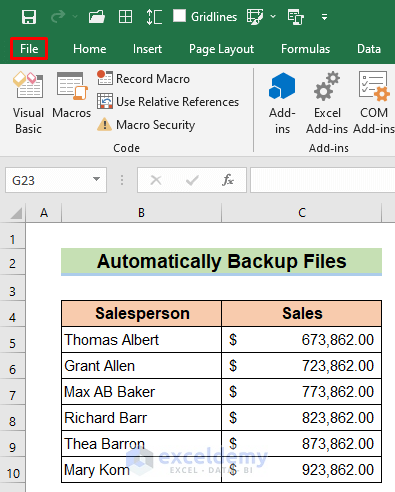
- Click File.
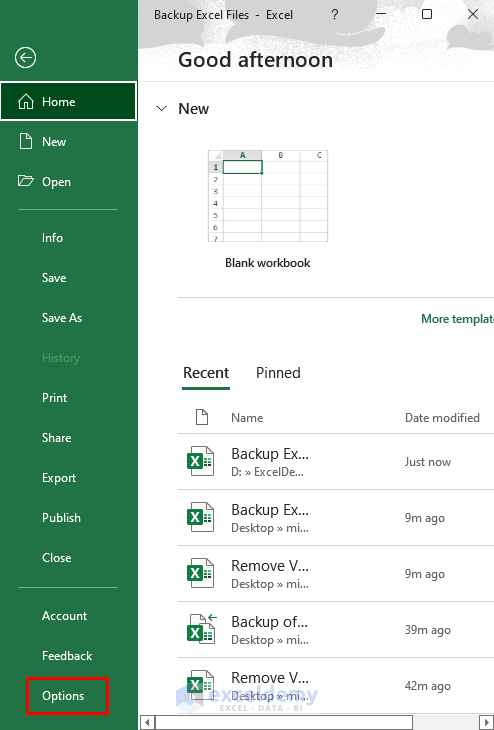
- Click Options.
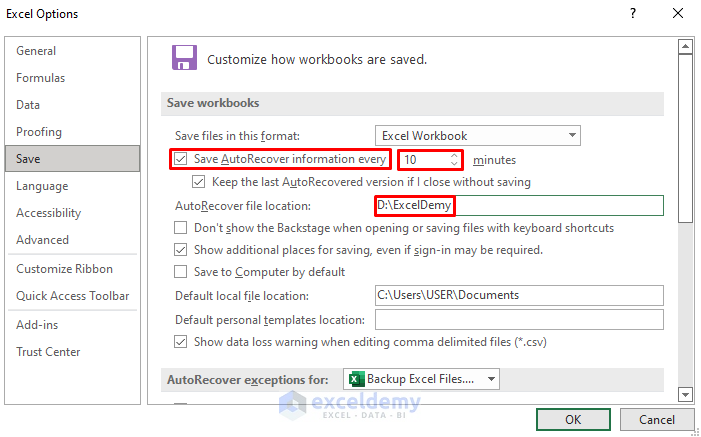
- Click Save.
- Check Save AutoRecover information every and set the time. Here, 10 minutes.
- Enter the folder location in AutoRecover file location box.
- Click OK.
Excel will automatically Save the file after every 10 minutes.
Excel created a backup automatically.
Read More: How to Auto Backup Excel File
Method 3 – Applying the Always Create Backup Option to Backup Excel Files
Steps:
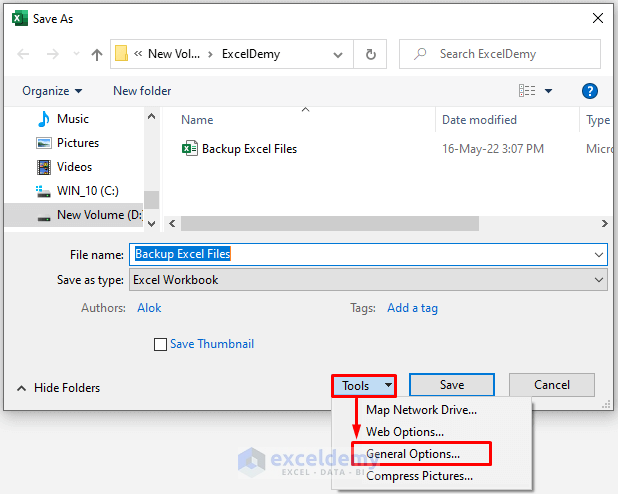
- Follow the first three steps in the first method to open the Save As dialog box.
- Select General Options in Tools.
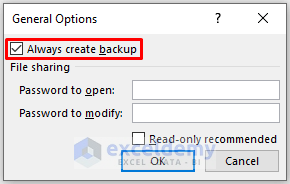
- Check Always create backup.
- Click Save.
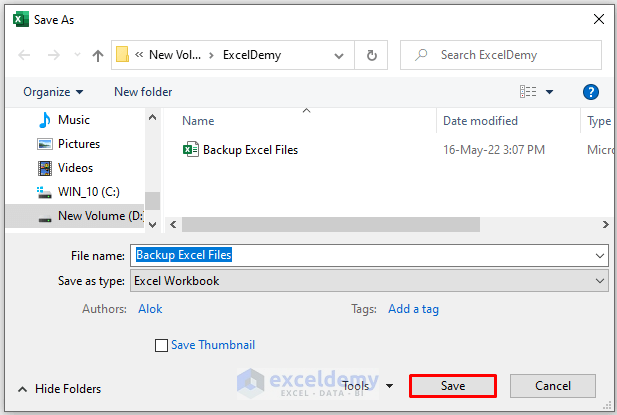
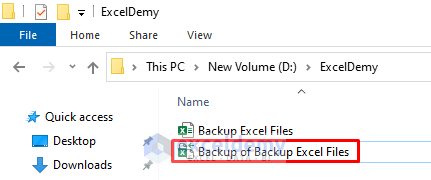
A backup is created. The backup file name will be the same, including – ‘Backup’ in front of the original name.
Method 4 – Embed Excel VBA to Backup Files to a Flash Drive
Steps:
- Press Alt + F11 to open the VBA window.
- Click: Insert >> Module to create a new module.
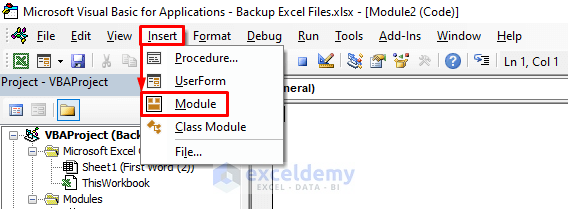
- Enter the following code in the module.
Sub Backup_Files()
ActiveWorkbook.SaveCopyAs "D:\ExcelDemy\" + ActiveWorkbook.Name
ActiveWorkbook.Save
End Sub- Click Run.
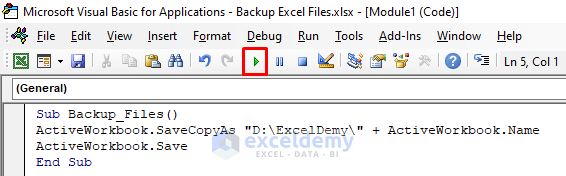
Code Breakdown
- A Sub procedure Backup_Files was created.
- SaveCopyAs saves a copy of the active workbook.
- Name sets the same name of the active workbook.
- Save saves the file with that name in the location.
- Select the Macro Name.
- Click Run.
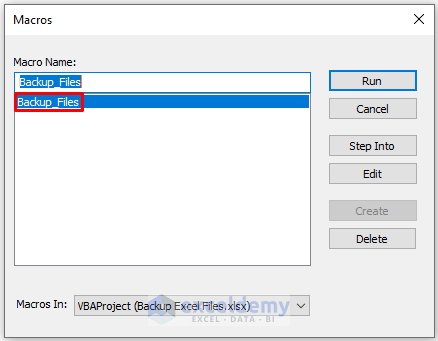
A backup copy is saved in the flash drive.

Download Practice Workbook
Download the free Excel template here and practice.
Related Articles
- How to Recover Excel File after Crash
- How to Recover Previous Version of Excel File
- How to Recover Overwritten Excel File with No Previous Version
- How to Recover Permanently Deleted Excel Files Online
- How to Undo Changes in Excel after Save and Close
- [Fixed:] Unsaved Excel File Not in Recovery
- How to Recover Corrupted Excel File
- How to Recover Corrupted Excel Files from USB
<< Go Back to Recover Excel File | Excel Files | Learn Excel
Get FREE Advanced Excel Exercises with Solutions!
