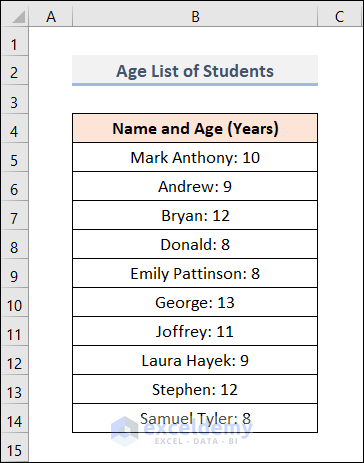
To demonstrate how to align colons in Excel, suppose we have an Age List of Students, which includes the Name and Age in Years, separated by a colon.
Let’s align those colons using various methods.
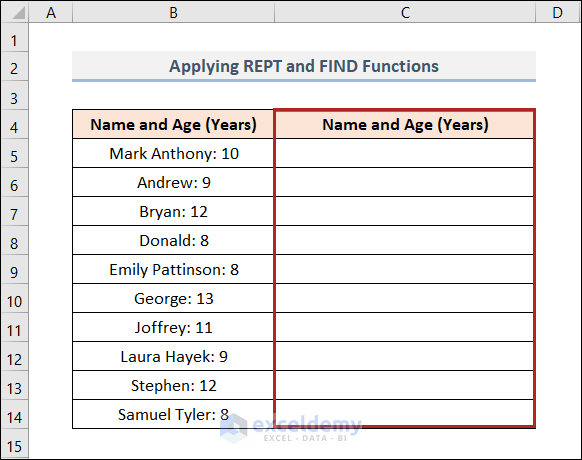
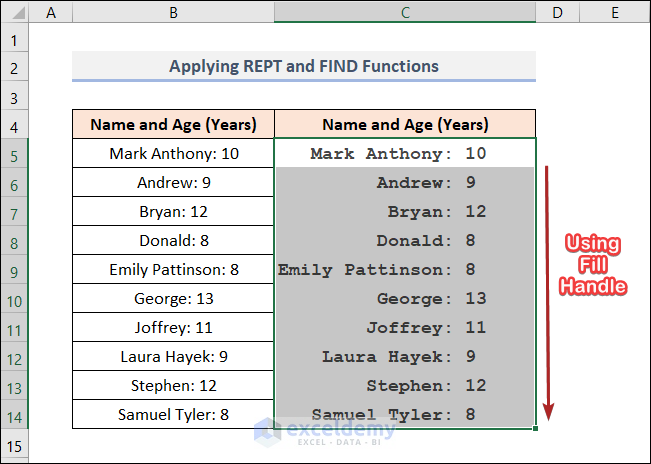
Method 1 – Applying REPT and FIND Functions

Steps
- Create a new column in Column C.
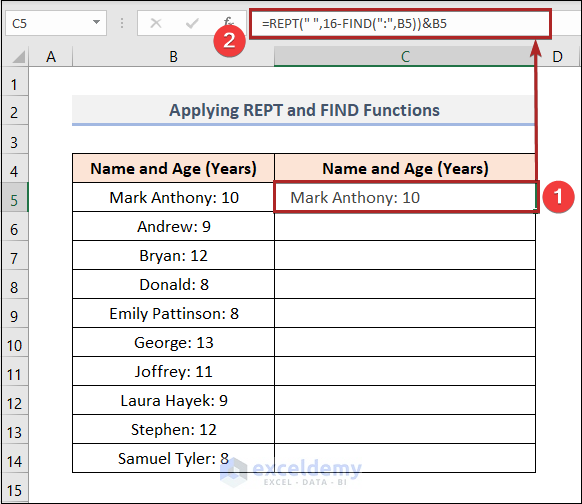
- Select cell C5.
- Enter the following formula:
=REPT(" ",16-FIND(":",B5))&B5
⚙ Formula Breakdown
- Here, the FIND function locates the position of the colon ( : ) in the text string in cell B5. It returns the number of the starting position of the colon from the first character of the text string.
- We used 16 as the maximum number of characters before the colon plus 1. In our dataset, Emily Pattinson has the highest number of characters (15) before the colon. Hence 16 (15+1).
- Then, we used the REPT function, which repeats text a specified number of times. Here, we give a blank space as our Text to repeat. And the Number_times is the output of the FIND function subtracted from 16.
- Lastly, we concatenated cell B5 at the end of those blank spaces.
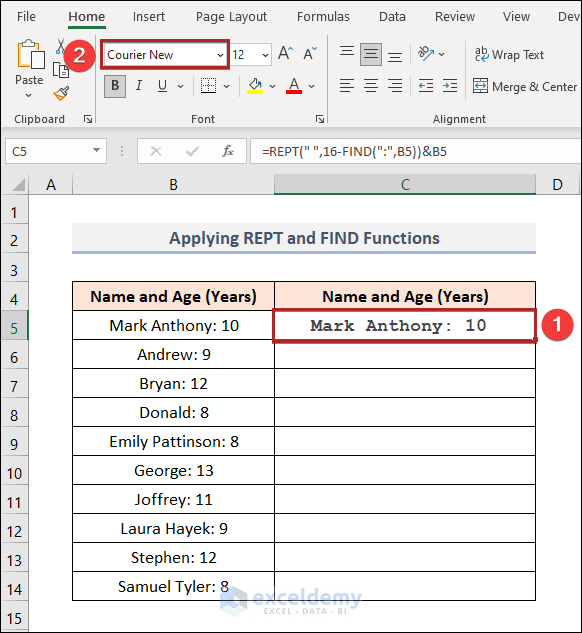
- Press ENTER.
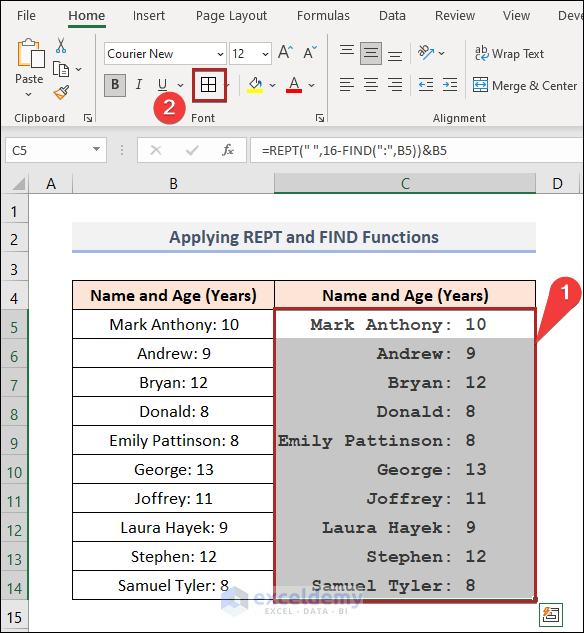
- Apply a monotype font. In this case, we used Courier New.
- Drag the Fill Handle tool to copy the formula to the remaining cells of Column C.
- Select the cells in the C5:C14 range.
- In the Home tab, select All Borders.
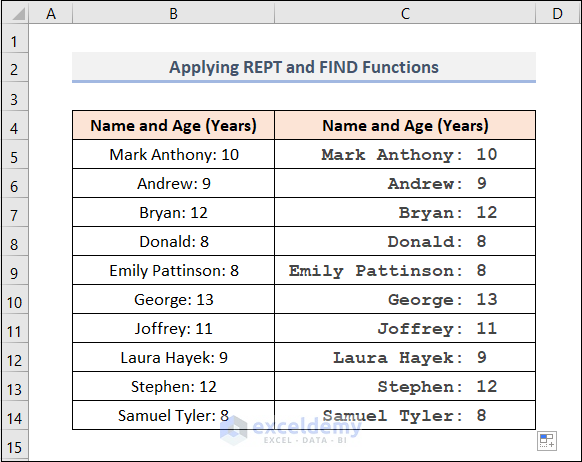
- Colons are aligned as follows:
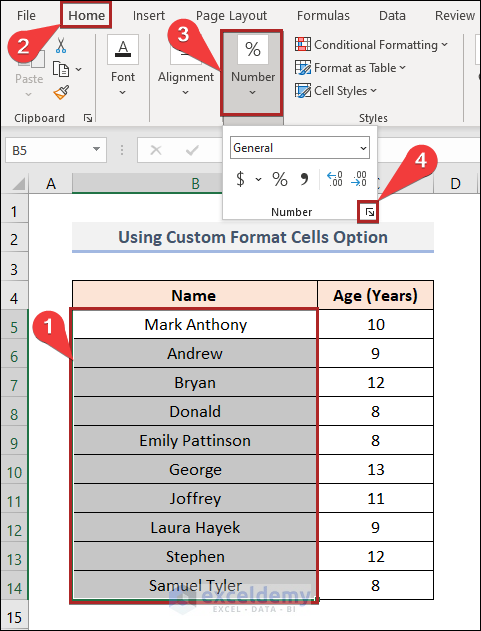
Method 2 – Using Custom Format Cells Option
The most popular and common method to align colons is to use the Custom Format Cells option.
Here, we have the Names and Ages in different columns.
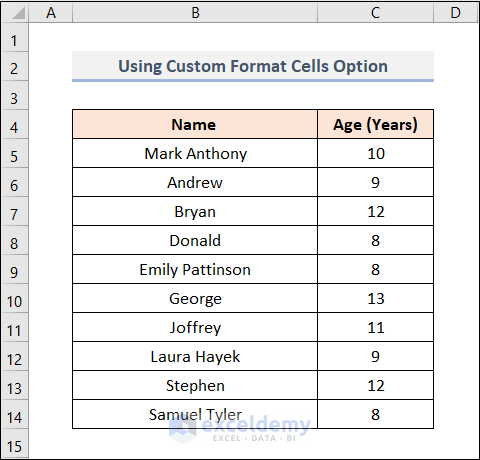
Let’s add and align colons at the end of each name.
Steps
- Select the cells in the B5:B14 range.
- In the Home tab. click on the Number group.
- Click on the dialog box launcher arrow at the bottom right corner of the dialog box that opens.
- Alternatively, simply press Ctrl + 1 to open the Custom Format Cells dialog box.
- The Format Cells dialog box opens.
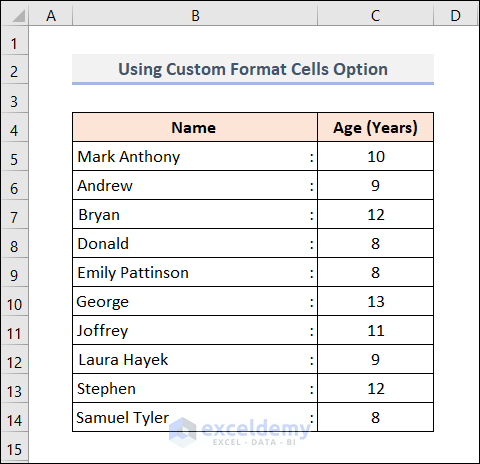
- Select Custom from the menu.
- Type @ * \: in the box.
- Click OK.

- A right aligned colon is added automatically at the end of each name.
Read More: How to Align Currency Symbol in Excel
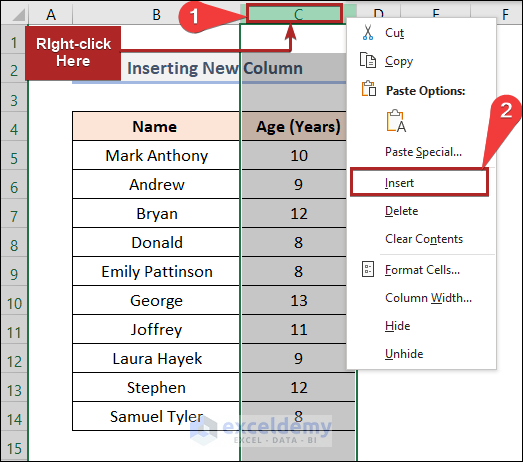
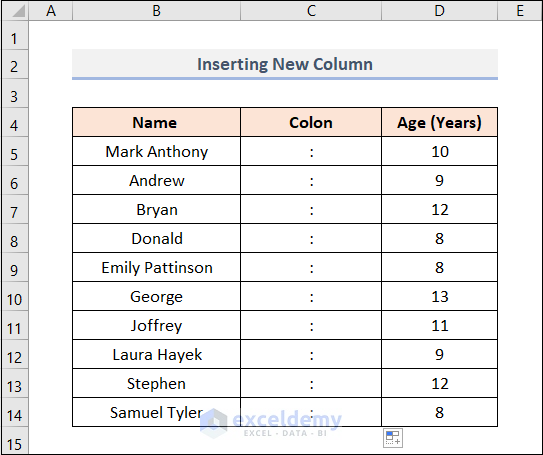
Method 3 – Inserting a New Column

Steps
- Right-click on Column C.
- Select Insert from the options.
- A new column is inserted at Column C.
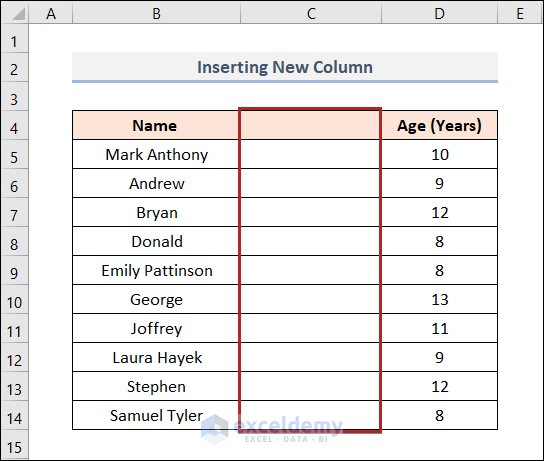
- Give a header to the newly created column (Colon).
- Input a colon in each cell in the C5:C14 range.
- Reduce the Column Width of Column C.
- Select the B5:B14 range and select Align Right.
- Select the D5:D14 range and select Align Left.
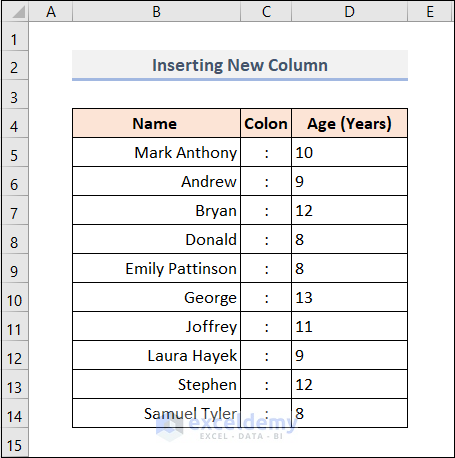
- To make it more visually appealing, apply Outside Borders only to the table.

Read More: How to Left Align in Excel
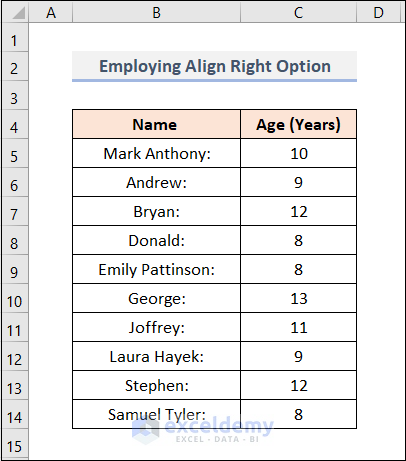
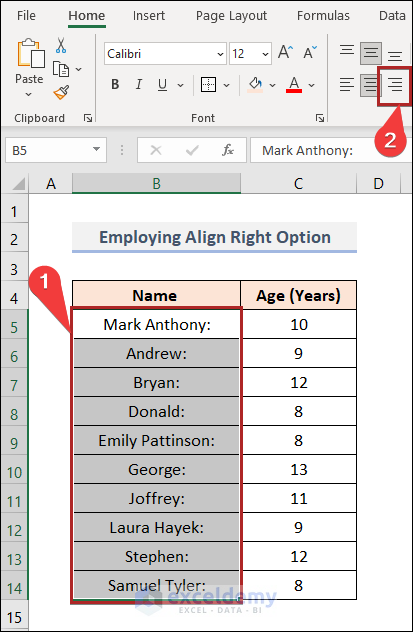
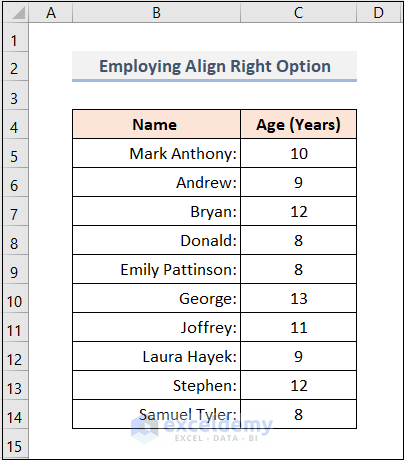
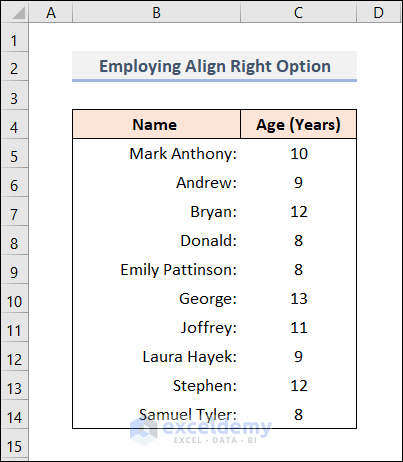
Method 4 – Employing Align Right Option

Steps
- Add a colon at the end of the Name in each cell in our previous dataset.
- Select the B5:B14 range.
- Select Align Right from the Alignment group in the Home tab.
- Colons are aligned to the right side of the cells.
- To improve display, remove All Borders formatting and apply Outside Borders to the data table.
Download Practice Workbook
Related Articles
- How to Center Text in a Cell in Excel
- How to Justify Text in Excel
- How to Align Columns in Excel
- How to Align Numbers in Excel
<< Go Back to Alignment in Excel | Excel Cell Format | Learn Excel
Get FREE Advanced Excel Exercises with Solutions!
